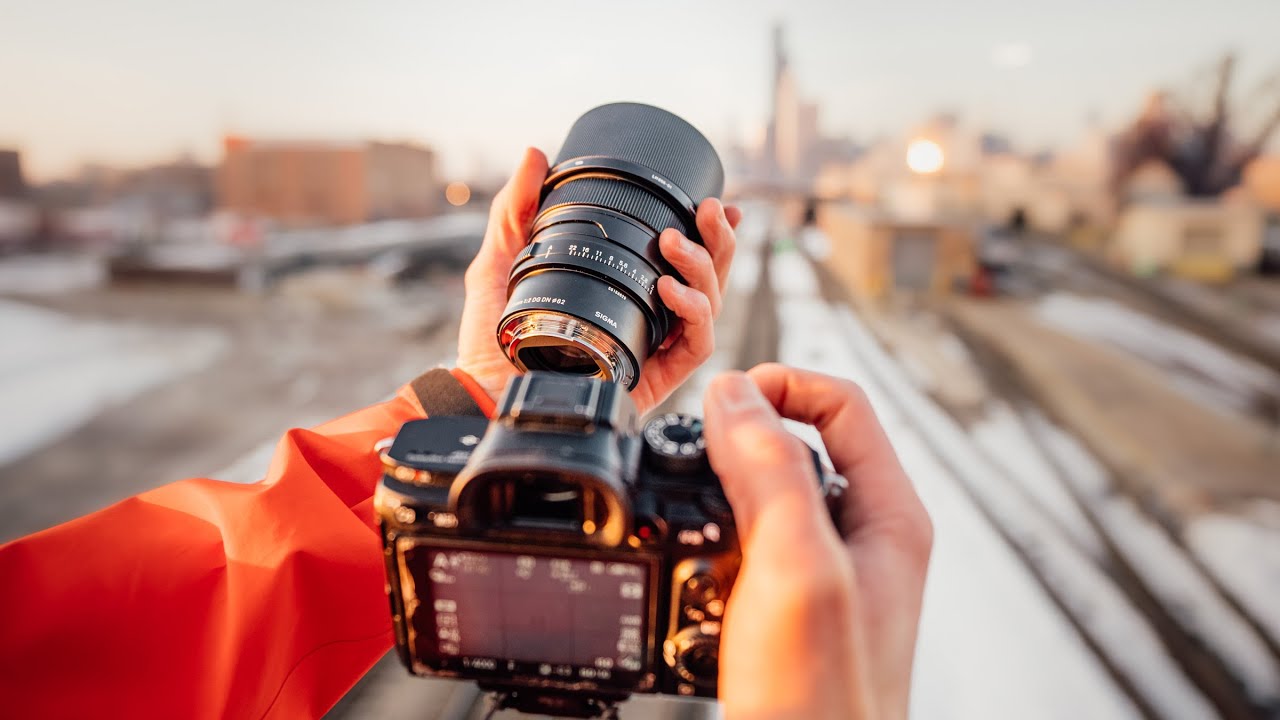
There’s a gap in most photographers’ kits that nobody talks about until they’re standing on a street corner wishing they had something between their 35mm and their 85mm. I’ve been there more times than I want to admit. My spreadsheet of tested lenses has columns for focal length, max aperture, price per millimeter of reach (yes, really), and “gap filler” potential. The 65mm focal length almost never shows up in that spreadsheet, because most manufacturers skip it entirely. So when Pierre T. Lambert dropped a hands-on street shoot with the Sigma 65mm F/2 from the Contemporary series, I watched it twice before my second coffee. Watch the full tutorial on YouTube
What makes this particular video worth breaking down is that Lambert is genuinely figuring out the lens as he goes. This isn’t a controlled studio comparison with color charts and resolution crops. It’s a real street session where he’s adapting to an unfamiliar focal length in real time, which means you get to watch how an experienced shooter calibrates to a new tool. That calibration process is actually more instructive than any spec sheet. Here’s what the shoot teaches, step by step.
Step 1: Acknowledge What You Don’t Know About the Focal Length
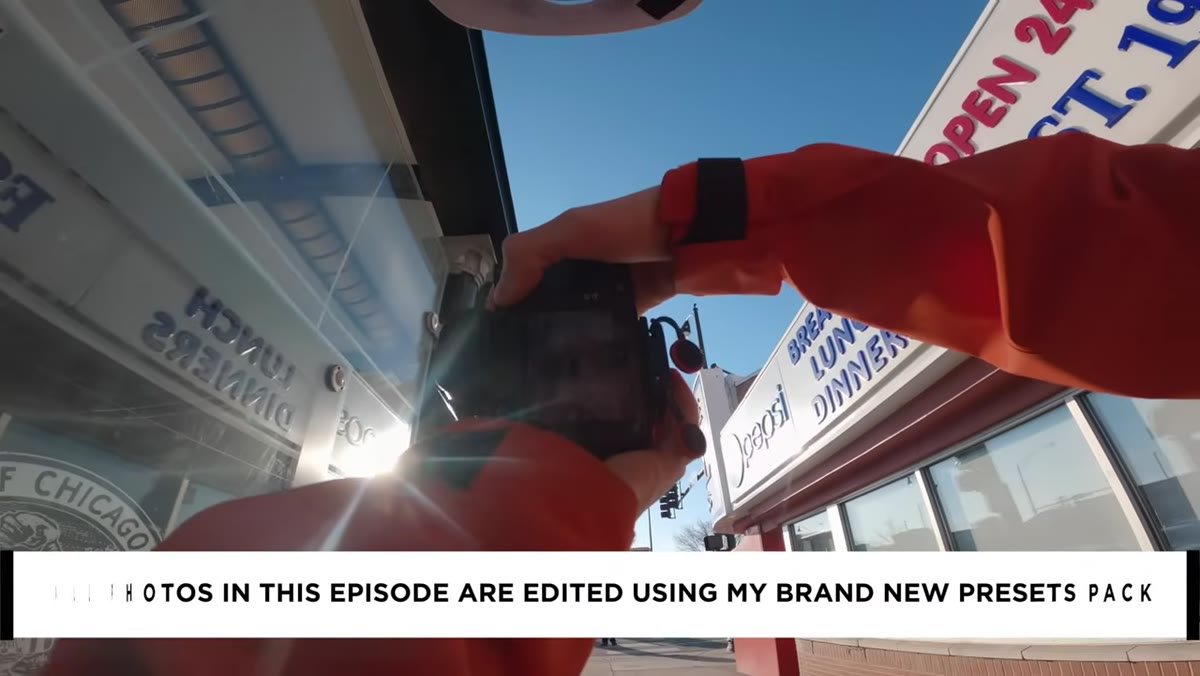 Lambert holding camera up, assessing field of view on street
Before you fire a single frame, Lambert makes a deliberate choice to admit he doesn’t know how tight or wide 65mm will feel in practice. He knows his 35mm and his 85mm intimately. The 65mm is new territory. This sounds obvious, but most shooters skip this mental step and spend the first 20 minutes fighting the lens instead of working with it.
Lambert holding camera up, assessing field of view on street
Before you fire a single frame, Lambert makes a deliberate choice to admit he doesn’t know how tight or wide 65mm will feel in practice. He knows his 35mm and his 85mm intimately. The 65mm is new territory. This sounds obvious, but most shooters skip this mental step and spend the first 20 minutes fighting the lens instead of working with it.
When you pick up a focal length you haven’t used before, shoot a few throwaway frames immediately just to calibrate your eye. Look at where the frame edges fall relative to what you’re seeing. 65mm is noticeably tighter than 50mm on a full-frame body, closer to a compressed portrait feel than a street walkaround perspective. You need to physically step back more than you expect to include the same scene you’d grab at 35mm.
Step 2: Start Wide Open to Understand the Lens’s Personality
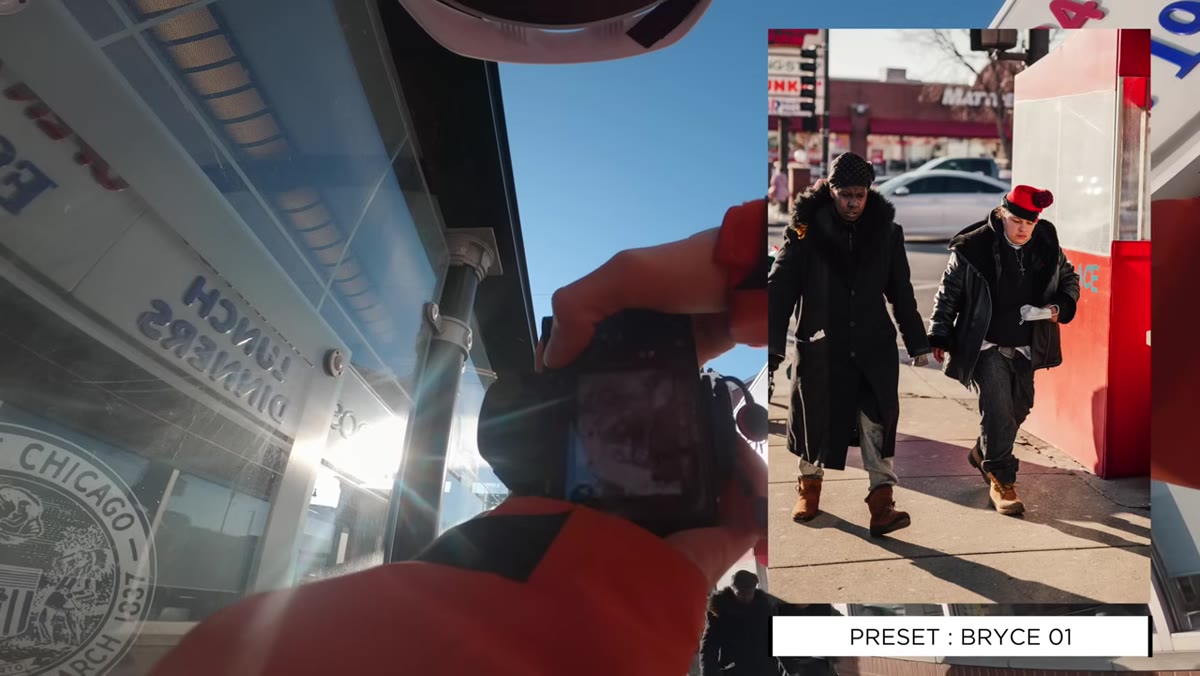 Lambert adjusting aperture setting, shooting at F/2
Lambert sets the aperture to F/2 from the start. Not because every shot needs shallow depth of field, but because wide open is where a lens shows its character and its flaws. Bokeh quality, edge sharpness, any color fringing or vignetting all show up more aggressively wide open. You want to know what you’re working with before you start stopping down and hiding those characteristics.
Lambert adjusting aperture setting, shooting at F/2
Lambert sets the aperture to F/2 from the start. Not because every shot needs shallow depth of field, but because wide open is where a lens shows its character and its flaws. Bokeh quality, edge sharpness, any color fringing or vignetting all show up more aggressively wide open. You want to know what you’re working with before you start stopping down and hiding those characteristics.
On the Sigma 65mm F/2, Lambert finds the wide-open rendering pleasant enough to keep shooting there through much of the session. For street work, F/2 on a 65mm gives you enough separation from busy backgrounds to isolate a subject without going full portrait-blur. That’s actually a useful middle ground. A 50mm at F/1.8 can feel aggressive in how it melts backgrounds; 65mm at F/2 is more controlled.
Step 3: Notice the Control Layout Differences Before They Cost You a Shot
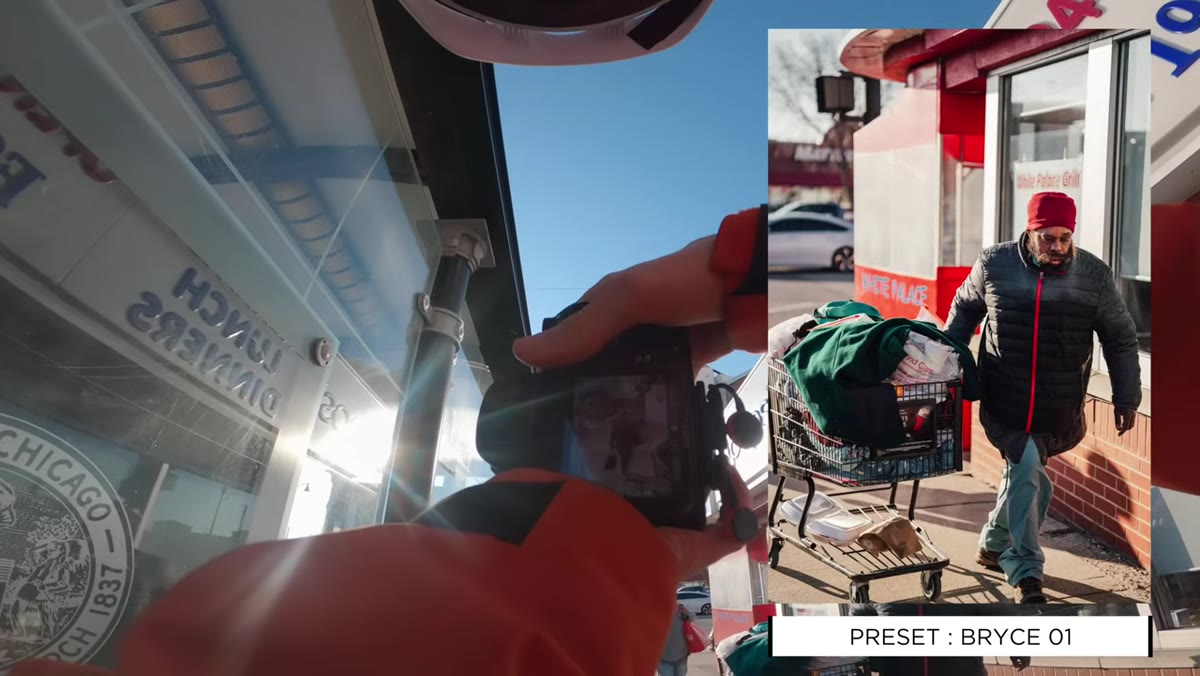 Lambert reaching for a button that isn’t there on the lens
Lambert reaches for a control button on the barrel out of habit and it isn’t there. It’s a small moment in the video but an important lesson: every lens has a different physical interface, and muscle memory from your main kit will betray you. The Sigma Contemporary series keeps the design minimal compared to the Art series. There are fewer physical controls on the barrel.
Lambert reaching for a button that isn’t there on the lens
Lambert reaches for a control button on the barrel out of habit and it isn’t there. It’s a small moment in the video but an important lesson: every lens has a different physical interface, and muscle memory from your main kit will betray you. The Sigma Contemporary series keeps the design minimal compared to the Art series. There are fewer physical controls on the barrel.
Before any serious shoot with unfamiliar glass, spend five minutes just handling the lens with the camera off. Find the focus ring, check how far it rotates, feel the aperture ring if there is one, and mentally note what’s absent. Lambert shoots Sony here and notes the 62mm filter thread. That’s also worth knowing upfront if you’re swapping filters across lenses.
Step 4: Let the Environment Drive the Shot Selection, Not Your Comfort Zone
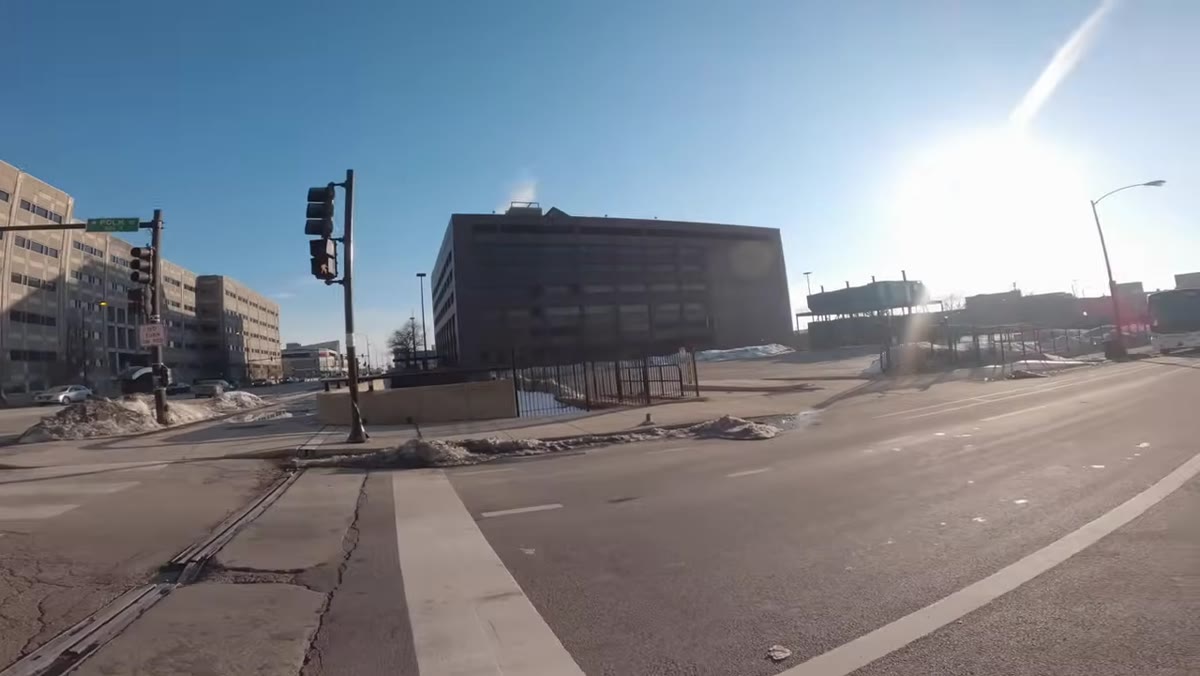 Lambert moving toward an older car, looking for interesting details
Rather than defaulting to his usual approach, Lambert follows the environment. He spots an old car with interesting lines and moves toward it for detail shots. He tries a Porsche with yellow signage and thinks about how a specific editing preset will interact with those colors. The lens becomes a tool for exploration rather than a predetermined style.
Lambert moving toward an older car, looking for interesting details
Rather than defaulting to his usual approach, Lambert follows the environment. He spots an old car with interesting lines and moves toward it for detail shots. He tries a Porsche with yellow signage and thinks about how a specific editing preset will interact with those colors. The lens becomes a tool for exploration rather than a predetermined style.
This is genuinely good field technique. When you’re calibrating to a new focal length, let the environment do some of the work. Subjects with strong geometry, lines, or color contrast help you understand how the lens renders without you needing to control every variable. Wide open on a subject with hard lines tells you a lot about how sharp the lens is across the frame.
Step 5: Accept the Misses and Keep Moving
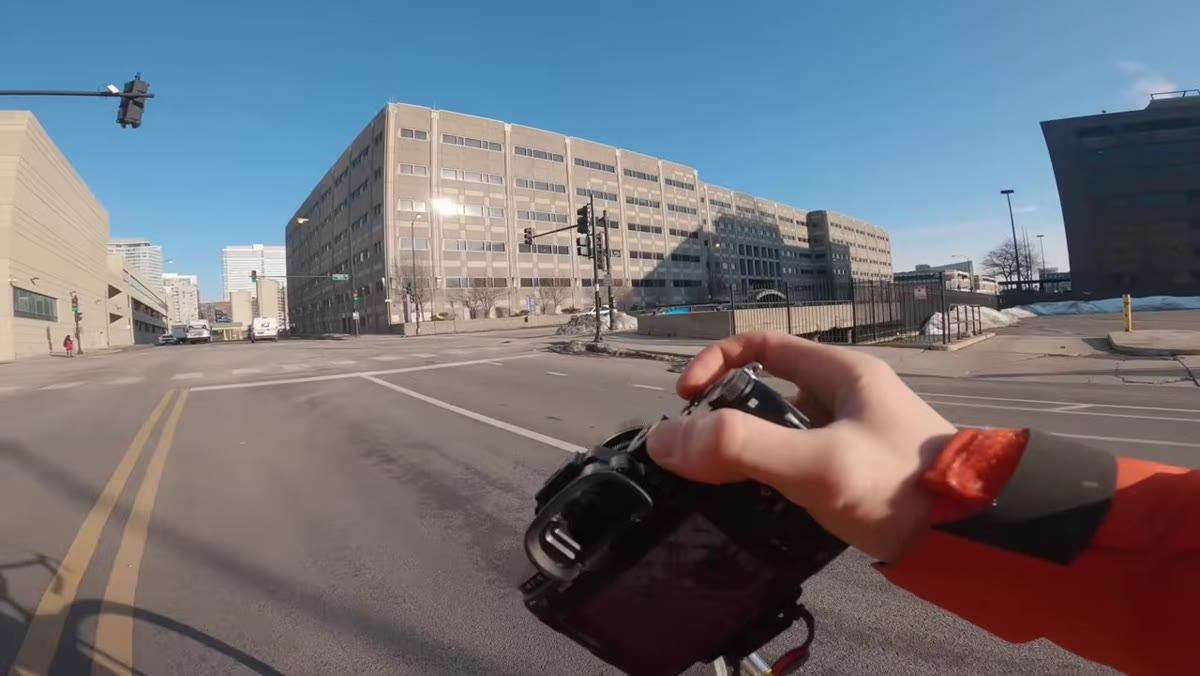 Lambert missing a shot as cars pass through the frame
Lambert misses a shot he wanted because cars moved through the frame at the wrong moment. He says it out loud, marks it, and moves on. This is worth emphasizing because newer shooters tend to dwell on misses, especially on a test shoot where they feel like they’re supposed to produce evidence that the gear works.
Lambert missing a shot as cars pass through the frame
Lambert misses a shot he wanted because cars moved through the frame at the wrong moment. He says it out loud, marks it, and moves on. This is worth emphasizing because newer shooters tend to dwell on misses, especially on a test shoot where they feel like they’re supposed to produce evidence that the gear works.
Missing shots while adapting to new glass is expected. The feedback loop of miss-understand-adjust is actually how you learn a focal length faster than any amount of reading. Lambert’s comfort with missing frames keeps his pace and energy up, which matters for street work where hesitation costs you the next opportunity.
Step 6: Compare Against Your Existing Kit Honestly
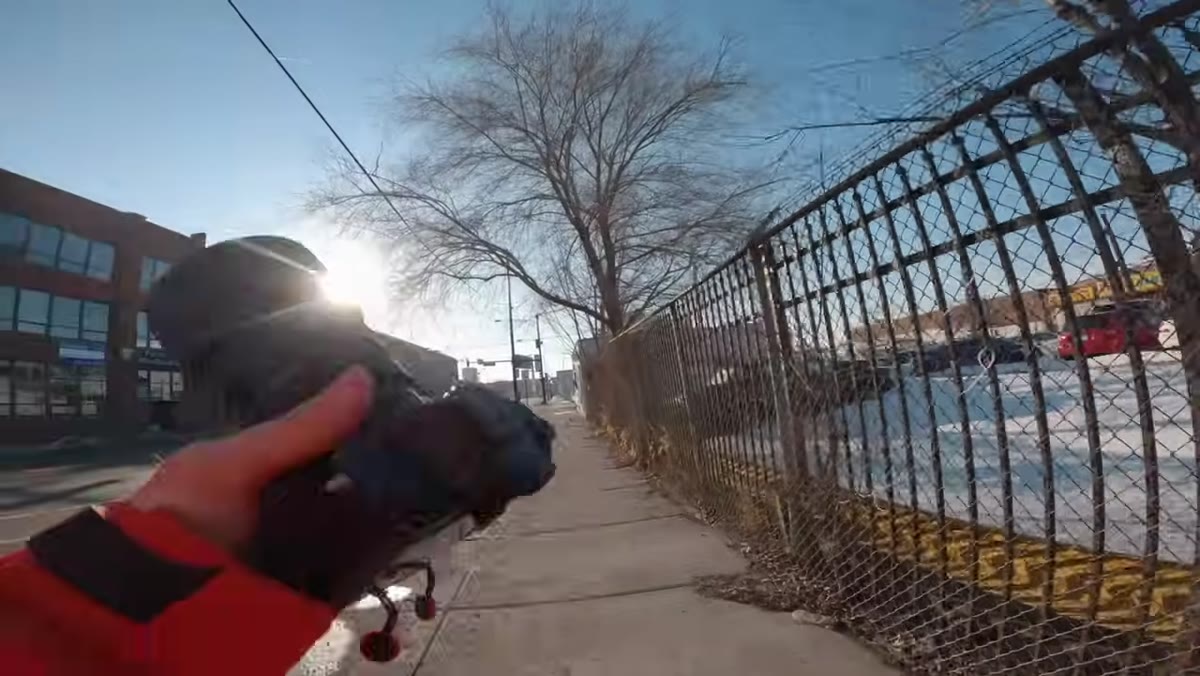 Lambert reflecting on his history with Sigma glass and focal length coverage
Near the end of the session, Lambert reflects on his lens kit: he has coverage at 35mm and at 85mm, with nothing between them. The 65mm sits in that dead zone. He also mentions his long history with Sigma glass, going back to a 35mm on a Nikon body that he used heavily.
Lambert reflecting on his history with Sigma glass and focal length coverage
Near the end of the session, Lambert reflects on his lens kit: he has coverage at 35mm and at 85mm, with nothing between them. The 65mm sits in that dead zone. He also mentions his long history with Sigma glass, going back to a 35mm on a Nikon body that he used heavily.
This kind of honest self-assessment is what makes gear decisions actually useful. Before buying or testing any lens, write down your current focal lengths and where your coverage has real gaps. Not just what lengths you own, but what subjects or situations you keep missing because you don’t have the right reach. For street shooters working in tighter urban environments where 85mm is too long and 35mm is too casual, 65mm makes a real case for itself.
My Caveat: Price-Per-Use Still Matters
I’ve tested a lot of lenses in this focal neighborhood, including several third-party options that undercut the major brands significantly. The Sigma Contemporary line earns its price by delivering solid build quality and consistent optical performance without Art-series weight. But before you add any lens to your kit, ask whether you’d actually reach for it or whether it would compete with something you already own and love.
For me, a 65mm only makes sense if you’re already comfortable at both 50mm and 85mm and you find yourself wanting something between them on purpose, not just as a gap fill. If you’ve never shot above 50mm regularly, start there before jumping to 65mm.
The single biggest takeaway from Lambert’s session is this: shooting with an unfamiliar focal length is the fastest education you’ll get about whether you actually need it. No spec comparison will tell you as much as 45 minutes of street shooting will. Get the lens in your hands, shoot wide open, miss some frames, and see what happens.
Watch the full tutorial on YouTube and pay attention to how Lambert talks himself through each decision in real time. That running commentary is the real tutorial.
Comments
Leave a Comment