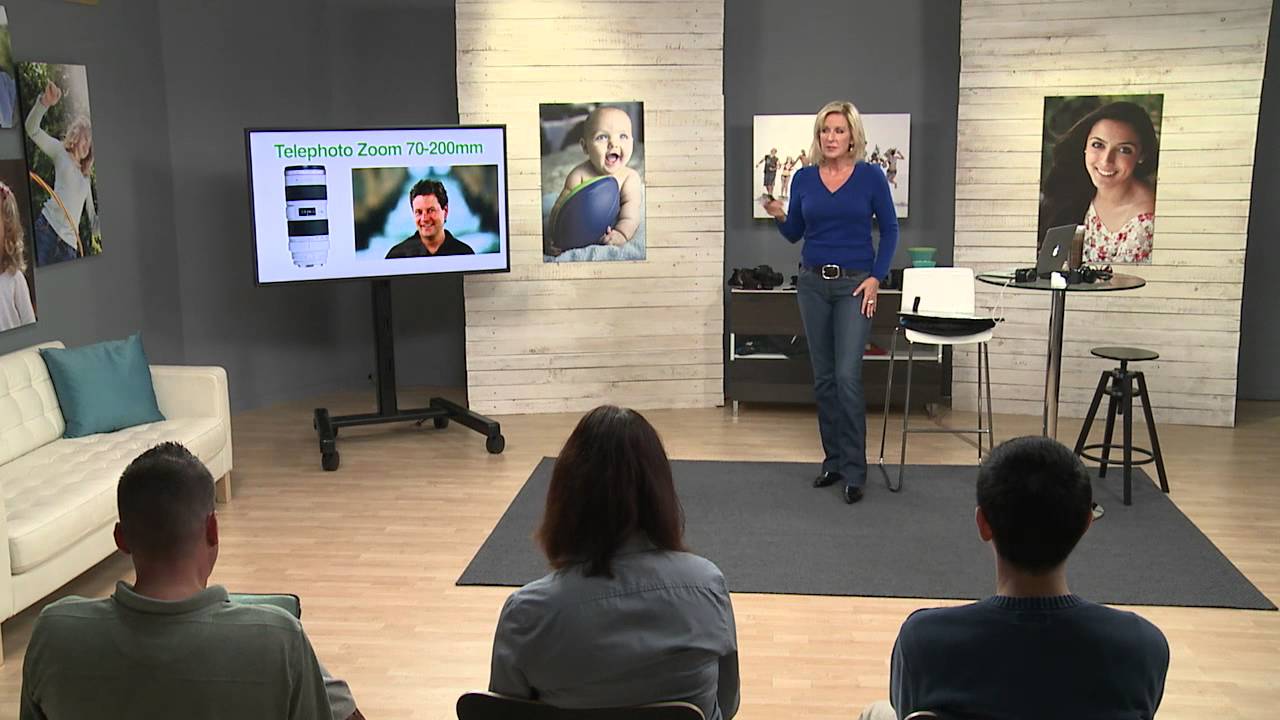
I used to swap lenses by feel. No real logic, just instinct built from trial and error and a lot of blurry test shots I’ll never show anyone. The question “which lens do I put on right now?” sounds basic, but it’s the kind of decision that quietly makes or breaks a photo. Get it wrong and you’re fighting your gear instead of making pictures. In this CreativeLive tutorial, photographer Erin Manning does something I wish I’d had when I was starting out: she stands in one fixed spot, swaps three different lenses, and shows you exactly what changes in the frame. Same subject, same distance, same light. Just different glass.
Watch the full tutorial on YouTube
The side-by-side comparison format is what makes this click. You stop thinking in spec-sheet terms and start thinking visually. I’ve reviewed a lot of budget lenses, and the number one mistake I see from newer shooters is buying the wrong focal length for what they actually want to shoot. Not a bad lens. The wrong lens. This breakdown should help you fix that.
Step 1: Understand What a Telephoto Zoom Lens Is Actually Doing
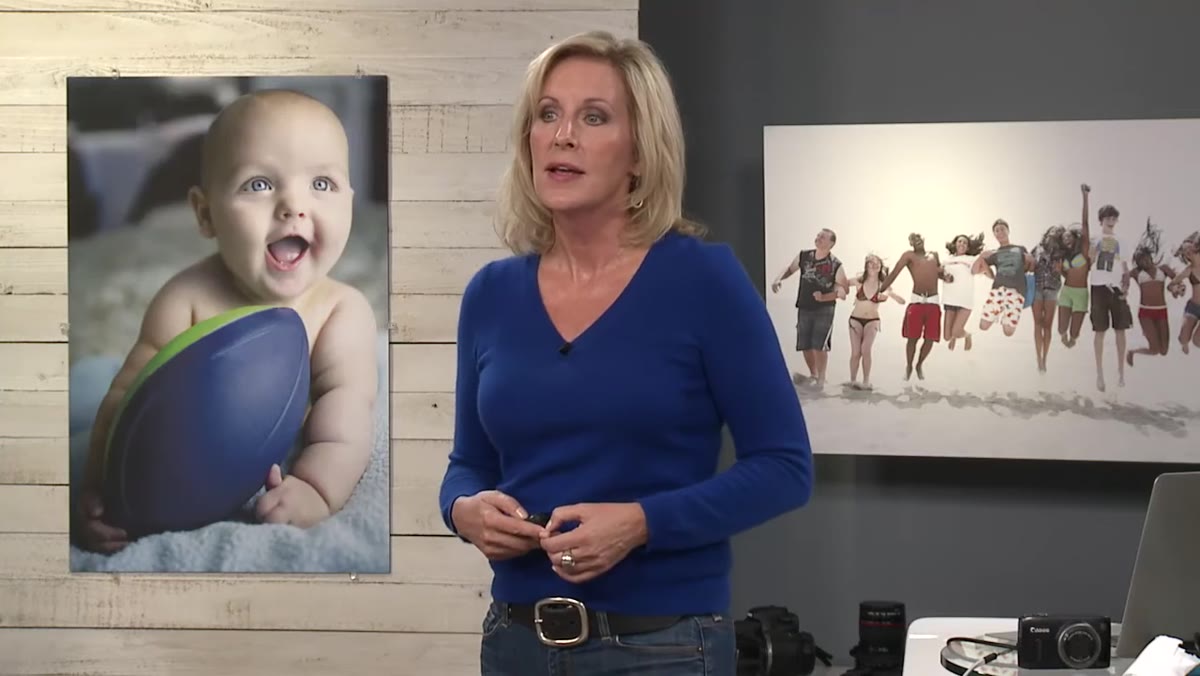 Telephoto lens portrait shot taken at 200mm under pier
A telephoto zoom lens, something in the range of 70-200mm, does two things simultaneously that most people treat as separate problems. It magnifies your subject, so you can stand farther back and still fill the frame. And it compresses the background, so the space behind your subject appears to collapse inward and blur out. That background blur isn’t just about aperture. Even at the same f-stop, a telephoto will render a softer, more flattering background than a wider lens will, simply because of how the focal length handles spatial relationships.
Telephoto lens portrait shot taken at 200mm under pier
A telephoto zoom lens, something in the range of 70-200mm, does two things simultaneously that most people treat as separate problems. It magnifies your subject, so you can stand farther back and still fill the frame. And it compresses the background, so the space behind your subject appears to collapse inward and blur out. That background blur isn’t just about aperture. Even at the same f-stop, a telephoto will render a softer, more flattering background than a wider lens will, simply because of how the focal length handles spatial relationships.
Manning demonstrates this at full zoom on her telephoto, around 200mm, while standing completely still. The effect on the subject is immediate. The background becomes a soft wash. The subject’s features look more proportional and less distorted. This is not a trick. It’s physics working in your favor.
Step 2: Use Telephoto for Portraits, Not Just Sports
 Fashion photography context with photographer far from subject
The association between telephoto lenses and sports photography is so strong that portrait photographers sometimes overlook them entirely. Manning points out that she’s seen fashion photographers working so far from their models that they needed walkie-talkies to communicate on set. That distance is intentional. The long focal length flatters faces in a way that shorter lenses simply cannot replicate.
Fashion photography context with photographer far from subject
The association between telephoto lenses and sports photography is so strong that portrait photographers sometimes overlook them entirely. Manning points out that she’s seen fashion photographers working so far from their models that they needed walkie-talkies to communicate on set. That distance is intentional. The long focal length flatters faces in a way that shorter lenses simply cannot replicate.
If you want to make someone look good in a photo, put as much focal length between you and them as your lens allows and as your shooting space permits. A 70-200mm zoom gives you flexibility to dial this in. You don’t have to be at 200mm every time, but zooming out toward the longer end will consistently produce a more flattering result than shooting at the wide end of your kit lens.
Step 3: Learn What “Normal” Actually Means at 50mm
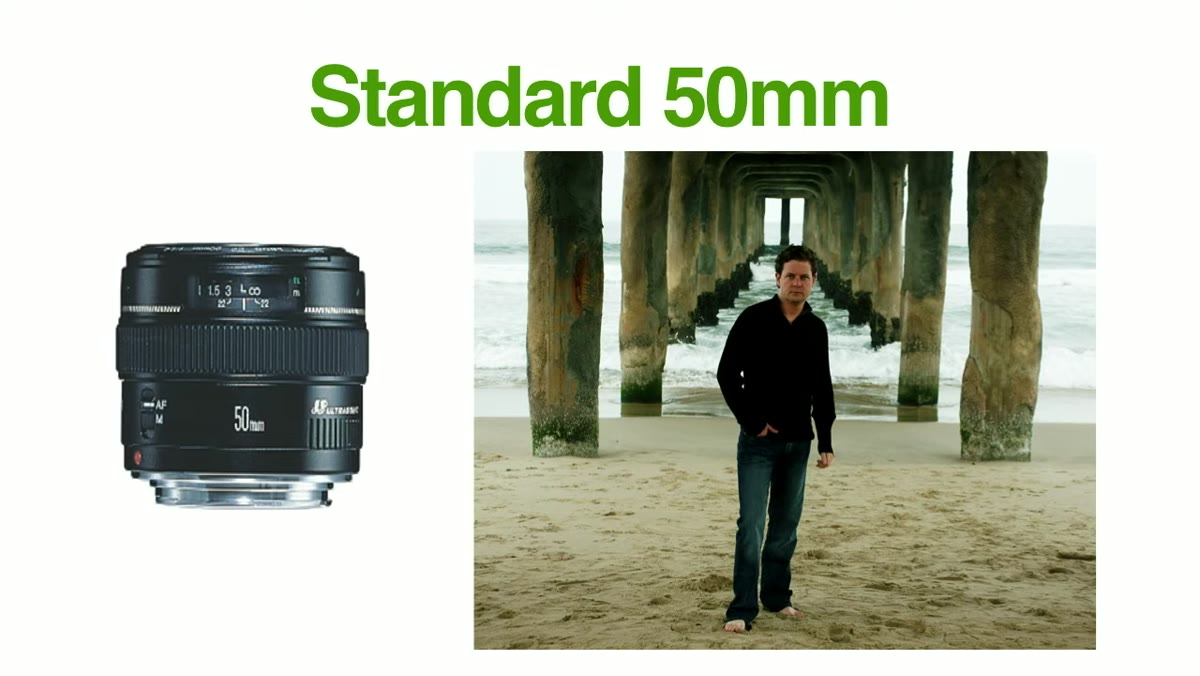 50mm lens shot compared to telephoto from same position
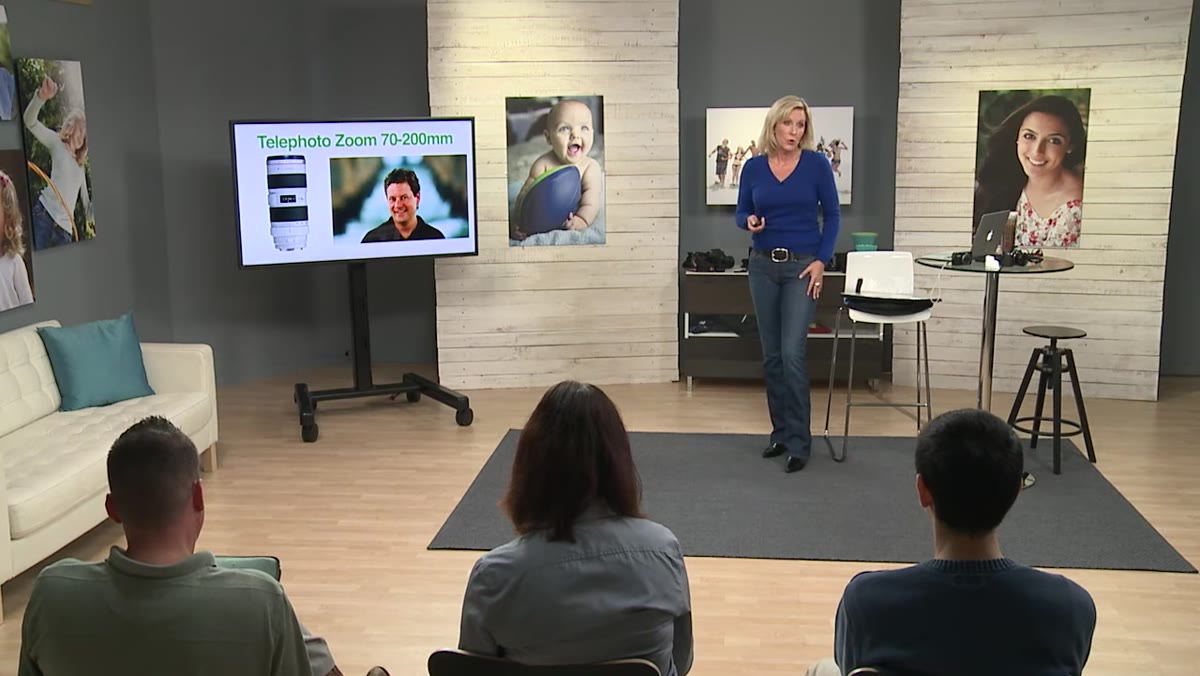
Manning switches to a 50mm lens next, and the change is immediately noticeable without being dramatic. The subject looks closer to how you’d see them standing in front of you. The background has some presence again. It feels less cinematic than the telephoto shot, but also more honest.
50mm lens shot compared to telephoto from same position
Manning switches to a 50mm lens next, and the change is immediately noticeable without being dramatic. The subject looks closer to how you’d see them standing in front of you. The background has some presence again. It feels less cinematic than the telephoto shot, but also more honest.
The 50mm is called a “standard” or “normal” lens because its angle of view roughly matches what the human eye takes in when focused on a single point. It’s not a perfect analogy, but it’s a useful one. For everyday documentary shooting, street photography, or situations where you want images to feel natural and unmanipulated, this is your starting point. It’s also the focal length where a lot of budget primes shine. A fast 50mm f/1.8 on almost any mount can be found for under $150, and it’s one of the most useful lenses you can own.
Step 4: See How a Wide-Angle Lens Expands Space
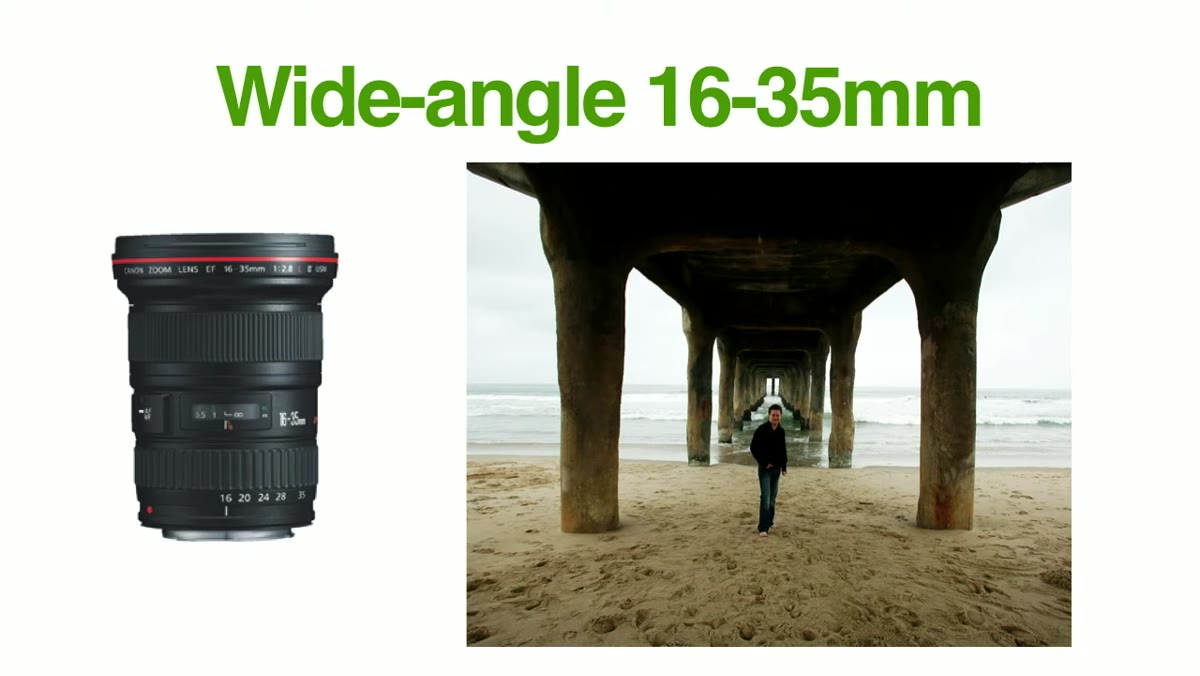 Wide-angle lens shot making space appear much larger
When Manning puts on the wide-angle lens, the transformation is striking. She hasn’t moved. Her subject hasn’t moved. But the frame now looks like she stepped back ten feet and took in an entirely different environment. The pier, the surroundings, the context of the scene all rush into the edges of the frame.
Wide-angle lens shot making space appear much larger
When Manning puts on the wide-angle lens, the transformation is striking. She hasn’t moved. Her subject hasn’t moved. But the frame now looks like she stepped back ten feet and took in an entirely different environment. The pier, the surroundings, the context of the scene all rush into the edges of the frame.
Wide-angle lenses are essential when the subject IS the space, not a person in it. Landscapes, architecture, real estate, tight interiors where you need to show the whole room. The tradeoff is distortion. Anything near the edges of the frame, especially faces, can appear stretched or warped. Keep subjects centered when using wide glass for portraits, or avoid it for close-up portraits entirely.
Step 5: Recognize the Cost of Leaving the Wrong Lens at Home
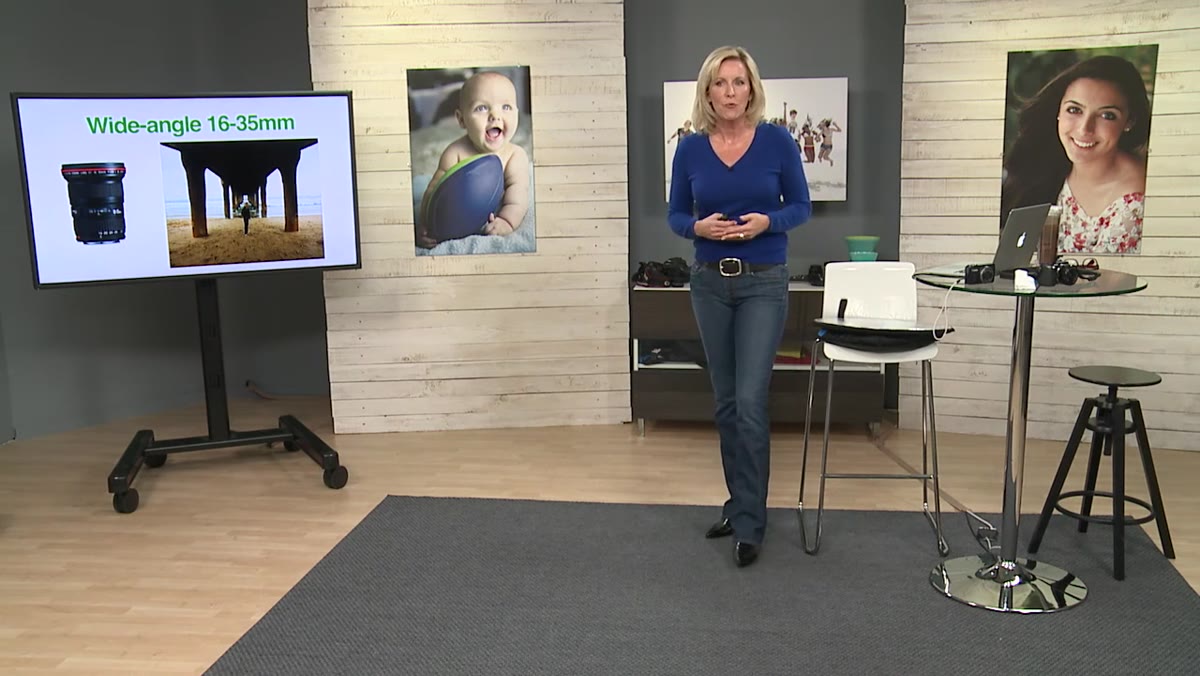 Discussion of forgetting wide-angle lens on Europe trip
Manning mentions making the mistake of packing light before a trip and accidentally leaving her wide-angle lens behind. She ended up in Europe, standing in front of historic buildings and landscapes, with no way to capture the scale of what she was looking at.
Discussion of forgetting wide-angle lens on Europe trip
Manning mentions making the mistake of packing light before a trip and accidentally leaving her wide-angle lens behind. She ended up in Europe, standing in front of historic buildings and landscapes, with no way to capture the scale of what she was looking at.
This isn’t just a packing tip. It’s a reminder that each lens solves a specific visual problem, and no single lens covers everything. Before any trip or shoot, think about what you’re going to be photographing and match your kit to that. Are you shooting people? Pack something with reach. Shooting landscapes or architecture? The wide-angle earns its weight in your bag. Going somewhere you’re not sure about? A standard zoom covering 24-70mm or similar gives you workable options across all three zones.
My Take: Budget Glass Can Do All of This
I’ve built a spreadsheet comparing every budget lens I’ve tested, and the pattern that keeps showing up is this: focal length matters more than price tier. A sharp, no-frills 50mm prime at $100 will produce more flattering portraits than an expensive wide-angle zoom will, because the focal length itself is doing the heavy lifting.
The compression and background separation Manning demonstrates with her telephoto doesn’t require a $1,300 lens. A used 70-200mm f/4, or even a manual-focus 135mm f/2.8 from the 1980s you can find for under $60, will get you into that visual territory. The 50mm standard lens is probably the cheapest quality glass you can buy for most camera systems. And wide-angle options have come down dramatically in price, especially in the third-party market. Don’t let the sticker price of a professional kit lens convince you that the technique is out of reach.
The single most important thing to take away from Manning’s demonstration: stand in one spot and change lenses before you change your position. See what each focal length does before you start moving your feet. Once you build that visual vocabulary, lens selection stops feeling like guesswork and starts feeling like a deliberate creative decision.
Watch the full tutorial on YouTube and pay attention to the comparison shots. They do more teaching in two minutes than a gear spec sheet ever will.
Comments
Leave a Comment