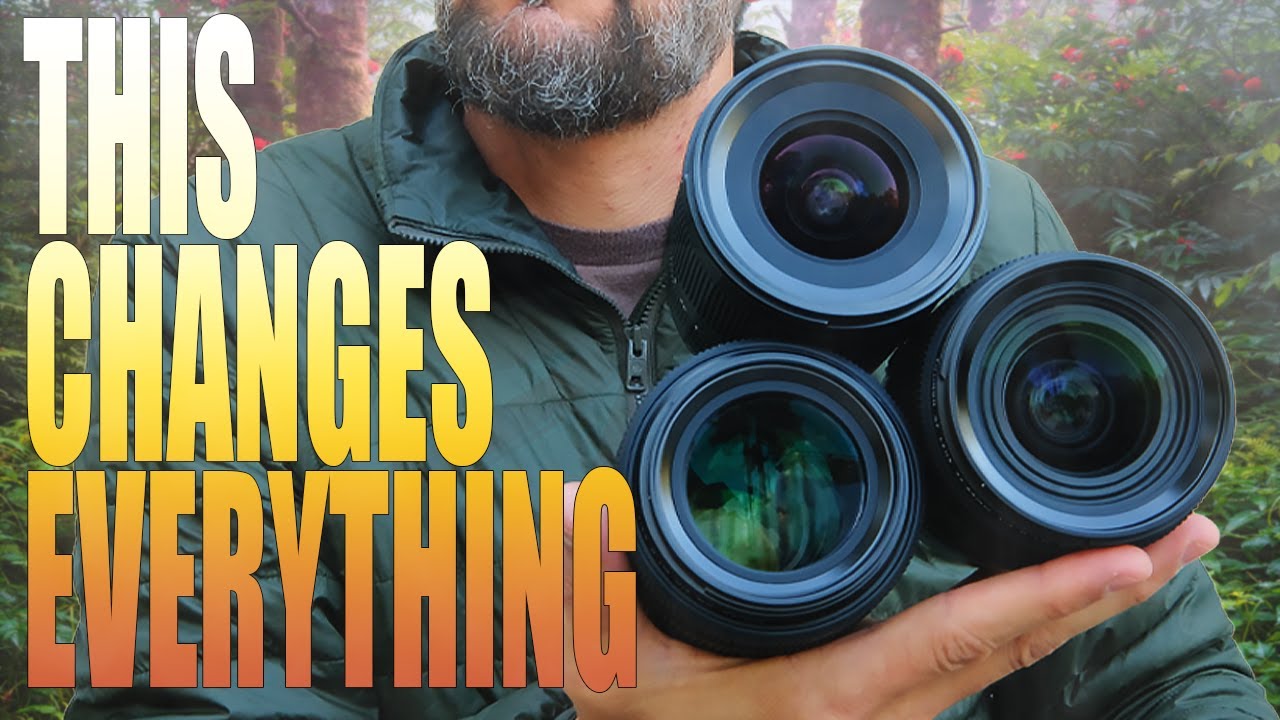
There’s a version of me from a few years back who would have nodded along confidently while someone explained why prime lenses are the “serious” choice for landscape photography. Fixed focal lengths, sharper glass, lighter pack. It all sounds logical until you’re standing at the edge of a canyon with nowhere to move and a composition that’s almost right but not quite. That gap between almost and actually is where gear decisions either pay off or bite you. In this Mark Denney tutorial, he does something most gear creators won’t: he walks through a real mistake he made with his own lens kit, explains what it cost him creatively, and lays out the three-zoom system he landed on after working through it. Watch the full tutorial on YouTube
What makes this worth writing about isn’t the specific lenses. It’s the framework. Denney spent real money, shot for years, sold gear at a loss, and came out the other side with a clear-eyed take on what actually matters when you’re in the field. I’ve run enough budget lens comparisons to know that the difference between a great shot and a missed one is usually not sharpness or maximum aperture. It’s whether the lens lets you respond to what’s in front of you. That’s the thread running through everything he covers here.
Step 1: Understand Why Prime Lenses Create Real Field Limitations
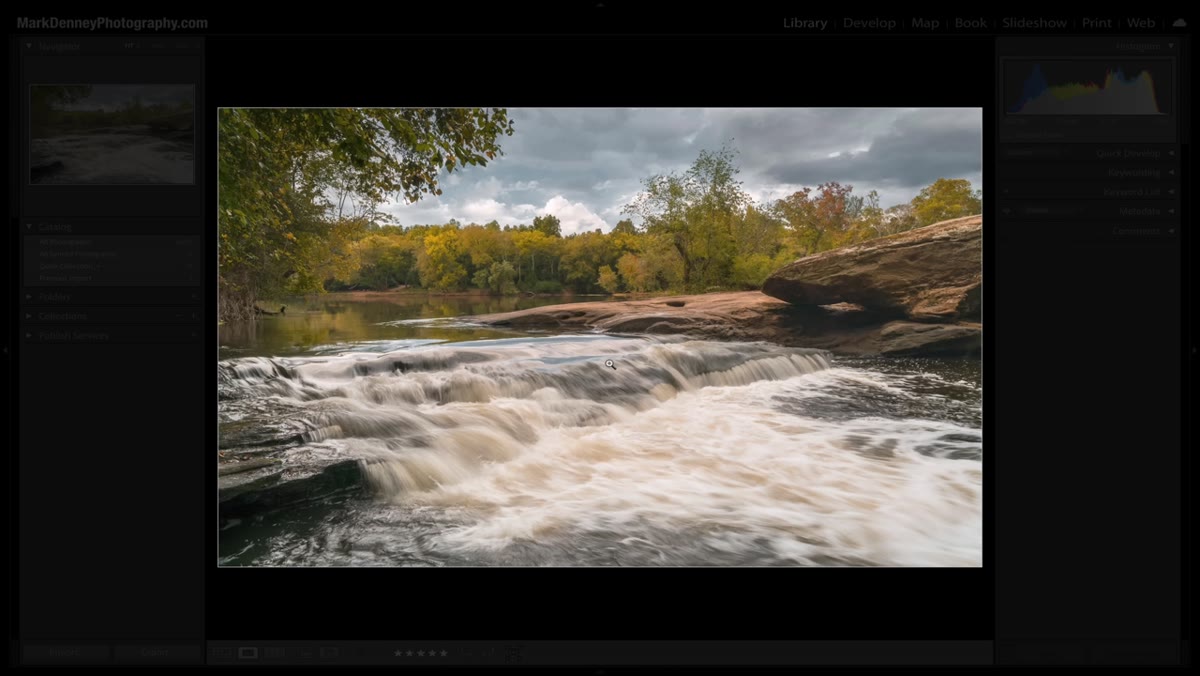 Photographer backed against riverbank with no room to recompose
Denney opens with a specific failure: a river scene where his back was literally against a bank, his subject was too close, and his prime lens gave him zero options. No zooming means no micro-adjustments to framing. You either move your feet or you don’t get the shot. In a studio that’s fine. On a trail edge, at the lip of a waterfall, or any location where physical movement is restricted, it becomes a real constraint that costs you images.
Photographer backed against riverbank with no room to recompose
Denney opens with a specific failure: a river scene where his back was literally against a bank, his subject was too close, and his prime lens gave him zero options. No zooming means no micro-adjustments to framing. You either move your feet or you don’t get the shot. In a studio that’s fine. On a trail edge, at the lip of a waterfall, or any location where physical movement is restricted, it becomes a real constraint that costs you images.
The practical lesson here is to audit your shooting locations before you commit to a lens system. If you shoot in open fields with room to roam, primes work. If you shoot canyons, coastlines, dense forests, or anywhere terrain limits your movement, a zoom gives you the compositional flexibility that your feet can’t. This isn’t anti-prime. It’s honest location scouting applied to gear selection.
Step 2: Recognize What a Wide Angle Zoom Does That Nothing Else Replicates
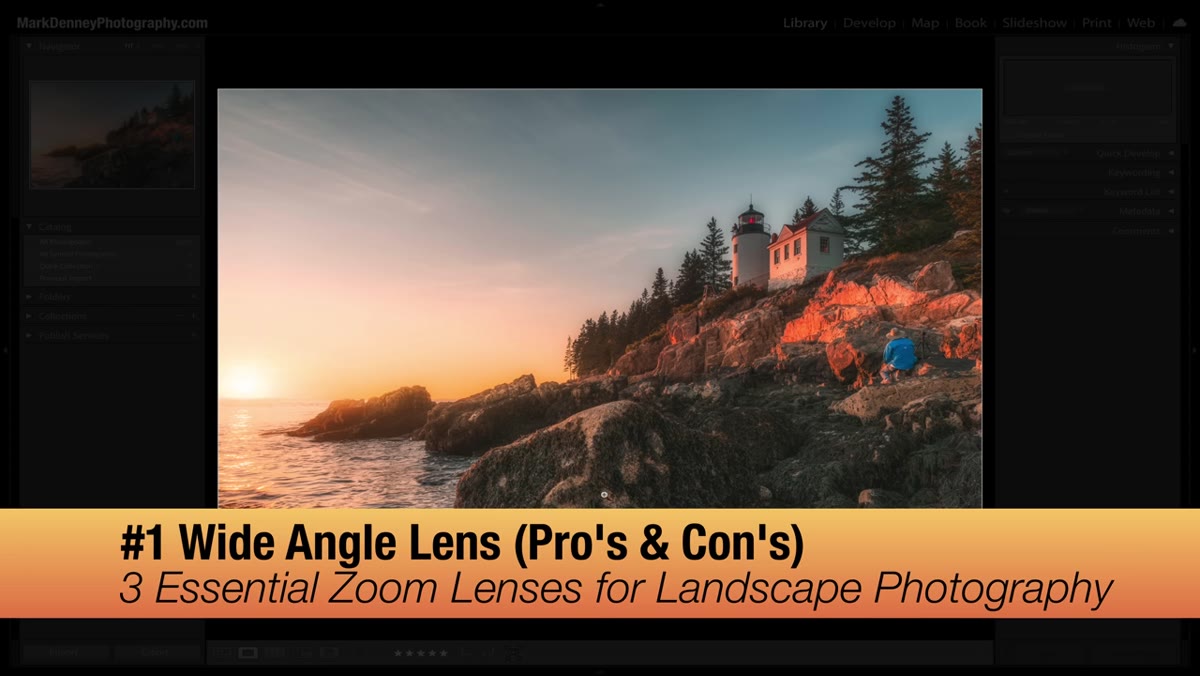 Wide sweeping landscape shot demonstrating immersive wide angle perspective
The first lens in Denney’s current kit is a wide angle zoom, something in the 16-35mm range based on his Sony shooting history. Wide zooms are the go-to for creating that immersive, you-are-there feeling in landscape work. They pull in sweeping foregrounds, exaggerate depth, and make the viewer feel placed inside the scene rather than looking at a photograph of one.
Wide sweeping landscape shot demonstrating immersive wide angle perspective
The first lens in Denney’s current kit is a wide angle zoom, something in the 16-35mm range based on his Sony shooting history. Wide zooms are the go-to for creating that immersive, you-are-there feeling in landscape work. They pull in sweeping foregrounds, exaggerate depth, and make the viewer feel placed inside the scene rather than looking at a photograph of one.
The key technical habit to build with a wide zoom is intentional foreground placement. At 16mm you can get genuinely close to a rock, a patch of wildflowers, or a stream edge and still capture a dramatic sky behind it. The danger is distortion at the edges, so keep your horizon level and be deliberate about what lands in the corners of your frame. A wide zoom also earns its carry weight in tight locations where you simply cannot step back far enough to get the full scene.
Step 3: Add a Mid-Range Zoom to Bridge the Gap Most Photographers Ignore
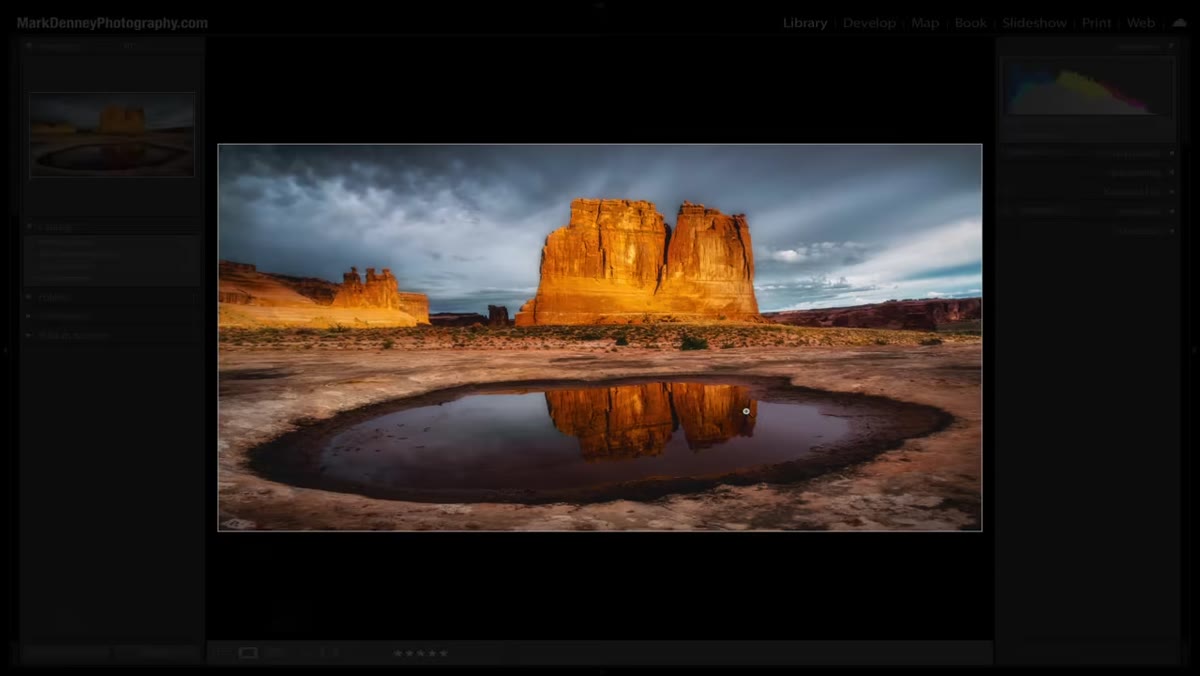 Mid-range focal length composition showing compressed mountain layers
The middle focal length range, roughly 24-70mm, is the one most beginners undervalue and most experienced landscape shooters quietly rely on. Denney points to this range as critical for scene-building shots where you want context and subject together without the distortion of a wide angle or the compression of a telephoto. Think valley shots with a river running through, or a forest path where the trees need to feel natural in scale.
Mid-range focal length composition showing compressed mountain layers
The middle focal length range, roughly 24-70mm, is the one most beginners undervalue and most experienced landscape shooters quietly rely on. Denney points to this range as critical for scene-building shots where you want context and subject together without the distortion of a wide angle or the compression of a telephoto. Think valley shots with a river running through, or a forest path where the trees need to feel natural in scale.
Practically speaking, this is also the range where you train your eye. Shooting between 35mm and 50mm pushes you to find compositions that work without leaning on dramatic perspective tricks. If you’re building your kit on a budget, a used 24-70mm f/4 often hits a sweet spot of price, weight, and image quality that the faster f/2.8 versions can’t match on all three axes at once. I have a running comparison sheet of options across mounts, and the value gap between f/4 and f/2.8 mid-range zooms is consistently significant.
Step 4: Use a Telephoto Zoom to Isolate and Compress Distant Elements
 Telephoto shot of distant mountain peak showing compression effect
The third lens is a telephoto zoom, typically something in the 70-200mm or 100-400mm range depending on your subjects. Denney frames this as the lens that changes how you see a landscape rather than just recording it. Telephoto compression stacks distant ridgelines, pulls a moon or a sun close to a horizon line, and isolates a single tree or waterfall from a chaotic background.
Telephoto shot of distant mountain peak showing compression effect
The third lens is a telephoto zoom, typically something in the 70-200mm or 100-400mm range depending on your subjects. Denney frames this as the lens that changes how you see a landscape rather than just recording it. Telephoto compression stacks distant ridgelines, pulls a moon or a sun close to a horizon line, and isolates a single tree or waterfall from a chaotic background.
For landscape work specifically, the telephoto zoom rewards patience and scouting. You’re not reacting with this lens. You’re looking for relationships between distant elements and then positioning yourself to collapse the space between them optically. One underused technique: shoot golden hour with a telephoto aimed at lit ridgelines behind your main subject. The compression turns ambient warmth into something that looks almost painted.
Step 5: Commit to the System Instead of Chasing Individual Focal Lengths
 Three lenses laid out side by side showing the complete kit
Denney’s bigger point, and the one that reframes everything else, is that these three zooms together cover essentially every focal length from 16mm out to 200mm or beyond with no gaps. That continuity matters more than any single lens’s maximum sharpness or aperture. When you’re in the field and the light is changing fast, reaching for a lens that you know will handle the shot is worth more than having the theoretically optimal glass for that one scenario.
Three lenses laid out side by side showing the complete kit
Denney’s bigger point, and the one that reframes everything else, is that these three zooms together cover essentially every focal length from 16mm out to 200mm or beyond with no gaps. That continuity matters more than any single lens’s maximum sharpness or aperture. When you’re in the field and the light is changing fast, reaching for a lens that you know will handle the shot is worth more than having the theoretically optimal glass for that one scenario.
The system thinking also simplifies decisions. Instead of asking “which prime gives me the best result here,” you ask “which range covers this scene” and then you shoot. Less deliberation, more photography.
My Caveat: The Budget Version of This System Is More Viable Than Ever
I’ve tested enough third-party zoom lenses to say confidently that you do not need manufacturer glass to build this three-zoom system on a reasonable budget. Sigma’s Art and Contemporary lines, Tamron’s current generation for Sony and Nikon, and even some of the newer Viltrox options cover these focal ranges at prices that make the full system achievable without selling anything at a loss. The optical gap between these and first-party lenses has narrowed to the point where I genuinely struggle to see a consistent difference in real-world landscape conditions. Wide, mid, tele. Third-party versions of all three will run you significantly less than a single first-party telephoto zoom, and you’ll end up with more creative range as a result.
The core takeaway from Denney’s video is this: focal length range matters more than any individual lens’s pedigree. A system that covers wide to telephoto with zooms gives you the flexibility to respond to whatever the landscape does. Build toward that system, even if it takes time, and you’ll stop coming home with shots that were almost right.
Watch the full tutorial on YouTube to see Denney’s sample images and hear him walk through the reasoning behind each lens choice in his own words.
Comments (1)
Wow, I had no idea you could do this. Mind blown.
Leave a Comment