
The question I get more than any other from people just starting out is some version of: “I bought my camera, now what?” Not “how do I use it” - but specifically, “what lens do I buy next?” I spent an embarrassing amount of time early on researching that question instead of actually shooting, which is exactly how I ended up in the deals-hunting rabbit hole in the first place. So when I came across this tutorial from Jay P Morgan at The Slanted Lens, I wanted to break it down properly, because he covers the lens upgrade question in a way that’s practical, opinionated, and grounded in real shooting experience.
Watch the full tutorial on YouTube
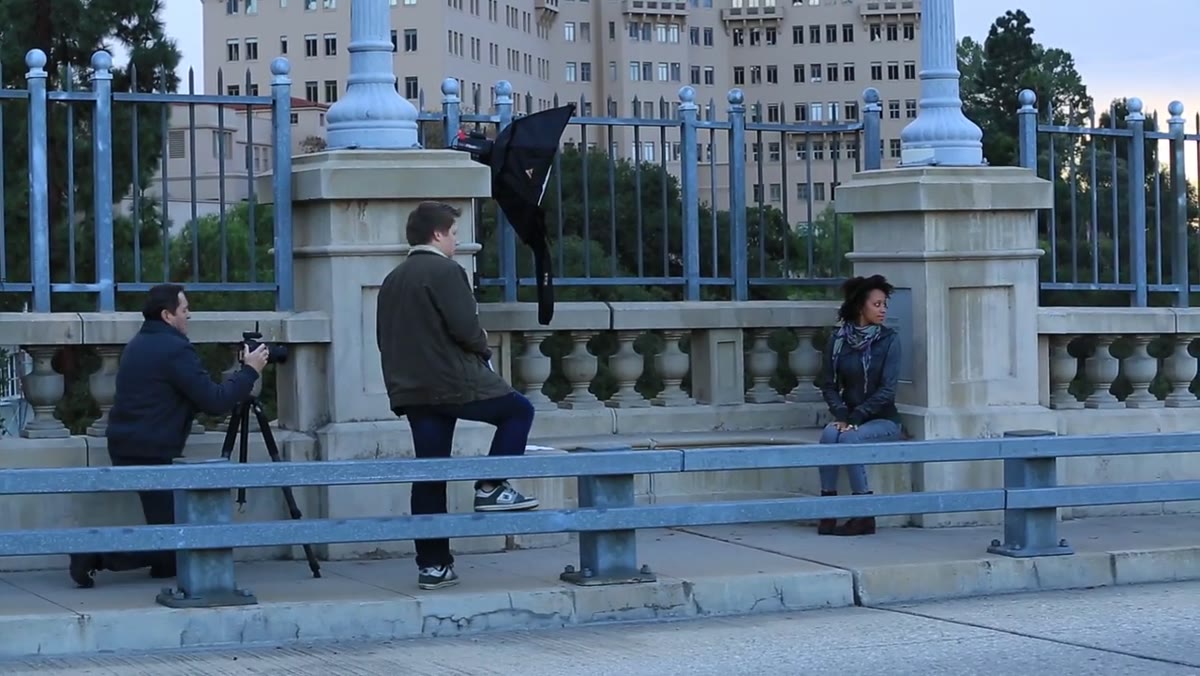
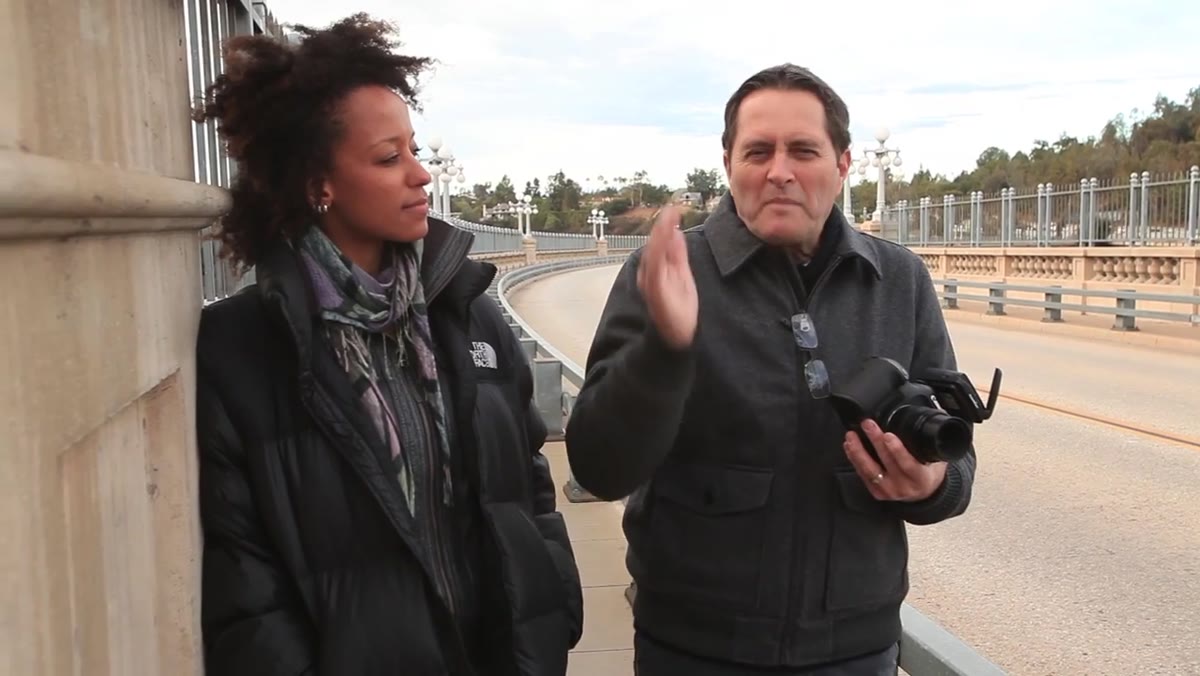
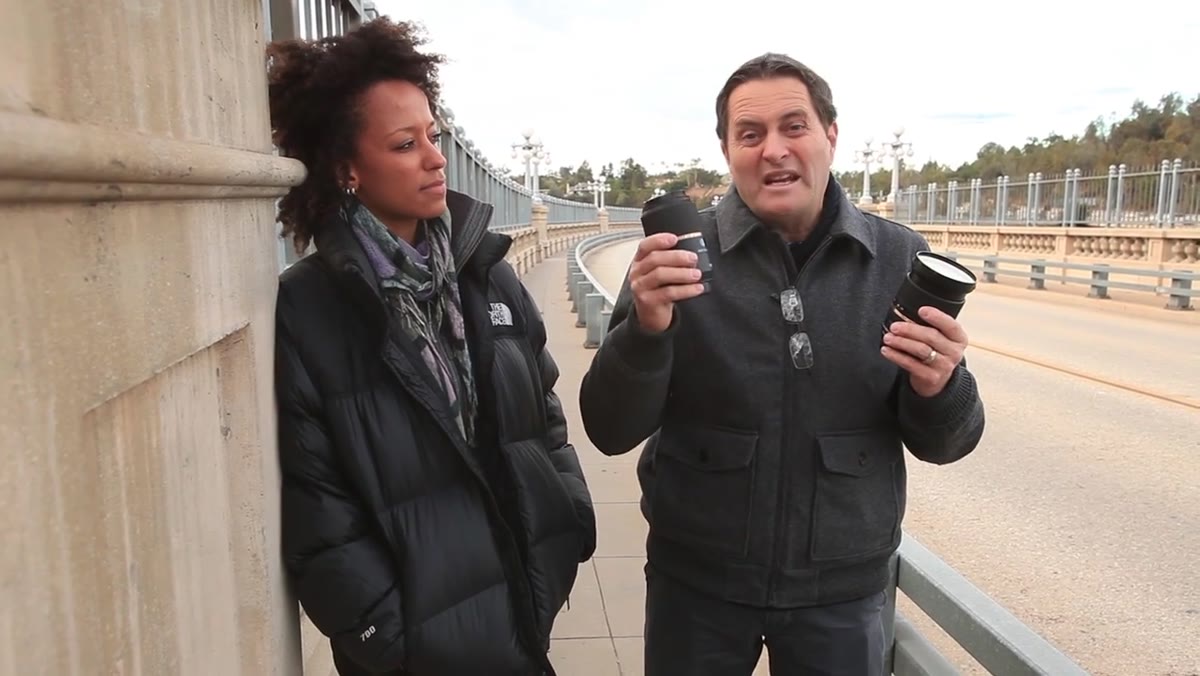
Jay shoots with a model at different focal lengths from a fixed position, which is the clearest possible way to illustrate what changing focal length actually does to your image. No jargon, no spec sheets - just a person, a bridge, and eight different lenses. That visual demonstration alone is worth your time if you’ve never seen it done side by side. But here’s the walkthrough so you can internalize the logic before you spend a cent.
Step 1: Understand What Focal Length Actually Does Before You Shop
 Eight focal lengths shown from same fixed camera position
Stand in one spot. Don’t move. Swap lenses from 16mm up to 200mm. That’s the experiment Jay runs, and the result is obvious once you see it: longer focal lengths compress the scene and bring your subject closer in the frame. Wider focal lengths expand the scene and push your subject back. This is not about zoom - it’s about how the lens sees the world. Knowing this means you can make a purchasing decision based on your subject matter, not based on whatever the camera store clerk recommends.
Eight focal lengths shown from same fixed camera position
Stand in one spot. Don’t move. Swap lenses from 16mm up to 200mm. That’s the experiment Jay runs, and the result is obvious once you see it: longer focal lengths compress the scene and bring your subject closer in the frame. Wider focal lengths expand the scene and push your subject back. This is not about zoom - it’s about how the lens sees the world. Knowing this means you can make a purchasing decision based on your subject matter, not based on whatever the camera store clerk recommends.
The key takeaway here is that focal length selection is a creative decision first and a gear decision second. Figure out what you shoot most - people at events, landscapes, street scenes, sports - before you think about brand or price.
Step 2: Start With a Three-Lens Framework (Even If You Can Only Buy One)
 Three zoom lenses laid out representing 16-35, 24-70, 70-200
Jay’s go-to setup when he upgraded his first body was a 16-35mm, a 24-70mm, and a 70-200mm. Together those three lenses cover essentially everything from wide environmental shots to tight portraits. Think of it as a map of your coverage - wide, standard, and telephoto. Most photographers will find that one of those three ranges handles 80 percent of what they actually shoot.
Three zoom lenses laid out representing 16-35, 24-70, 70-200
Jay’s go-to setup when he upgraded his first body was a 16-35mm, a 24-70mm, and a 70-200mm. Together those three lenses cover essentially everything from wide environmental shots to tight portraits. Think of it as a map of your coverage - wide, standard, and telephoto. Most photographers will find that one of those three ranges handles 80 percent of what they actually shoot.
If you can only buy one, that middle range - the 24-70mm - is where most people live. It’s flexible enough for portraits, group shots, and even some light environmental work. But if you shoot a lot of events, weddings, or sports, you’ll want to be honest with yourself: you probably need that telephoto range more urgently than the wide end.
Step 3: Decide Between Zoom and Prime Based on How You Actually Work
 Zoom lens versus prime lens held up for comparison
Zoom lenses let you change focal length without moving. Prime lenses lock you into one focal length, so if you want to change your framing, you have to physically move. Jay uses zooms almost exclusively because they let him work fast and keep momentum going during a shoot. That’s a real, practical reason - not laziness.
Zoom lens versus prime lens held up for comparison
Zoom lenses let you change focal length without moving. Prime lenses lock you into one focal length, so if you want to change your framing, you have to physically move. Jay uses zooms almost exclusively because they let him work fast and keep momentum going during a shoot. That’s a real, practical reason - not laziness.
The trade-off is optical quality and maximum aperture. Prime lenses, with no moving elements inside, tend to be sharper. More importantly, they can open up to apertures like f/1.2 or f/1.4, which means you’re pulling in four to six times more light than a zoom typically allows. If you shoot in low light or you want that buttery background separation, a fast prime is where it’s at. A 50mm f/1.8 from most major manufacturers costs under $200 and outperforms kit lenses in almost every meaningful way.
Step 4: Know What Macro Actually Means Before You Assume Any Lens Does It
 Macro 50mm lens capturing extreme close-up of subject’s eye
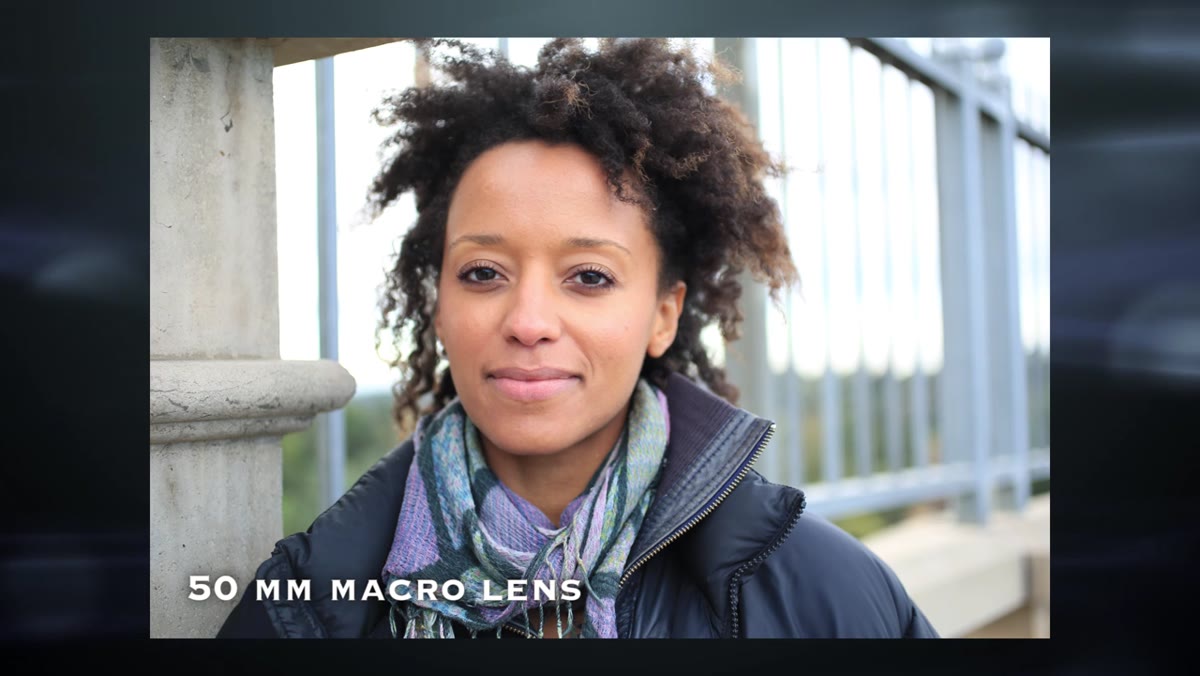
Jay demonstrates this with a 50mm macro lens, and it’s worth flagging clearly: not all 50mm lenses are macro lenses. A standard 50mm will give you a natural, eye-level perspective on your subject. A 50mm macro will let you focus from a few centimeters away and fill your frame with something as small as a human eye. They look identical on a spec sheet until you check the minimum focus distance and magnification ratio.
Macro 50mm lens capturing extreme close-up of subject’s eye
Jay demonstrates this with a 50mm macro lens, and it’s worth flagging clearly: not all 50mm lenses are macro lenses. A standard 50mm will give you a natural, eye-level perspective on your subject. A 50mm macro will let you focus from a few centimeters away and fill your frame with something as small as a human eye. They look identical on a spec sheet until you check the minimum focus distance and magnification ratio.
If close-up product photography, food, or nature detail shots are part of your work, a macro lens is a specialty purchase that’s worth planning for. If they’re not, don’t get sold on one just because it sounds versatile.
Step 5: Use Aperture Range to Set Your Priorities
 Demonstrating shallow depth of field with a fast prime lens
The aperture ceiling on zoom lenses tops out at around f/2.8 for most professional-grade options, and f/3.5 or f/4 for more affordable ones. Prime lenses can push past that significantly - down to f/1.0 in some cases. That gap matters in two specific scenarios: shooting in dim light without flash, and creating shallow depth of field for portrait-style bokeh.
Demonstrating shallow depth of field with a fast prime lens
The aperture ceiling on zoom lenses tops out at around f/2.8 for most professional-grade options, and f/3.5 or f/4 for more affordable ones. Prime lenses can push past that significantly - down to f/1.0 in some cases. That gap matters in two specific scenarios: shooting in dim light without flash, and creating shallow depth of field for portrait-style bokeh.
If you shoot events indoors, family portraits, or any scenario where you want the background to blur cleanly away from your subject, the math is simple. A prime lens at f/1.4 will deliver results that a zoom at f/2.8 cannot, regardless of how sharp the zoom is otherwise. This is where knowing your budget and your use case intersects most directly.
Step 6: Treat the 70-200mm as a Long-Term Target, Not an Afterthought
 70-200mm zoom lens highlighted as a key range for versatility
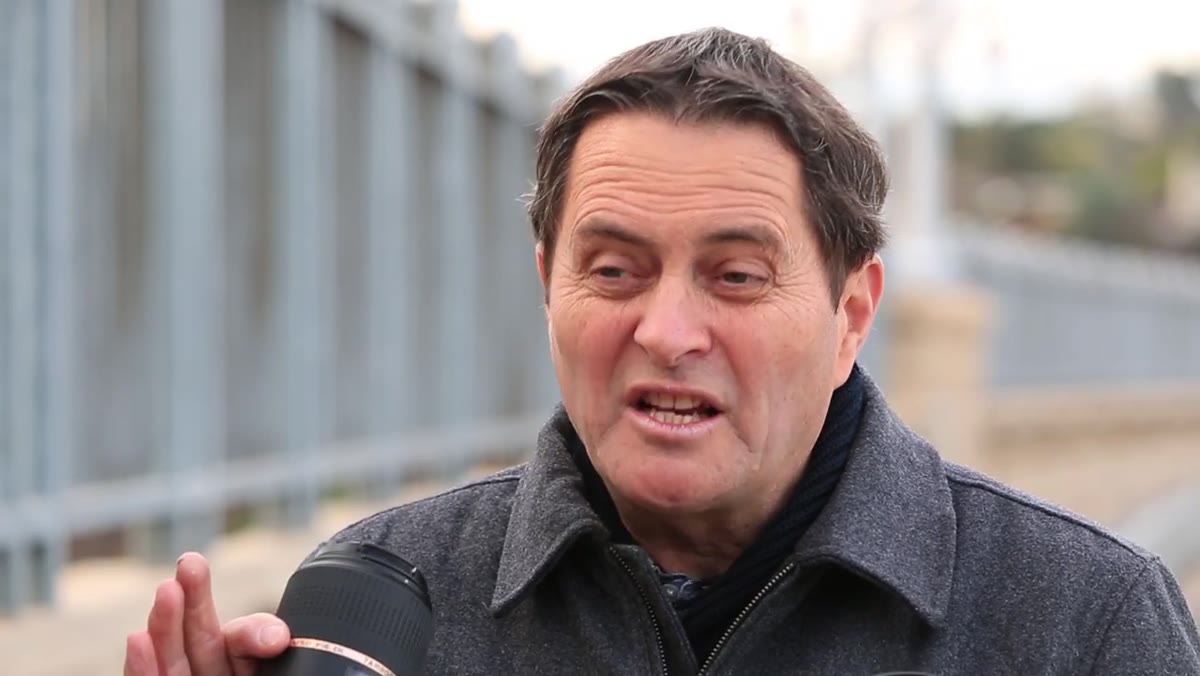
Jay flags the 70-200mm range as one he consistently comes back to, and having tested a handful of versions across different price points, I’d agree it’s the lens range that surprises beginners most. You pick it up expecting to use it at events or for sports, then you realize how flattering it is for portrait work. The compression at 135mm or 200mm does something to facial features that a 35mm simply cannot replicate.
70-200mm zoom lens highlighted as a key range for versatility
Jay flags the 70-200mm range as one he consistently comes back to, and having tested a handful of versions across different price points, I’d agree it’s the lens range that surprises beginners most. You pick it up expecting to use it at events or for sports, then you realize how flattering it is for portrait work. The compression at 135mm or 200mm does something to facial features that a 35mm simply cannot replicate.
The downside is size and cost. A quality 70-200mm f/2.8 is expensive and heavy. There are f/4 versions and third-party options that bring the price down substantially without gutting the optical performance. It’s worth checking current pricing before you assume it’s out of reach.
My Take: The Budget Reality Nobody Says Out Loud
I’ve tested a lot of lenses that don’t cost much, and I keep a running spreadsheet comparing sharpness, bokeh, build, and value across budget options. The honest truth is that the lens priority order Jay lays out - wide zoom, standard zoom, telephoto, then fast primes - is still correct even when you’re shopping used or buying third-party glass. The focal length logic doesn’t change based on your budget. A Sigma or Tamron 50mm f/1.8 does the same creative job as a Canon or Nikon version. Same focal length, same aperture, meaningfully lower cost.
Where I’d add a note of caution: don’t buy a wide-angle lens first just because it’s cheap. I see a lot of beginners grab a 10-20mm or similar because the price looks good. Unless you’re shooting architecture or landscapes specifically, you’ll use it far less than a standard zoom or a fast 50mm.
The single most important thing Jay demonstrates in this tutorial is that lens choice is really a question about what you shoot and how you work - not about what looks most impressive on paper. Watch the focal length comparison from the same fixed position and let that visual anchor your decision.
Watch the full tutorial on YouTube
Comments (1)
Wow, I had no idea you could do this. Mind blown.
Leave a Comment