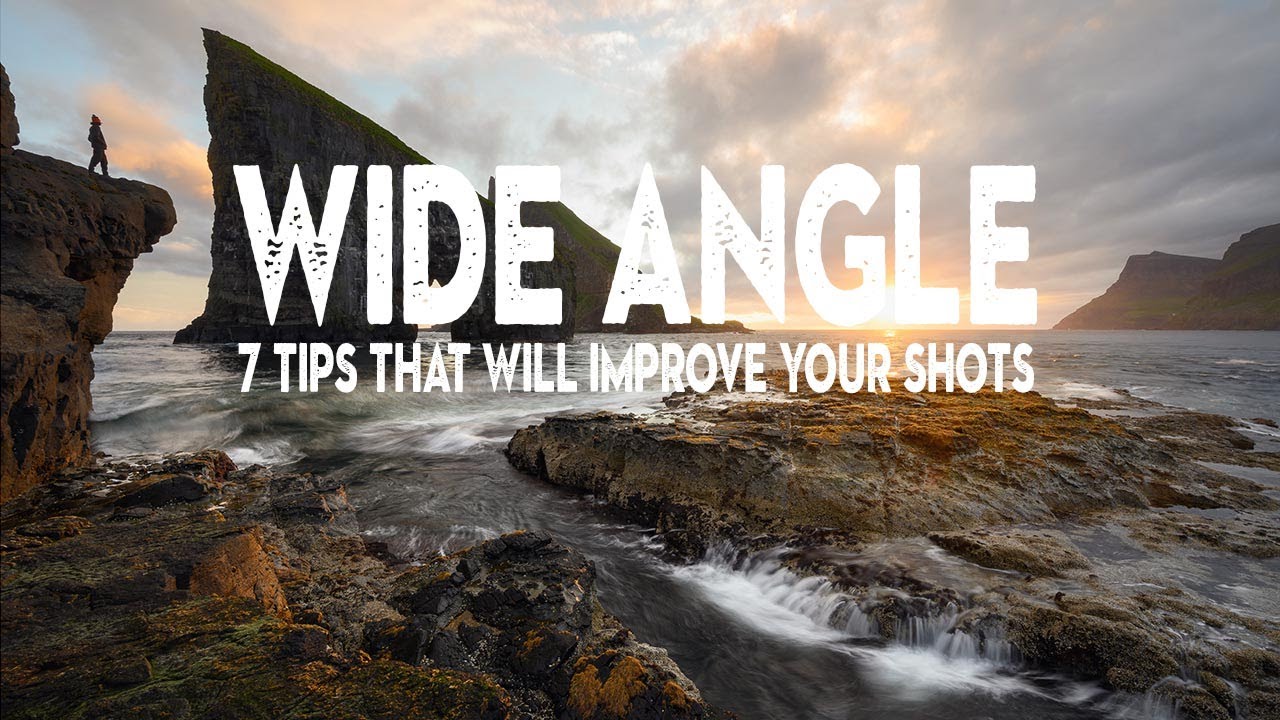
Wide angle lenses are one of those purchases that feel exciting in the cart and humbling in the field. I’ve tested more budget wide angles than I care to admit - there’s a whole tab in my gear spreadsheet dedicated to them - and the honest truth is that the lens itself is rarely the problem. Technique is. I’d hand someone a $200 wide angle and watch them produce flat, lifeless images, then hand the same lens to someone who understood how to use the field of view, and suddenly it looked like a completely different piece of glass.
That’s exactly what pulled me into this Nigel Danson tutorial on wide angle photography. Danson shoots big landscape vistas for a living and has been refining this approach for years. He’s also refreshingly honest about the fact that he wasn’t always good at it - he shows early Iceland shots from 2003 that are competent but flat, lacking any real depth or visual pull. That kind of before/after framing is useful because it shows the gap isn’t about gear, it’s about a set of learnable habits. Watch the full tutorial on YouTube if you want to see his actual images alongside these points. Here’s the breakdown.
Step 1: Treat Your Foreground Like the Subject
 Rock formation filling the bottom two-thirds of the frame
Most people point a wide angle at the horizon and wonder why the image looks empty. Danson’s first and most fundamental habit is to actively find something compelling in the foreground and let it dominate the lower portion of the frame. We’re talking two-thirds of the image dedicated to what’s right in front of you. This works because viewers naturally enter a photograph from the bottom and move upward and inward. If the foreground is boring or empty, the eye stalls and the photo loses its pull before it even gets to the interesting parts.
Rock formation filling the bottom two-thirds of the frame
Most people point a wide angle at the horizon and wonder why the image looks empty. Danson’s first and most fundamental habit is to actively find something compelling in the foreground and let it dominate the lower portion of the frame. We’re talking two-thirds of the image dedicated to what’s right in front of you. This works because viewers naturally enter a photograph from the bottom and move upward and inward. If the foreground is boring or empty, the eye stalls and the photo loses its pull before it even gets to the interesting parts.
Get physically close to your foreground element. We’re talking crouching down and nearly hovering over rocks, plants, or patterns in the ground. The wide angle’s inherent perspective distortion actually works in your favor here - it exaggerates the size of whatever is closest to the lens, making that foreground feel massive and the background feel expansive behind it.
Step 2: Build Visual Layers Into Every Shot
 Diagram showing foreground, mid-ground, and background zones
A wide angle captures so much information that without intentional structure, the image just becomes visual noise. Danson breaks the frame into three zones: foreground, mid-ground, and background. The goal is to have something meaningful happening in each. This isn’t a rigid rule, but it’s a useful checklist to run through before you press the shutter. Ask yourself: what’s anchoring the bottom of the frame, what’s connecting the viewer to the distance, and what’s the payoff at the back?
Diagram showing foreground, mid-ground, and background zones
A wide angle captures so much information that without intentional structure, the image just becomes visual noise. Danson breaks the frame into three zones: foreground, mid-ground, and background. The goal is to have something meaningful happening in each. This isn’t a rigid rule, but it’s a useful checklist to run through before you press the shutter. Ask yourself: what’s anchoring the bottom of the frame, what’s connecting the viewer to the distance, and what’s the payoff at the back?
The mid-ground is the zone people most often neglect. It’s the transitional space, and if it’s dead, the image feels like two separate photos stitched together. Look for leading lines, texture changes, or tonal shifts that carry the eye from your foreground into the distance.
Step 3: Tilt Down, Not Straight
 Camera angled downward toward foreground rocks
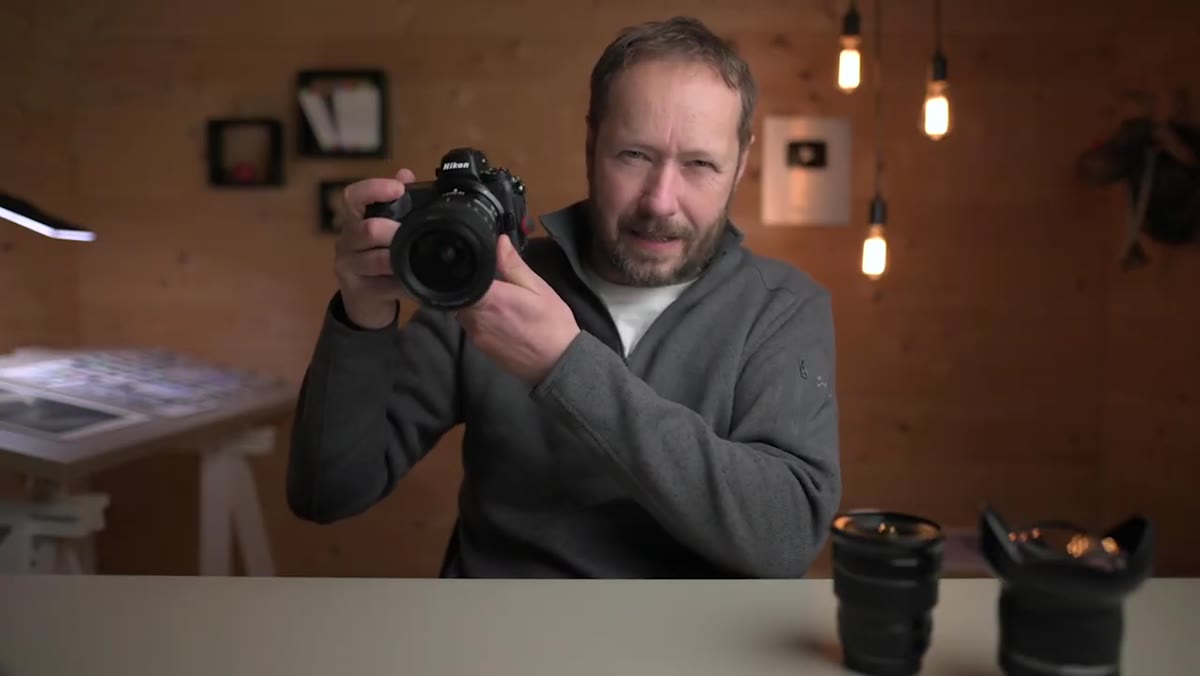
This is a small mechanical habit with a big visual payoff. Danson almost always tilts his lens slightly downward rather than shooting level. It increases how much foreground gets included in the shot and it emphasizes the sense of depth that a wide angle creates. Shooting perfectly level tends to put the horizon dead center, splitting the frame into sky and ground with neither one winning.
Camera angled downward toward foreground rocks
This is a small mechanical habit with a big visual payoff. Danson almost always tilts his lens slightly downward rather than shooting level. It increases how much foreground gets included in the shot and it emphasizes the sense of depth that a wide angle creates. Shooting perfectly level tends to put the horizon dead center, splitting the frame into sky and ground with neither one winning.
The exception is when the sky is genuinely dramatic - a storm rolling in, sunrise color worth prioritizing. In that case, tilt up and let the sky take the upper two-thirds. The principle is the same either way: deliberately assign the majority of your frame to whichever element is most interesting, and let everything else support it.
Step 4: Find Foreground With Shape and Direction
 Reeds creating directional lines into the frame
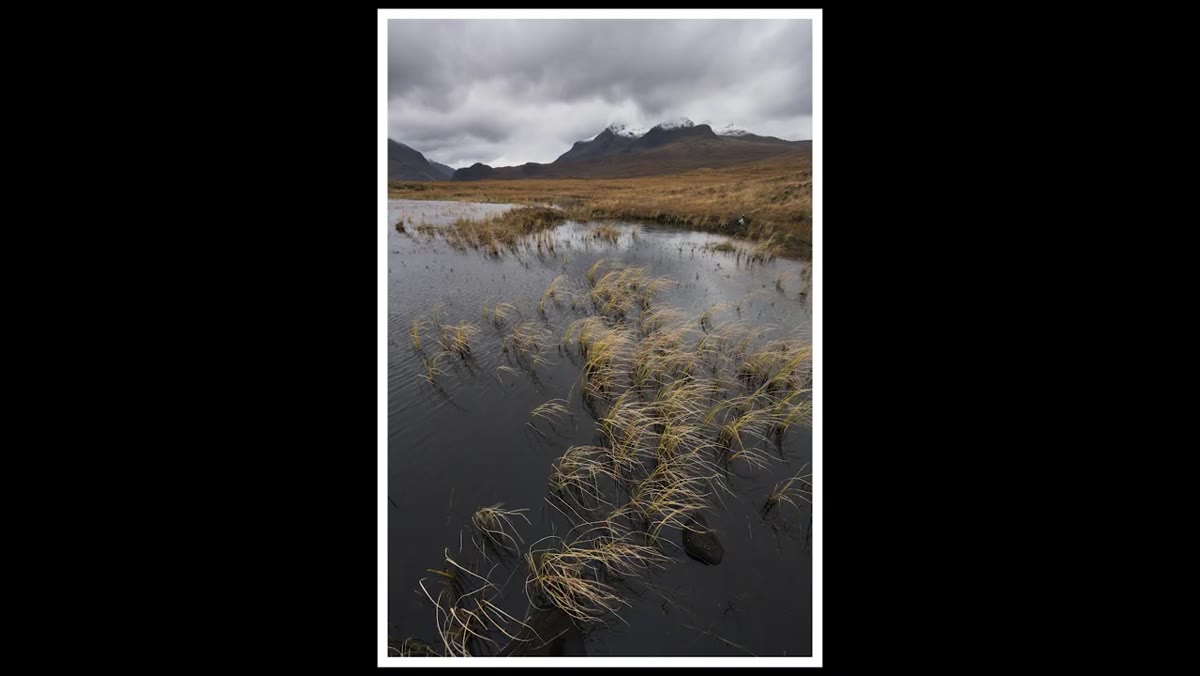
Not all foreground elements are created equal. Danson is specific about this: texture alone isn’t enough. You want foreground that has shape, direction, or a line that moves the viewer’s eye into the scene. Reeds, cracks in rock, converging lines in sand - anything that creates a sense of motion or direction gives the image energy. A flat patch of grass just sits there.
Reeds creating directional lines into the frame
Not all foreground elements are created equal. Danson is specific about this: texture alone isn’t enough. You want foreground that has shape, direction, or a line that moves the viewer’s eye into the scene. Reeds, cracks in rock, converging lines in sand - anything that creates a sense of motion or direction gives the image energy. A flat patch of grass just sits there.
When you’re scouting a location, try to identify one or two foreground elements that do actual visual work. This often means walking the scene before you set up your tripod, looking at what’s on the ground from different angles and heights. The composition often reveals itself once you find the right piece of foreground.
Step 5: Use the Wide Angle to Exaggerate Scale
 Zoom demonstration shifting from 140mm to 16mm
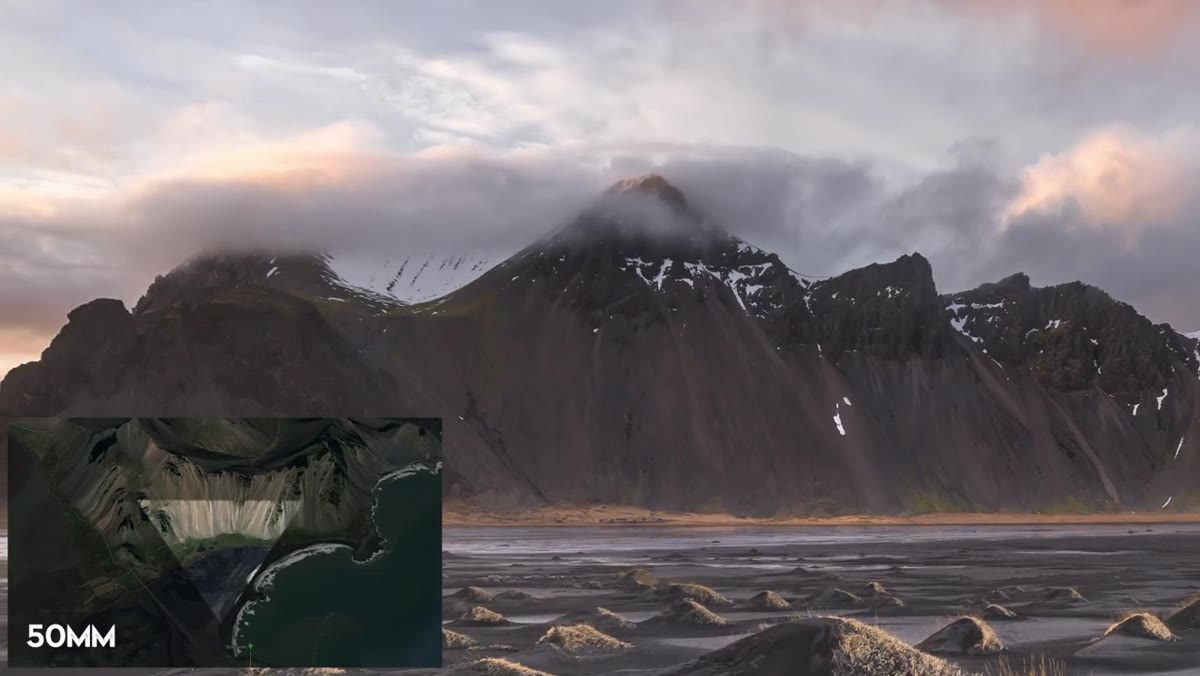
One of the most useful things Danson demonstrates is how dramatically different a scene looks as you zoom from 140mm all the way out to 16mm. At the longer focal length, you can isolate a subject and control distractions easily. As you go wider, more enters the frame and the relationships between objects shift. At 16mm, the field of view is enormous and the apparent distance between foreground and background stretches dramatically.
Zoom demonstration shifting from 140mm to 16mm
One of the most useful things Danson demonstrates is how dramatically different a scene looks as you zoom from 140mm all the way out to 16mm. At the longer focal length, you can isolate a subject and control distractions easily. As you go wider, more enters the frame and the relationships between objects shift. At 16mm, the field of view is enormous and the apparent distance between foreground and background stretches dramatically.
That stretch is the feature, not the bug. Use it deliberately to make near objects feel monumental and distant objects feel far away. This is especially useful when you have a small but interesting foreground element - a flower, a pebble pattern, a piece of ice - that you want to feel significant against a vast backdrop.
Step 6: Watch for Dead Space and Distracting Edges
 Wide frame showing empty corners and cluttered edges
Wider focal lengths are merciless about what they include. At 16mm, you’re capturing a huge swath of the scene, which means dead space in the corners or distracting elements along the edges become serious problems. Danson flags this directly: the challenge with wide angles isn’t getting enough in the shot, it’s managing everything the shot picks up that you didn’t intend to include.
Wide frame showing empty corners and cluttered edges
Wider focal lengths are merciless about what they include. At 16mm, you’re capturing a huge swath of the scene, which means dead space in the corners or distracting elements along the edges become serious problems. Danson flags this directly: the challenge with wide angles isn’t getting enough in the shot, it’s managing everything the shot picks up that you didn’t intend to include.
Before you shoot, scan the full frame edge to edge. Look for intrusions at the borders - a stray branch, a blown-out patch of sky in a corner, an unintended object. Adjust your position by even a few inches to clean those up. On a wide angle, a small physical shift can dramatically change what lands in the frame.
Step 7: Commit to One Clear Visual Story
 Comparison of flat Iceland shot versus layered composition
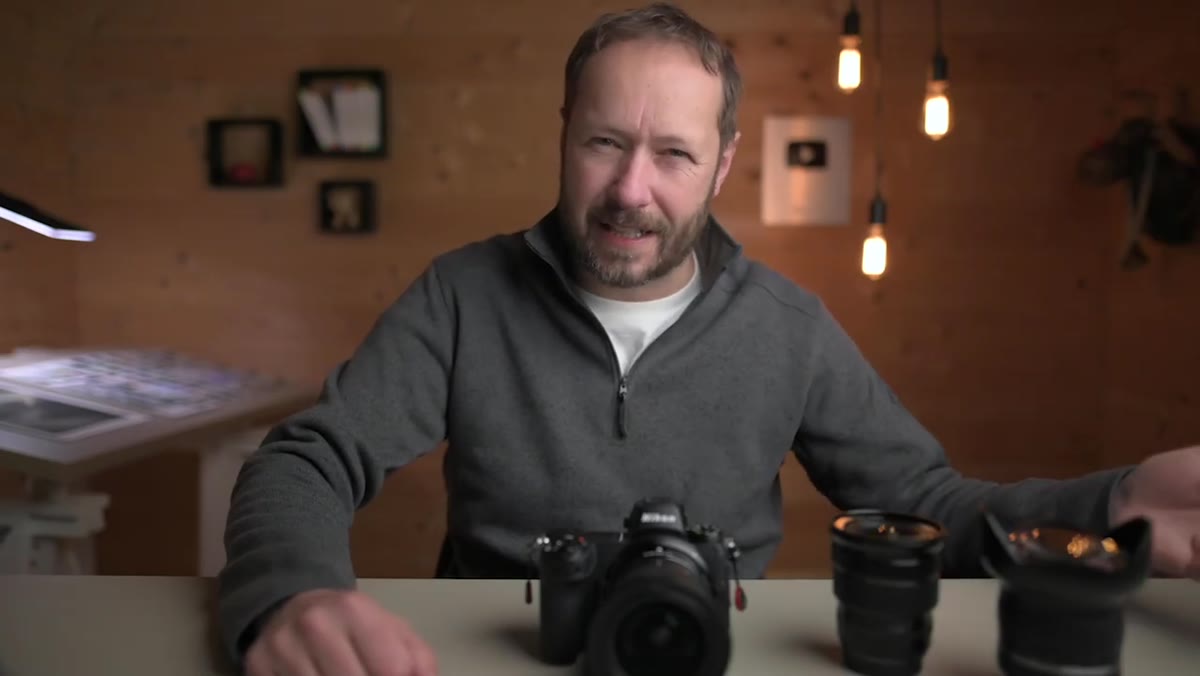
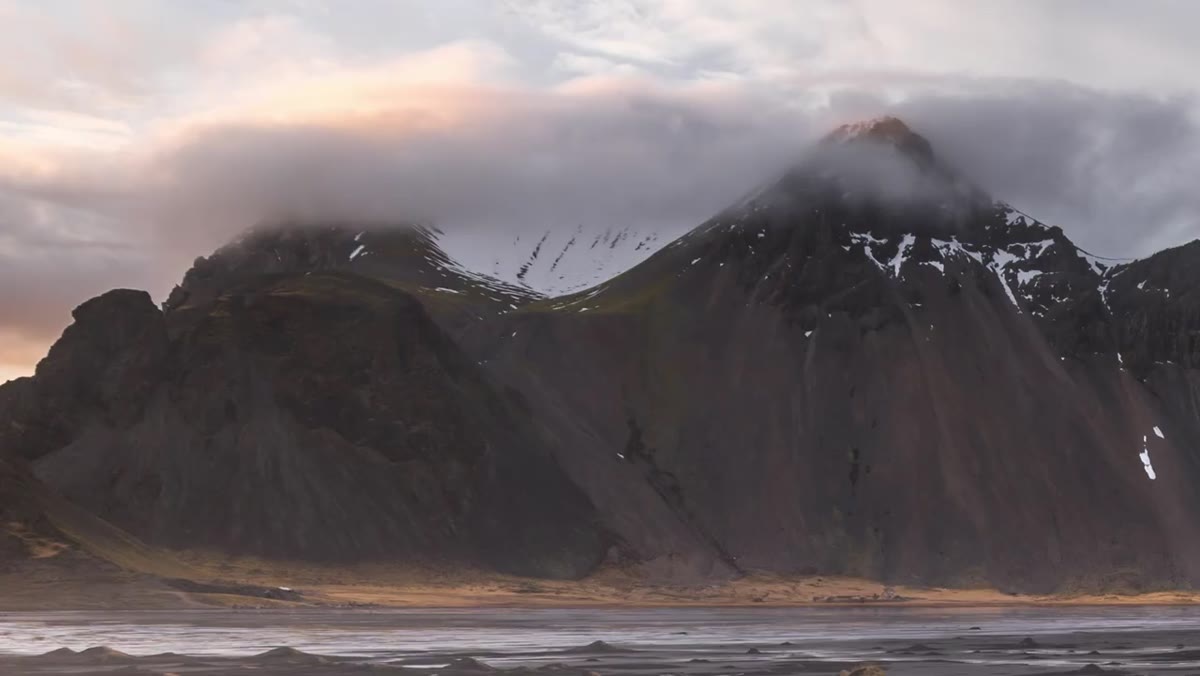
Danson’s early Iceland images aren’t bad photographs. They’re just ambiguous ones. They include a lot of information without declaring what any of it is for. His overarching point across all seven tips is that wide angle photography requires a stronger compositional commitment than telephoto work, not a weaker one. You have to decide what the image is about and then ruthlessly use every technique - foreground, layers, tilt, scale - to reinforce that one idea.
Comparison of flat Iceland shot versus layered composition
Danson’s early Iceland images aren’t bad photographs. They’re just ambiguous ones. They include a lot of information without declaring what any of it is for. His overarching point across all seven tips is that wide angle photography requires a stronger compositional commitment than telephoto work, not a weaker one. You have to decide what the image is about and then ruthlessly use every technique - foreground, layers, tilt, scale - to reinforce that one idea.
Before you shoot, name the subject. It doesn’t have to be a noun. It can be a mood, a relationship between elements, a texture. If you can’t name what the image is about, the viewer won’t be able to figure it out either.
One Thing I’d Add From My Own Testing
Danson works with premium Nikon and Fuji systems, and his wide angle primes are serious pieces of glass. But I’ve run the same compositional techniques on $150 third-party lenses and the results hold. Foreground interest, layering, deliberate tilt - none of that costs anything. What I’ve found with budget wide angles is that edge sharpness and distortion control are where you feel the quality gap, not in the center of the frame where most of your foreground subject lives. If you’re working with a budget option, compose to keep your critical subject away from the extreme corners and these techniques will work just as well.
The single most transferable idea in this whole tutorial is also the simplest: your foreground has to do work. If it isn’t earning its place in the frame, move until you find something that does. Everything else - the layers, the tilt, the scale - flows from that. Watch the full tutorial on YouTube to see Danson demonstrate these techniques on his actual landscape images. His before/after examples alone are worth ten minutes of your time.
Comments (4)
I keep coming back to this article. It's that useful.
I've been looking for exactly this kind of tutorial. Perfect timing.
Never thought of approaching it this way. Really creative.
This is fantastic. I've been recommending this approach to my readers too.
Leave a Comment