I’ve tested a lot of lenses on a tight budget. My spreadsheet has entries for focal lengths most people have never heard of, and I’ve run side-by-side comparisons on lenses that cost $89 versus $890. But one question keeps showing up in my inbox more than any other: “Do I need to go wider than 24mm?” It sounds simple. It’s not. Spend enough time in the field and you realize that buying an ultra wide angle lens without understanding how to use it is one of the fastest ways to end up with disappointing, distorted images you’ll never post.
That’s why I spent time with this Nigel Danson tutorial on ultra wide angle lenses for landscape photography. Watch the full tutorial on YouTube. Danson is a landscape photographer who actually shoots with this gear rather than just reviewing spec sheets, and his breakdown of when and why to go below 24mm is one of the clearest I’ve found. What follows is my walkthrough of the key decision points he covers, reframed for anyone trying to figure out if a 16-35mm or 14-24mm deserves a spot in their bag.
Step 1: Understand What Question You’re Actually Asking
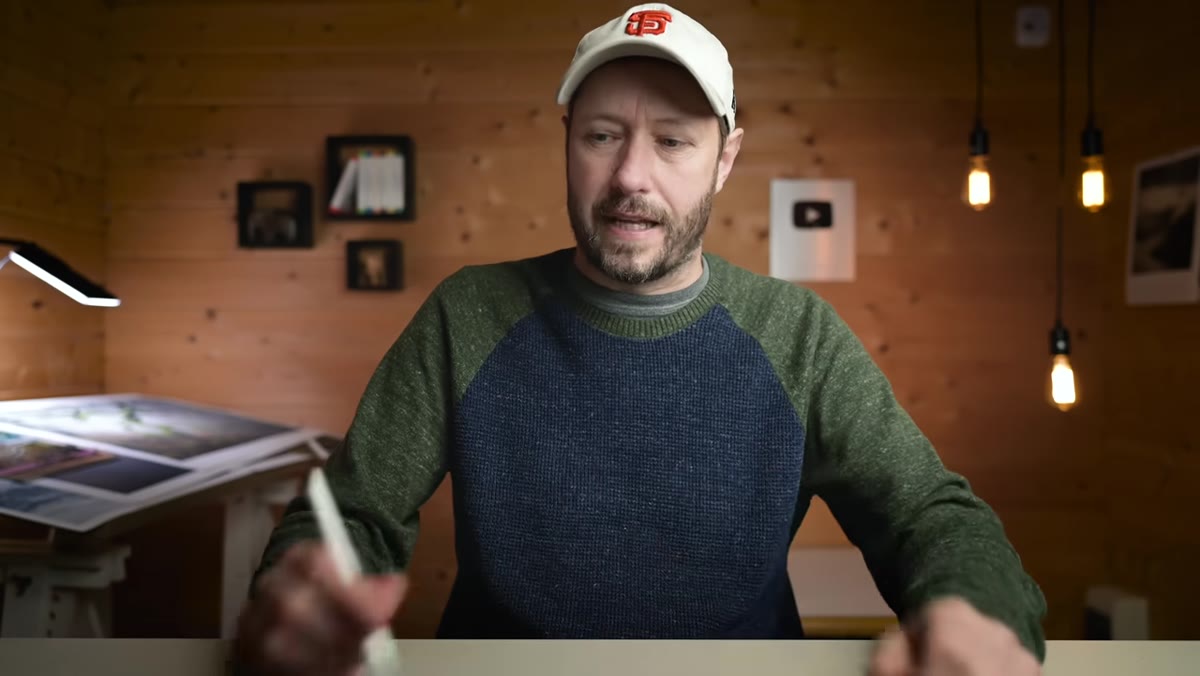
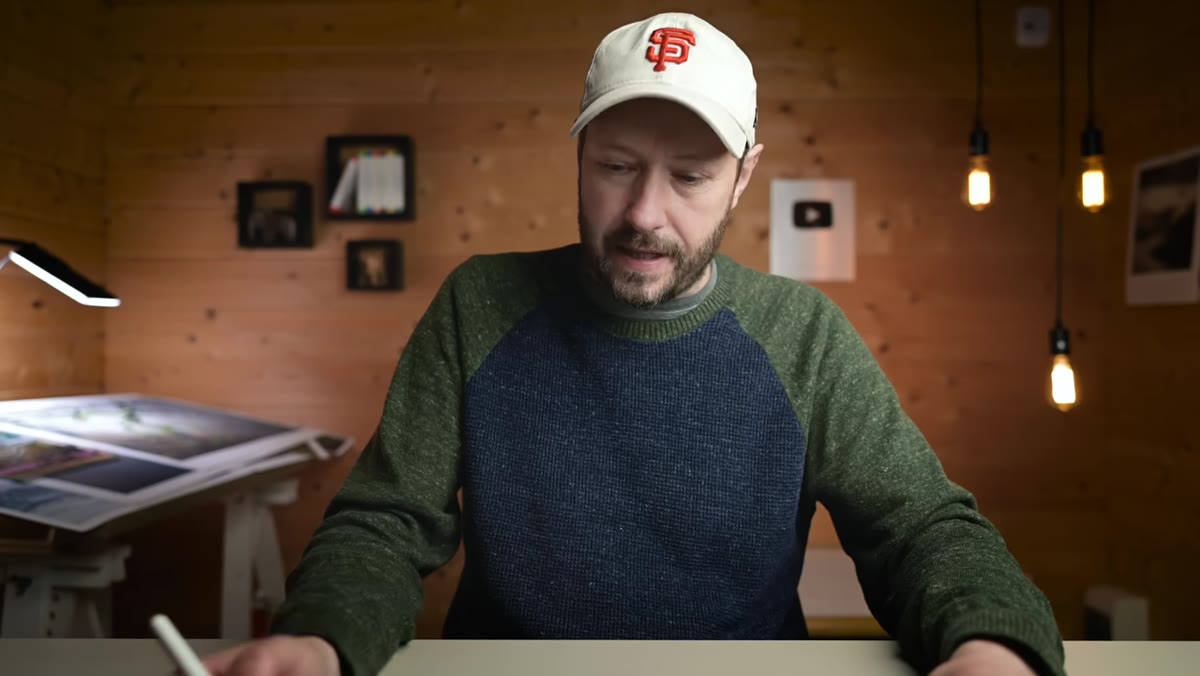
 Nigel explaining when to go below 24mm focal length
The question isn’t “wide angle vs. not wide angle.” Most photographers already own something in the 24-70mm range. The real question is whether you need to go below 24mm, and that depends entirely on the kind of images you want to make. Danson frames it this way: if you’re shooting landscapes where dramatic foreground detail is central to the composition, a 24mm floor is a ceiling, not a floor. You’re leaving creative territory on the table.
Nigel explaining when to go below 24mm focal length
The question isn’t “wide angle vs. not wide angle.” Most photographers already own something in the 24-70mm range. The real question is whether you need to go below 24mm, and that depends entirely on the kind of images you want to make. Danson frames it this way: if you’re shooting landscapes where dramatic foreground detail is central to the composition, a 24mm floor is a ceiling, not a floor. You’re leaving creative territory on the table.
If your shooting style focuses on compressed, distant scenes or telephoto-style landscapes, then no, you probably don’t need to drop $1,000+ on a 14-24mm. But if foreground storytelling is something you want to develop, this is the category of lens that makes it possible in ways a standard zoom simply can’t match.
Step 2: Know the Depth of Field Advantage at Wide Focal Lengths
 Graphic showing depth of field comparison at 24mm vs 40mm at f11
Here’s something that surprised me when I first dug into the physics of it: shorter focal lengths give you more depth of field at the same aperture. Danson illustrates this with a simple graphic. At 24mm focused to infinity and shot at f11, everything from about 1.3 meters to infinity is sharp. Drop to around 40mm and that near-focus point moves closer to 50 centimeters. Go down to 14mm and you’ve got even more working room.
Graphic showing depth of field comparison at 24mm vs 40mm at f11
Here’s something that surprised me when I first dug into the physics of it: shorter focal lengths give you more depth of field at the same aperture. Danson illustrates this with a simple graphic. At 24mm focused to infinity and shot at f11, everything from about 1.3 meters to infinity is sharp. Drop to around 40mm and that near-focus point moves closer to 50 centimeters. Go down to 14mm and you’ve got even more working room.
This matters practically because it means you can get both a close foreground element AND a distant background in focus without focus stacking, without stopping way down, and without a tripod-mandatory situation. For landscape shooters who like to work fast, that’s a real operational advantage, not just a spec-sheet number.
Step 3: Learn Why Crop Sensor Cameras Actually Benefit Here
 Nigel discussing APS-C crop sensors and equivalent focal lengths
Danson makes a point that I don’t hear often enough in lens buying conversations: APS-C cameras can be a legitimate advantage for landscape photography, specifically because of how depth of field works at the equivalent focal lengths. To get a 14mm field of view on a crop sensor camera, you’re shooting at around 9mm. That 9mm lens gives you even greater depth of field than a full-frame shooter using a 14mm lens, which means more of the scene is naturally in focus from front to back.
Nigel discussing APS-C crop sensors and equivalent focal lengths
Danson makes a point that I don’t hear often enough in lens buying conversations: APS-C cameras can be a legitimate advantage for landscape photography, specifically because of how depth of field works at the equivalent focal lengths. To get a 14mm field of view on a crop sensor camera, you’re shooting at around 9mm. That 9mm lens gives you even greater depth of field than a full-frame shooter using a 14mm lens, which means more of the scene is naturally in focus from front to back.
If you’re on a crop sensor body and looking at wide angle options, this is worth factoring into your buying decision. A quality 10mm or 11mm prime on an APS-C camera can outperform a full-frame 14-24mm zoom in depth of field performance while costing significantly less. I’ve tested a few of these budget options and the results hold up more than most people expect.
Step 4: Tilt the Camera Down to Activate the Foreground
 Nigel tilting camera down toward rocky foreground at 16mm
This is where the technique gets concrete. Danson demonstrates with actual shots: to make a foreground element dominant and dramatic in an ultra wide composition, you have to physically tilt the camera downward. It sounds obvious, but most beginners keep the camera level and wonder why the wide angle isn’t doing anything interesting. The wide angle doesn’t create foreground impact on its own. Your camera angle does.
Nigel tilting camera down toward rocky foreground at 16mm
This is where the technique gets concrete. Danson demonstrates with actual shots: to make a foreground element dominant and dramatic in an ultra wide composition, you have to physically tilt the camera downward. It sounds obvious, but most beginners keep the camera level and wonder why the wide angle isn’t doing anything interesting. The wide angle doesn’t create foreground impact on its own. Your camera angle does.
When you tilt down toward a strong foreground subject, whether that’s rocks, flowers, ice, or tide pools, the ultra wide focal length does something a 50mm or even a 24mm can’t: it exaggerates the sense of depth between that foreground and the background. The foreground looks massive. The background still fits in the frame. That tension is the whole point of shooting ultra wide for landscapes.
Step 5: Build Composition Around Strong Lines
 Shot from Skye showing diagonal lines leading through the frame
Danson shares a shot from the Isle of Skye where the composition works because of intentional line structure, not just subject matter. He points to a strong diagonal running through the frame combined with secondary lines that give the image direction. This is especially important at ultra wide focal lengths because the lens will include a lot of scene. Without deliberate line work, wide angle shots feel chaotic and busy.
Shot from Skye showing diagonal lines leading through the frame
Danson shares a shot from the Isle of Skye where the composition works because of intentional line structure, not just subject matter. He points to a strong diagonal running through the frame combined with secondary lines that give the image direction. This is especially important at ultra wide focal lengths because the lens will include a lot of scene. Without deliberate line work, wide angle shots feel chaotic and busy.
Before you fire the shutter at 14mm or 16mm, identify your primary line. Is it leading toward the horizon? Diagonally toward a peak? Sweeping around a bend? Once you know the line, position your camera so that line is the backbone of the image. The ultra wide will stretch and emphasize it. That’s the tool doing its job.
What I’d Add From Testing Budget Ultra Wide Lenses
Danson shoots with Nikon’s 14-24mm and 14-30mm options, which are excellent but not cheap. I’ve spent a fair amount of time with the Samyang and Rokinon 14mm f2.8 primes, which hover around $300 new and less than $200 used, and the Tokina 11-20mm f2.8 for crop sensors. None of them match the corner sharpness of Nikon’s top glass, but for the depth-of-field and foreground-compression benefits Danson is describing, they get the job done at a fraction of the price.
The technique works regardless of which glass you use. Tilting down, finding strong lines, using the depth of field advantage - these are decisions made by the photographer, not the lens. If you’re on the fence about spending big on an ultra wide, rent one first, practice the technique, and then decide. The skill has to come before the lens investment makes sense.
The single most important takeaway from this tutorial is that ultra wide angle lenses don’t automatically make better landscape photos. They reward photographers who understand how to position the camera, identify foreground anchors, and build compositions around deliberate lines. Get that part right and even a budget wide angle lens will produce images that stop people mid-scroll.
Watch the full tutorial on YouTube to see Danson’s actual shots and hear him walk through the decision-making process in the field.
Comments
Leave a Comment