
Most of us chase sharpness. We pixel-peep, we chimp, we stop down to f/8 and call it safe. But there’s a whole category of creative focus control that doesn’t get enough attention outside of architecture and product photography circles, and that’s the tilt-shift lens. I spent years assuming it was a specialty tool for correcting buildings and nothing else. A recent tutorial from The Slanted Lens changed that for me, and I want to break it down in a way that actually sticks.
In this Watch the full tutorial on YouTube tutorial, Jay P. Morgan shoots inside a vintage C-47 with the 82nd Airborne, using smoke, strobes, and a tilt-shift lens to create dramatic portraits with selective focus. The setup is cinematic, but the principles he walks through apply just as well to portraits in a cramped studio or a tight wedding venue. This isn’t about the expensive production. It’s about understanding what a tilt-shift lens actually does to your focal plane, and how to use that deliberately.
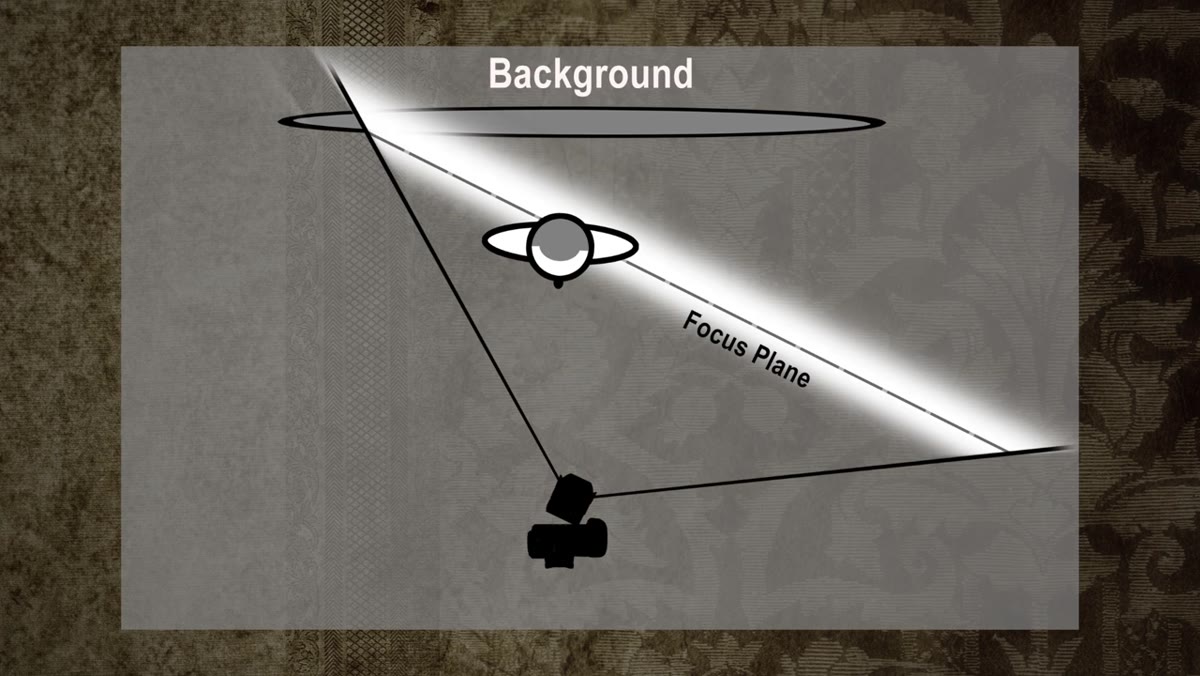
The key insight from the tutorial is that tilt-shift lenses let you rotate the plane of focus instead of just moving it closer or farther. That’s a completely different tool than aperture. Aperture controls depth of field. Tilt controls the angle of the sharp zone. Once you understand that, a lot of creative doors open up.
Step 1: Understand the Lens Choice Before You Rent or Buy
 Host holding 45mm tilt-shift lens, explaining focal length
The tutorial opens with a practical lens comparison, and it’s worth slowing down here before you even pick up a camera. The host shoots with a 45mm f/2.8 tilt-shift. His reasoning is solid. At 45mm, you’re close to a normal focal length on full frame, which means portraits don’t distort, and you can work in tighter spaces without backing into a wall. The tilt effect is visible and creative without being cartoonish.
Host holding 45mm tilt-shift lens, explaining focal length
The tutorial opens with a practical lens comparison, and it’s worth slowing down here before you even pick up a camera. The host shoots with a 45mm f/2.8 tilt-shift. His reasoning is solid. At 45mm, you’re close to a normal focal length on full frame, which means portraits don’t distort, and you can work in tighter spaces without backing into a wall. The tilt effect is visible and creative without being cartoonish.
Wider options like 24mm and 17mm exist, but the effect gets harder to see as you go wider, because the depth of field is naturally greater at wide angles. On the long end, a 90mm tilt-shift produces a very dramatic, almost toy-world look. That’s great for some projects and completely wrong for others. If you’re renting before committing, the 45mm is the most versatile starting point for people-focused work.
Step 2: Start Neutral, Then Introduce the Tilt
 Camera pointed straight at subject, no tilt applied
Before you touch the tilt mechanism, take a shot straight-on with the lens centered. This is your baseline. When the lens is not tilted at all and you’re pointed directly at your subject, the background falls out of focus evenly on both sides. It looks like any other portrait lens at a similar aperture. Nothing unusual is happening yet.
Camera pointed straight at subject, no tilt applied
Before you touch the tilt mechanism, take a shot straight-on with the lens centered. This is your baseline. When the lens is not tilted at all and you’re pointed directly at your subject, the background falls out of focus evenly on both sides. It looks like any other portrait lens at a similar aperture. Nothing unusual is happening yet.
This baseline shot matters because it gives you a reference point. When you start tilting, you’ll be able to see the difference immediately. Skipping this step means you might not notice the effect is working, or working too much.
Step 3: Swing Left or Right to Shift the Focus Plane Horizontally
 Lens swung right, subject and left background in focus
Here’s where it gets interesting. When you swing the lens to the right (rotating it horizontally on its axis), the plane of sharp focus rotates with it. The subject stays in focus as long as you refocus on them after each adjustment, but now the left side of the background behind them comes into focus, and the right side of the foreground falls off. Swing left, and the effect flips.
Lens swung right, subject and left background in focus
Here’s where it gets interesting. When you swing the lens to the right (rotating it horizontally on its axis), the plane of sharp focus rotates with it. The subject stays in focus as long as you refocus on them after each adjustment, but now the left side of the background behind them comes into focus, and the right side of the foreground falls off. Swing left, and the effect flips.
The practical use case in the tutorial is a row of soldiers inside the aircraft. By tilting the lens, the photographer can keep a person in the foreground AND someone further back both in focus along a diagonal plane, at apertures where that normally wouldn’t be possible. Or he can do the opposite: isolate just one face and let everything behind them turn into a blur, even at a stopped-down aperture. Refocus on your subject after every swing adjustment. That’s the critical step most people miss the first time.
Step 4: Rotate the Lens 90 Degrees to Switch to Vertical Tilt
 Rotating lens 90 degrees on its mount
Most tilt-shift lenses let you rotate the lens barrel itself 90 degrees on its mount. This changes the axis of your tilt from horizontal to vertical. Now instead of swinging left and right, you’re tilting up and down, which shifts the focus plane vertically.
Rotating lens 90 degrees on its mount
Most tilt-shift lenses let you rotate the lens barrel itself 90 degrees on its mount. This changes the axis of your tilt from horizontal to vertical. Now instead of swinging left and right, you’re tilting up and down, which shifts the focus plane vertically.
This is the portrait mode for the effect. With the lens rotated, tilting up causes the area above your subject’s head to go soft while the ground below them stays sharp. Tilting down does the reverse. For environmental portraits where you want a subject sharp but a dramatic, soft sky, this is a compelling option that you can’t replicate with aperture alone.
Step 5: Refocus After Every Adjustment, Every Time
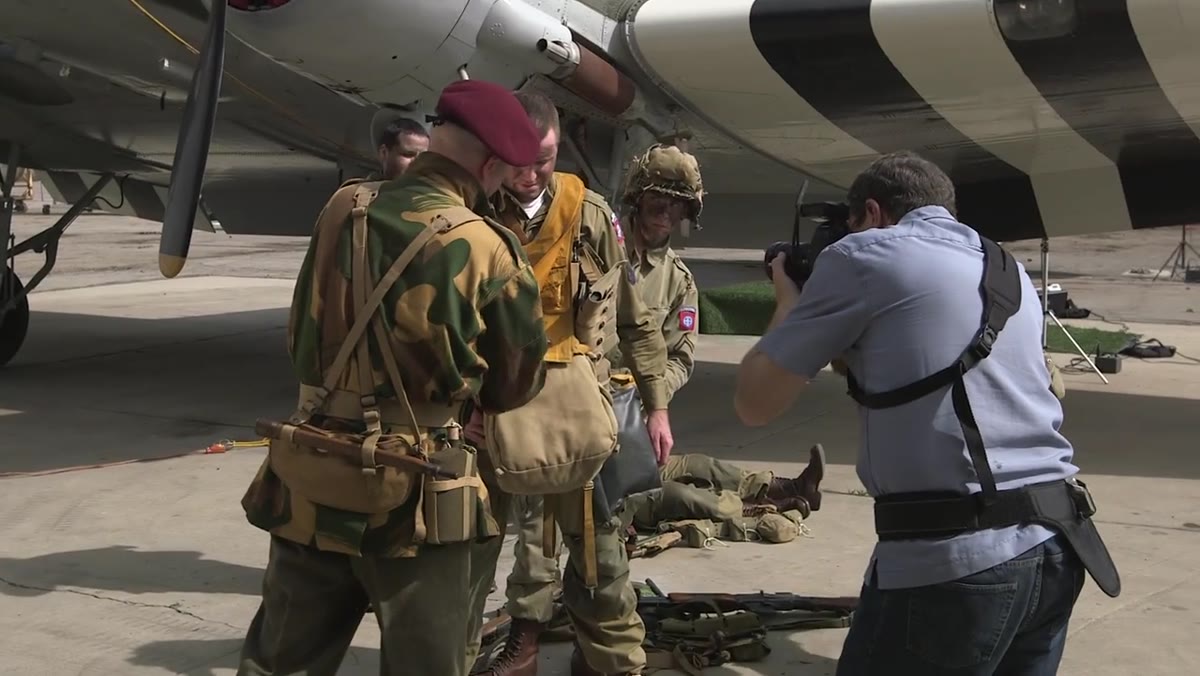 Photographer refocusing on subject after tilting lens
This sounds obvious, but it’s the step that trips people up when they first get their hands on a tilt-shift lens. Every time you change the tilt angle, you need to refocus manually on your subject. The lens doesn’t track focus while you’re moving it. If you swing right and don’t refocus, your subject will drift out of the sharp zone and you’ll wonder why the effect isn’t working.
Photographer refocusing on subject after tilting lens
This sounds obvious, but it’s the step that trips people up when they first get their hands on a tilt-shift lens. Every time you change the tilt angle, you need to refocus manually on your subject. The lens doesn’t track focus while you’re moving it. If you swing right and don’t refocus, your subject will drift out of the sharp zone and you’ll wonder why the effect isn’t working.
Tilt-shift lenses are fully manual focus. There’s no autofocus assist, no electronic feedback. Take your time, use live view with magnification if your camera supports it, and develop the habit of treating every tilt adjustment as a new focusing opportunity.
Step 6: Match Your Exposure to Both Your Strobes and Available Light
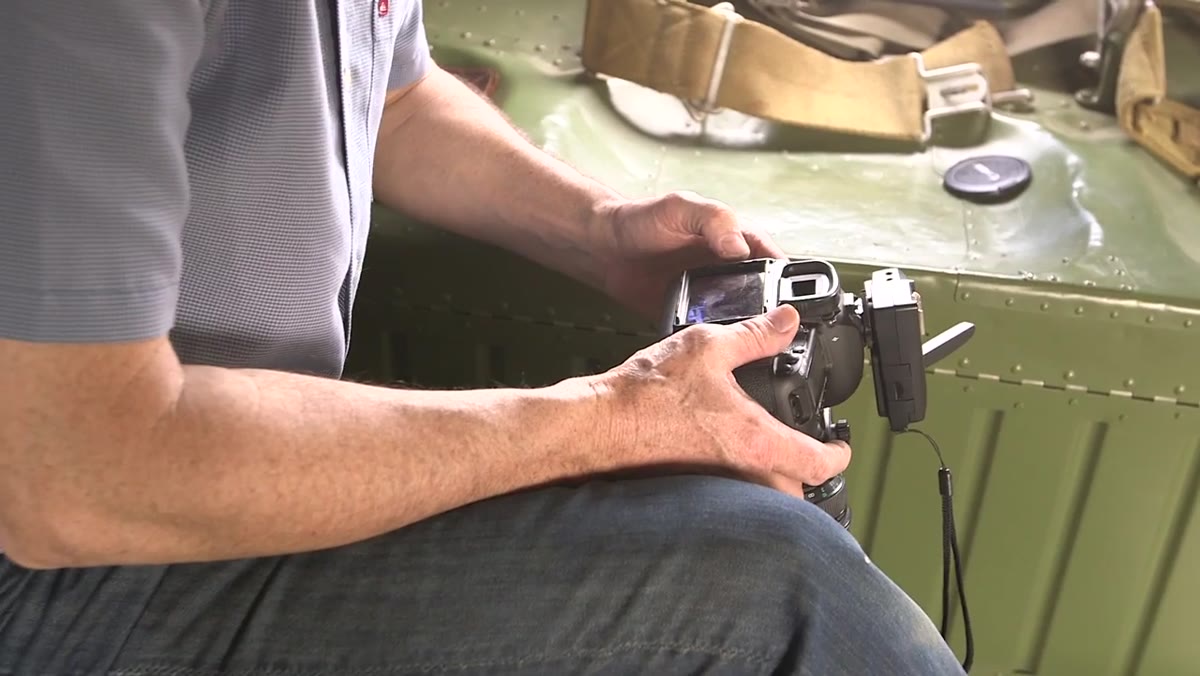 Camera settings displayed: 1/500s, f/5.0, ISO 160
This step comes from the specific shoot setup in the tutorial, but the logic applies broadly. The tutorial uses a tungsten white balance setting while shooting in sunlight. This makes the sunlight streaming through the aircraft door go blue, adding a cool atmospheric tone without gels on the windows. The strobes inside the plane are then balanced to match the tungsten setting, so they render neutral and the subjects look correctly lit.
Camera settings displayed: 1/500s, f/5.0, ISO 160
This step comes from the specific shoot setup in the tutorial, but the logic applies broadly. The tutorial uses a tungsten white balance setting while shooting in sunlight. This makes the sunlight streaming through the aircraft door go blue, adding a cool atmospheric tone without gels on the windows. The strobes inside the plane are then balanced to match the tungsten setting, so they render neutral and the subjects look correctly lit.
The exposure settings are 1/500s, f/5.0, ISO 160. That combination lets the strobes do the heavy lifting inside while the sunlight stays visible but controlled at the door. If you’re using a tilt-shift lens in a mixed-light environment, this kind of deliberate white balance choice can save a lot of time in post and add mood that feels intentional rather than accidental.
What I’d Add: Budget Alternatives Are Worth Exploring
I haven’t tested every tilt-shift lens on the market, but I have a spreadsheet. Canon and Nikon’s native tilt-shift lenses are expensive, typically $1,300 to $2,200 new. For someone who wants to experiment before committing that kind of money, there are third-party manual options from brands like Laowa and Samyang that come in significantly cheaper and cover mirrorless mounts. The rendering is different, the build quality is lighter, but the optical principle is identical. If you’re curious about whether tilt-shift fits your work, start there.
The single most important thing I took from this tutorial is that tilt isn’t a gimmick. It’s a different tool for controlling focus that aperture can’t replicate. Once you understand that the sharp plane can be rotated, not just moved closer or farther, you start seeing uses for it in every kind of people photography. Watch the full tutorial on YouTube to see how it plays out across a full production shoot with real lighting setups.
Comments
Leave a Comment