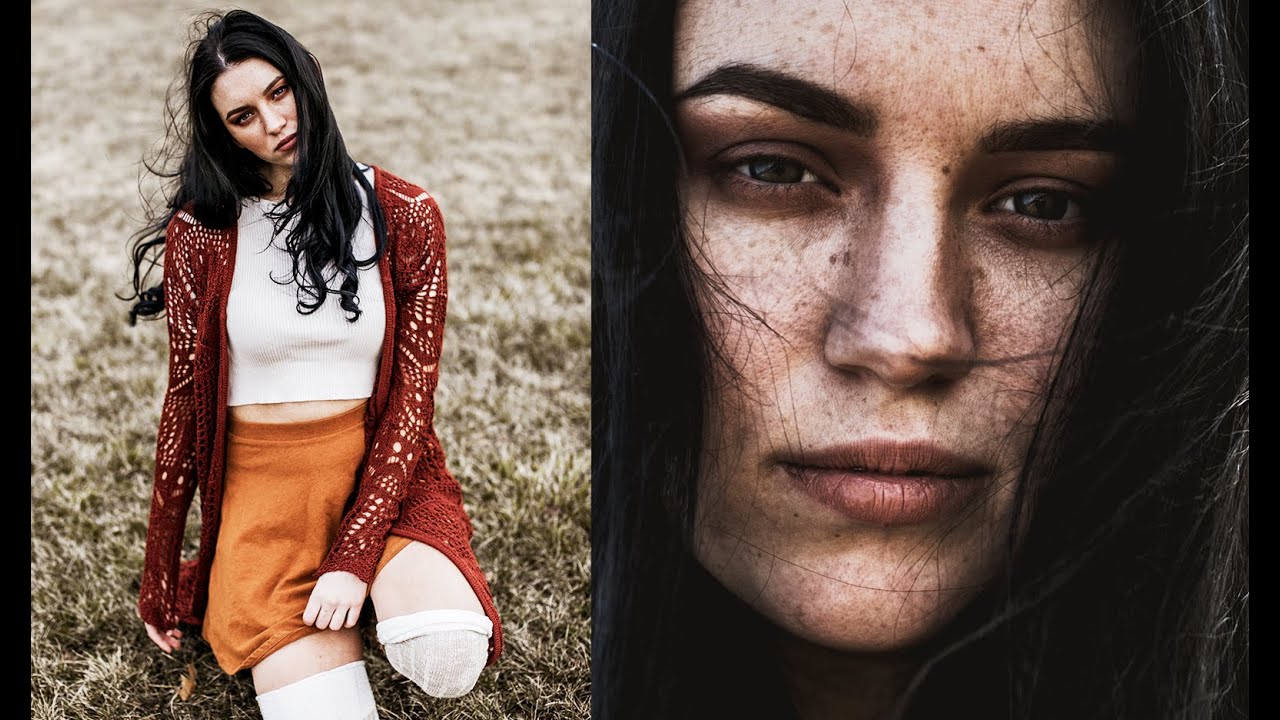
There’s a specific kind of shoot that trips up a lot of photographers who are otherwise technically solid: outdoor portraits, midday sun, someone you’ve never worked with before. No studio lights to hide behind, no creative director feeding direction, just you, your glass, and a person who’s quietly wondering if you know what you’re doing. I’ve been there more times than I’d like to admit, and for a long time my solution was to over-plan and under-deliver.
In this Jessica Kobeissi tutorial on natural light portraits with a 50mm f/1.2 lens, she strips the whole thing back down to what actually matters. Watch the full tutorial on YouTube The shoot happens in an open field with a model she’d literally just met. No elaborate setup, no reflectors, no assistants. Just a Canon 5D Mark III, a 50mm prime, and a working approach you can adapt to almost any fast portrait job. Here’s how she does it, step by step.
Step 1: Read the Light Before You Touch the Camera
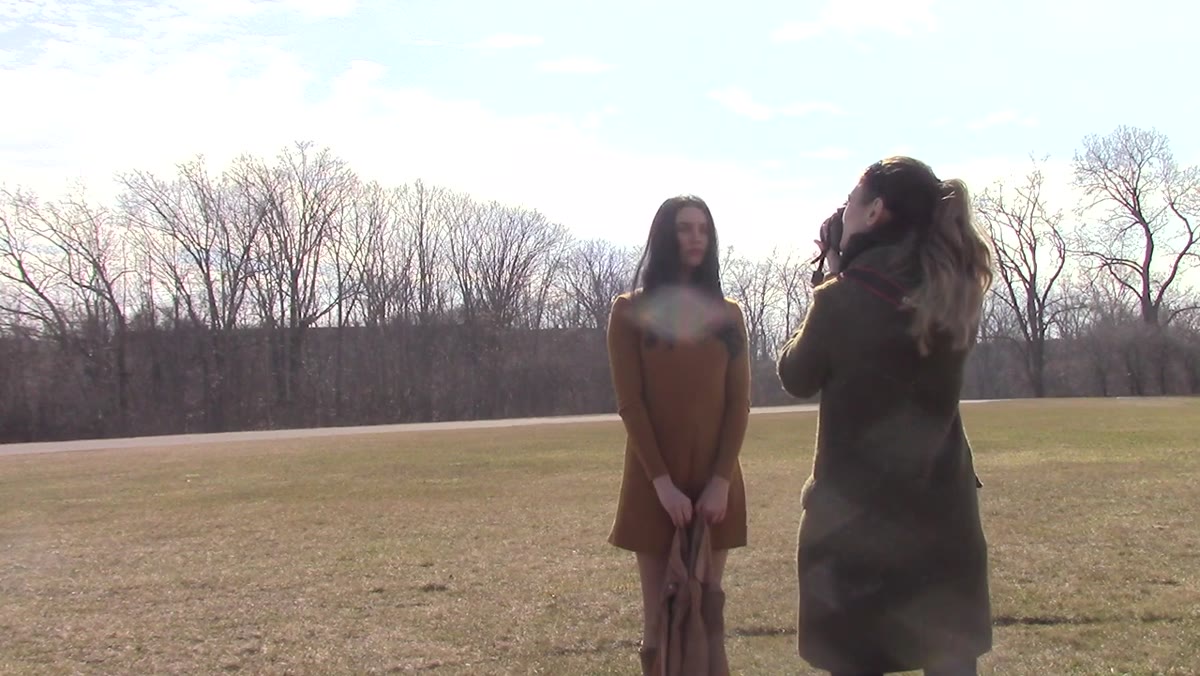
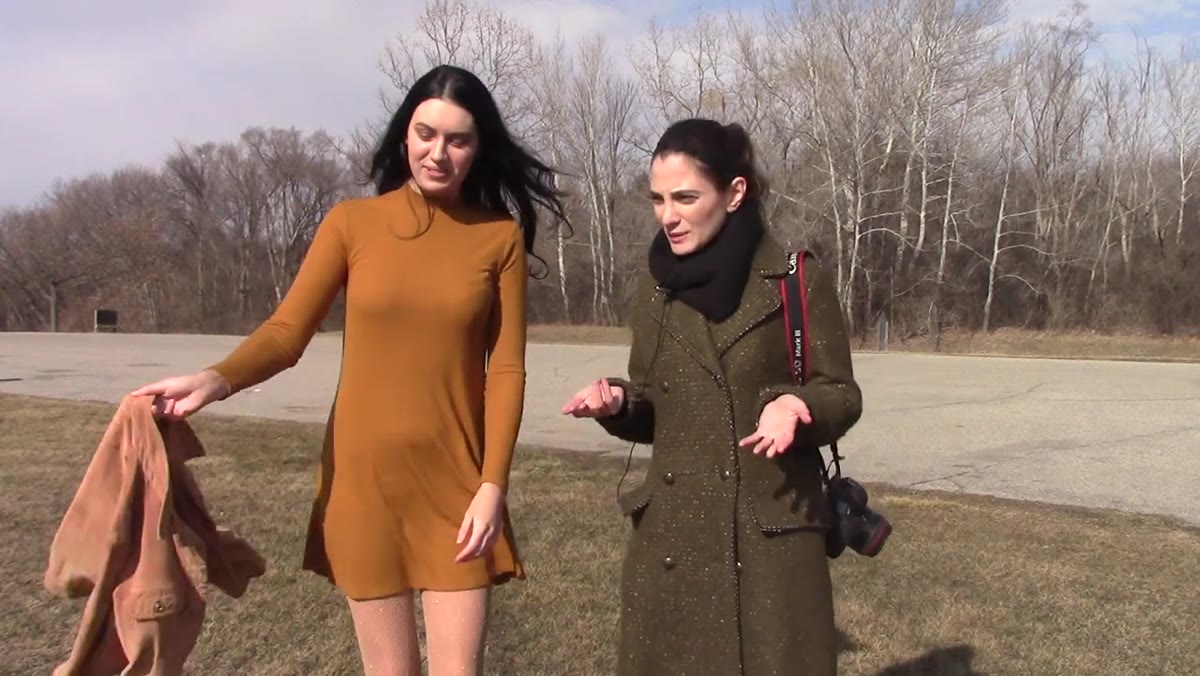 Photographer and model standing in open field, sun visible
Jessica spends the first moments of the shoot figuring out where the sun is sitting, not firing off test shots and hoping for the best. The sun came out unexpectedly that day, which meant she immediately pivoted to a backlit setup. That’s the right instinct. When you’re working with natural light, your first job is to position your subject relative to the light source, not relative to the background. Get that wrong and no amount of post-processing saves you.
Photographer and model standing in open field, sun visible
Jessica spends the first moments of the shoot figuring out where the sun is sitting, not firing off test shots and hoping for the best. The sun came out unexpectedly that day, which meant she immediately pivoted to a backlit setup. That’s the right instinct. When you’re working with natural light, your first job is to position your subject relative to the light source, not relative to the background. Get that wrong and no amount of post-processing saves you.
For backlit portraits, place your subject between you and the sun. The sun should be low enough that it creates a rim or halo effect on the hair and shoulders without flooding the face. If the sun is too high, you lose the separation. Too low and you’re dealing with direct flare that kills your detail. On a 50mm at f/1.2, that backlit glow looks gorgeous and the lens naturally handles a certain amount of controlled flare that adds warmth rather than washing out the image.
Step 2: Start With Simple, Pressure-Free Portraits
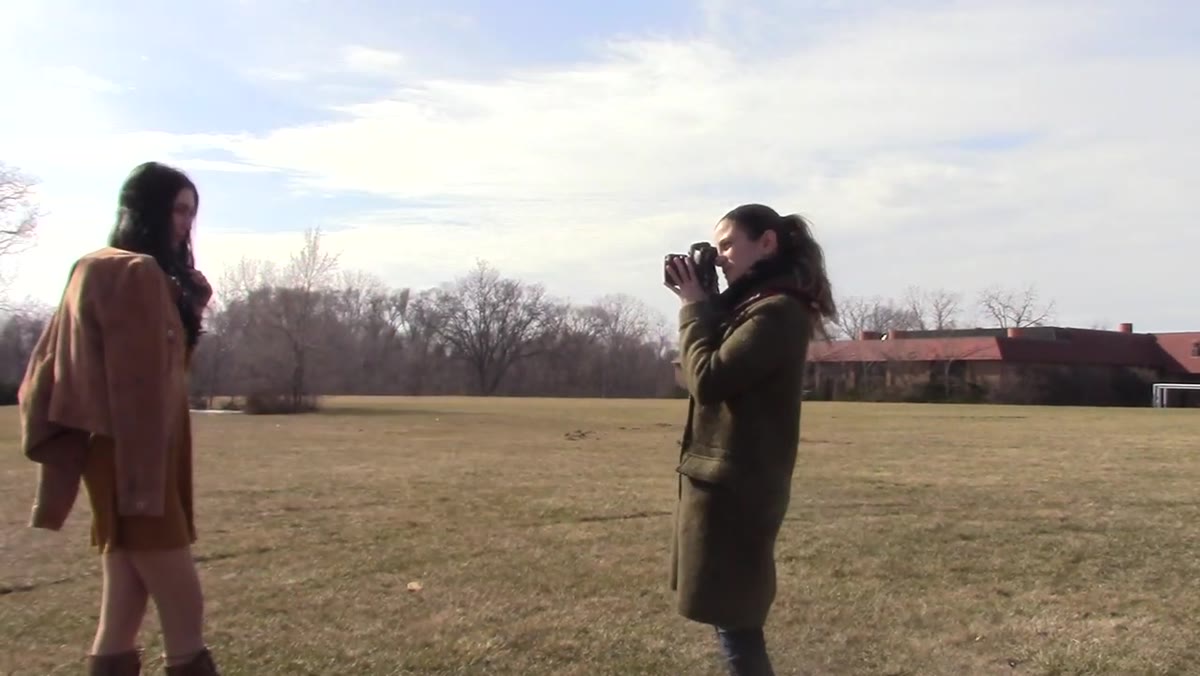 Model standing in field, photographer framing first shots
Before going for anything complex, Jessica starts with straightforward standing portraits. This is smart for a first session with someone new. You’re both calibrating. The model is getting used to the camera, and you’re figuring out how they carry themselves, where they hold tension, what their natural angles are.
Model standing in field, photographer framing first shots
Before going for anything complex, Jessica starts with straightforward standing portraits. This is smart for a first session with someone new. You’re both calibrating. The model is getting used to the camera, and you’re figuring out how they carry themselves, where they hold tension, what their natural angles are.
Keep your direction minimal at this stage. Ask for a neutral expression rather than a forced smile, which almost always looks exactly that, forced. A relaxed, slightly serious face photographs more naturally and gives you more to work with in editing. Don’t chase the perfect shot in the first five minutes. Shoot enough to warm up, then start refining.
Step 3: Get on the Model’s Level, Literally
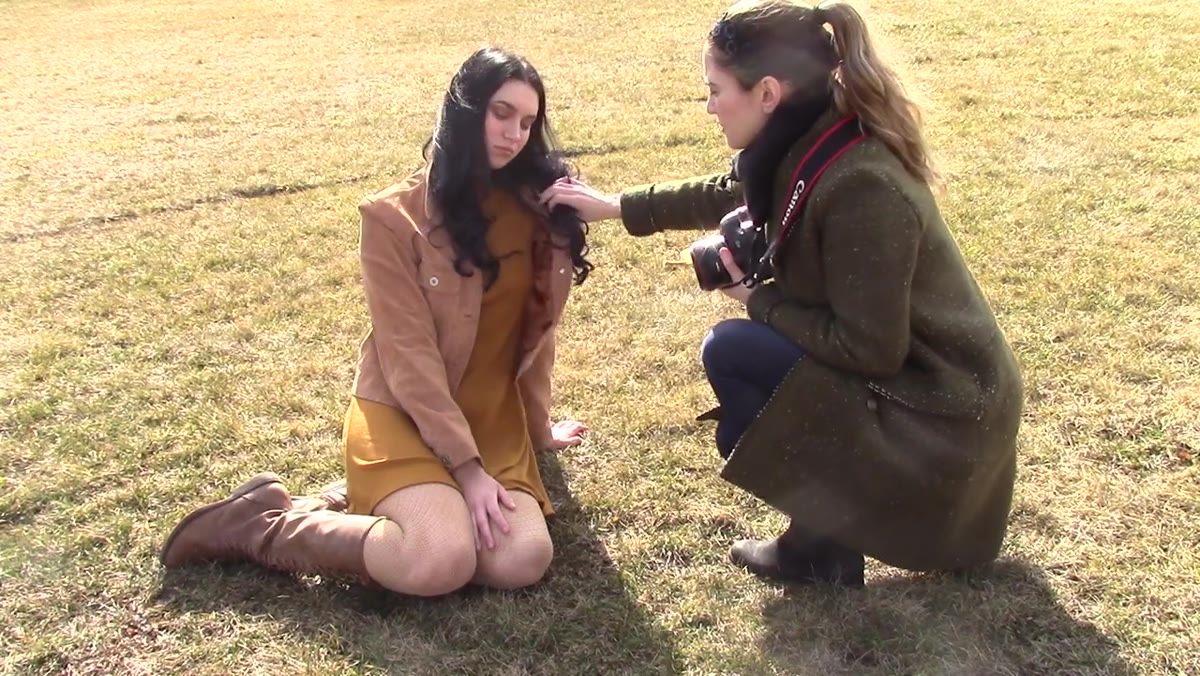
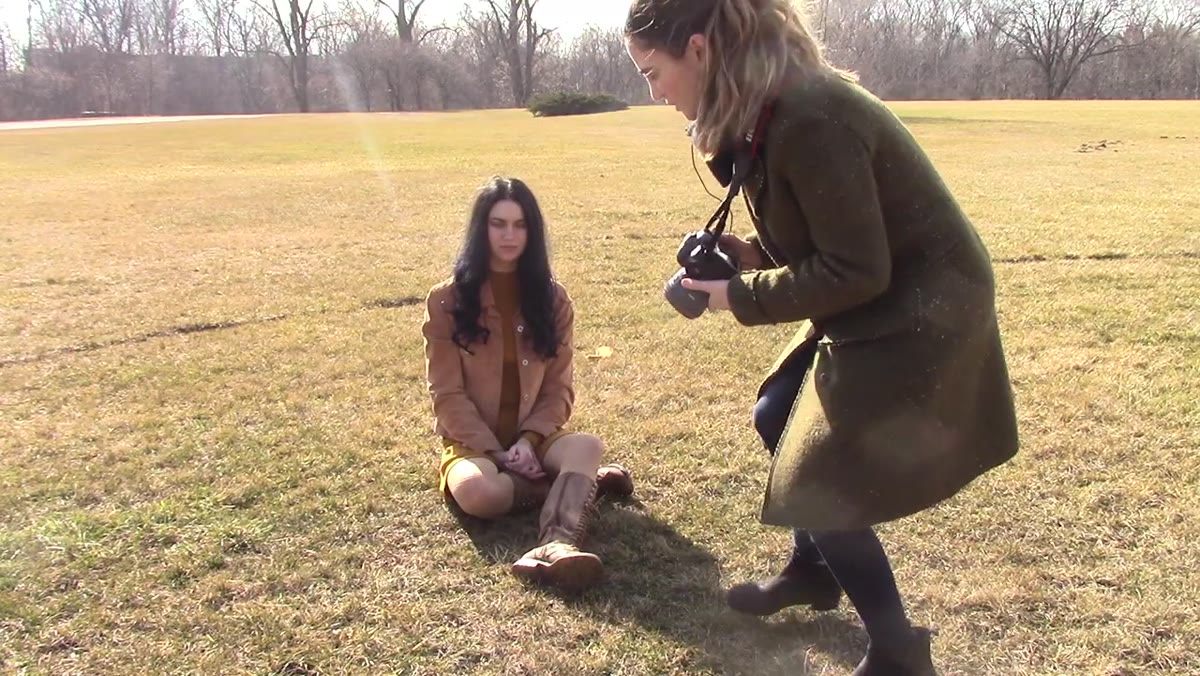 Photographer crouching down to seated model’s eye level
One of the most practical tips in the whole video: ask your model to sit, then get down to their level to shoot. Jessica frames this lightly, but the technique behind it is serious. Shooting down on a subject creates a slight distortion that can feel unflattering. Shooting at eye level or slightly below, especially for close-up portraits, creates a more natural, direct connection between subject and viewer.
Photographer crouching down to seated model’s eye level
One of the most practical tips in the whole video: ask your model to sit, then get down to their level to shoot. Jessica frames this lightly, but the technique behind it is serious. Shooting down on a subject creates a slight distortion that can feel unflattering. Shooting at eye level or slightly below, especially for close-up portraits, creates a more natural, direct connection between subject and viewer.
There’s also a posing benefit. When someone sits down, their body relaxes. Shoulders drop. Hands stop looking awkward. The stiffness that shows up in early standing shots tends to melt away once a person is seated and comfortable. You’re essentially engineering a more relaxed shoot environment by changing one physical variable.
Step 4: Use Small Micro-Directions to Shape the Shot
 Photographer directing model’s head angle and eye squint
Jessica consistently uses small, specific adjustments rather than vague prompts. Chin up slightly. Head tilted a few degrees. Eyes squinted just enough to look relaxed rather than wide and alert. Lips parted a little. Each one of these micro-directions changes the energy of the image without requiring the model to fully reset.
Photographer directing model’s head angle and eye squint
Jessica consistently uses small, specific adjustments rather than vague prompts. Chin up slightly. Head tilted a few degrees. Eyes squinted just enough to look relaxed rather than wide and alert. Lips parted a little. Each one of these micro-directions changes the energy of the image without requiring the model to fully reset.
This is where newer photographers lose time. They’ll say “look more natural” and then wait, which just creates awkwardness. Specific direction feels safer for the model and faster for the photographer. Break it down into the smallest possible instructions: one body part, one adjustment, check the shot, move on. It sounds mechanical but it frees both of you up to find the moments that actually feel alive.
Step 5: Manage Hair and Neck Visibility Deliberately
 Close-up portrait showing hair placement around neck and shoulders
Jessica makes a specific point about keeping some neck visible in close-up portraits. When hair falls forward and covers both sides of the neck, the portrait can start to look closed off or strangely proportioned. Tucking one side back or asking the model to sweep their hair to one shoulder opens up the frame and gives the face more visual breathing room.
Close-up portrait showing hair placement around neck and shoulders
Jessica makes a specific point about keeping some neck visible in close-up portraits. When hair falls forward and covers both sides of the neck, the portrait can start to look closed off or strangely proportioned. Tucking one side back or asking the model to sweep their hair to one shoulder opens up the frame and gives the face more visual breathing room.
It’s a small thing that has a disproportionate effect on the final image. On tight 50mm portraits at f/1.2, where your depth of field is razor thin and you’re focused on the eyes, the hair and neck placement becomes part of the composition in a way it doesn’t in a wider frame. Worth taking ten seconds to check before you fire a burst.
Step 6: Close In for Detail Shots With the 50mm
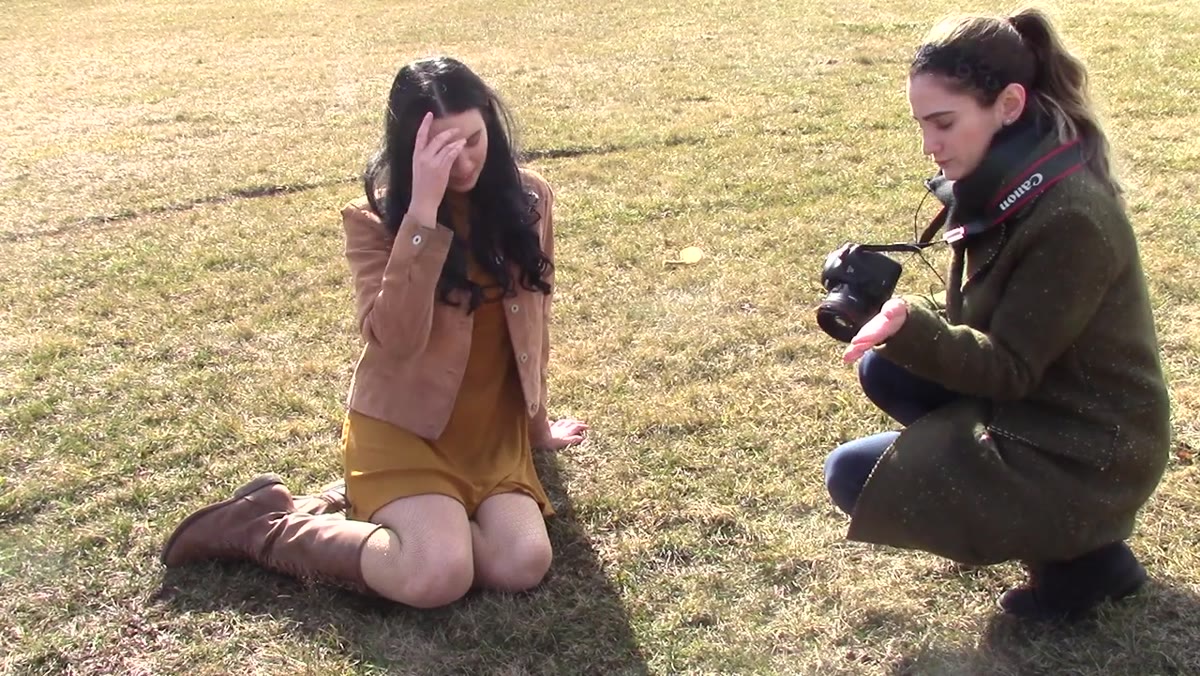 Photographer shooting close-up portrait at same seated level
Jessica closes the physical distance between herself and the model for detailed portrait shots rather than cropping in post. At 50mm on a full-frame body, getting close gives you a slightly more compressed, flattering perspective compared to a wider focal length at the same distance. At f/1.2, the falloff from the in-focus plane to background blur is dramatic enough to create a genuinely cinematic look.
Photographer shooting close-up portrait at same seated level
Jessica closes the physical distance between herself and the model for detailed portrait shots rather than cropping in post. At 50mm on a full-frame body, getting close gives you a slightly more compressed, flattering perspective compared to a wider focal length at the same distance. At f/1.2, the falloff from the in-focus plane to background blur is dramatic enough to create a genuinely cinematic look.
The practical note here: at f/1.2, your focus margin is tight enough that small movements matter. If your model shifts even slightly forward or back, you can lose focus on the eyes. Shoot a slightly higher burst rate on close-ups and check your focus before you move on. Missing this shot because you were one centimeter off is avoidable.
My Take: You Don’t Need f/1.2 to Use These Techniques
The 50mm f/1.2 is a beautiful lens, and if you’ve been watching my gear coverage here for any length of time, you already know I’m going to say this: most of what Jessica does in this tutorial works just as well on a 50mm f/1.8. The posing principles, the backlight positioning, the seated-level shooting, the micro-directions, none of that depends on the glass. I’ve run this exact playbook with a Canon 50mm f/1.8 STM, which you can find new for under $130 on a regular basis, and the results hold up. The f/1.2 gives you a bit more subject separation and performs better in lower light, but it’s not what’s making these portraits work. What’s making them work is the approach.
The single biggest takeaway from this tutorial is that confidence in direction comes from specificity. Vague prompts create awkward shoots. Precise, small adjustments create momentum, and momentum creates better images. Practice giving exact micro-directions on any shoot, even casual ones with friends, and it becomes second nature fast.
Watch the full tutorial on YouTube to see how Jessica moves through the session in real time, including how she maintains energy with a model she just met.
Comments (1)
Clear and practical. No fluff. Appreciate that.
Leave a Comment