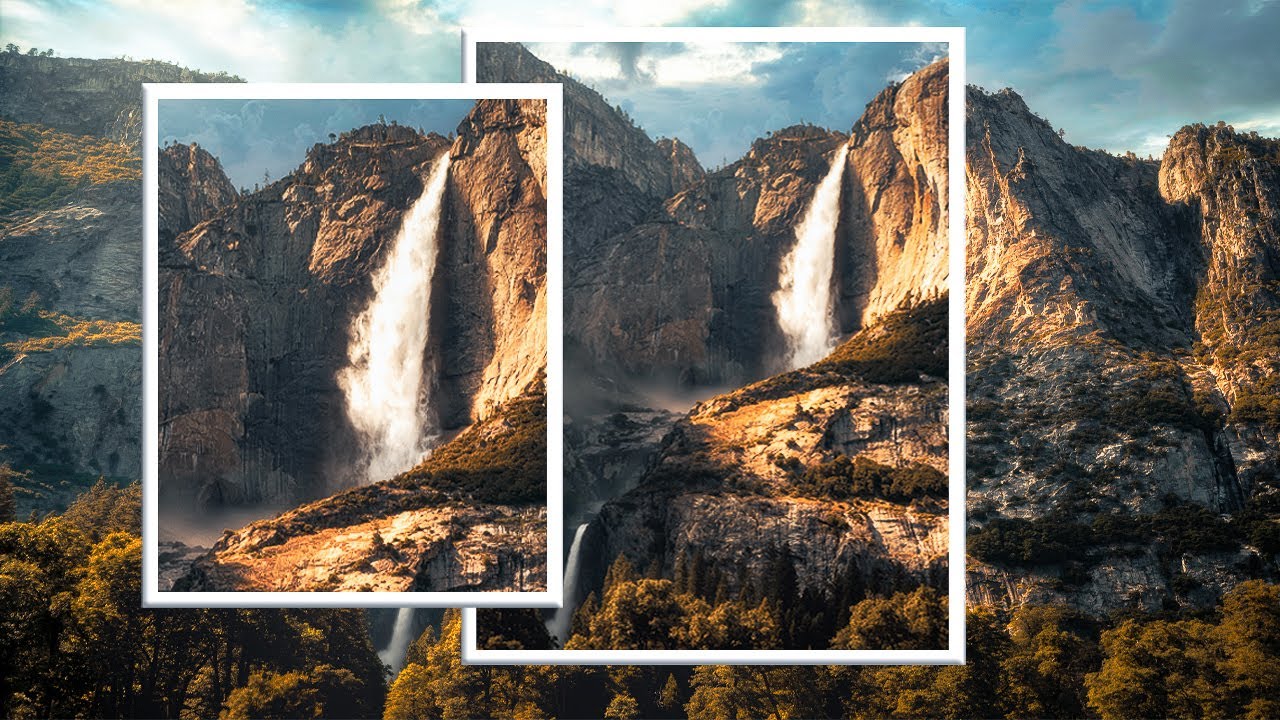
I used to burn the first 20 minutes of every golden hour just standing there second-guessing myself. Wide or telephoto? Should I move closer? Is this even the right spot? By the time I committed to a composition, the light had already peaked and I’d missed the window. I shoot on a budget, which means I’m usually rocking two lenses max, and somehow that made the paralysis worse, not better. When you have fewer options, you’d think it would be easier to decide. It wasn’t.
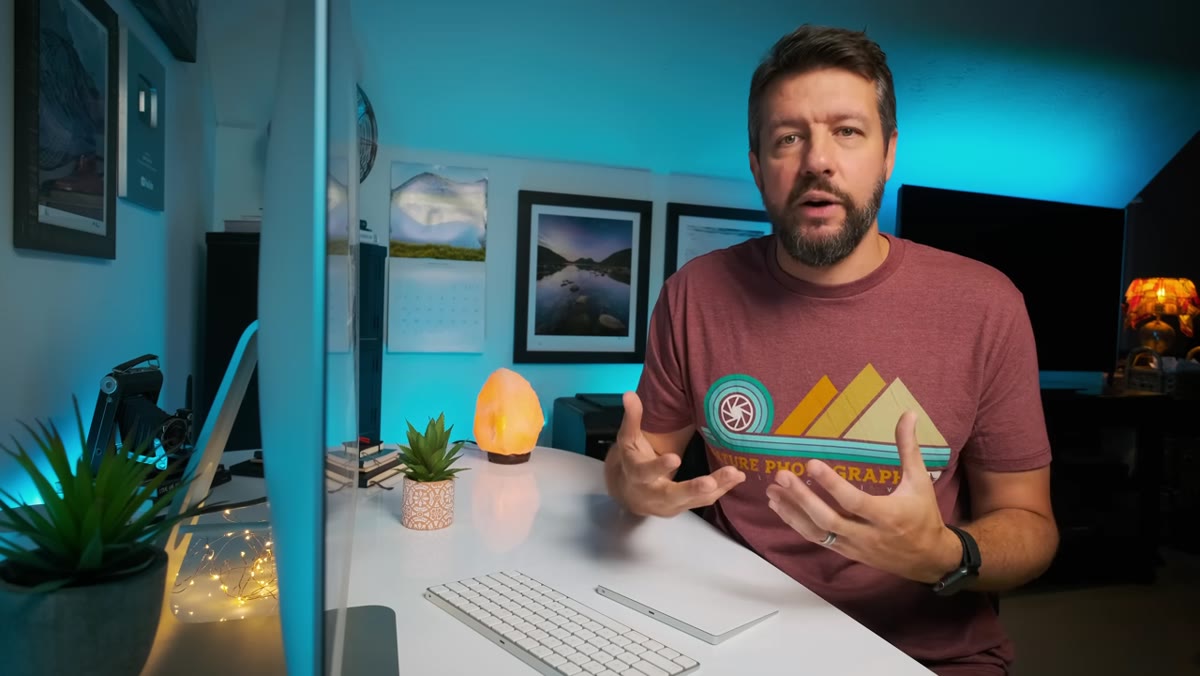
That’s why this tutorial from landscape photographer Mark Denney landed so well for me. Watch the full tutorial on YouTube before or after reading this, because his visual examples do a lot of heavy lifting. But what I want to do here is pull out the actual decision-making framework he teaches and lay it out in a way you can use in the field, even if you’re working with two lenses and a camera you bought used.
The core insight is this: there is no single correct lens for a composition. Every focal length in your bag can produce a unique and compelling version of the same scene. The question is which version you’re actually trying to create, and that requires asking yourself the right questions before you even uncap a lens.
Step 1: Decide If You’re a Single-Composition or Multi-Composition Shooter
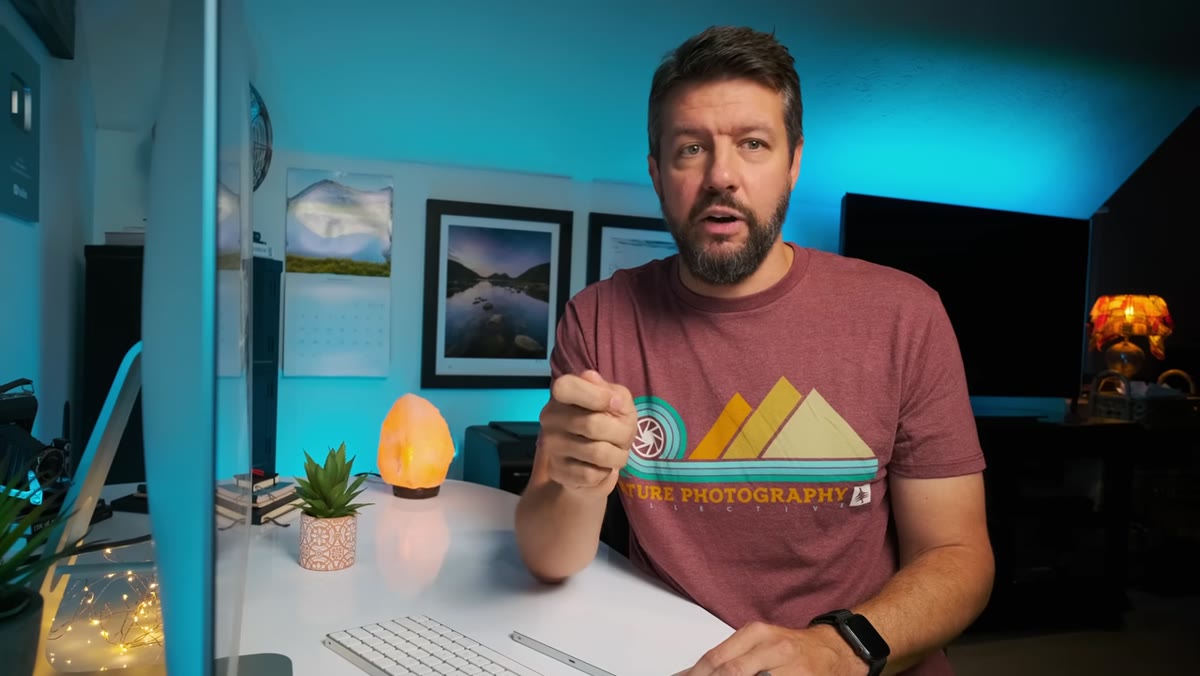 Photographer at location choosing between wide and long lens
Before you think about focal length, you need to know your own shooting style, because that shapes every decision that follows. Denney breaks photographers into two camps. The first camp finds one composition, locks it in, and then waits. They shoot the same frame over and over as conditions shift, and they walk away with one truly exceptional image if the light cooperates. The second camp moves through a location, grabbing different angles and framings, and walks away with three or four solid shots instead of one great one.
Photographer at location choosing between wide and long lens
Before you think about focal length, you need to know your own shooting style, because that shapes every decision that follows. Denney breaks photographers into two camps. The first camp finds one composition, locks it in, and then waits. They shoot the same frame over and over as conditions shift, and they walk away with one truly exceptional image if the light cooperates. The second camp moves through a location, grabbing different angles and framings, and walks away with three or four solid shots instead of one great one.
Neither approach is wrong. But if you don’t know which one you are, you’ll try to do both and execute neither. Being honest with yourself here also affects which lens makes sense to mount first. If you’re in “wait and capture” mode, you want your composition dialed in fast. If you’re working the scene, you’ll likely swap lenses more and need to think about your full kit as a storytelling toolkit, not just individual focal lengths.
Step 2: Reframe Each Lens as a Storytelling Tool, Not Just a Technical Choice
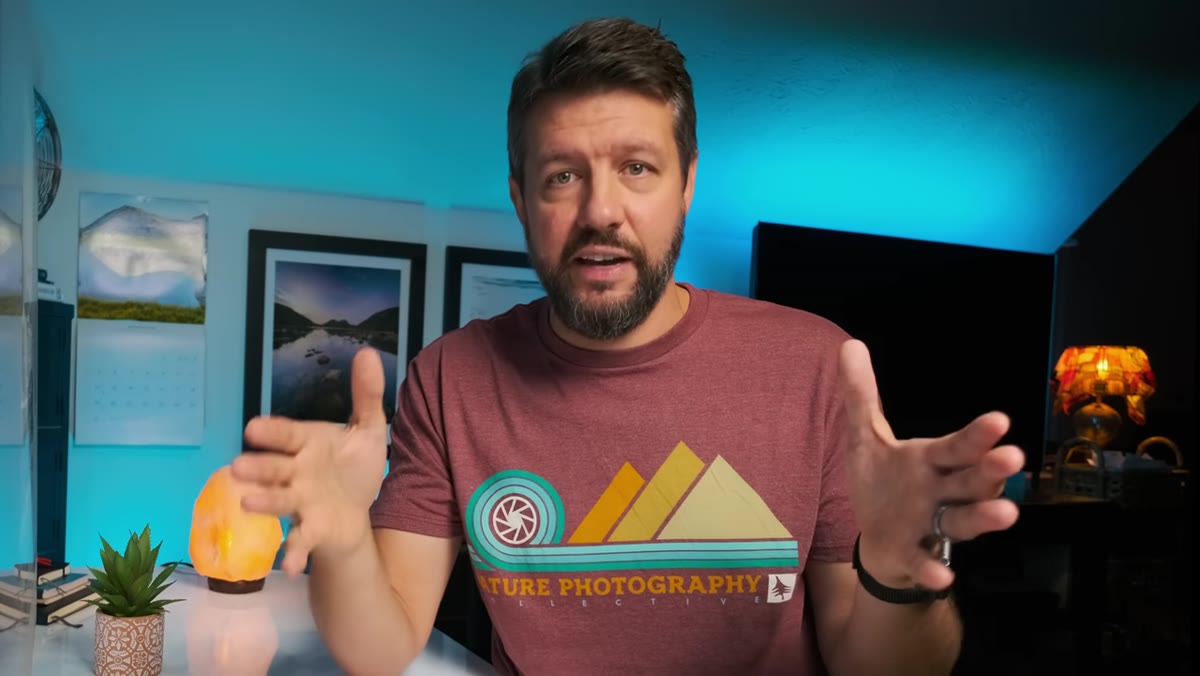 Different focal length versions of the same landscape scene
Denney introduces the concept of “working the scene,” which he describes as building a set of images that together tell the story of a location. Think of your lenses as the different chapters in that story. A wide angle might establish the sense of place. A telephoto might isolate one detail, a rock formation, a reflection, a sliver of fog, that would disappear in a wide frame.
Different focal length versions of the same landscape scene
Denney introduces the concept of “working the scene,” which he describes as building a set of images that together tell the story of a location. Think of your lenses as the different chapters in that story. A wide angle might establish the sense of place. A telephoto might isolate one detail, a rock formation, a reflection, a sliver of fog, that would disappear in a wide frame.
In practice, this means every lens in your bag has a job. When you arrive at a location, instead of asking “which lens do I use,” start asking “what part of this story do I want to tell right now.” That shift in framing cuts through the paralysis instantly. You’re not choosing the best tool in an abstract sense. You’re choosing the right tool for the specific narrative moment you want to capture.
Step 3: Identify Your Primary Subject and Ask How Big It Needs to Be in the Frame
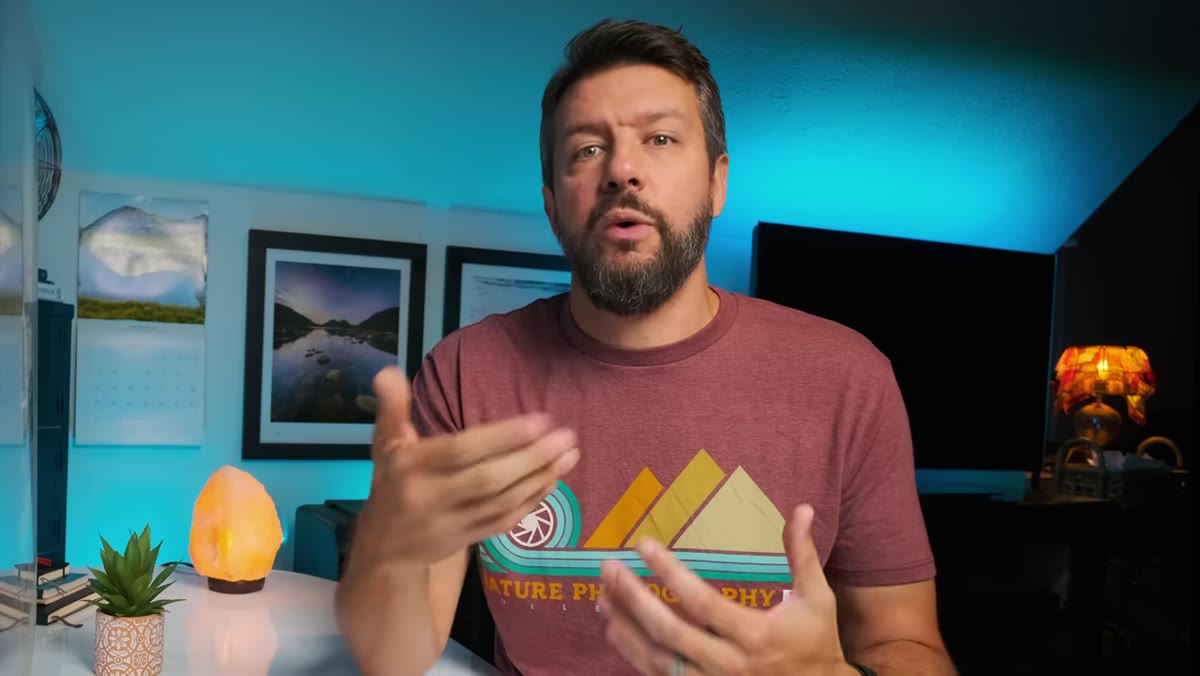 Telephoto compressing background elements behind a foreground subject
One of the four questions Denney uses on location is about the relationship between your subject and the frame. How much of the image should your primary subject occupy? If the subject is expansive, a mountain range, a wide river bend, an open prairie, a wide angle lets you embrace the full scale and still leave room for a foreground element that adds depth. If the subject is specific and isolated, a single tree, a distant peak, a waterfall tucked into a canyon, a longer focal length lets you pull it forward and fill the frame without physically moving closer.
Telephoto compressing background elements behind a foreground subject
One of the four questions Denney uses on location is about the relationship between your subject and the frame. How much of the image should your primary subject occupy? If the subject is expansive, a mountain range, a wide river bend, an open prairie, a wide angle lets you embrace the full scale and still leave room for a foreground element that adds depth. If the subject is specific and isolated, a single tree, a distant peak, a waterfall tucked into a canyon, a longer focal length lets you pull it forward and fill the frame without physically moving closer.
The practical move here is to look at your subject, squint a little, and ask: do I want this to feel vast or intimate? Vast usually means wider. Intimate usually means longer. That one question alone will eliminate at least half the options in your bag.
Step 4: Evaluate the Background and Whether Compression Helps or Hurts
 Telephoto compressing distance between foreground and background layers
This is where telephoto lenses earn their reputation in landscape work. A longer focal length compresses the apparent distance between foreground and background elements, stacking layers together in a way that can feel almost painterly. A wide angle does the opposite, it exaggerates distance and makes backgrounds feel farther away than they are.
Telephoto compressing distance between foreground and background layers
This is where telephoto lenses earn their reputation in landscape work. A longer focal length compresses the apparent distance between foreground and background elements, stacking layers together in a way that can feel almost painterly. A wide angle does the opposite, it exaggerates distance and makes backgrounds feel farther away than they are.
If your background is cluttered or distracting, compression can simplify it. If your background is part of the story, something massive and dramatic that you want in relationship to the foreground, compression can connect those two elements visually. On the flip side, if you want to emphasize isolation or the sheer scale of empty space in a scene, going wide and letting the background recede is often the stronger choice. Look at the background as a design element, not just scenery.
Step 5: Factor in What the Light Is Actually Doing
 Golden hour light shifting over a landscape scene
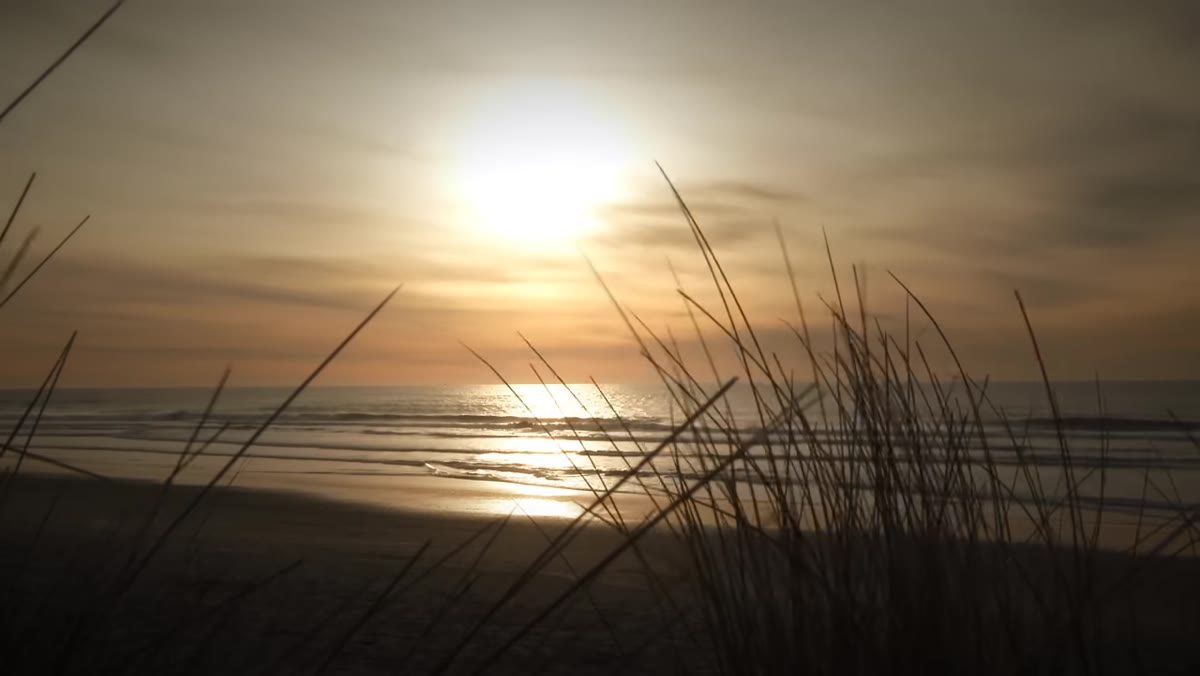
Denney consistently comes back to conditions as a deciding factor, and this one trips people up because they think of light as something that happens to their composition rather than something that should actively shape which lens they reach for. If the light is dramatic and directional, a telephoto can isolate a single beam of light hitting a specific ridge. If the light is soft and diffused and covers the whole scene evenly, a wide angle can capture all of it at once without losing anything in the shadows.
Golden hour light shifting over a landscape scene
Denney consistently comes back to conditions as a deciding factor, and this one trips people up because they think of light as something that happens to their composition rather than something that should actively shape which lens they reach for. If the light is dramatic and directional, a telephoto can isolate a single beam of light hitting a specific ridge. If the light is soft and diffused and covers the whole scene evenly, a wide angle can capture all of it at once without losing anything in the shadows.
Watch how the light is moving. If it’s changing fast, maybe a cloud is peeling back or the sun is just cresting a ridge, that’s the wrong moment to be swapping lenses. Lock in and shoot. If the light is slow and building, you have time to work through focal lengths intentionally and build that story Denney talks about.
What I’d Add From My Own Kit Testing
I’ve tested a lot of budget glass, everything from $80 manual primes to third-party zoom lenses that cost a fraction of the name-brand equivalent. One thing Denney’s framework clarified for me is that the focal length decision matters far more than the lens brand at the composition stage. I’ve seen shooters obsess over sharpness charts while consistently making poor focal length choices in the field, and the resulting images suffer for it in ways no amount of lens sharpness can fix.
If you’re on a tight budget and choosing between a mediocre wide angle and a mediocre telephoto, get both. A decent used 50mm or short telephoto prime can be found for under $100 for most common mounts, and having that second perspective available will immediately expand what you can do with Denney’s framework. The gear doesn’t have to be expensive. It just has to cover different parts of the focal length spectrum so you actually have a decision to make.
The single most useful thing to take from Denney’s tutorial is that lens selection is a compositional decision, not a technical one. Start with the story you want to tell, and let that answer tell you which tool to reach for. Watch the full tutorial on YouTube to see his own field examples, which make the compression and scale concepts click in a way that’s hard to fully convey in text.
Comments (4)
Quality content like this is rare. Keep it up.
Well explained. I think my audience would really benefit from this — mind if I link to it?
Wow, I had no idea you could do this. Mind blown.
Love this. I referenced a similar technique in one of my recent posts. Always good to see other perspectives.
Leave a Comment