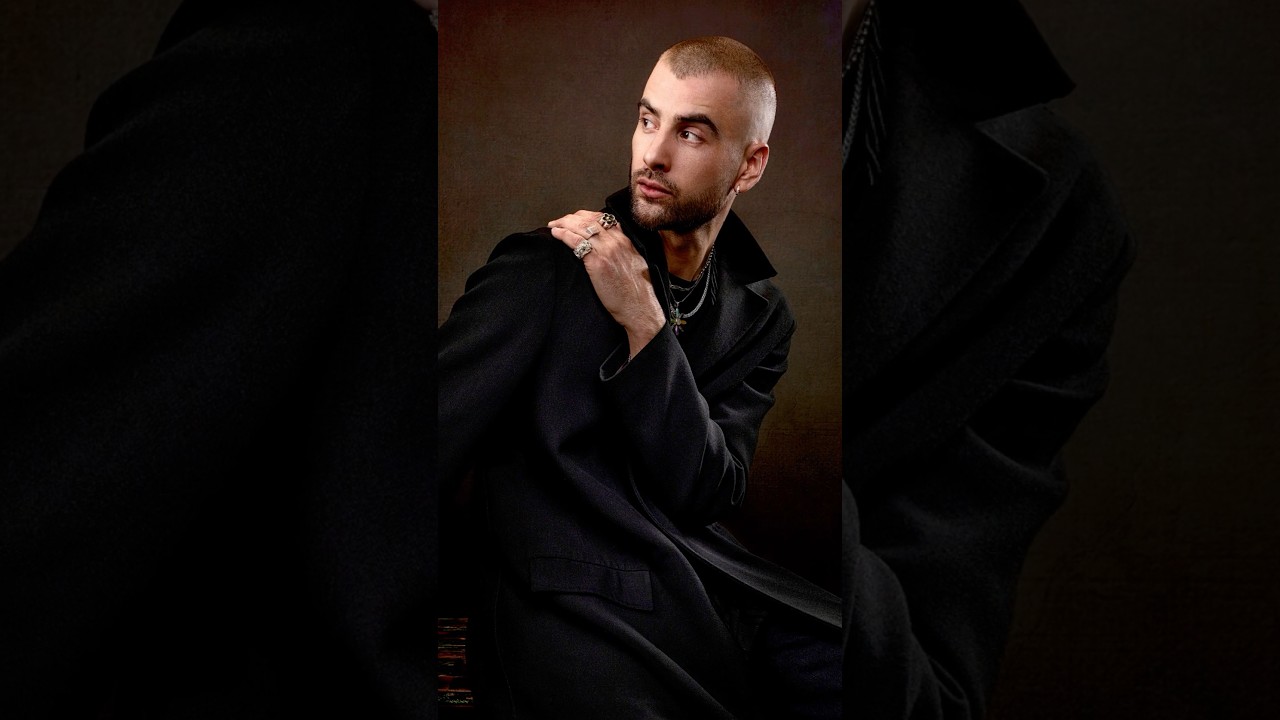
Dramatic portrait lighting is one of those things that looks impossibly complex until someone pulls back the curtain and shows you exactly what’s happening. I’ve spent a lot of time reverse-engineering lighting setups from behind-the-scenes photos, squinting at catch lights in subjects’ eyes, trying to figure out where the photographer put their gear. It’s a frustrating way to learn. So when I came across a breakdown that just tells you directly, I pay attention.
In this Joel Grimes Photography tutorial, Grimes walks through the exact four-modifier setup he used to create a striking, high-drama portrait of a subject named Blake. Watch the full tutorial on YouTube if you want to see the final image alongside the gear. What makes this useful isn’t just the gear list. It’s the logic behind each light’s placement and what job it’s doing. Once you understand that, you can replicate the look with whatever modifiers you already own or find on sale.
Grimes shoots with Westcott gear throughout, which matters if you’re shopping, but the principles here translate across brands. I’ve pulled the technique apart step by step so you can follow along without rewinding a 60-second video twelve times.
Step 1: Start With a Beauty Dish as Your Key Light
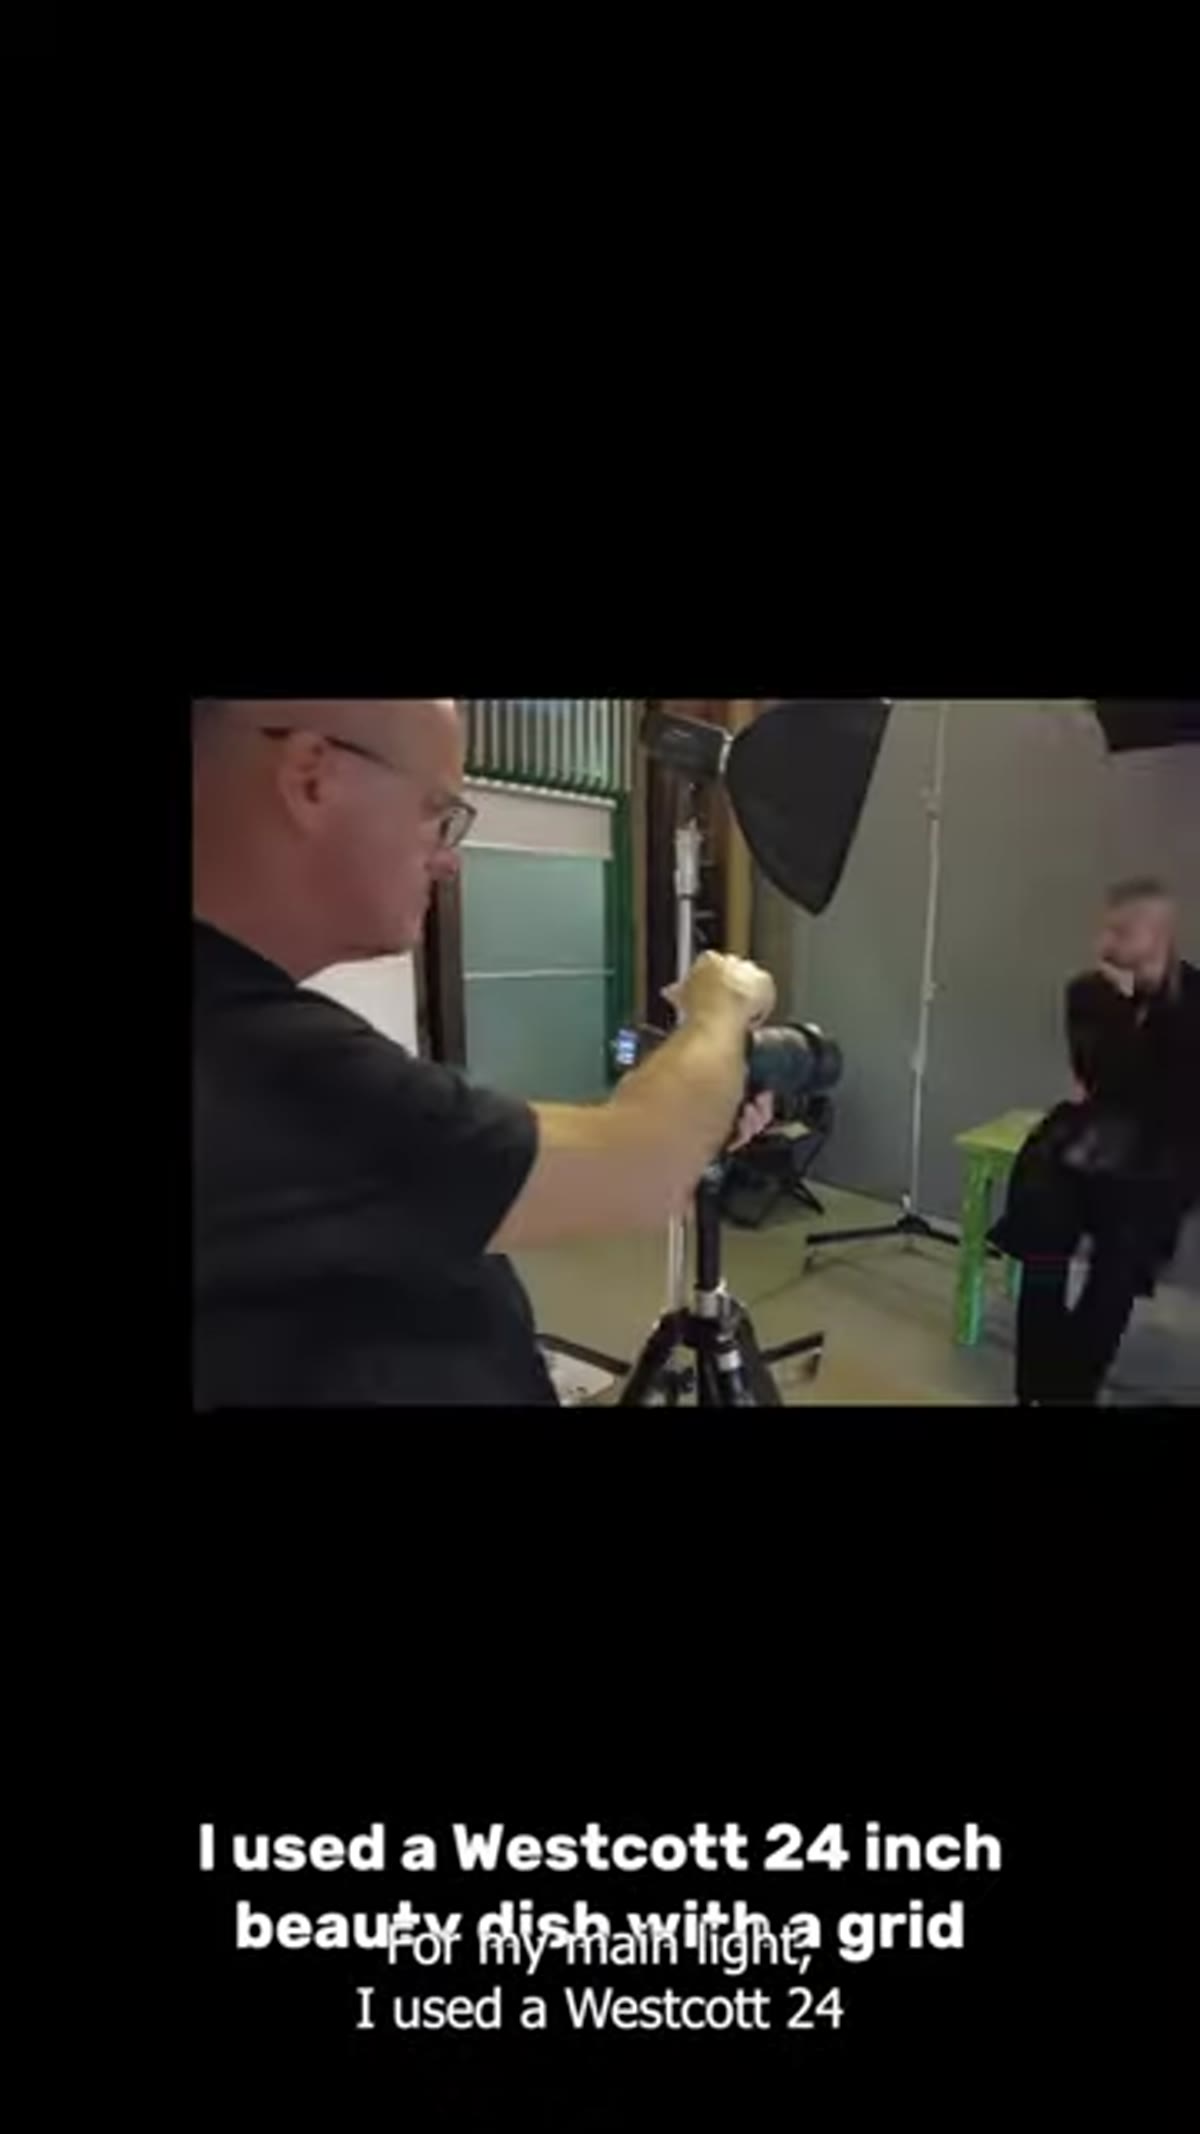 Beauty dish positioned as main light on subject
The foundation of this setup is a 24-inch beauty dish with a grid. Grimes positions this as his main light, aimed at the subject’s face. The beauty dish is doing two things simultaneously: it’s creating a focused, slightly specular quality of light that adds definition to facial structure, and the grid is keeping that light from spilling all over the background and washing out the drama.
Beauty dish positioned as main light on subject
The foundation of this setup is a 24-inch beauty dish with a grid. Grimes positions this as his main light, aimed at the subject’s face. The beauty dish is doing two things simultaneously: it’s creating a focused, slightly specular quality of light that adds definition to facial structure, and the grid is keeping that light from spilling all over the background and washing out the drama.
A beauty dish sits between a hard light source and a softbox in terms of quality. It’s more contrasty than a large softbox but more flattering than a bare strobe. The grid tightens the spread significantly, which is what lets Grimes control his shadows without the fill from the key light fighting the shadow side of the frame. If you’re working with a beauty dish and wondering why your images look flat, a grid is often the missing piece.
Step 2: Add a Large Octobox Behind You for Shadow Fill
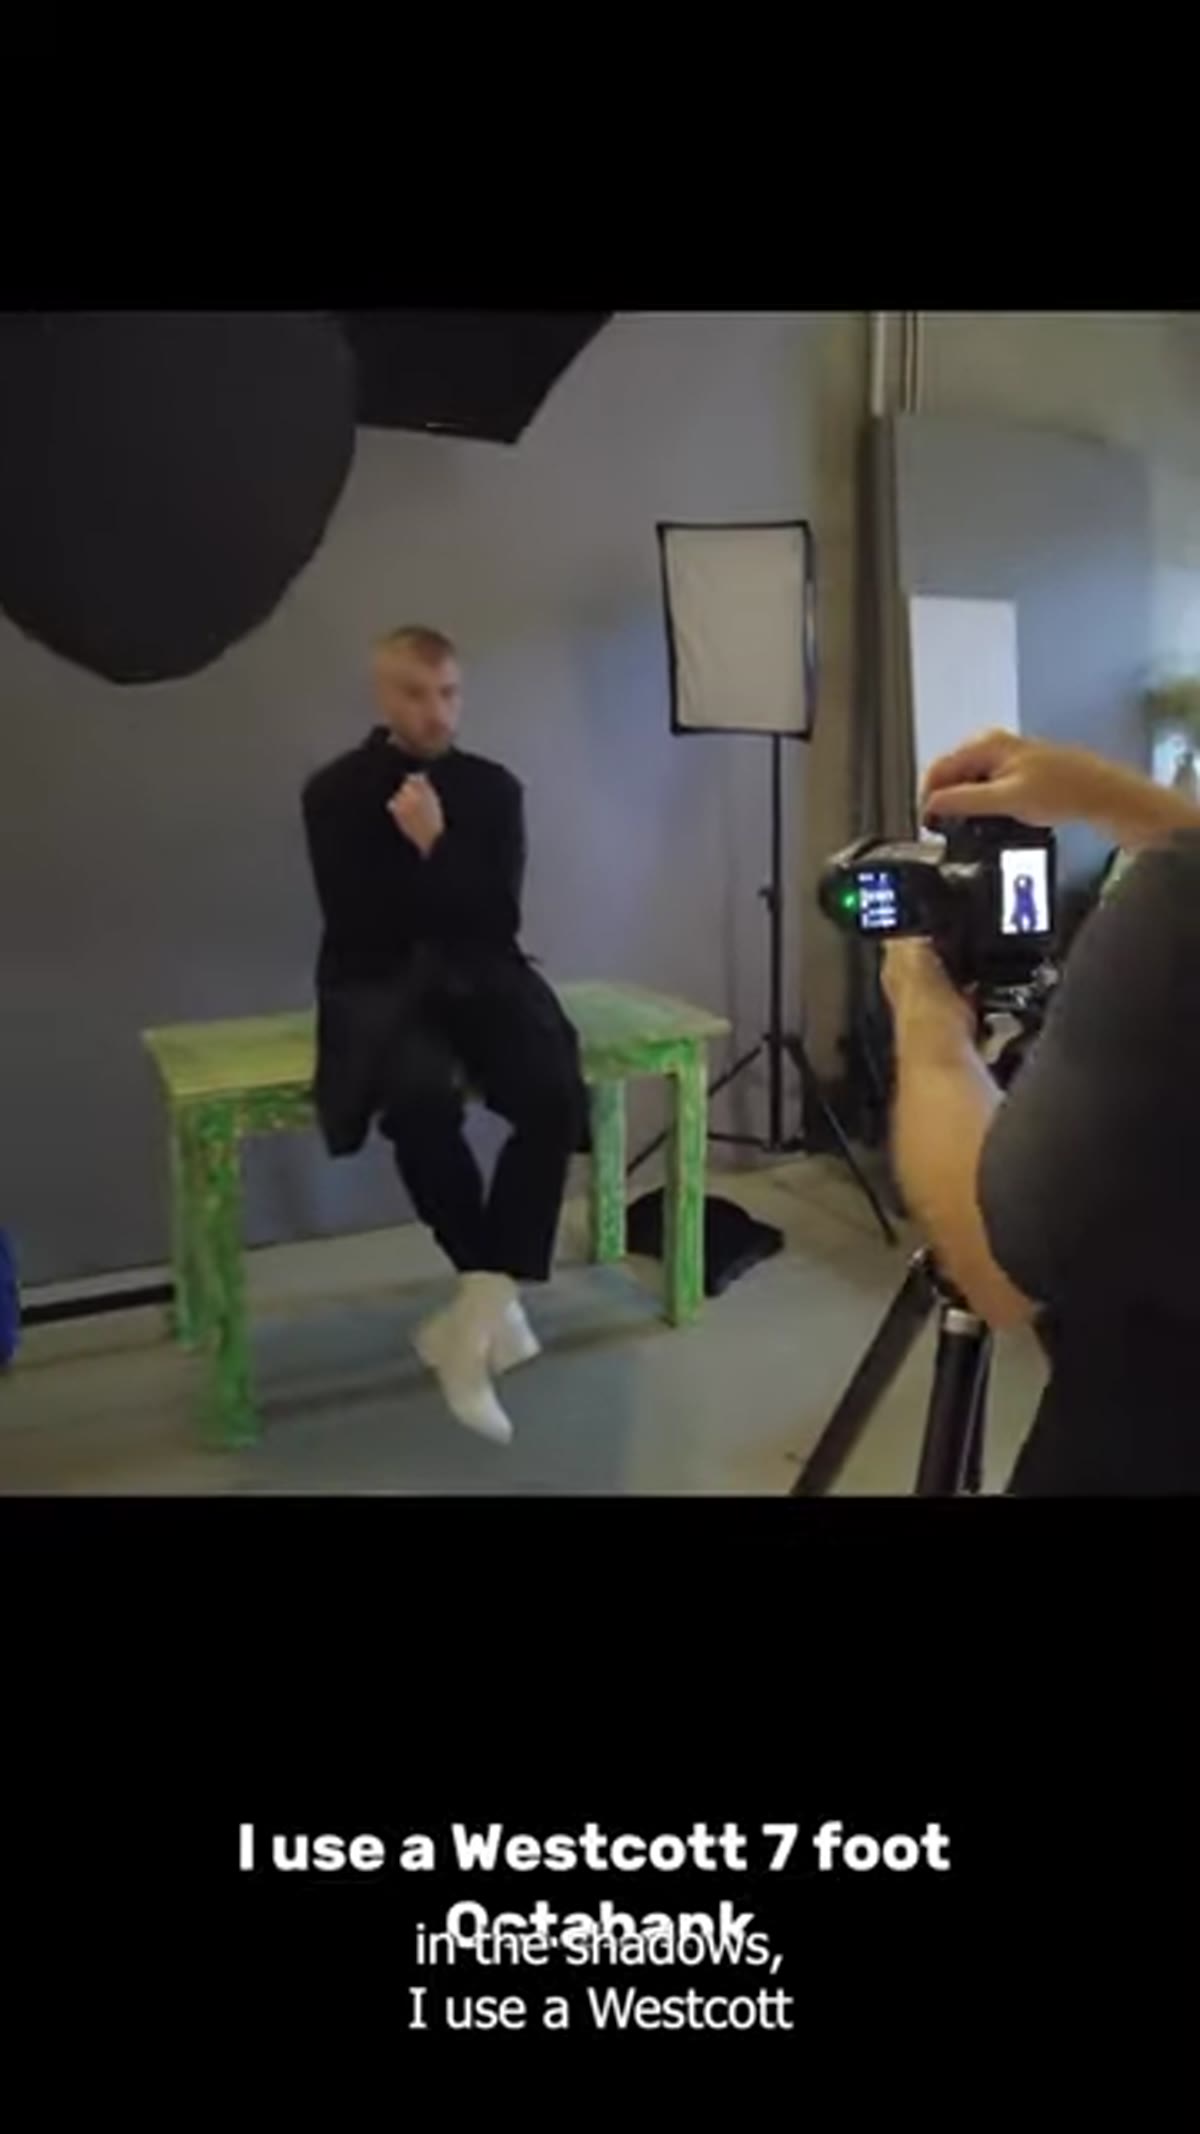 Large octobox positioned behind photographer for fill
Rather than letting the shadow side of the face go completely dark, Grimes brings in a 7-foot octabox positioned roughly behind himself. The size is intentional. A larger modifier placed at distance produces a softer, more wrap-around quality of light, which is exactly what you want from a fill source. You’re not trying to add drama here. You’re just preventing the shadows from crushing so hard that you lose all detail.
Large octobox positioned behind photographer for fill
Rather than letting the shadow side of the face go completely dark, Grimes brings in a 7-foot octabox positioned roughly behind himself. The size is intentional. A larger modifier placed at distance produces a softer, more wrap-around quality of light, which is exactly what you want from a fill source. You’re not trying to add drama here. You’re just preventing the shadows from crushing so hard that you lose all detail.
Placing the fill behind the photographer is a smart default position because it keeps the light coming from roughly the same direction as the camera, which means it fills shadows without creating competing catch lights or confusing the viewer’s eye about where the light is coming from. Think of it as a reflector you’re controlling with precision.
Step 3: Place an Edge Light to Separate the Subject
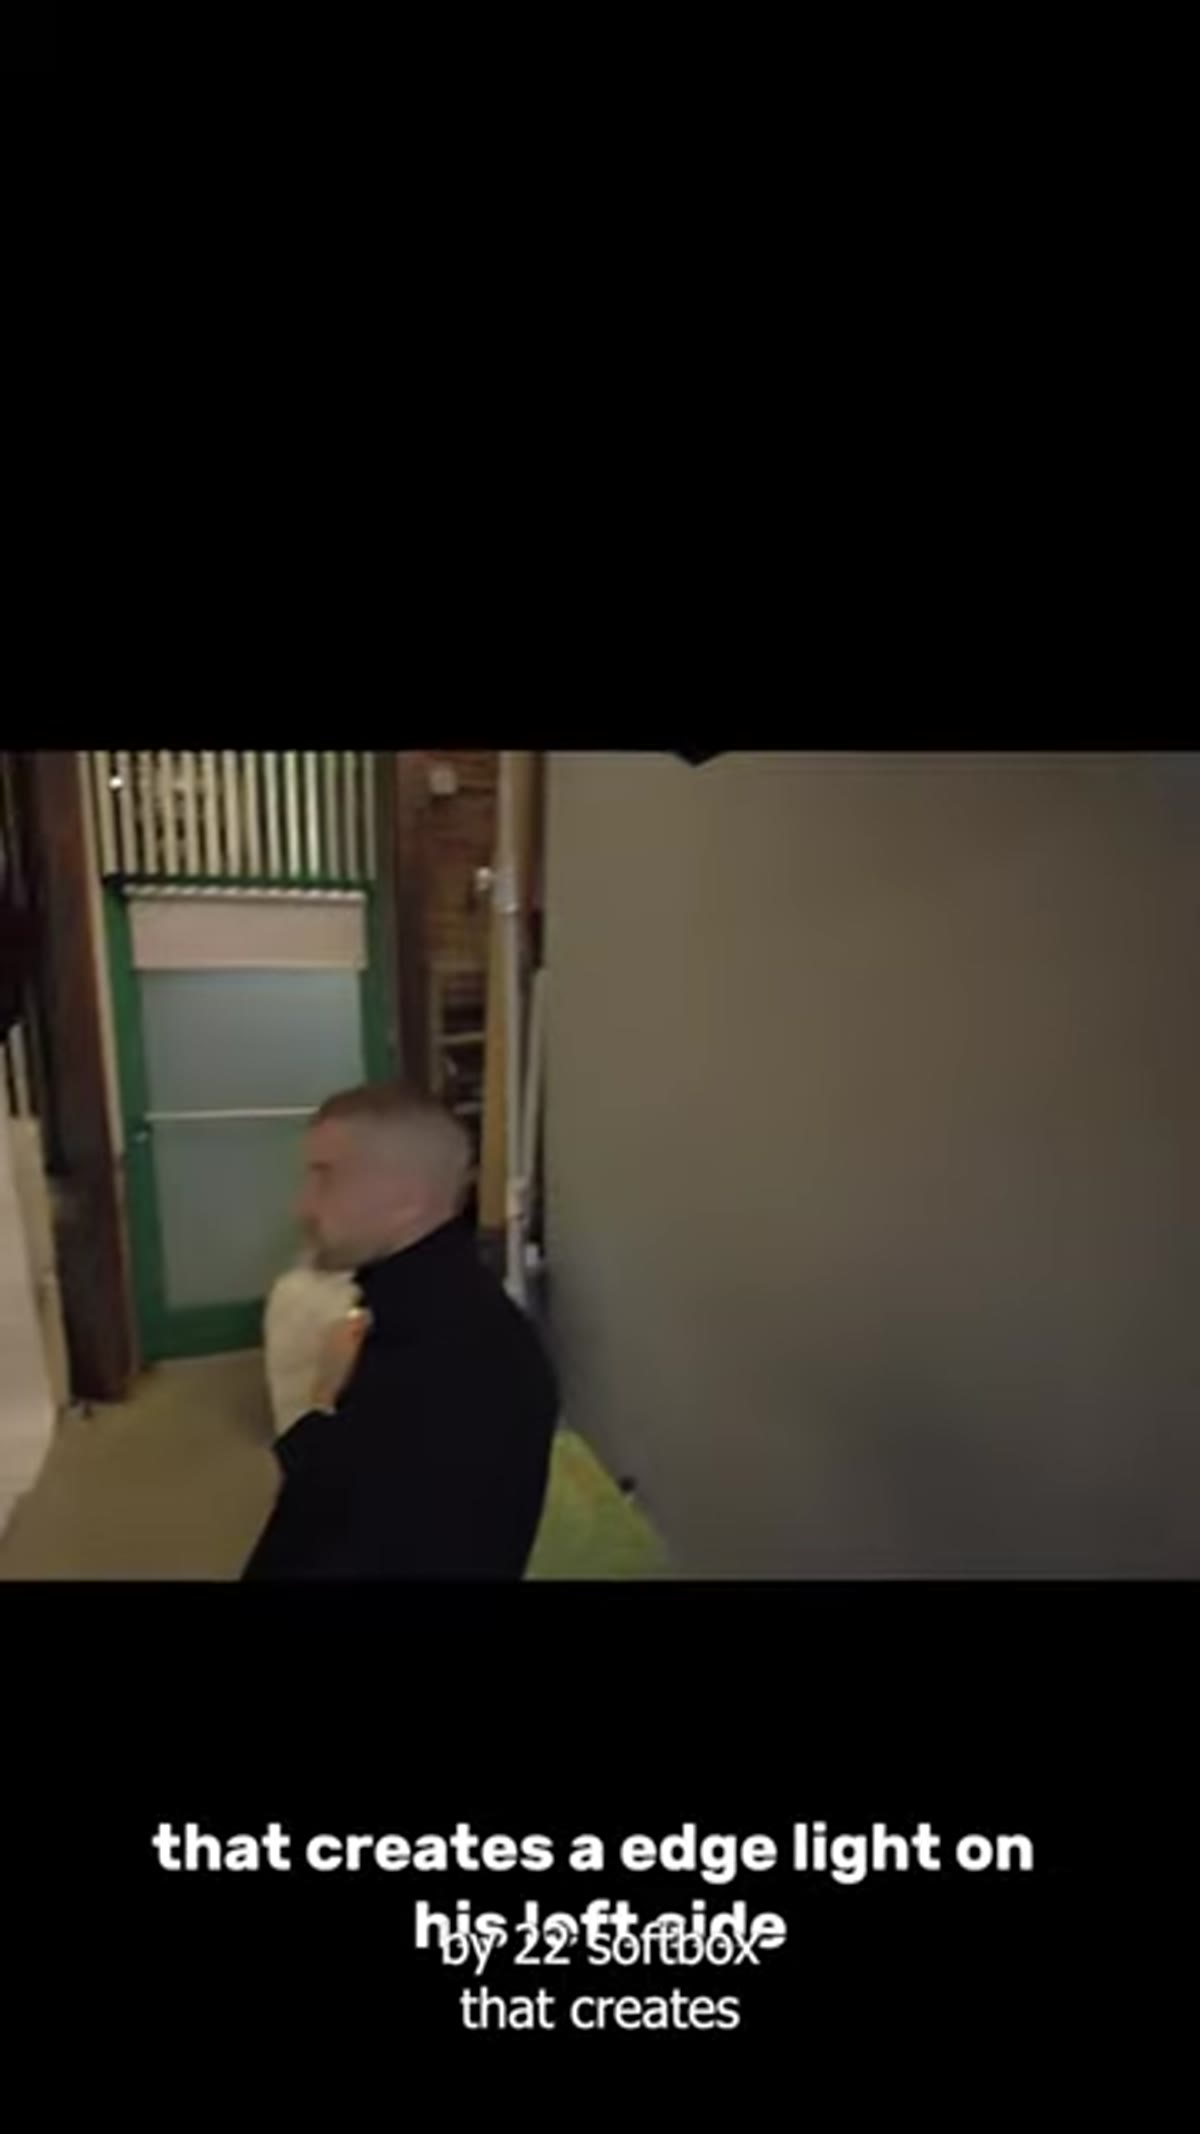 Softbox on right side creating edge light on subject’s left
On the right side of the frame, Grimes uses a 16x22-inch softbox to create what he calls an edge light. This is positioned to graze the left side of Blake’s body, creating a rim of light that separates him from the background. Without this, a darker subject against a dark background tends to flatten out and lose depth. The edge light is the fix.
Softbox on right side creating edge light on subject’s left
On the right side of the frame, Grimes uses a 16x22-inch softbox to create what he calls an edge light. This is positioned to graze the left side of Blake’s body, creating a rim of light that separates him from the background. Without this, a darker subject against a dark background tends to flatten out and lose depth. The edge light is the fix.
The size of the modifier here matters less than the angle. You want it far enough to the side that it’s not contributing to the front of the face at all. It should only be kissing the edge of the shoulder, jaw, or arm. When you nail this, the subject looks like they’re popping off the frame rather than sitting on top of a background.
Step 4: Use an Overhead Softbox for Drama on the Top of the Head
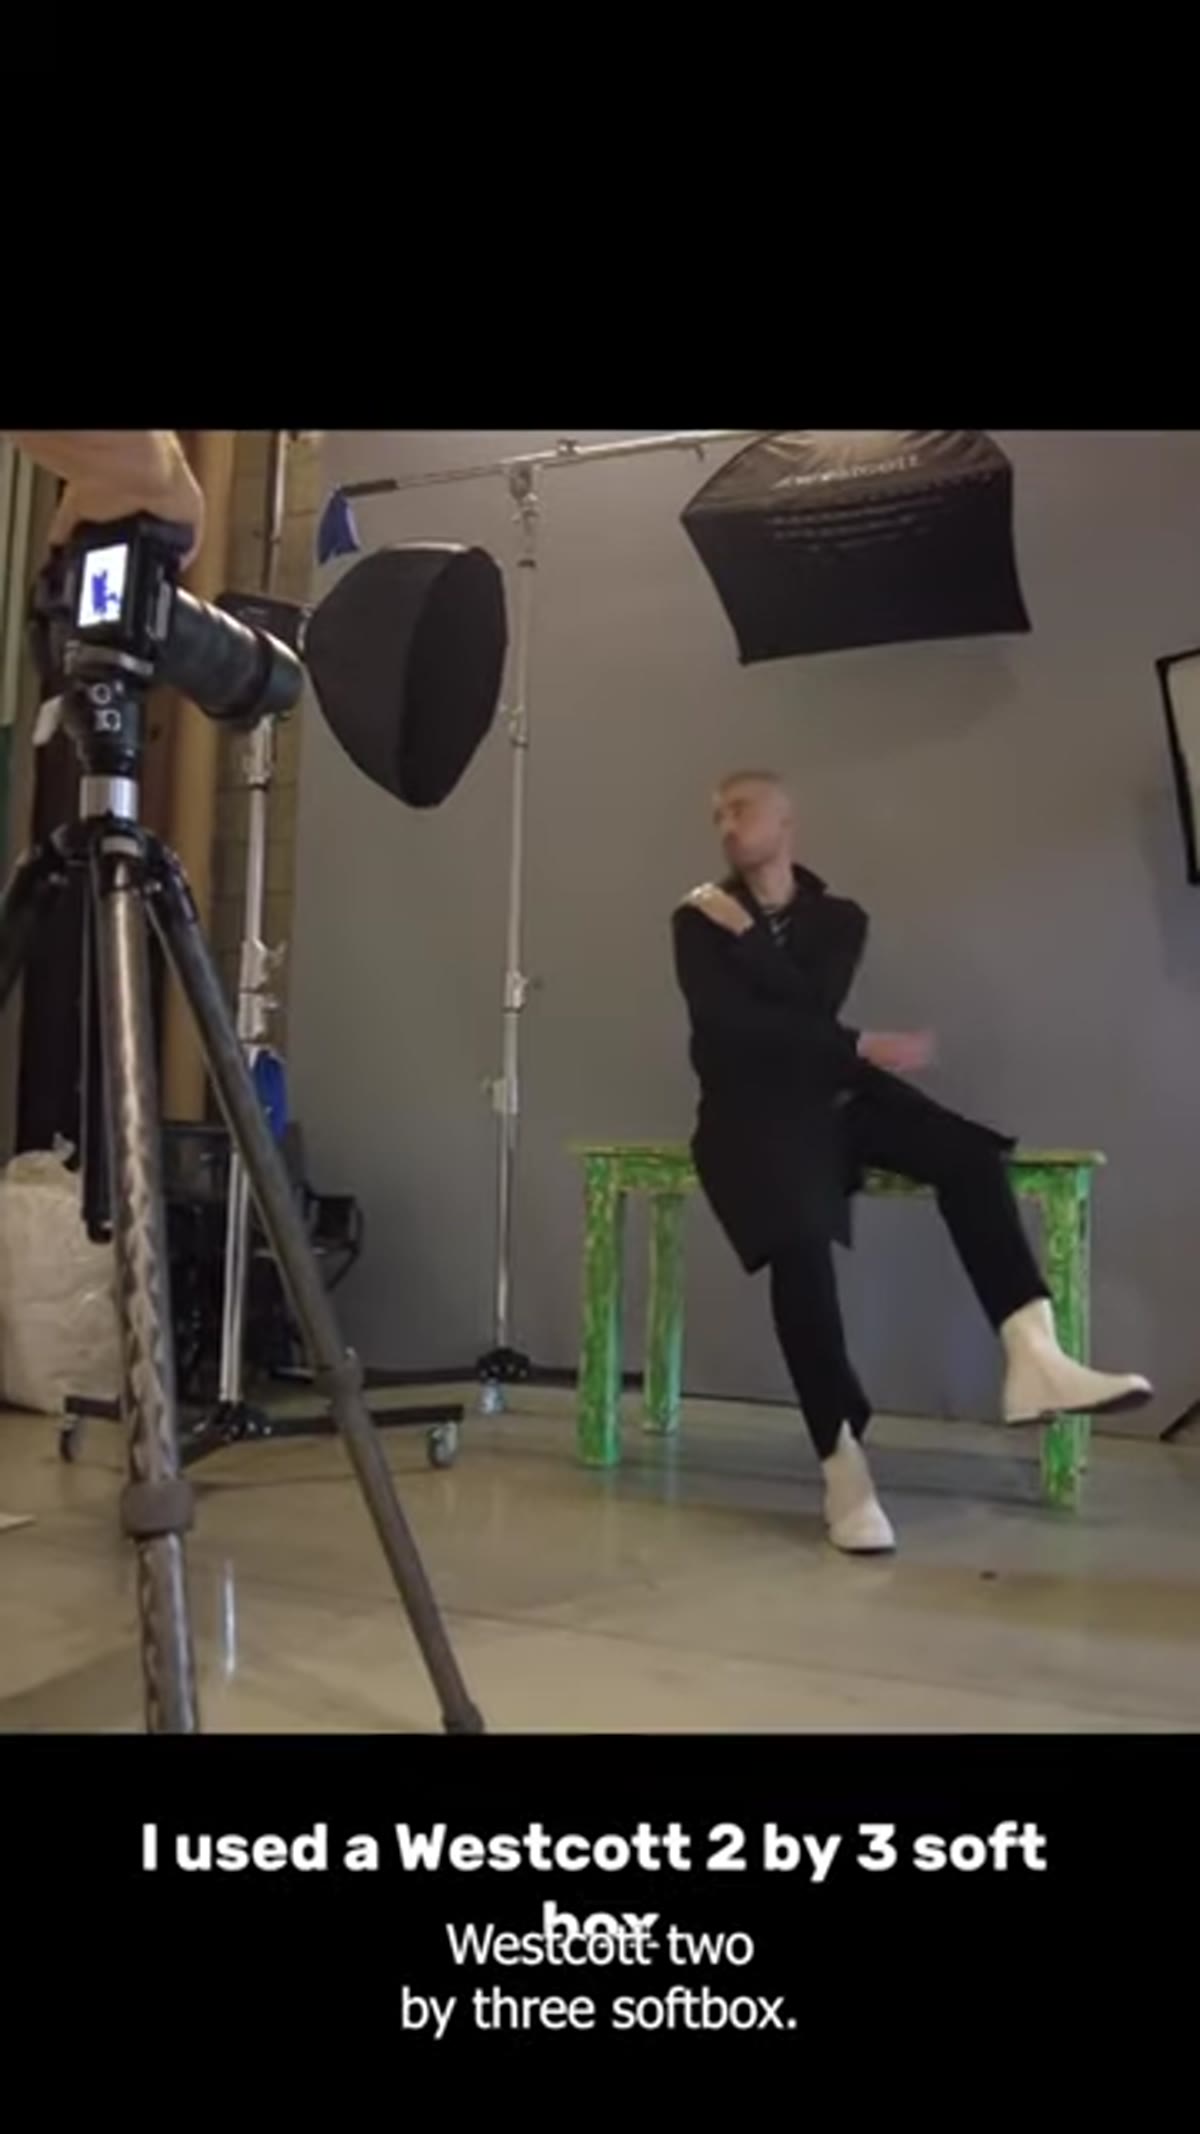 Small softbox positioned overhead adding top light
The fourth modifier is a 2x3-foot softbox placed overhead, pointing downward. This is a subtle but high-impact addition. It adds a small strip of light along the top of the head and shoulders, which does two things: it adds a sense of depth from above, and it creates a slightly cinematic quality that pushes the image away from flat studio portraiture into something that feels more editorial.
Small softbox positioned overhead adding top light
The fourth modifier is a 2x3-foot softbox placed overhead, pointing downward. This is a subtle but high-impact addition. It adds a small strip of light along the top of the head and shoulders, which does two things: it adds a sense of depth from above, and it creates a slightly cinematic quality that pushes the image away from flat studio portraiture into something that feels more editorial.
Top lights like this work especially well on subjects with texture in their hair or strong shoulder lines. The light catches the tops of those surfaces and creates micro-shadows that add dimension. It’s not a light people often think to add, but once you use it, you’ll notice when it’s missing.
What I’d Do Differently on a Smaller Budget
Grimes is working with four Westcott modifiers here, and while Westcott makes quality gear, that’s a real investment if you’re just starting to build a studio kit. The good news is that the logic of this setup doesn’t require matching his exact gear.
I’ve tested cheaper alternatives to every modifier in this setup. A budget beauty dish from Neewer or Godox will get you most of the way there, especially if you’re shooting at medium apertures where minor optical differences in the modifier matter less. The grid is non-negotiable though. I’ve tried skipping it on a beauty dish and you can feel the difference in how much control you have over where the light lands. For the 7-foot octo, a large umbrella with diffusion can approximate the soft fill effect at a fraction of the price, though you lose some of the control over spill. The edge light and the overhead box are the two places where you have the most flexibility. Even a small softbox on a boom arm will do what Grimes is doing overhead.
The real takeaway from this setup isn’t any single modifier. It’s that each light has exactly one job. Key, fill, edge, top. When you start placing lights and asking “what specific problem is this solving,” the whole process gets more intentional and you stop adding lights just to add lights.
Four light sources building toward one clean, dramatic image. That’s the framework worth stealing here. Watch the full Joel Grimes tutorial on YouTube to see the final portrait and the gear in context.
Comments (2)
Great breakdown. The step-by-step approach really helps.
This saved me so much time on my last edit. Wish I'd found this sooner.
Leave a Comment