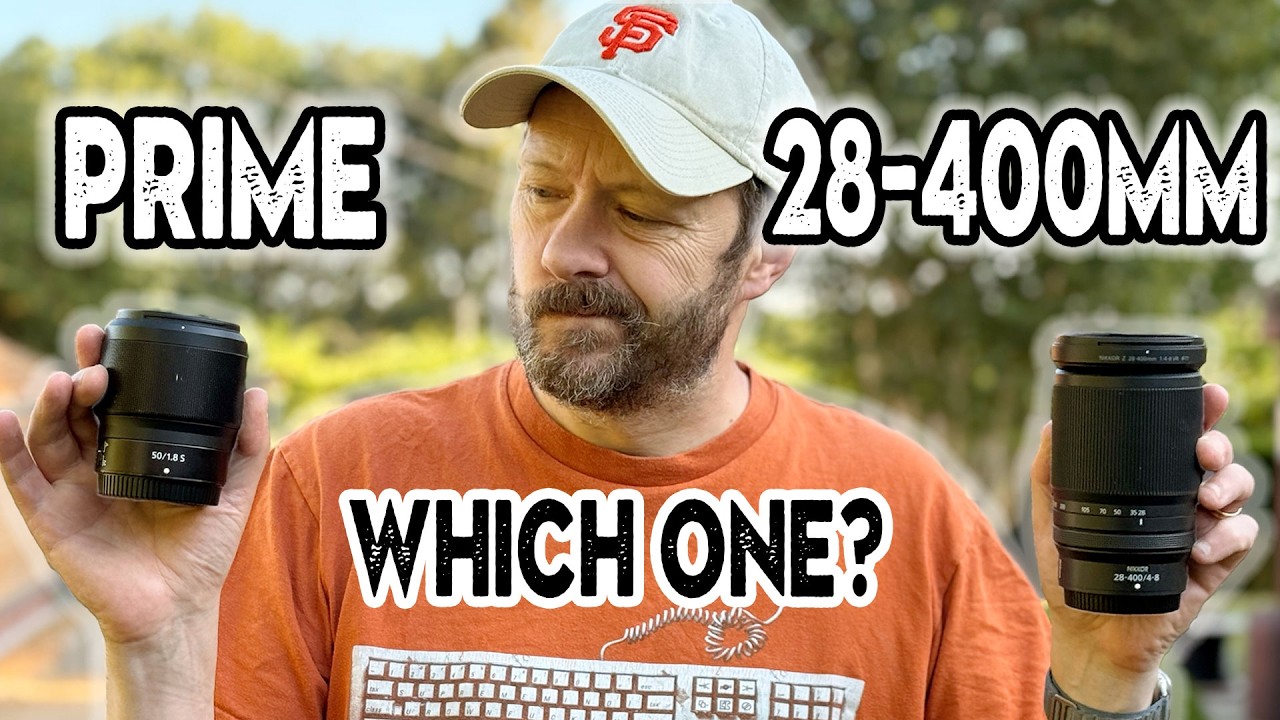
There’s a question I get in my inbox constantly, usually from someone who just found a killer deal on a superzoom: “Should I grab this or just stick with a prime?” I’ve been on both sides of that argument more times than I can count, and I’ll be honest, my spreadsheet of budget lens comparisons has a whole tab dedicated to exactly this tradeoff. When I watched Nigel Danson take a 28-400mm into the Lake District to wrestle with this question in real shooting conditions, I paid close attention, because he’s not running a controlled studio test. He’s out in uneven light, on a hill, with his dad, making real decisions about real compositions. That context matters more than most lab comparisons you’ll find online.
What makes Watch the full tutorial on YouTube worth your time is that Danson doesn’t pretend he nailed it. He almost didn’t post the footage. That honesty cuts through a lot of the gear-hype noise, and it reframes the whole prime-vs-zoom debate around something more useful than resolution charts: how does your glass change the way you think when you’re standing in front of a scene?
Step 1: Understand What a Wide Zoom Actually Gives You
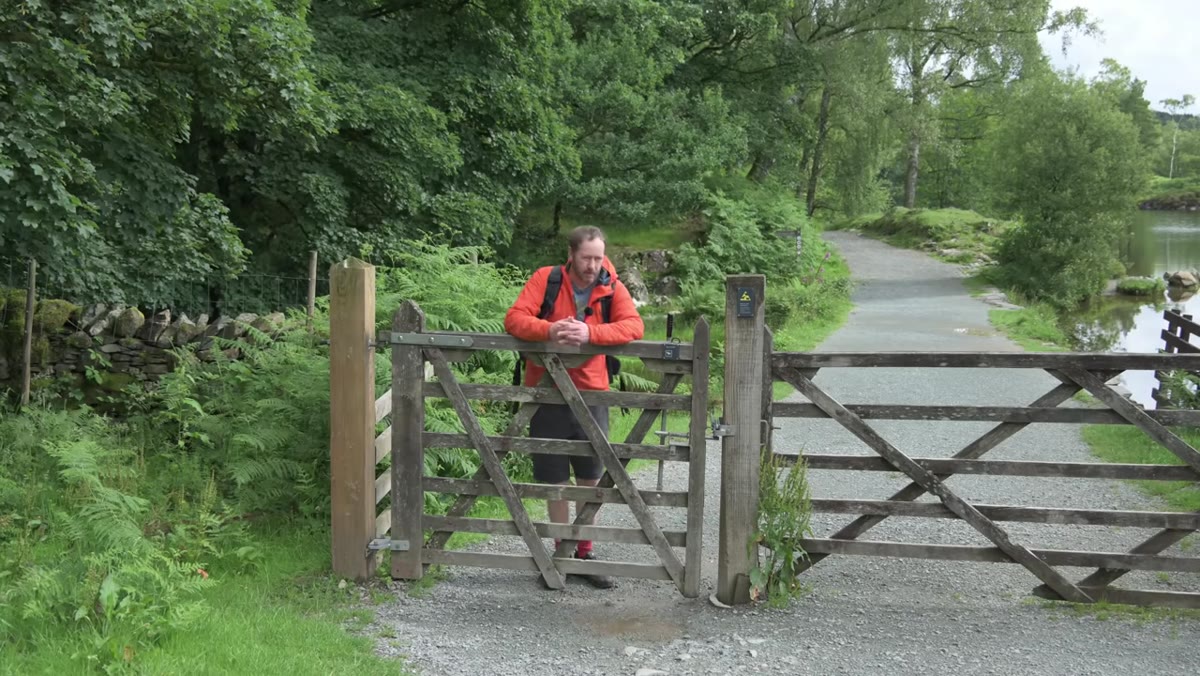 Danson holding 28-400mm lens in field
A 28-400mm range sounds like a cheat code. You can shoot a wide environmental scene and then immediately compress a distant subject without changing lenses or moving your feet. Danson frames this as having a blank piece of paper. Every compositional decision is available to you at any moment. That freedom is genuinely useful when you’re in an unfamiliar location and still figuring out what the scene is even about. If you’re the kind of shooter who likes to explore first and commit later, a superzoom lets you do that without penalty.
Danson holding 28-400mm lens in field
A 28-400mm range sounds like a cheat code. You can shoot a wide environmental scene and then immediately compress a distant subject without changing lenses or moving your feet. Danson frames this as having a blank piece of paper. Every compositional decision is available to you at any moment. That freedom is genuinely useful when you’re in an unfamiliar location and still figuring out what the scene is even about. If you’re the kind of shooter who likes to explore first and commit later, a superzoom lets you do that without penalty.
The practical move here is to treat the zoom range as a scouting tool, not a crutch. Dial through focal lengths deliberately. Stop at 28mm, see what you get. Stop at 85mm. Stop at 200mm. Each stop should feel like a conscious choice, not just a slow spin of the barrel looking for something that clicks. Danson’s shooting style in this video is methodical even with a flexible tool in hand, and that discipline is the thing worth copying.
Step 2: Recognize the Trap That Wide Zooms Set
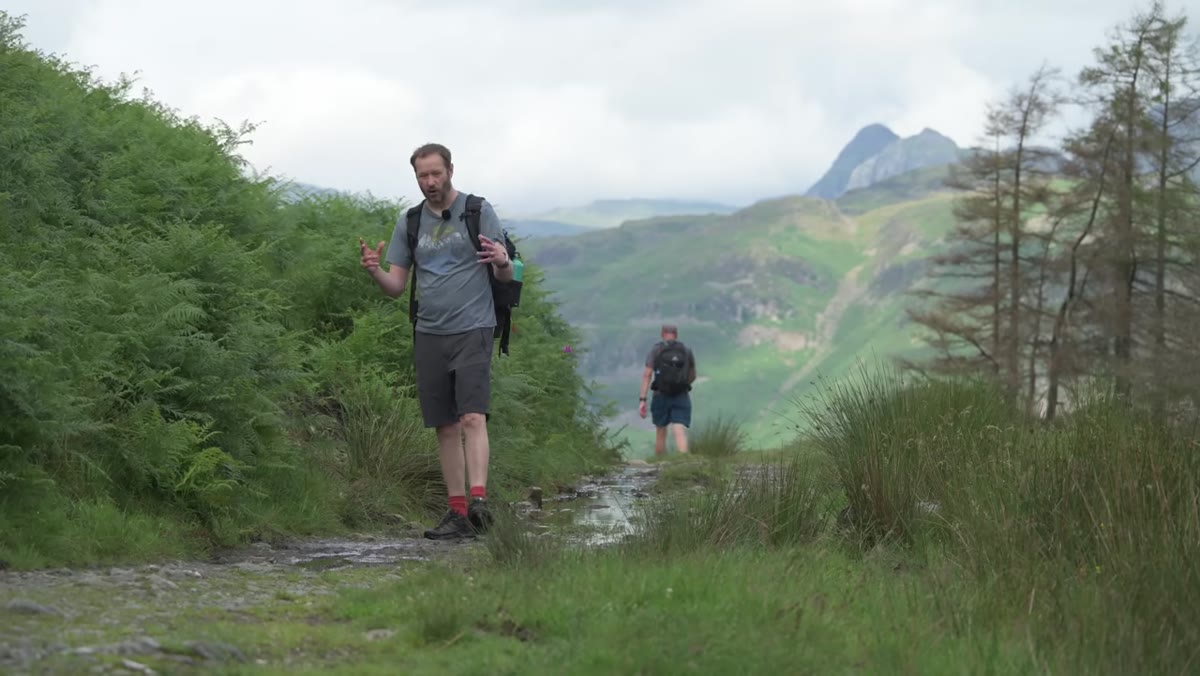 Danson walking through woodland, camera raised
The failure mode for a superzoom isn’t bad image quality. It’s what Danson calls “spray and pray.” When every focal length is available, it’s tempting to shoot everything and decide later. You end up with 400 frames and no clear vision behind any of them. This is less a gear problem than a habits problem, but the gear enables it.
Danson walking through woodland, camera raised
The failure mode for a superzoom isn’t bad image quality. It’s what Danson calls “spray and pray.” When every focal length is available, it’s tempting to shoot everything and decide later. You end up with 400 frames and no clear vision behind any of them. This is less a gear problem than a habits problem, but the gear enables it.
The fix is simple and free: before you raise the camera, decide what story the shot is telling. Wide and environmental? Compressed and isolated? Make that call first, set your focal length, and then compose. If you treat the zoom ring like a compositional decision tool rather than a search dial, you sidestep the trap entirely.
Step 3: Spot Scenes That Reward a Longer Focal Length
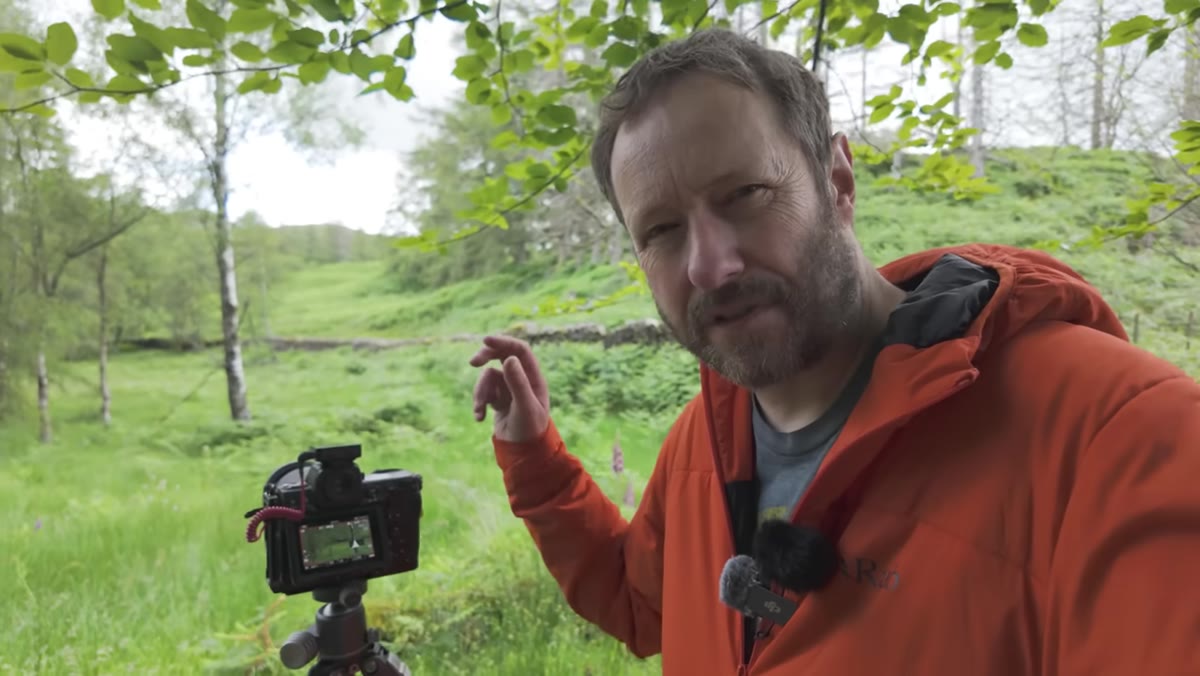 Silver birch trees against stone wall in Lake District
Danson stops at a cluster of silver birches in front of a stone wall and immediately starts talking about simplification. This is where longer focal lengths earn their keep in landscape work. Compressing a scene with something in the 200-300mm range lets you flatten a chaotic background into a clean wash of tone, then let your subject, whether it’s a tree, a rock formation, or a patch of light, read clearly against it.
Silver birch trees against stone wall in Lake District
Danson stops at a cluster of silver birches in front of a stone wall and immediately starts talking about simplification. This is where longer focal lengths earn their keep in landscape work. Compressing a scene with something in the 200-300mm range lets you flatten a chaotic background into a clean wash of tone, then let your subject, whether it’s a tree, a rock formation, or a patch of light, read clearly against it.
The practical technique is to look for color or tonal contrast that would get lost at 28mm. Danson notes the silver-grey of the birch bark against the near-identical grey of the stone wall, with the green of the canopy threading through. At a wide focal length, that relationship disappears into the noise of everything else in the frame. Zooming in isolates it. This is a compositional tool, not just a reach tool.
Step 4: Use Constraints to Get Decisive Faster
 Danson discussing prime lens philosophy while walking
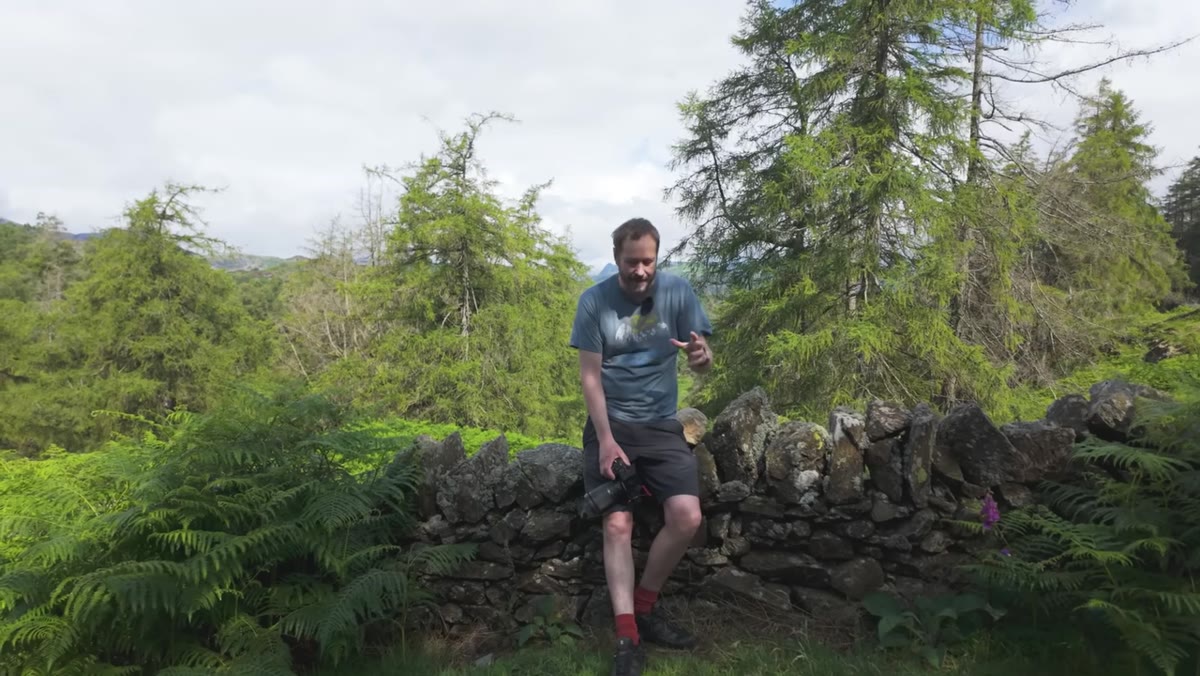
Here’s where the prime lens argument actually lands. Danson makes the point that a fixed focal length forces decisiveness. You arrive at a scene and your only variable is where you physically stand. Your feet become your zoom ring. That constraint sounds limiting, but it actually speeds up the decision-making process because you’ve eliminated an entire category of choices before you even raise the camera.
Danson discussing prime lens philosophy while walking
Here’s where the prime lens argument actually lands. Danson makes the point that a fixed focal length forces decisiveness. You arrive at a scene and your only variable is where you physically stand. Your feet become your zoom ring. That constraint sounds limiting, but it actually speeds up the decision-making process because you’ve eliminated an entire category of choices before you even raise the camera.
If you’re newer to landscape work or you find yourself endlessly tweaking compositions without committing, shooting a prime for a day is a better exercise than any YouTube tutorial. Pick 35mm or 50mm, leave it on all day, and pay attention to how quickly your eye adjusts. You’ll start pre-visualizing before you even stop walking, which is exactly the skill that separates strong landscape photographers from people who got lucky with a good frame.
Step 5: Accept That Hard Light Is Still Worth Shooting In
 Harsh midmorning light over Lake District hills
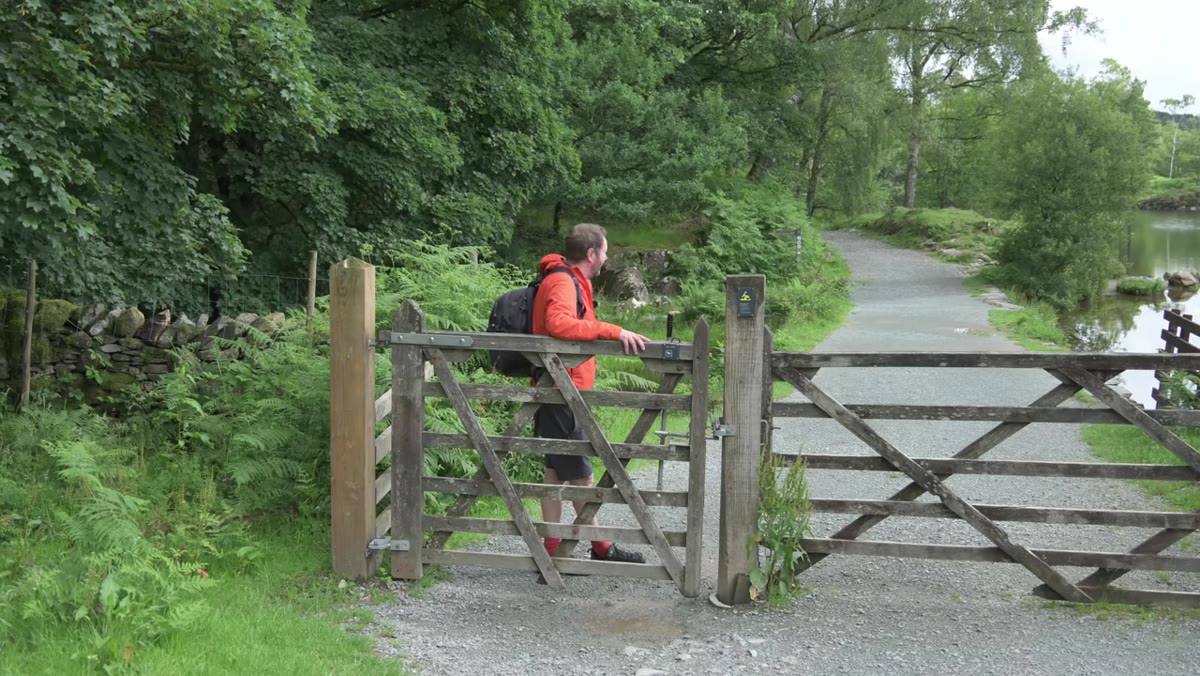
Danson mentions early on that the light is harsh, midmorning and direct, not the golden-hour softness that most landscape photographers schedule their alarms around. He goes out anyway. He gets broken cloud cover and patches of dappled light, which he uses, but the underlying lesson is that waiting for perfect conditions is a good way to never develop your eye for difficult ones.
Harsh midmorning light over Lake District hills
Danson mentions early on that the light is harsh, midmorning and direct, not the golden-hour softness that most landscape photographers schedule their alarms around. He goes out anyway. He gets broken cloud cover and patches of dappled light, which he uses, but the underlying lesson is that waiting for perfect conditions is a good way to never develop your eye for difficult ones.
When light is hard, lean into contrast, shadow structure, and silhouette. At longer focal lengths, harsh light can actually work in your favor because you can hunt for a slice of scene where the light wraps in an interesting way, rather than having to manage an entire wide landscape that’s all blown highlights. The zoom becomes a way to edit the frame before you shoot.
What I’d Add From My Own Testing
I’ve run a version of this comparison myself, not in the Lake District, but in Rocky Mountain foothills outside Denver, and my takeaway lines up with Danson’s but with a sharper edge on the budget side. Superzooms in the 28-400mm class tend to carry an optical compromise at the long end, softer wide open, more chromatic aberration, more distortion than a dedicated telephoto prime. If you’re printing large or cropping heavily, that matters. If you’re shooting for social or client deliverables at web resolution, it usually doesn’t.
The honest calculus for most photographers is this: one superzoom covers what would otherwise require three or four separate lenses. Unless you’re chasing ultimate image quality at a specific focal length, the flexibility win is real. I’d rather carry one lens that does 80% of everything than a bag that covers 100% but stays in the car because it’s too heavy to bother.
The single most important idea from this tutorial is that the prime-vs-zoom debate is really a question about creative discipline. A prime forces it on you. A zoom requires you to supply it yourself. Neither is better in the abstract. They just demand different things from the photographer holding them.
Watch the full tutorial on YouTube to follow Danson’s full session in the Lake District, including his honest post-shoot breakdown of what worked and what he’d do differently.
Comments
Leave a Comment