
I’ll be straight with you: I spend most of my time hunting deals on glass that costs under $500. My whole thing is proving that expensive gear is rarely the answer. But every once in a while, a lens comes along that makes me stop and actually think through the value proposition instead of just reflexively saying “too expensive, move on.” The Sigma 200mm f/2 is one of those lenses. In this Tony & Chelsea Northrup tutorial, Chelsea walks through a full hands-on breakdown of this lens, and watching it forced me to think seriously about what you’re actually buying when you spend $3,200 on a single piece of glass.
The core question isn’t whether this lens is good. It clearly is. The question is whether the specific combination of focal length, maximum aperture, and build quality solves a real problem you have, or whether it’s just a flex. Chelsea answers that better than most reviewers I’ve seen, because she ties the technical specs directly to portrait-specific outcomes. That’s the frame I’m going to use here too. Watch the full tutorial on YouTube if you want to see the sample images alongside this walkthrough.
Step 1: Understand What You’re Holding Before You Shoot
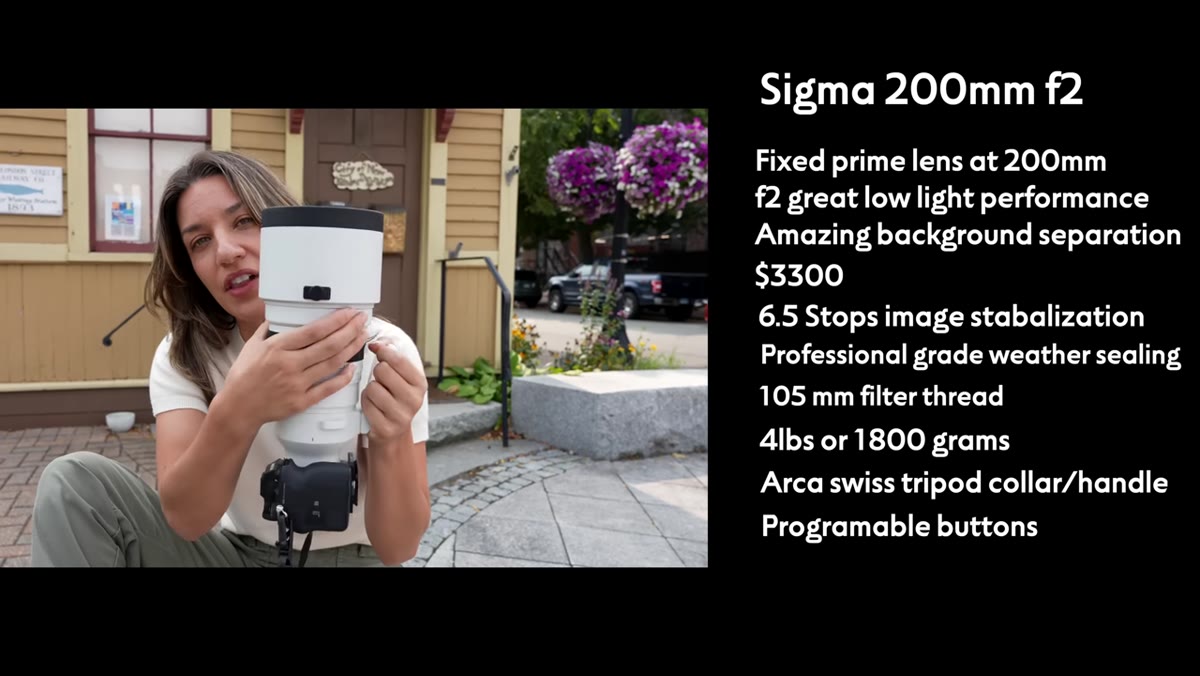
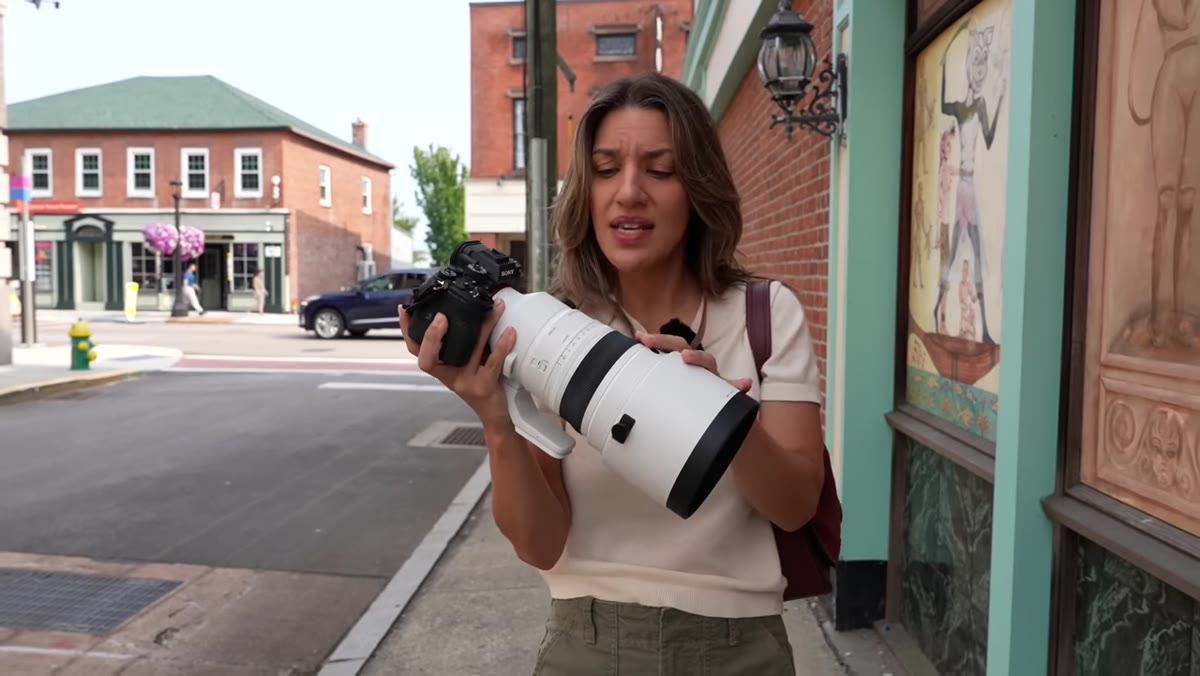 Chelsea holding the Sigma 200mm f2 lens out of box
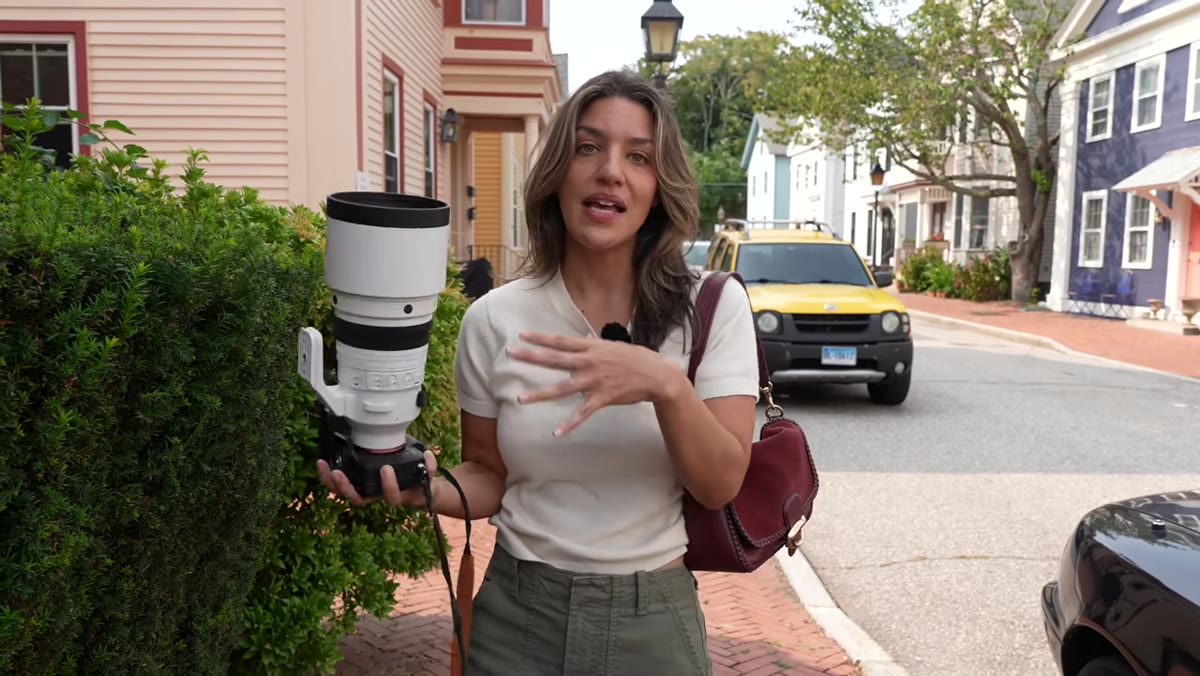
Before you mount this thing on your camera, know what you’re dealing with physically. The Sigma 200mm f/2 weighs about 4 pounds (roughly 1,800 grams). That’s not a walk-around lens. Chelsea notes it immediately feels dense and solid, which is the right read. If you’re used to primes under 2 pounds, this will change how you think about shooting positions and session length. Factor that in before you fall in love with the image quality.
Chelsea holding the Sigma 200mm f2 lens out of box
Before you mount this thing on your camera, know what you’re dealing with physically. The Sigma 200mm f/2 weighs about 4 pounds (roughly 1,800 grams). That’s not a walk-around lens. Chelsea notes it immediately feels dense and solid, which is the right read. If you’re used to primes under 2 pounds, this will change how you think about shooting positions and session length. Factor that in before you fall in love with the image quality.
The build is professional-grade, with weather sealing throughout. The 105mm filter thread is large enough that you’ll need to budget for bigger, more expensive filters if you plan to use them. The lens also comes with an Arca-Swiss compatible tripod collar that rotates 90 degrees. Chelsea makes a good point that the collar doubles as a handle, which you’ll want to use regularly given the weight.
Step 2: Know the Stabilization and Autofocus System
 Close-up of lens body showing stabilization and control buttons
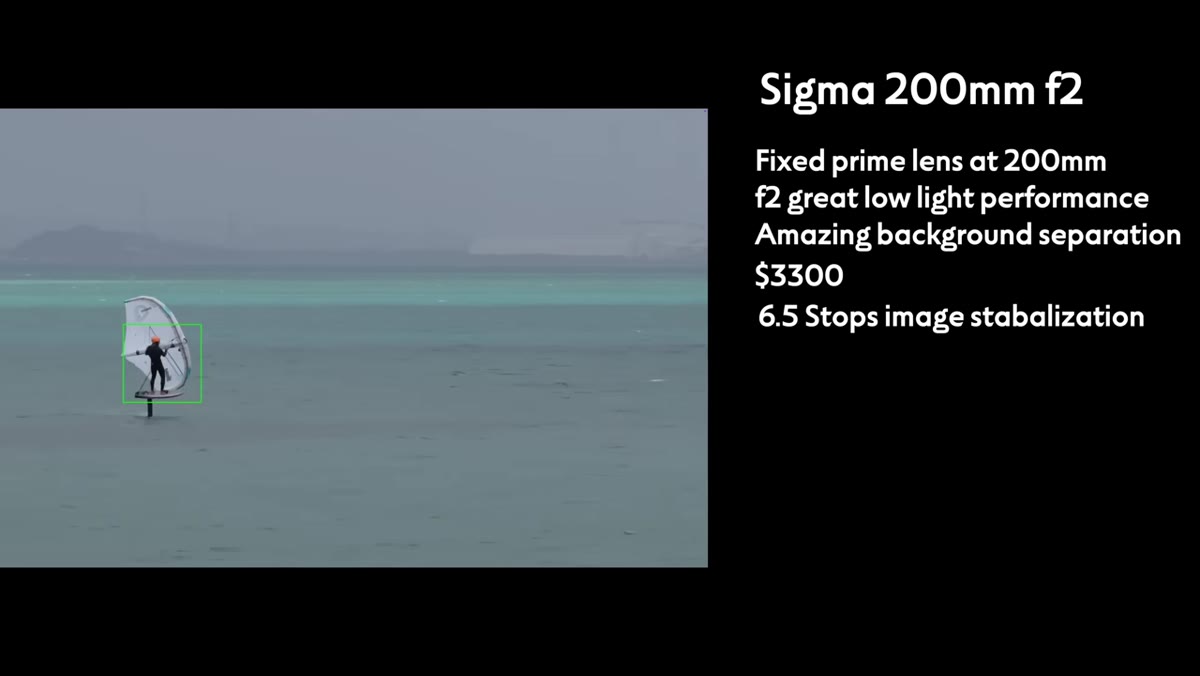
The Sigma 200mm f/2 has 6.5 stops of image stabilization built in. At 200mm, handheld shooting without stabilization is a recipe for soft images, especially with any subject movement. That 6.5-stop figure gives you a real safety net. You’re not going to eliminate motion blur from a moving subject with IBIS or OIS alone, but you will eliminate camera shake, which is the more controllable variable.
Close-up of lens body showing stabilization and control buttons
The Sigma 200mm f/2 has 6.5 stops of image stabilization built in. At 200mm, handheld shooting without stabilization is a recipe for soft images, especially with any subject movement. That 6.5-stop figure gives you a real safety net. You’re not going to eliminate motion blur from a moving subject with IBIS or OIS alone, but you will eliminate camera shake, which is the more controllable variable.
The autofocus system is focus-by-wire with a linear motor. In plain terms: the focus ring isn’t mechanically linked to the glass elements. It sends electronic signals instead. The linear motor makes the focusing response smooth and consistent rather than jumpy. For portraits where you’re tracking a subject who’s shifting position or turning their head, that smoothness matters more than raw speed. Chelsea confirms from her test shoot that the system kept up reliably.
Step 3: Use the Focal Length to Control Background Blur
 Portrait sample showing creamy bokeh background at f2
Here’s where the 200mm f/2 combination starts to justify itself. At this focal length and aperture, the depth of field is razor thin and the background blur is extreme. Chelsea describes it as “surreal and creamy,” which is accurate. The physics here are working hard for you. A 200mm focal length at f/2 produces significantly more background separation than, say, an 85mm f/1.8, even if the 85mm has a wider aperture on paper.
Portrait sample showing creamy bokeh background at f2
Here’s where the 200mm f/2 combination starts to justify itself. At this focal length and aperture, the depth of field is razor thin and the background blur is extreme. Chelsea describes it as “surreal and creamy,” which is accurate. The physics here are working hard for you. A 200mm focal length at f/2 produces significantly more background separation than, say, an 85mm f/1.8, even if the 85mm has a wider aperture on paper.
When you’re setting up a portrait session with this lens, position your subject with meaningful distance between them and whatever is behind them. Even a cluttered urban background, signs, parked cars, busy storefronts, can dissolve into smooth color when you have enough subject-to-background distance at 200mm f/2. Chelsea’s test shots in a city environment demonstrate this clearly. You don’t need a clean location. You need distance.
Step 4: Use Compression to Flatter Your Subject
 Side-by-side comparison showing wide vs telephoto facial compression
Telephoto compression is one of those concepts that sounds technical but has a very practical, visible effect on portraits. When you shoot at 200mm, the relative distance between your subject’s nose and ears appears compressed. The face looks flatter in a flattering way. Features that might appear exaggerated at shorter focal lengths, like a prominent nose or asymmetrical ears, become less noticeable.
Side-by-side comparison showing wide vs telephoto facial compression
Telephoto compression is one of those concepts that sounds technical but has a very practical, visible effect on portraits. When you shoot at 200mm, the relative distance between your subject’s nose and ears appears compressed. The face looks flatter in a flattering way. Features that might appear exaggerated at shorter focal lengths, like a prominent nose or asymmetrical ears, become less noticeable.
Chelsea shows a direct comparison between wide-angle and telephoto portraits of the same subject. The difference is significant and not subtle. If you’re shooting headshots or beauty-style portraits where your client wants to look their best, compression at 200mm is a legitimate tool, not just a nice side effect. This is part of why wedding and portrait photographers have historically gravitated toward the 135-200mm range for face shots.
Step 5: Manage Chromatic Aberration at Wide Apertures
 Zoomed-in crop showing chromatic aberration reduction at f2
One common concern with ultra-fast lenses is chromatic aberration, the colored fringing (usually magenta and green) that shows up around high-contrast edges, especially on backlit subjects or foliage. Sigma uses what they call high-quality dispersion glass in this lens specifically to reduce this problem.
Zoomed-in crop showing chromatic aberration reduction at f2
One common concern with ultra-fast lenses is chromatic aberration, the colored fringing (usually magenta and green) that shows up around high-contrast edges, especially on backlit subjects or foliage. Sigma uses what they call high-quality dispersion glass in this lens specifically to reduce this problem.
Chelsea notes that at f/2 you can see some chromatic aberration, but it’s controlled and tapers off as you stop down. In practice, this means two things. First, if you’re shooting wide open into bright backlight, check your edges and correct in post if needed. Second, at f/2.8 and beyond, the issue largely disappears. Most post-processing software, including Lightroom, handles residual chromatic aberration well, so this is not a dealbreaker. It’s just something to be aware of when you’re shooting at maximum aperture in high-contrast lighting situations.
Step 6: Evaluate the Programmable Controls for Your Workflow
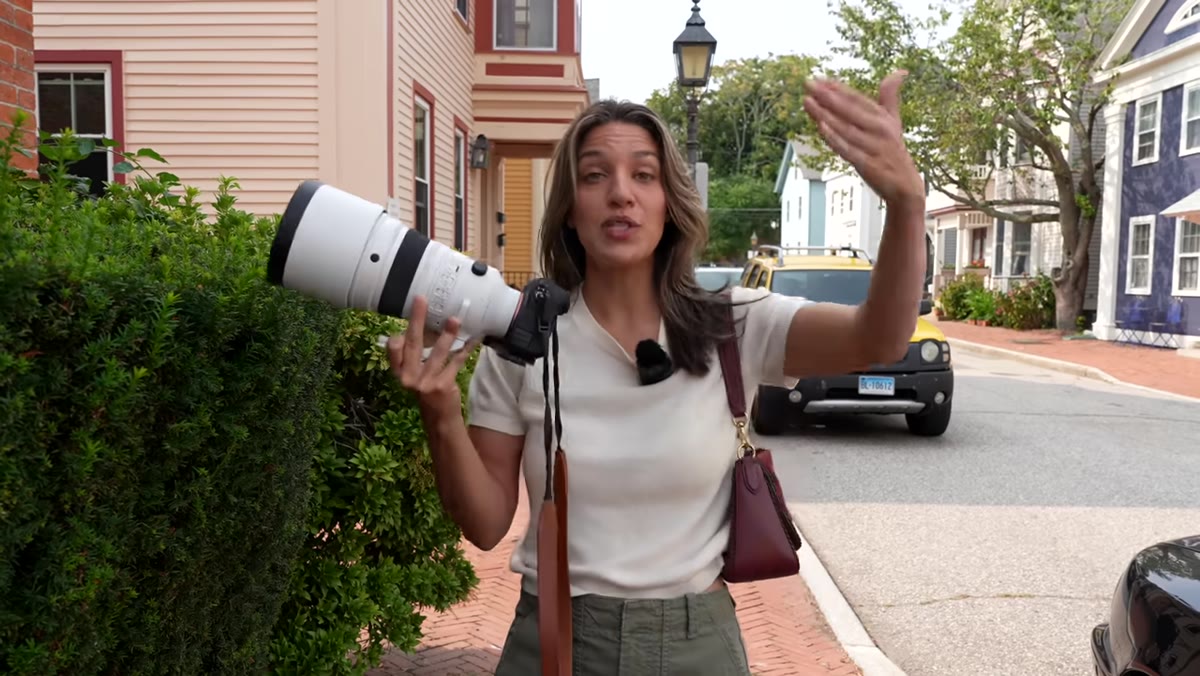
 Programmable buttons on the lens barrel in focus
The lens has programmable buttons on the barrel. This sounds like a minor detail, but it’s worth thinking through before your first shoot. Depending on your camera system, you can assign functions like autofocus hold, focus area switching, or image stabilization mode to these buttons. For a lens this heavy that you’re likely shooting from a tripod or monopod, having key controls accessible without moving your hand to the camera body is a real workflow improvement.
Programmable buttons on the lens barrel in focus
The lens has programmable buttons on the barrel. This sounds like a minor detail, but it’s worth thinking through before your first shoot. Depending on your camera system, you can assign functions like autofocus hold, focus area switching, or image stabilization mode to these buttons. For a lens this heavy that you’re likely shooting from a tripod or monopod, having key controls accessible without moving your hand to the camera body is a real workflow improvement.
Spend 15 minutes before your first session mapping these buttons to whatever you reach for most often. If you do a lot of tracking shots with moving subjects, assign AF tracking to one button. If you frequently switch between stabilization modes, put that on another. The lens rewards a little setup time.
The Budget Reviewer’s Honest Caveat
I run a spreadsheet on every piece of glass I’ve tested under $500, and nothing on that list touches what this Sigma does for portrait work. That’s the honest answer. But here’s what I’d ask anyone considering this lens: are you pricing in the full system cost? At 200mm, you need to be further from your subject, which means you need the space. You need a sturdy support system rated for 4 pounds. You need larger filters if you want them. The $3,200 lens price is the starting point, not the finish line.
If you’re already shooting professional portraits regularly and clients are your primary income source, this lens pays for itself in differentiated results fairly quickly. If you’re shooting portraits occasionally as a side project, you can get 80% of this effect from a used 135mm f/2 for a fraction of the price. Know which photographer you are before you pull the trigger.
The single most important thing Chelsea’s breakdown makes clear is this: the Sigma 200mm f/2 isn’t overpriced for what it does. It’s overpriced for what most people need. If you’re in the specific category of portrait photographers who work in uncontrolled locations, shoot clients who expect professional results, and want maximum background separation without relying on artificial blur, this lens is legitimately the tool. Everyone else should think hard before spending $3,200 to solve a problem they encounter twice a year.
Watch the full tutorial on YouTube to see Chelsea’s sample images and live shooting breakdown, which make the compression and bokeh differences far more convincing than any written description can.
Comments
Leave a Comment