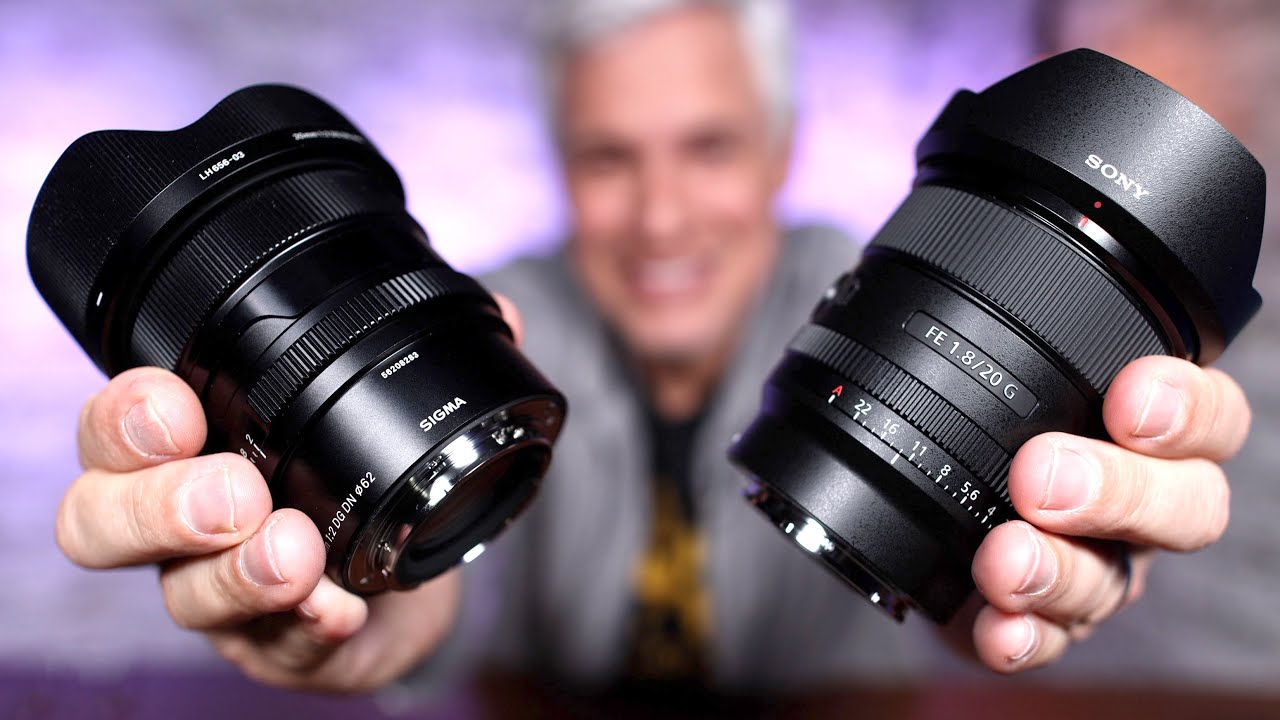
Every time I’m about to pull the trigger on a lens, I end up in the same rabbit hole: spec sheets, forum arguments, and sample images shot under perfect studio conditions that tell me almost nothing about how the thing behaves when I’m freezing at 2 a.m. trying to photograph the Milky Way outside Denver. That’s why I stopped trusting spec sheets and started trusting side-by-side field tests. Tony and Chelsea Northrup do some of the most methodical lens comparisons on YouTube, and their recent shootout between the Sony 20mm f/1.8 G and the Sigma 20mm f/2 Contemporary for Sony E-mount is exactly the kind of test I wish I had run before buying my last wide-angle.
Watch the full tutorial on YouTube
What makes this comparison genuinely useful is that Tony tests both lenses the same way a landscape or astro shooter would actually use them: wide open, in tricky light, on a high-resolution body. These aren’t lab charts. They’re real-world conditions that expose the differences that matter. Here’s how the test breaks down, and what it means for your buying decision.
Step 1: Evaluate Build Quality and Handling Side by Side
 Two lenses side by side showing similar size and shape
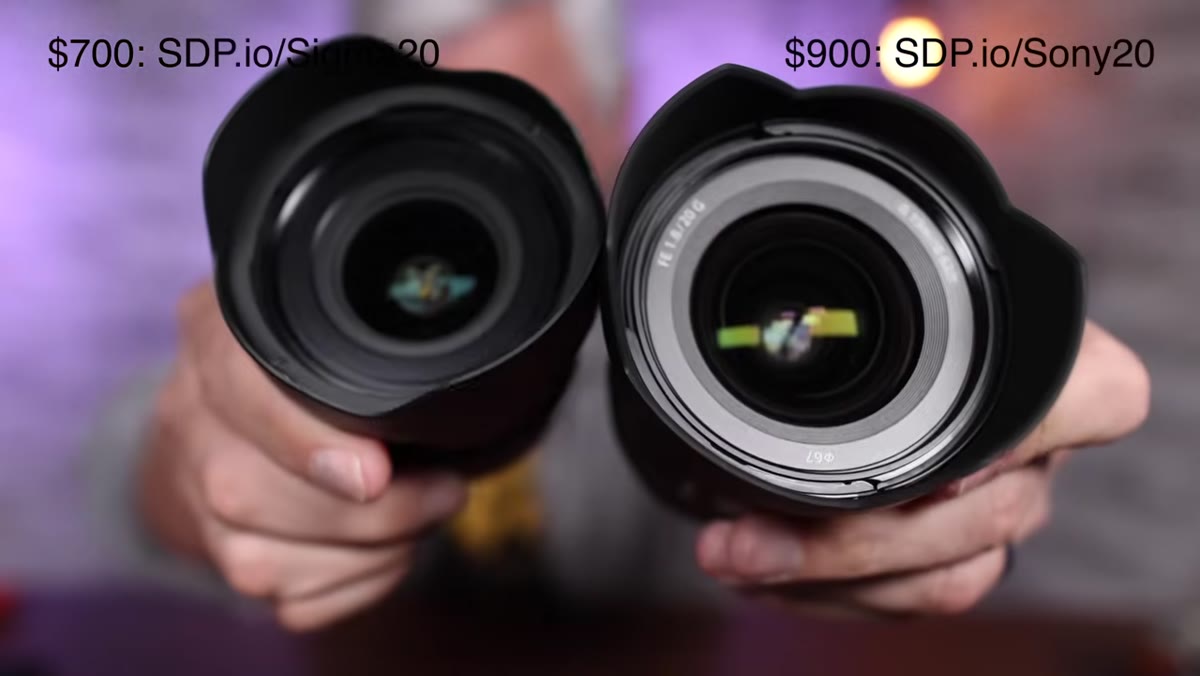
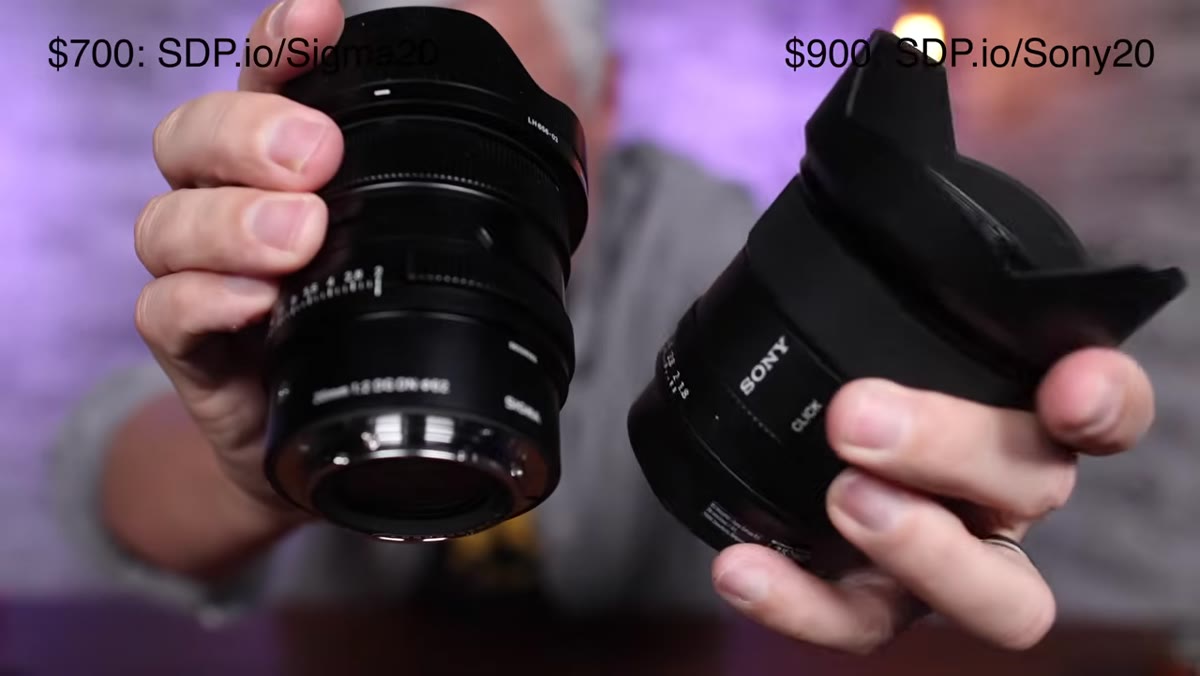
Both lenses are strikingly similar in physical form. They’re roughly the same size, same weight class, and both feel solid in hand. Critically, both include clickable aperture rings, which is a feature that used to be reserved for higher-end glass. If you’re shopping in this category expecting the Sigma to feel like a budget compromise, it won’t. The build quality is genuinely comparable at first glance, which makes the handling differences that come up later more interesting.
Two lenses side by side showing similar size and shape
Both lenses are strikingly similar in physical form. They’re roughly the same size, same weight class, and both feel solid in hand. Critically, both include clickable aperture rings, which is a feature that used to be reserved for higher-end glass. If you’re shopping in this category expecting the Sigma to feel like a budget compromise, it won’t. The build quality is genuinely comparable at first glance, which makes the handling differences that come up later more interesting.
Step 2: Test Video Autofocus on Two Unrelated Subjects
 Camera switching autofocus between two different subjects
To evaluate autofocus for video, Tony switches focus between two completely different subjects mid-clip, which is a harder task than simple subject tracking. The honest result: across dozens of individual tests on a Sony A7S III, both lenses perform about the same. If autofocus speed and accuracy for video is your primary concern, you’re not going to gain or lose anything meaningful based on which of these two you pick. That’s actually good news if you’re leaning toward the Sigma for budget reasons.
Camera switching autofocus between two different subjects
To evaluate autofocus for video, Tony switches focus between two completely different subjects mid-clip, which is a harder task than simple subject tracking. The honest result: across dozens of individual tests on a Sony A7S III, both lenses perform about the same. If autofocus speed and accuracy for video is your primary concern, you’re not going to gain or lose anything meaningful based on which of these two you pick. That’s actually good news if you’re leaning toward the Sigma for budget reasons.
Step 3: Compare Bokeh Shape and Quality at Wide Apertures
 Bokeh balls showing round Sony vs cat’s eye Sigma in corners
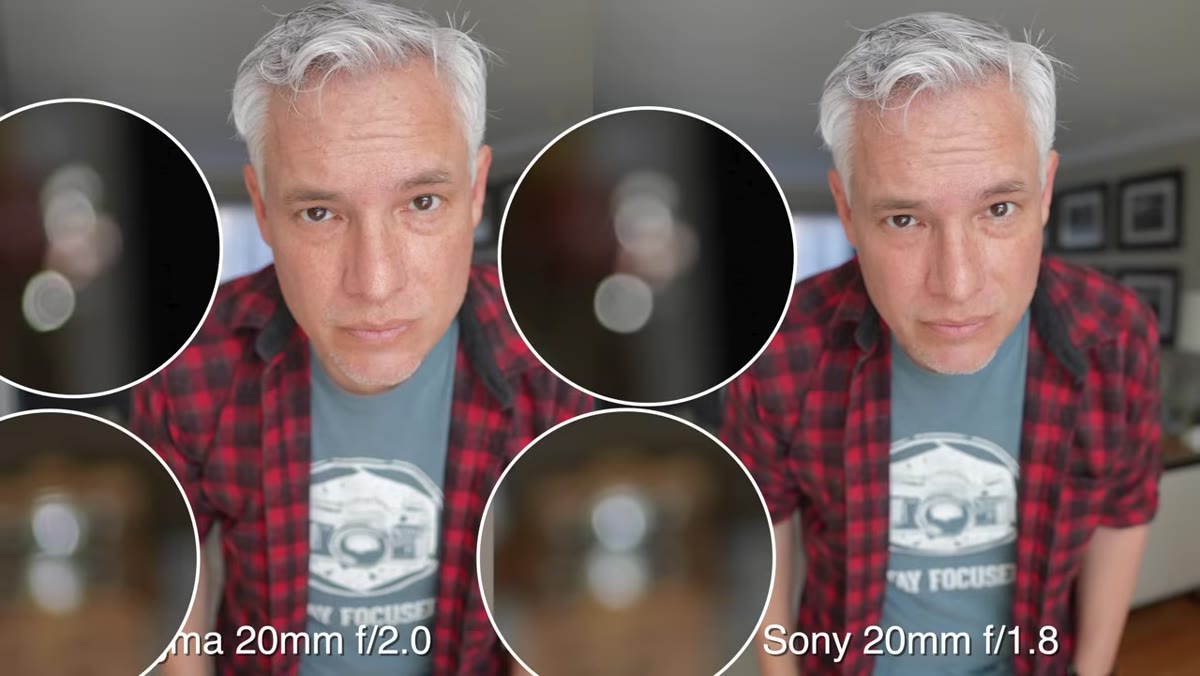
This is where the lenses start to separate. When you freeze a frame and look at out-of-focus highlights in the corners of the frame, the Sony produces smooth, round bokeh balls. The Sigma, shot at a comparable aperture, produces what’s called “cat’s eye” bokeh in the corners, meaning the highlights elongate and take on an uneven, almost winged shape. Both lenses show some ghosting on the bokeh highlights, but the Sony’s rendering is noticeably cleaner and more consistent across the frame. For portrait work near the edges or any shot where background blur matters, the Sony wins this round clearly.
Bokeh balls showing round Sony vs cat’s eye Sigma in corners
This is where the lenses start to separate. When you freeze a frame and look at out-of-focus highlights in the corners of the frame, the Sony produces smooth, round bokeh balls. The Sigma, shot at a comparable aperture, produces what’s called “cat’s eye” bokeh in the corners, meaning the highlights elongate and take on an uneven, almost winged shape. Both lenses show some ghosting on the bokeh highlights, but the Sony’s rendering is noticeably cleaner and more consistent across the frame. For portrait work near the edges or any shot where background blur matters, the Sony wins this round clearly.
Step 4: Check the Aperture Ring De-Click Feature for Video Shooters
 Sony lens aperture ring switch being toggled for smooth adjustment
The Sony 20mm f/1.8 G has a physical switch that de-clicks the aperture ring, letting you adjust exposure smoothly and silently while recording. The Sigma has a clickable aperture ring but no de-click option. Tony demonstrates what happens when you adjust aperture mid-roll on the Sigma: you can hear the clicks on audio, and the physical motion of turning the ring actually introduces camera shake into the footage. If you shoot hybrid photo/video and need to pull exposure while rolling, the Sony is the only practical choice here. This is one of those features that looks minor on a spec sheet but makes a real difference in professional workflows.
Sony lens aperture ring switch being toggled for smooth adjustment
The Sony 20mm f/1.8 G has a physical switch that de-clicks the aperture ring, letting you adjust exposure smoothly and silently while recording. The Sigma has a clickable aperture ring but no de-click option. Tony demonstrates what happens when you adjust aperture mid-roll on the Sigma: you can hear the clicks on audio, and the physical motion of turning the ring actually introduces camera shake into the footage. If you shoot hybrid photo/video and need to pull exposure while rolling, the Sony is the only practical choice here. This is one of those features that looks minor on a spec sheet but makes a real difference in professional workflows.
Step 5: Run a High-Resolution Sharpness Test Wide Open
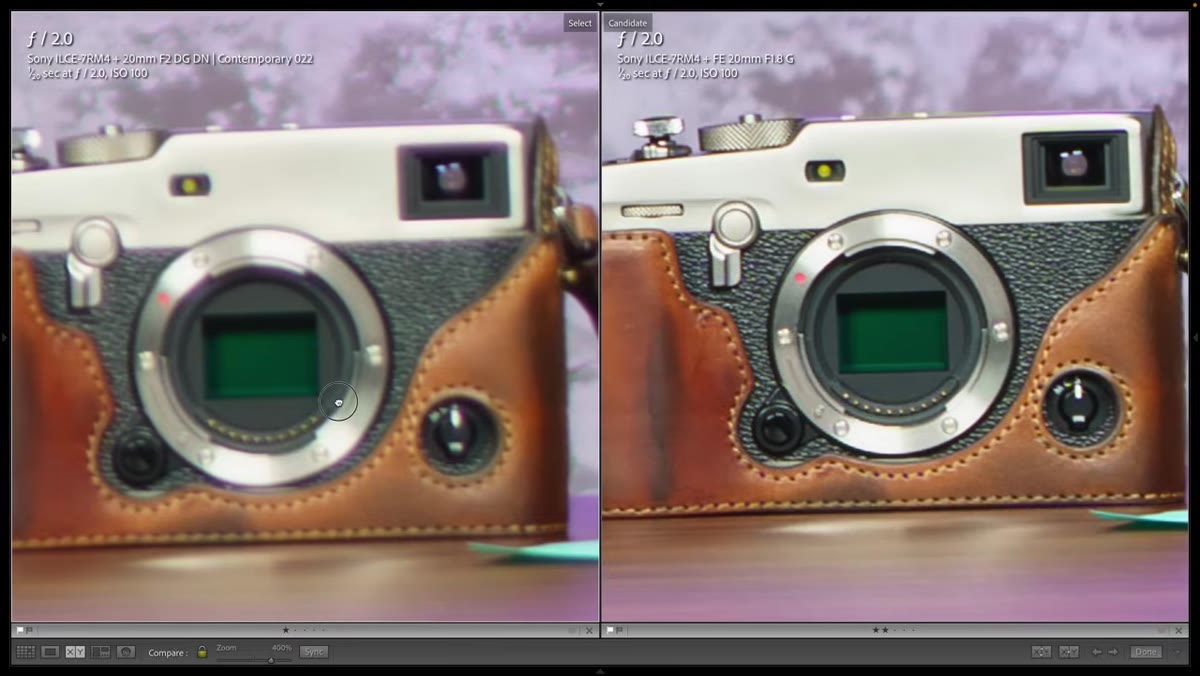 240 megapixel pixel-shift image zoomed in comparing both lenses
For sharpness testing, Tony mounts both lenses on a Sony A7R IV and shoots using pixel-shift mode, which composites 16 exposures into roughly a 240-megapixel image with full color data per pixel. Both lenses are tested at f/2.0 since that’s wide open for the slower Sigma. The reasoning is sound: differences between lenses are always most visible wide open, and stopping down tends to close the gap between good and great glass. At 100 percent zoom on the composite, the Sony is visibly sharper. That said, Tony is honest about context: on a 24-megapixel camera under real shooting conditions with air haze and any camera movement, you probably won’t see this difference. The Sony is sharper in a controlled test. Whether that matters to you depends entirely on your output size and shooting conditions.
240 megapixel pixel-shift image zoomed in comparing both lenses
For sharpness testing, Tony mounts both lenses on a Sony A7R IV and shoots using pixel-shift mode, which composites 16 exposures into roughly a 240-megapixel image with full color data per pixel. Both lenses are tested at f/2.0 since that’s wide open for the slower Sigma. The reasoning is sound: differences between lenses are always most visible wide open, and stopping down tends to close the gap between good and great glass. At 100 percent zoom on the composite, the Sony is visibly sharper. That said, Tony is honest about context: on a 24-megapixel camera under real shooting conditions with air haze and any camera movement, you probably won’t see this difference. The Sony is sharper in a controlled test. Whether that matters to you depends entirely on your output size and shooting conditions.
Step 6: Evaluate Flare Resistance and Contrast in Backlit Conditions
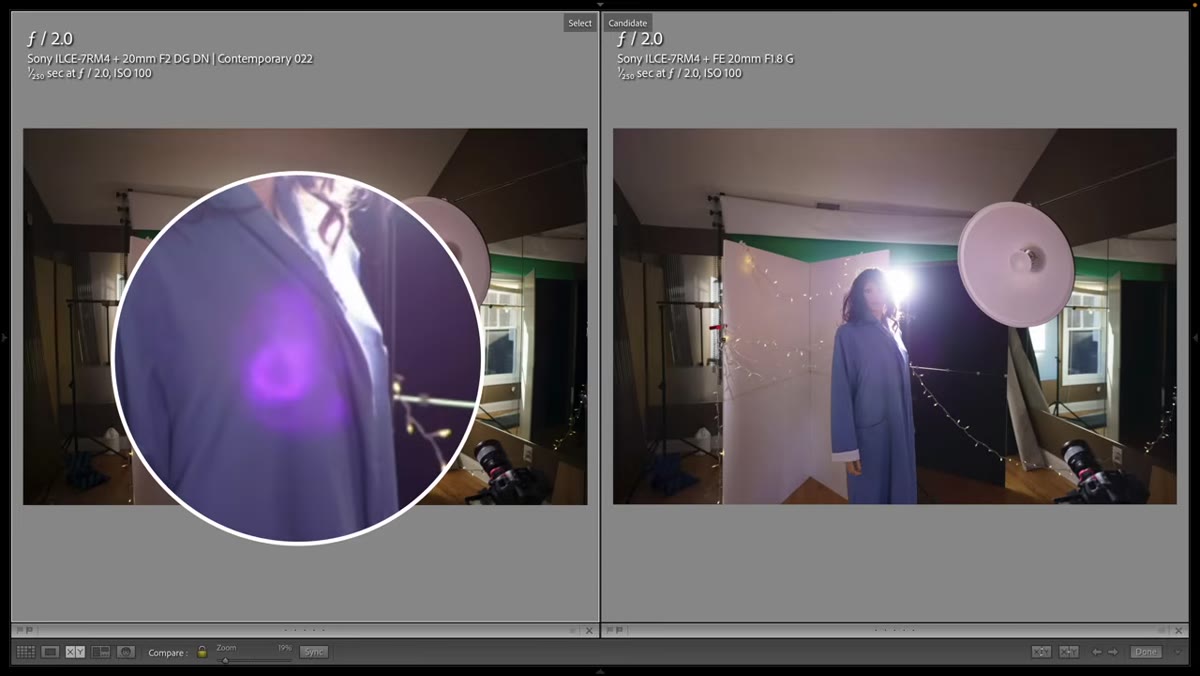 Backlit mannequin test showing purple flare on Sigma lens
Landscape and astro photographers regularly shoot into bright light sources, so flare handling is not an academic concern. Tony sets up a controlled backlit scene with a fixed artificial light and a mannequin to remove variables. The Sigma shows noticeable purple fringing and flare artifacts in this scenario. The Sony handles the same backlit situation with significantly less flaring. Overall contrast is close between the two, close enough that Tony calls it roughly a tie, but the Sony’s flare control is the cleaner result. For sunrise and sunset landscape work where you’re pointing the lens toward the light source, this matters.
Backlit mannequin test showing purple flare on Sigma lens
Landscape and astro photographers regularly shoot into bright light sources, so flare handling is not an academic concern. Tony sets up a controlled backlit scene with a fixed artificial light and a mannequin to remove variables. The Sigma shows noticeable purple fringing and flare artifacts in this scenario. The Sony handles the same backlit situation with significantly less flaring. Overall contrast is close between the two, close enough that Tony calls it roughly a tie, but the Sony’s flare control is the cleaner result. For sunrise and sunset landscape work where you’re pointing the lens toward the light source, this matters.
What I’d Add From My Own Testing Experience
I haven’t run a pixel-shift shootout myself, but I have sat in a coffee shop with a spreadsheet comparing every wide-angle under $1,000 for Sony E-mount, which is admittedly a very specific way to spend a Saturday morning. The pattern Tony’s test confirms is one I’ve seen repeatedly: Sigma’s Contemporary line punches well above its price point in most categories, but Sony’s G-series glass tends to win the edge cases: corner bokeh, flare resistance, and video-specific features like de-click aperture rings. If you’re a pure landscape stills shooter on a budget and sharpness differences at extreme resolutions don’t concern you, the Sigma is a serious lens at a lower price. If you shoot video alongside stills, or if you print large and shoot wide open frequently, the Sony is worth the premium. The Sigma isn’t a compromise pick. It’s a genuine tool with specific tradeoffs, and knowing what those tradeoffs are makes the decision easy.
The single most important takeaway here is that both lenses are good, but the Sony earns its higher price through real, demonstrable advantages in bokeh rendering, flare control, and video handling rather than just brand prestige. Knowing exactly where the Sigma falls short lets you decide whether those gaps matter for how you actually shoot.
Watch the full tutorial on YouTube to see every test result side by side directly from Tony’s footage.
Comments
Leave a Comment