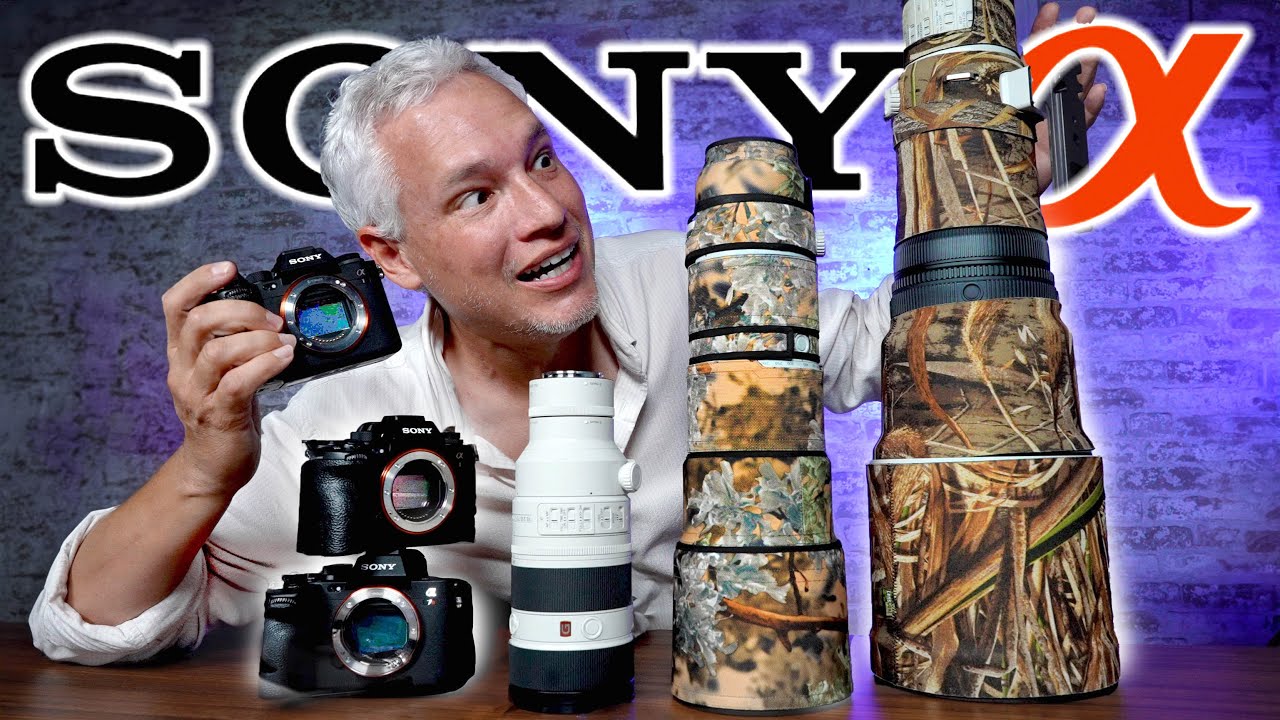
Wildlife photography is the one genre where I can’t tell you gear doesn’t matter. I’ve spent years arguing that a $500 camera can do most of what a $2,000 camera can do, and I stand by that for portraits, street work, and even landscapes. But when you’re tracking a bird of prey at 400mm while it banks hard left, your autofocus system and viewfinder refresh rate are not abstractions. They are the difference between a keeper and a blur.
I’ve been working through Watch the full tutorial on YouTube from Tony and Chelsea Northrup, who between them have about 40 years of wildlife shooting experience. What makes their breakdown useful is that they didn’t just rank cameras by price. They explained the specific mechanical reasons why certain features matter more in the field than on a spec sheet. That framing is exactly how I approach gear reviews, so I wanted to walk through their recommendations and add some context from the budget-hunting side of things.
If you’re building a Sony wildlife kit right now, or you’re trying to figure out whether to upgrade what you already have, here’s the practical walkthrough.
Step 1: Start With the Right Category of Camera
 Sony APS-C camera bodies displayed side by side
Not every Sony body is designed with action or wildlife in mind. Tony and Chelsea flag this early and it’s worth taking seriously. Cameras like the ZV-E10 or ZV-E1 lack optical viewfinders, which sounds like a minor inconvenience until you’re trying to track something fast-moving in bright sunlight and your screen is washing out. For wildlife, a viewfinder isn’t a luxury. It’s a functional tool that keeps you locked onto your subject.
Sony APS-C camera bodies displayed side by side
Not every Sony body is designed with action or wildlife in mind. Tony and Chelsea flag this early and it’s worth taking seriously. Cameras like the ZV-E10 or ZV-E1 lack optical viewfinders, which sounds like a minor inconvenience until you’re trying to track something fast-moving in bright sunlight and your screen is washing out. For wildlife, a viewfinder isn’t a luxury. It’s a functional tool that keeps you locked onto your subject.
Before you start comparing specs, make sure the body you’re considering was actually designed for this type of shooting. That filters out a big chunk of the Sony lineup immediately and focuses your attention where it belongs.
Step 2: Understand What APS-C Buys You (and What It Costs You)
 APS-C crop factor diagram showing focal length multiplication
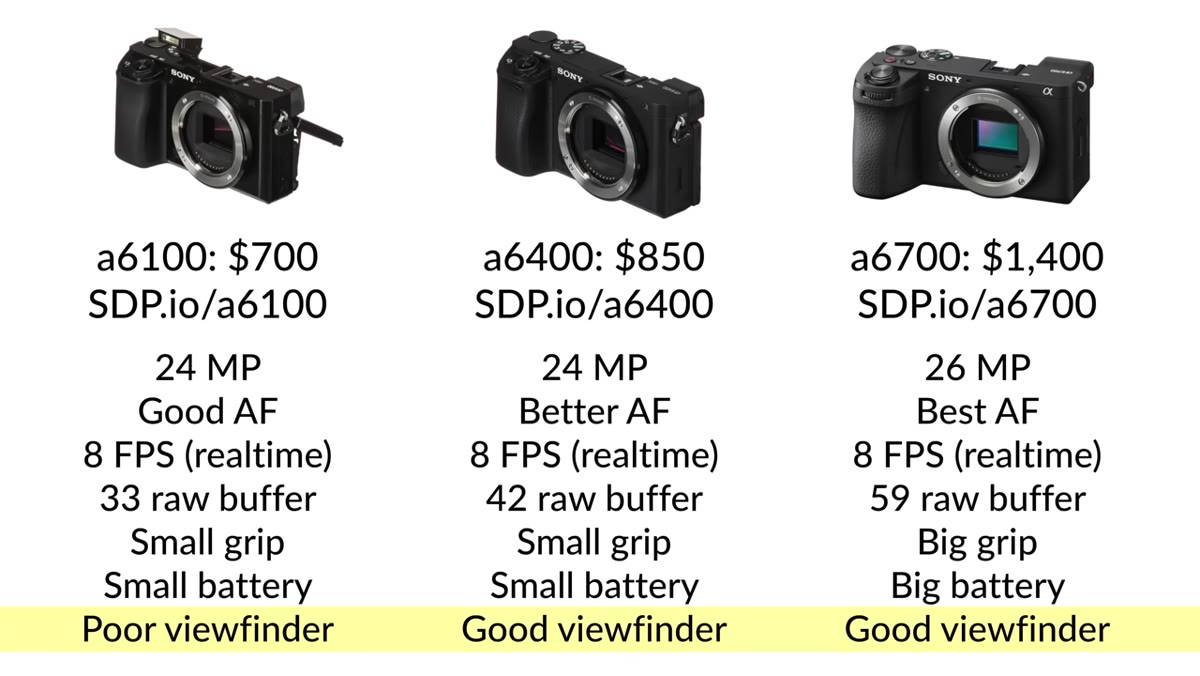
Sony’s APS-C lineup for wildlife includes the Alpha 6100, 6400, and 6700, sitting at roughly $700, $850, and $1,400 respectively. The key advantage here is the 1.5x crop factor. Slap a 600mm lens on any of these and you’re effectively getting 900mm of reach. For wildlife, reach is everything, and this is a genuinely compelling reason to stay with APS-C if your budget is limited.
APS-C crop factor diagram showing focal length multiplication
Sony’s APS-C lineup for wildlife includes the Alpha 6100, 6400, and 6700, sitting at roughly $700, $850, and $1,400 respectively. The key advantage here is the 1.5x crop factor. Slap a 600mm lens on any of these and you’re effectively getting 900mm of reach. For wildlife, reach is everything, and this is a genuinely compelling reason to stay with APS-C if your budget is limited.
The trade-off is resolution under heavy cropping. These sensors sit around 24-26 megapixels, which sounds like plenty until you’re cropping a bird to 15% of the frame. You’ll see image quality degrade fast. Autofocus also improves noticeably as you move up the price ladder within this lineup, and when you’re shooting telephoto on moving subjects, better autofocus means more usable frames per outing, which is the actual metric that matters.
Step 3: Know Why the Viewfinder Is a Performance Spec, Not a Comfort Spec
 Camera viewfinder lag demonstration during panning shot
Here’s the thing most spec sheets don’t tell you clearly: viewfinder lag. When you’re panning through the sky to find a bird, a slow electronic viewfinder will cause you to lose your subject in the frame. By the time the display catches up to where you’ve moved, the bird is already gone. Tony and Chelsea call this out as a specific weakness across the APS-C lineup, and it’s the kind of real-world limitation that doesn’t show up until you’re in the field.
Camera viewfinder lag demonstration during panning shot
Here’s the thing most spec sheets don’t tell you clearly: viewfinder lag. When you’re panning through the sky to find a bird, a slow electronic viewfinder will cause you to lose your subject in the frame. By the time the display catches up to where you’ve moved, the bird is already gone. Tony and Chelsea call this out as a specific weakness across the APS-C lineup, and it’s the kind of real-world limitation that doesn’t show up until you’re in the field.
This is the hidden cost of the budget APS-C option. The price is right, the reach is great, but the viewfinder can actively work against you in fast-moving scenarios. That’s not a dealbreaker if you’re shooting slower subjects or learning the fundamentals, but it’s something to plan around.
Step 4: Consider the Sony A7 IV as the Full-Frame Entry Point
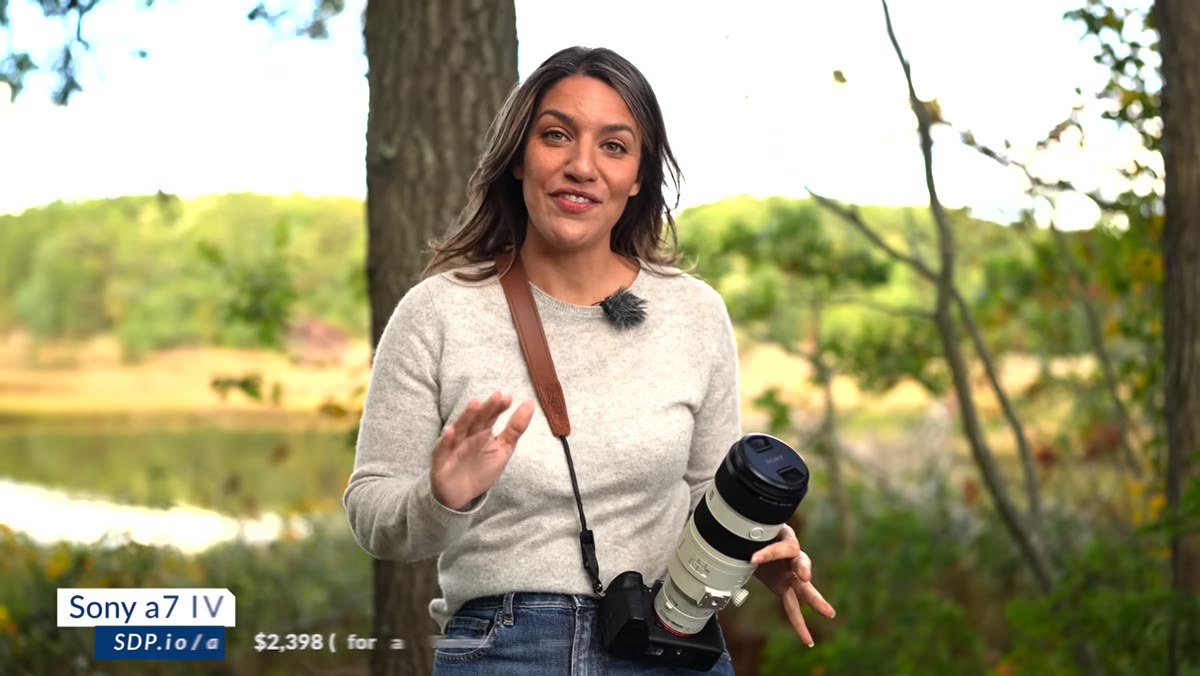 Sony A7 IV body shown with spec callouts on screen
Moving into full-frame territory, the Sony A7 IV comes in at around $2,400. What you’re getting for that step up in price is meaningful for wildlife work specifically. Resolution jumps to 33 megapixels, which gives you more room to crop without sacrificing print quality. You get 10 frames per second continuous shooting, dual card slots for redundancy in the field, a faster and more responsive viewfinder, and improved autofocus tracking.
Sony A7 IV body shown with spec callouts on screen
Moving into full-frame territory, the Sony A7 IV comes in at around $2,400. What you’re getting for that step up in price is meaningful for wildlife work specifically. Resolution jumps to 33 megapixels, which gives you more room to crop without sacrificing print quality. You get 10 frames per second continuous shooting, dual card slots for redundancy in the field, a faster and more responsive viewfinder, and improved autofocus tracking.
You do lose the APS-C crop factor advantage, which means your 600mm lens is just 600mm again. Tony and Chelsea’s practical fix for this is to budget for a teleconverter alongside the body. That gets your reach back without forcing you to buy a longer, heavier, and more expensive lens. For a full-frame shooter doing wildlife, a teleconverter is basically a required accessory, not an optional one.
Step 5: Use Accessories to Extend What Your Kit Can Already Do
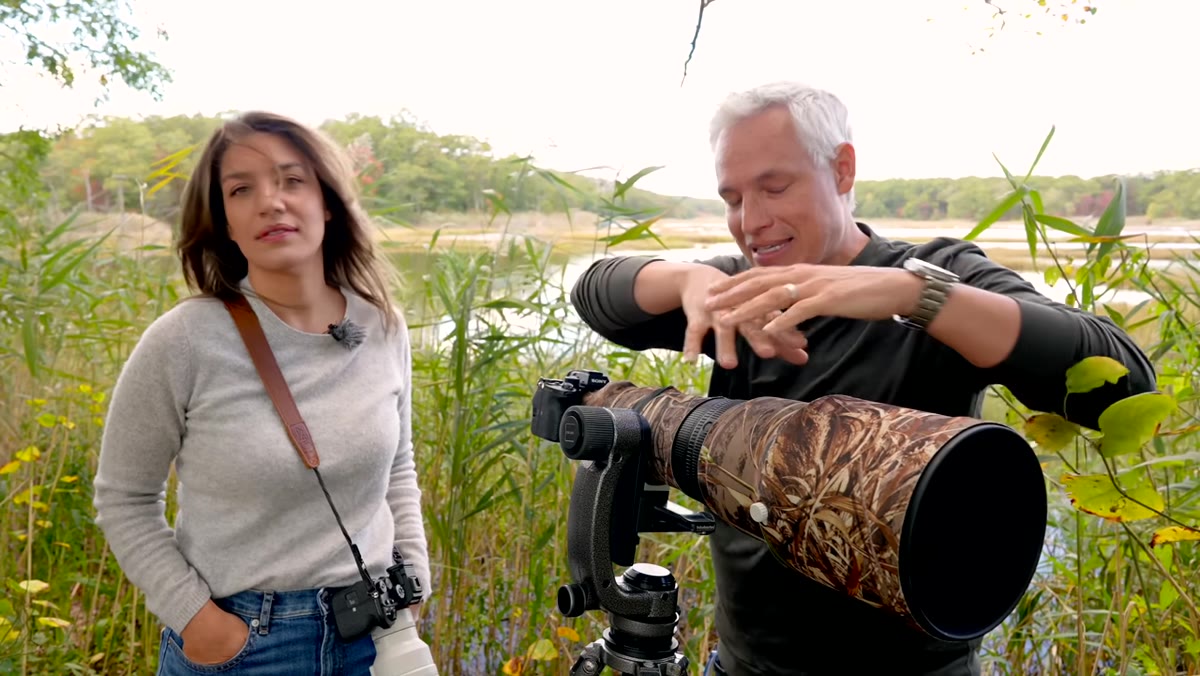 Camouflage tripod and extension tubes laid out on table
Beyond the body and lens combination, there are a few accessories worth planning for from the start. A sturdy tripod is non-negotiable when you’re shooting long focal lengths. Camouflage covers can also genuinely affect whether wildlife stays calm enough for you to get the shot. Extension tubes and teleconverters both expand your effective focal range at a fraction of the cost of buying a new longer lens.
Camouflage tripod and extension tubes laid out on table
Beyond the body and lens combination, there are a few accessories worth planning for from the start. A sturdy tripod is non-negotiable when you’re shooting long focal lengths. Camouflage covers can also genuinely affect whether wildlife stays calm enough for you to get the shot. Extension tubes and teleconverters both expand your effective focal range at a fraction of the cost of buying a new longer lens.
If you’re working with a tight budget, this is actually where the biggest gains are. A $50-80 teleconverter added to a lens you already own can give you the reach you need for a specific shoot without a $1,500+ lens purchase. I’ve run these kinds of comparisons extensively, and the quality gap between a good teleconverter and a purpose-built long lens is smaller than most gear guides suggest.
What I’d Add From My Own Testing
Tony and Chelsea’s framework is solid, and I don’t have meaningful disagreements with their recommendations. Where I’d push back slightly is on the implication that the APS-C options are a temporary or compromise solution. For a lot of wildlife photographers, particularly those shooting in good light with slower-moving subjects like deer, herons, or landscape-based wildlife, the Alpha 6400 or 6700 paired with a quality telephoto is a complete system. The crop factor advantage is real and it compounds when you’re already stretching a budget.
I’ve tested enough budget lenses to know that glass quality matters more than body choice for most shooters. If you’re deciding between a mid-tier body with a great lens versus a top-tier body with a mediocre lens, take the great glass every time. The body helps you get the shot. The lens determines what the shot looks like.
The single most important takeaway here is to match your gear decision to the specific type of wildlife you’re shooting and the conditions you’re shooting in. Autofocus speed and viewfinder performance matter most for fast-moving, unpredictable subjects. Reach and resolution matter most when your subjects are distant and you’re cropping heavily. No one body solves all of it, but knowing which trade-off costs you more in your actual shooting style is how you spend wisely.
Watch the full tutorial on YouTube for the complete lens and accessory breakdown. Tony and Chelsea go deeper on specific lens options and the full-frame versus APS-C trade-offs, and it’s worth watching if you’re about to make any Sony wildlife investment.
Comments
Leave a Comment