
I’ll be honest with you. When Tamron started pushing into the prime lens market, I was skeptical. Zoom lenses had always been their bread and butter, and primes are where manufacturers live or die on optical quality alone. There’s nowhere to hide. So when a KelbyOne tutorial featuring Tamron representatives doing a first look at the SP 35mm f/1.8 Di VC landed in my feed, I watched it less as a fan and more as someone running quality control. What I found was genuinely worth sharing.
Watch the full tutorial on YouTube
The 35mm focal length sits in a weird spot for a lot of photographers. Wide enough to feel environmental, tight enough to feel personal. I shoot it constantly for street work and casual portraits, but barrel distortion has always been the thing that keeps me from recommending cheaper 35mm options to people who want to shoot people. Tamron’s pitch here is that they’ve cracked that problem. Let’s walk through what the lens actually offers.
Step 1: Understand What Makes This Lens a First for Tamron
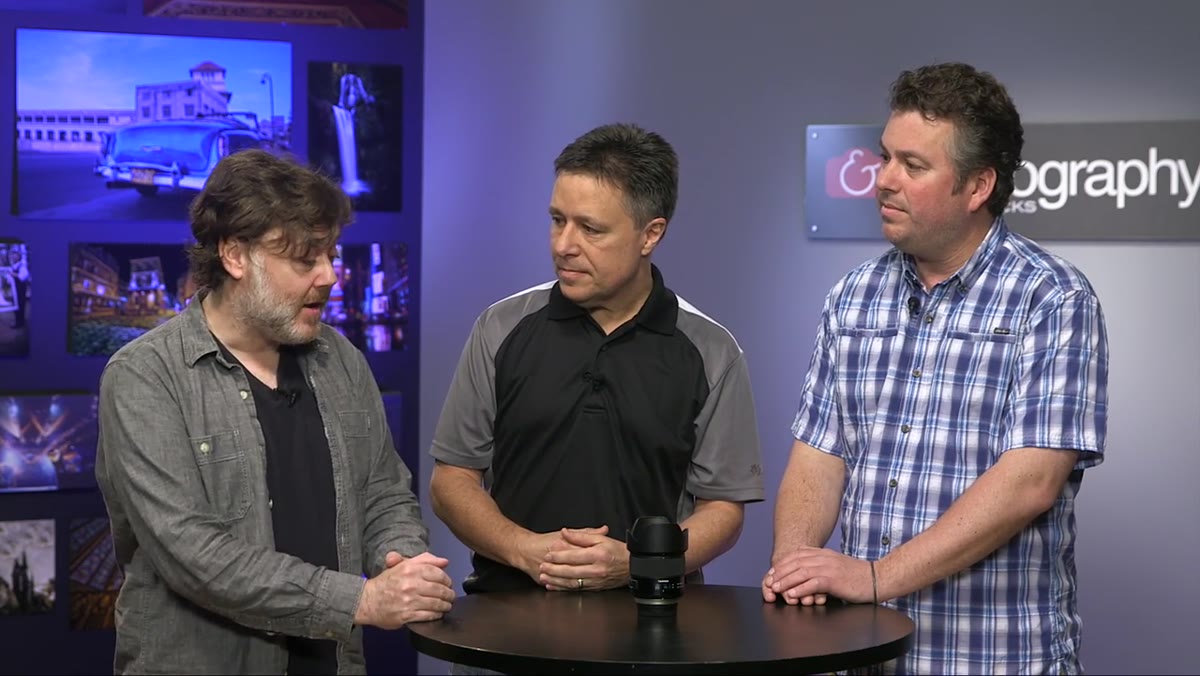 Andre explaining Tamron’s entry into the prime lens market
Before you evaluate any piece of gear, you need to understand the context behind it. Tamron built their reputation on versatile, affordable zoom lenses. The SP 35mm f/1.8 Di VC represents their deliberate move into prime territory, and the “SP” designation matters here. It stands for Super Performance, which is Tamron’s internal signal that a product is engineered to a higher standard than their general lineup. Knowing that, the feature set starts to make more sense rather than reading like marketing checklist items.
Andre explaining Tamron’s entry into the prime lens market
Before you evaluate any piece of gear, you need to understand the context behind it. Tamron built their reputation on versatile, affordable zoom lenses. The SP 35mm f/1.8 Di VC represents their deliberate move into prime territory, and the “SP” designation matters here. It stands for Super Performance, which is Tamron’s internal signal that a product is engineered to a higher standard than their general lineup. Knowing that, the feature set starts to make more sense rather than reading like marketing checklist items.
Step 2: Clock the Minimum Focusing Distance
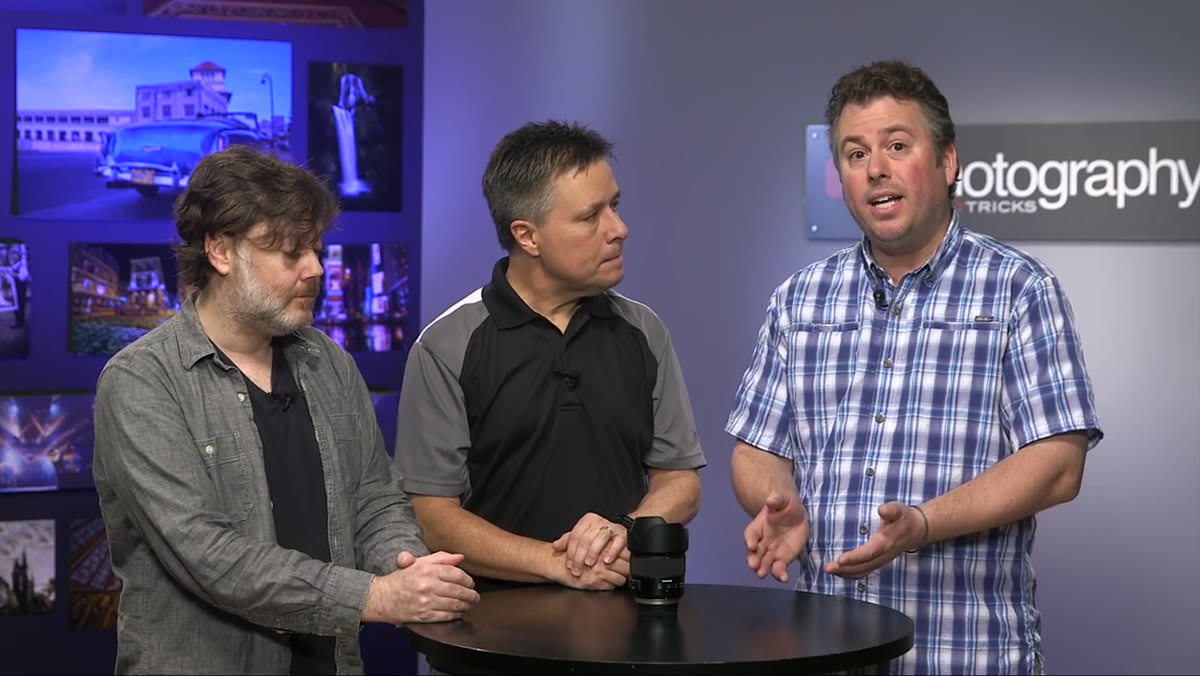
 Andre discussing the 7.9-inch minimum focusing distance spec
This is the number that stopped me mid-coffee when I first heard it. The Tamron SP 35mm f/1.8 Di VC has a minimum focusing distance of 7.9 inches, measured from the focal plane, not the front of the lens. That distinction is critical. When manufacturers measure from the front element, the number sounds better but tells you less about actual working distance. Focal plane measurement is the honest number.
Andre discussing the 7.9-inch minimum focusing distance spec
This is the number that stopped me mid-coffee when I first heard it. The Tamron SP 35mm f/1.8 Di VC has a minimum focusing distance of 7.9 inches, measured from the focal plane, not the front of the lens. That distinction is critical. When manufacturers measure from the front element, the number sounds better but tells you less about actual working distance. Focal plane measurement is the honest number.
What does 7.9 inches get you in practice? It opens up a range of near-macro shooting that you’d normally need a dedicated macro lens for. Portraits, product flats, detail shots at events. If you’re a photographer who wants one lens to cover multiple situations without a bag full of glass, this spec alone changes the math significantly.
Step 3: Test the Distortion Correction for Portrait Work
 Discussion of barrel distortion and portrait results at 35mm
One of the presenting photographers in the tutorial mentioned shooting portraits of family members with this lens and being surprised by the distortion correction. That reaction matters because it’s genuine. Barrel distortion at 35mm is a real problem, and it tends to make faces look slightly wider and edges of the frame look like they’re bowing outward. It’s the reason a lot of portrait photographers refuse to go wider than 50mm.
Discussion of barrel distortion and portrait results at 35mm
One of the presenting photographers in the tutorial mentioned shooting portraits of family members with this lens and being surprised by the distortion correction. That reaction matters because it’s genuine. Barrel distortion at 35mm is a real problem, and it tends to make faces look slightly wider and edges of the frame look like they’re bowing outward. It’s the reason a lot of portrait photographers refuse to go wider than 50mm.
The Tamron SP 35mm reportedly handles this well enough that the presenter was comfortable using it as a portrait lens without corrective post-processing. If you’re evaluating this lens, take it somewhere with straight lines, shoot a doorframe or a wall of windows, and look at the edges. Then shoot a face close to the edge of the frame. That’s your real-world distortion test, and it will tell you more than any spec sheet.
Step 4: Put the Vibration Compensation to an Actual Shakedown
 Handheld shooting down to 1/15th second with VC enabled
VC stands for Vibration Compensation, and Tamron’s implementation in this lens is reported to allow handheld shooting down to around 1/15th of a second. That is a legitimately impressive claim. The general rule of thumb for handheld shooting is to keep your shutter speed above the reciprocal of your focal length, meaning a 35mm lens would typically require 1/35th of a second or faster to avoid camera shake.
Handheld shooting down to 1/15th second with VC enabled
VC stands for Vibration Compensation, and Tamron’s implementation in this lens is reported to allow handheld shooting down to around 1/15th of a second. That is a legitimately impressive claim. The general rule of thumb for handheld shooting is to keep your shutter speed above the reciprocal of your focal length, meaning a 35mm lens would typically require 1/35th of a second or faster to avoid camera shake.
Getting down to 1/15th is roughly 1.2 stops of stabilization benefit in practical terms. For macro-distance work especially, where even the slightest movement is amplified and tripods become awkward, built-in stabilization is not a luxury. It’s the difference between getting the shot and wasting 20 minutes on a setup. Try this yourself by shooting a stationary subject in low light, working your shutter speed down in half-stop increments, and tracking where the shake starts to show up in your images.
Step 5: Examine the Lens Coatings and What They Actually Do
 Explanation of eBAND and fluorine coating technologies
Tamron uses two coatings on this lens that are worth understanding separately. The first is their eBand coating, which is an anti-reflection treatment designed to reduce ghosting and flare when shooting into or near bright light sources. If you shoot events, street photography, or anything outdoors near the sun, this coating is doing real optical work, not just marketing work.
Explanation of eBAND and fluorine coating technologies
Tamron uses two coatings on this lens that are worth understanding separately. The first is their eBand coating, which is an anti-reflection treatment designed to reduce ghosting and flare when shooting into or near bright light sources. If you shoot events, street photography, or anything outdoors near the sun, this coating is doing real optical work, not just marketing work.
The second is a fluorine coating on the front element. This is a hydrophobic and oleophobic treatment, meaning it repels water and oils. Fingerprints wipe off cleanly, and light moisture beads off the glass rather than spreading. The tutorial mentions a Sharpie demonstration to show how well the coating cleans. I would not recommend actually trying that, but the principle is sound. A front element that resists contamination means less time cleaning in the field and lower risk of scratching from repeated wiping.
Step 6: Confirm Full-Frame Compatibility and Mount Options
 Andre confirming DI designation and available mounts
The “Di” in the lens name stands for Digitally Integrated, which in Tamron’s naming convention means it is designed for full-frame sensors. If you’re shooting on a crop-sensor body, this lens will work, but it was engineered for full-frame coverage. More specifically, Tamron built the optical formula to perform well on sensors up to 40 megapixels, which at the time of this lens’s release was setting themselves up for high-resolution bodies from Canon and Nikon.
Andre confirming DI designation and available mounts
The “Di” in the lens name stands for Digitally Integrated, which in Tamron’s naming convention means it is designed for full-frame sensors. If you’re shooting on a crop-sensor body, this lens will work, but it was engineered for full-frame coverage. More specifically, Tamron built the optical formula to perform well on sensors up to 40 megapixels, which at the time of this lens’s release was setting themselves up for high-resolution bodies from Canon and Nikon.
The lens is available in Canon EF, Nikon F, and Sony A mounts. No mirrorless native mounts at launch. If you’re on a mirrorless system today, you’ll need to factor in an adapter, which usually works fine with these mounts but adds cost and occasionally introduces autofocus quirks depending on the body and adapter combination.
What I’d Add From My Own Testing
I haven’t put this exact lens through my usual spreadsheet gauntlet yet, but I’ve tested enough Tamron glass to know where their blind spots tend to be. Autofocus speed and consistency in low light is the one area I’d investigate carefully before committing. Tamron’s VC-equipped lenses have occasionally shown slight hunting in low-contrast scenes, and at f/1.8, where depth of field is razor thin, a hesitant autofocus system can cost you more shots than any optical shortcoming will.
If you’re in the market for this lens, try to test it specifically in the conditions where you’d actually use it. Don’t just shoot a brick wall in daylight. Shoot a moving subject in a dim room and check your keeper rate.
The single biggest takeaway from this tutorial is that the 7.9-inch minimum focusing distance reframes what a 35mm prime can do. Combined with built-in stabilization, you’re getting a lens that operates as a portrait lens, a light macro lens, and an everyday walkaround lens in one package. Whether the price justifies that versatility for your kit is a question only your specific shooting needs can answer.
Watch the full tutorial on YouTube to hear the Tamron team walk through the specs and see sample images from real shooting sessions.
Comments
Leave a Comment