I’ve built most of my gear philosophy around one uncomfortable truth: photographers consistently overspend on glass they don’t need. I tracked my own lens usage for three months using a spreadsheet and found that roughly 80 percent of my keepers came from a single focal length. That didn’t surprise me. What surprised me was how many working photographers I talked to had the same result and still kept reaching for more exotic, more expensive glass out of habit or ego.
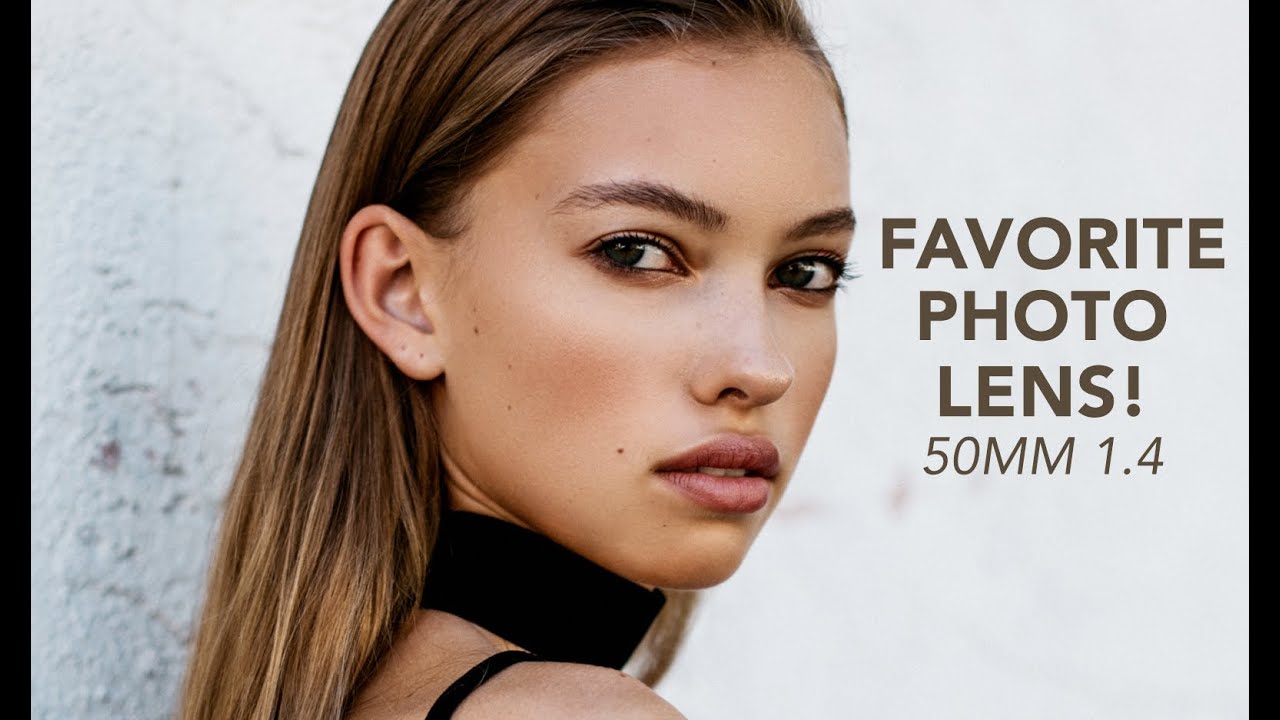
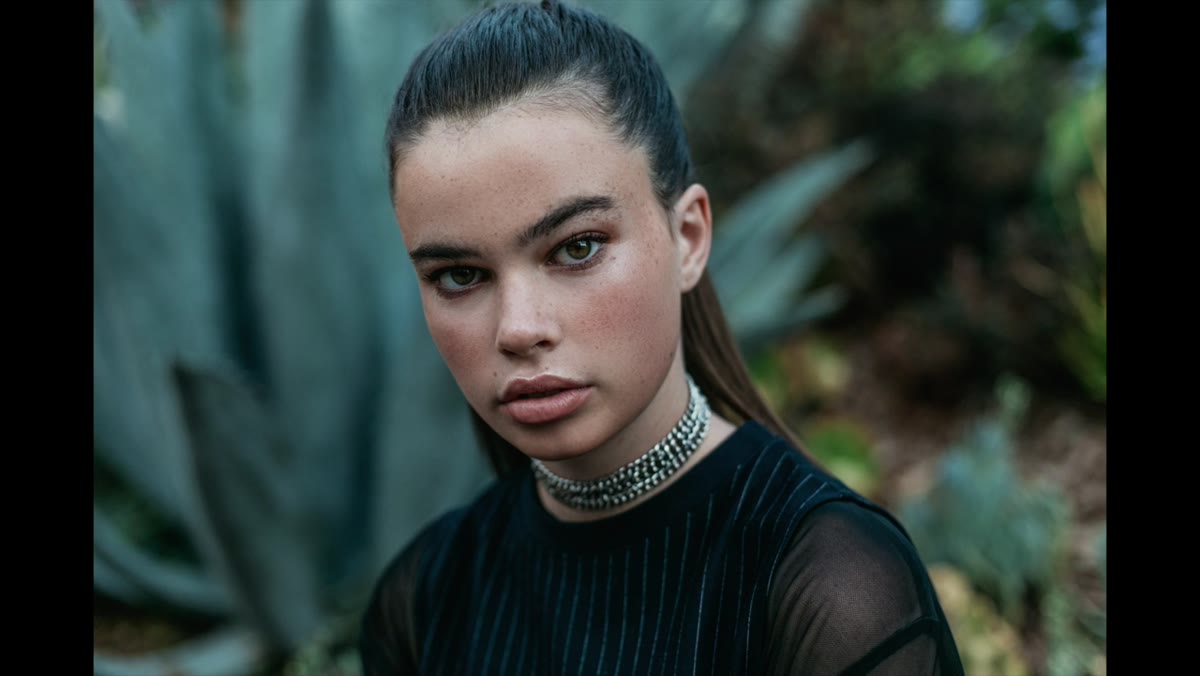
That’s why a tutorial from photographer Jessica Kobeissi hit differently than the usual gear content. In this Watch the full tutorial on YouTube breakdown, she makes the case for the 50mm f/1.4 as her absolute go-to lens, and she does it from the perspective of someone whose work is good enough that commenters regularly assume she’s shooting with something far more expensive. When people watch her portraits and guess she’s using the Canon 50mm f/1.2 L-series, she has to correct them. She’s shooting with the f/1.4. That one detail reframes the entire conversation about what you actually need.
What I want to do here is walk through her core arguments, add some context from my own testing, and give you a usable framework for deciding whether this lens deserves a spot in your bag. Spoiler: for most people shooting portraits or editorial work, it absolutely does.
Step 1: Understand Why the f/1.4 Gets Mistaken for the f/1.2
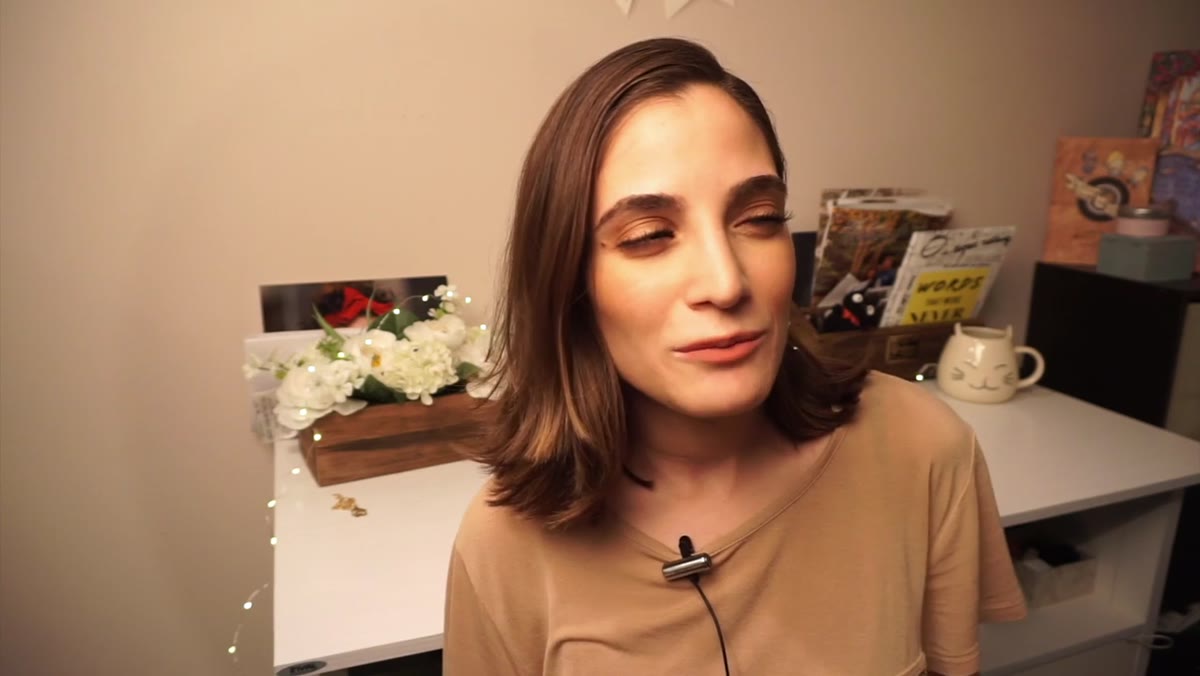 Jessica explaining viewers assume she uses the more expensive f/1.2
The starting point of her argument is that image quality, not aperture spec or price, is what viewers actually respond to. People see sharp, beautiful portraits and assume the tool must be expensive. Jessica points out that the f/1.4 is not a budget lens pretending to be something better. It simply delivers results that stand up against glass costing twice as much.
Jessica explaining viewers assume she uses the more expensive f/1.2
The starting point of her argument is that image quality, not aperture spec or price, is what viewers actually respond to. People see sharp, beautiful portraits and assume the tool must be expensive. Jessica points out that the f/1.4 is not a budget lens pretending to be something better. It simply delivers results that stand up against glass costing twice as much.
This matters practically because it shifts how you should evaluate lenses. Instead of comparing spec sheets, you should be comparing output. If your work looks indistinguishable from someone shooting with a more expensive lens, the money stays in your pocket. That’s the whole game.
Step 2: Evaluate the Build Quality Against the Alternatives
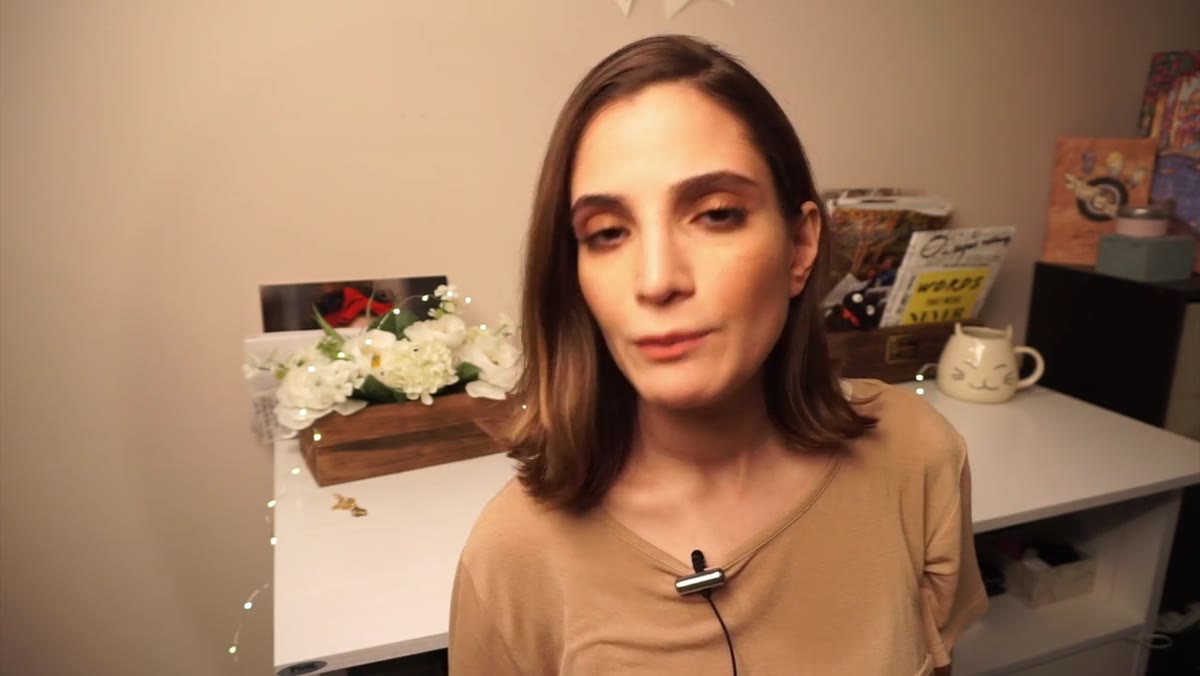 Comparing the physical build of the 50mm f/1.4 to other lenses
Jessica draws a direct comparison between the f/1.4 and the f/1.8, noting that the cheaper lens has a plastic feel that some photographers find flimsy. The f/1.4 sits in a middle ground: it’s more solid and durable without being as heavy and bulky as the f/1.2. That balance matters more than most gear reviews acknowledge.
Comparing the physical build of the 50mm f/1.4 to other lenses
Jessica draws a direct comparison between the f/1.4 and the f/1.8, noting that the cheaper lens has a plastic feel that some photographers find flimsy. The f/1.4 sits in a middle ground: it’s more solid and durable without being as heavy and bulky as the f/1.2. That balance matters more than most gear reviews acknowledge.
If you’re shooting on location, a heavier lens means more fatigue over a full day. A flimsier lens means more anxiety every time you’re working in tight spaces or passing gear between hands. The f/1.4 avoids both problems. It’s a lens you can throw in a backpack without dedicating a padded compartment to it, which also makes it a serious option for travel photographers who are watching their carry-on weight.
Step 3: Use the Aperture Range to Control How Much Background Separation You Want
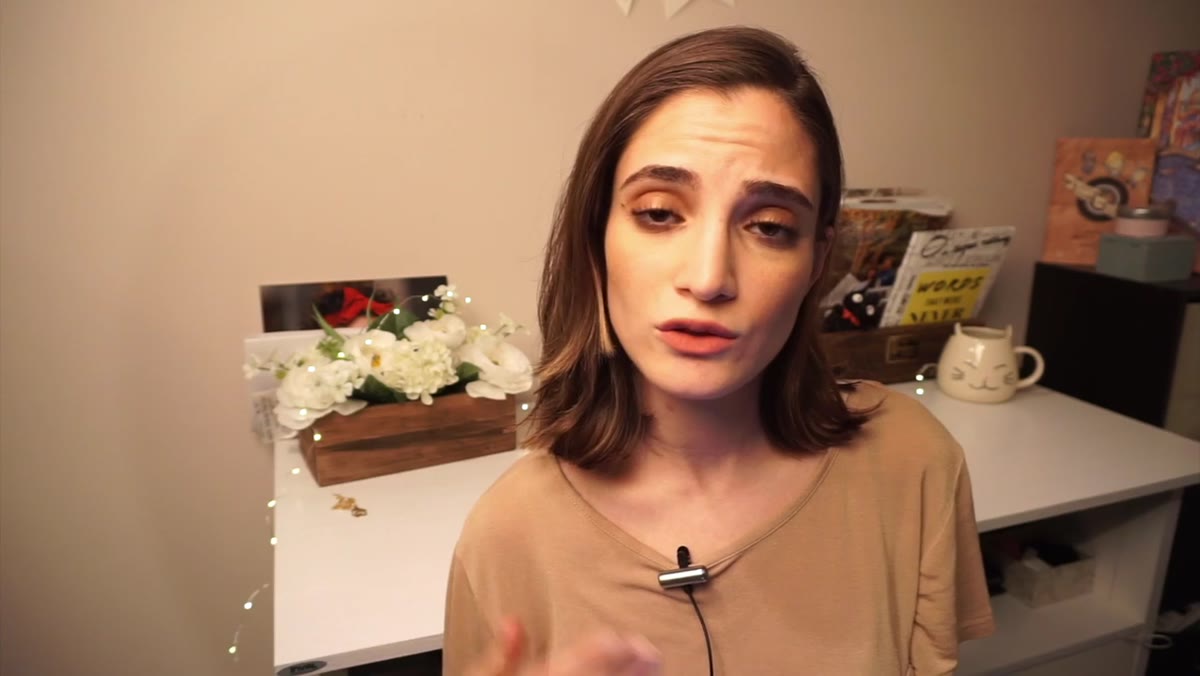 Jessica discussing aperture control and background blur flexibility
One of the most useful points in the tutorial is about creative flexibility across the aperture range. Shooting wide open at f/1.4 gives you strong background separation and that signature smooth bokeh that portrait clients love. But you’re not locked into that look. Stop down to f/2 or f/2.8 and you get background detail that starts to show through while still keeping the subject clearly separated.
Jessica discussing aperture control and background blur flexibility
One of the most useful points in the tutorial is about creative flexibility across the aperture range. Shooting wide open at f/1.4 gives you strong background separation and that signature smooth bokeh that portrait clients love. But you’re not locked into that look. Stop down to f/2 or f/2.8 and you get background detail that starts to show through while still keeping the subject clearly separated.
Compare that to something like a 70-300mm zoom at its longest end, where the compression and blur can get so aggressive that backgrounds turn into abstract shapes. The 50mm f/1.4 keeps the scene readable. You can see the environment, you can establish a sense of place, and you can still make the subject the obvious focal point. That’s a harder balance to strike than it sounds, and this lens handles it naturally.
Step 4: Work the Focal Length for Both Portraits and Full-Body Shots
 Demonstrating stepping back for full-body vs close portrait framing
Here’s the practical workflow tip that most people overlook with a 50mm: your feet are a zoom. Jessica specifically mentions that she uses this lens for both tight portrait framing and full-body shots, simply by adjusting her distance from the subject. That flexibility makes it genuinely versatile for editorial and agency work where you need variety in a single session.
Demonstrating stepping back for full-body vs close portrait framing
Here’s the practical workflow tip that most people overlook with a 50mm: your feet are a zoom. Jessica specifically mentions that she uses this lens for both tight portrait framing and full-body shots, simply by adjusting her distance from the subject. That flexibility makes it genuinely versatile for editorial and agency work where you need variety in a single session.
On a full-frame body, 50mm is close to the natural field of view of the human eye, which means the proportions look right whether you’re filling the frame with a face or capturing head-to-toe. You’re not fighting the distortion you’d get from going wider, and you’re not dealing with the compression of a telephoto. It just looks natural, and natural is what most portrait clients are paying for.
Step 5: Factor in the Weight Advantage for Professional Shoots
 Jessica describing the lens weight relative to travel and all-day shooting
Jessica brings up travel specifically, but the weight argument applies to any long shoot. Agency work in particular often means hours on your feet, constant repositioning, and shooting in confined spaces. A lighter lens reduces physical strain, keeps you more mobile, and honestly makes you a more pleasant person to work with by hour six.
Jessica describing the lens weight relative to travel and all-day shooting
Jessica brings up travel specifically, but the weight argument applies to any long shoot. Agency work in particular often means hours on your feet, constant repositioning, and shooting in confined spaces. A lighter lens reduces physical strain, keeps you more mobile, and honestly makes you a more pleasant person to work with by hour six.
This is a real consideration that gear reviews often treat as secondary. I’ve done enough all-day shoots to know that a heavy setup changes your posture, changes how you hold the camera, and eventually changes what shots you’re willing to go for. A lens you barely notice on the mount means you stay focused on the subject instead of the weight in your hands.
My Take: The Price-to-Performance Case Is Even Stronger Than She Says
I’ve run this exact lens through my comparison spreadsheet against four other 50mm options across different price tiers, and the f/1.4 keeps landing in the top slot when I weight results against cost. Yes, the f/1.2 L-series produces marginally better output in specific low-light edge cases. But for 95 percent of portrait scenarios with any reasonable light, the difference is invisible unless you’re pixel-peeping at 100 percent on a calibrated monitor.
What I’d add to Jessica’s points is this: if you’re buying used, the f/1.4 is one of the safest investments in the 50mm category. The build holds up, the optics age well, and demand for it stays consistent, so you can resell without taking a brutal loss. I picked up a used copy for under $200 and shot with it for eight months before selling it for nearly the same price. That’s the kind of math that makes gear decisions easy.
The single most important thing to take away from this tutorial is that expensive doesn’t mean better in any way your clients or viewers will actually notice. Jessica Kobeissi makes images that people assume require L-series glass, and she’s doing it with a lens that most photographers have access to without clearing out their savings. That’s the whole argument, and it’s a good one.
Watch the full tutorial on YouTube to hear her walk through her reasoning and see the sample images she references throughout.
Comments
Leave a Comment