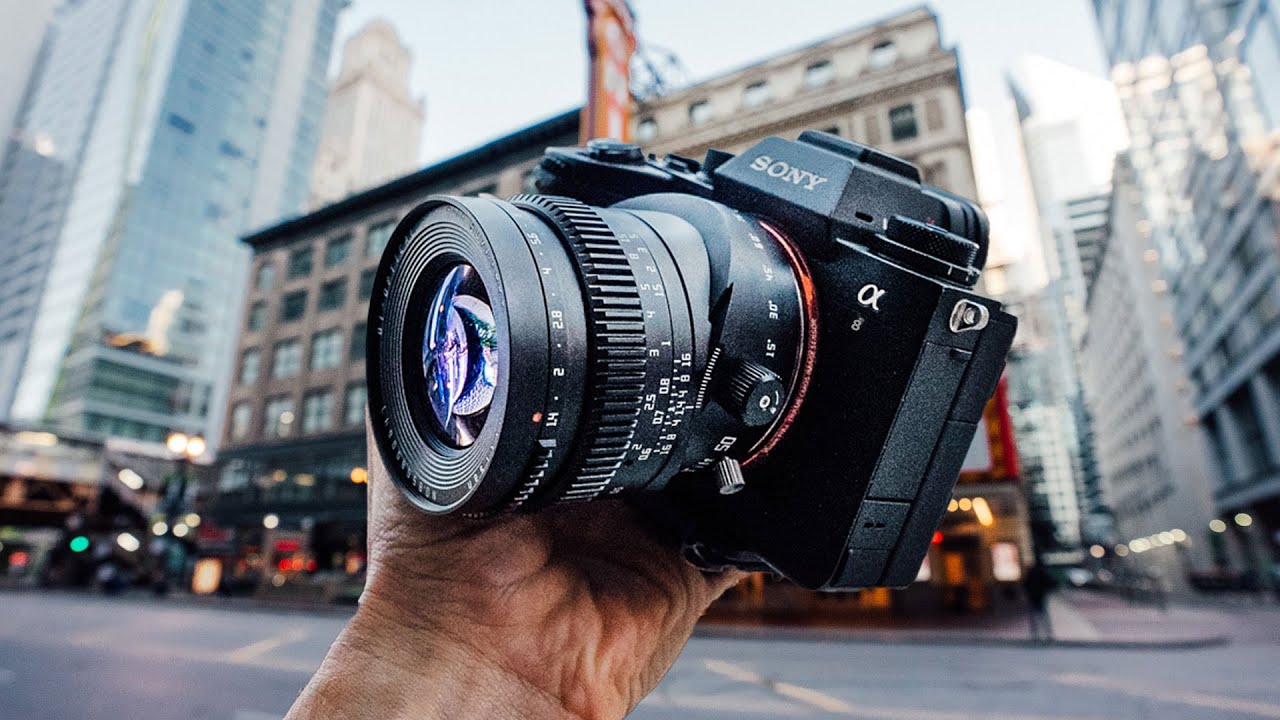
I have a spreadsheet with 47 lenses on it. Budget zooms, tilt-shifts, third-party primes, a few oddball manual focus options I bought off eBay at midnight. I’ve tested most of them. And after all of that, the one lens I still recommend first to anyone who asks is the 50mm f/1.8. Not because it’s the most exciting answer. Because it’s the correct one.
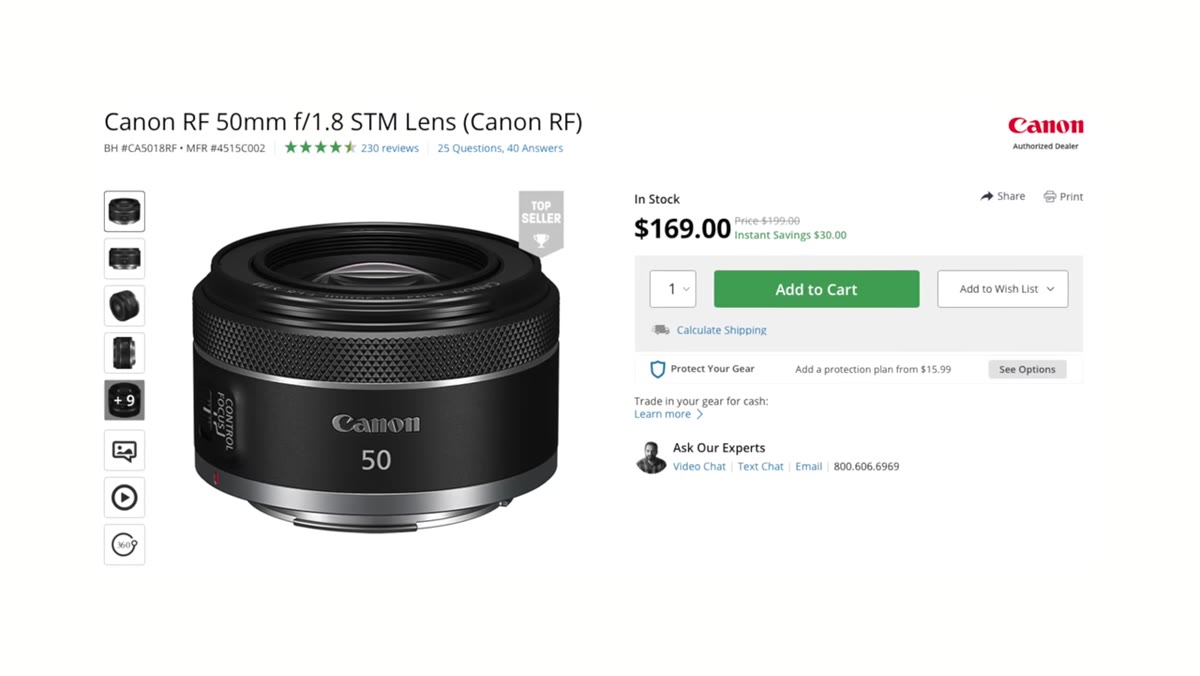
In this Pierre T. Lambert tutorial filmed on the streets of Chicago, Lambert does something refreshing: he makes the case for the 50mm f/1.8 not as a “starter lens you’ll eventually outgrow,” but as a tool worth owning at any level. He’s shooting a Canon RF 50mm f/1.8 in a cinema housing on a Canon R6 Mark II, but the advice he gives applies whether you’re on Sony, Nikon, Canon, or shooting with a third-party brand like TTArtisan. His guest, a photographer visiting from Japan named Magic, independently vouches for the TTArtisan 50mm f/1.4 as a sub-$300 option worth serious consideration. Two photographers, two different systems, same focal length. That’s not a coincidence. Watch the full tutorial on YouTube
Here’s a practical breakdown of what Lambert covers and how to actually apply it to your own shooting.
Step 1: Understand Why the 50mm Focal Length Hits Different
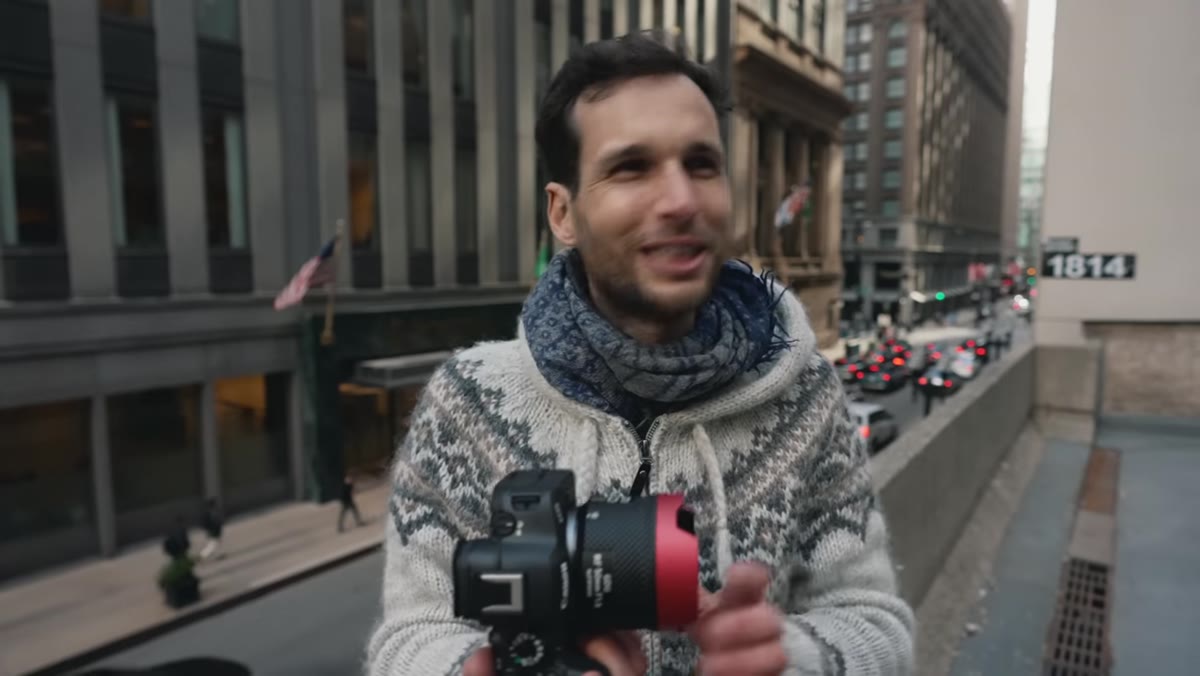
 Lambert on Chicago street explaining 50mm focal length
The 50mm focal length sits in a unique middle ground. It’s slightly tighter than what your eye naturally sees, but not so tight that it flattens everything the way an 85mm or longer will. Lambert describes it as “almost like your vision but a little tighter,” and that’s a useful way to think about it. It feels connected to reality without being a literal document of it.
Lambert on Chicago street explaining 50mm focal length
The 50mm focal length sits in a unique middle ground. It’s slightly tighter than what your eye naturally sees, but not so tight that it flattens everything the way an 85mm or longer will. Lambert describes it as “almost like your vision but a little tighter,” and that’s a useful way to think about it. It feels connected to reality without being a literal document of it.
This matters practically when you’re shooting in busy environments. At 50mm, you can include enough context around a subject to tell a small story in a single frame, which gets much harder once you push into longer focal lengths. If you’ve ever looked at a shot from a 90mm lens and felt like it was missing a sense of place, this is why.
Step 2: Choose Your Aperture Intentionally, Not Automatically
 Lambert adjusting aperture on Canon R6 Mark II in Chicago
Lambert makes a point that sounds obvious but gets ignored constantly: shoot at f/1.8 when it serves the image, not just because you can. The creamy background blur you get from a fast prime is a creative decision, not a default setting. If you’re doing street photography and you want both a subject and some environmental detail in focus, stopping down to f/4 or even f/5.6 is the right call.
Lambert adjusting aperture on Canon R6 Mark II in Chicago
Lambert makes a point that sounds obvious but gets ignored constantly: shoot at f/1.8 when it serves the image, not just because you can. The creamy background blur you get from a fast prime is a creative decision, not a default setting. If you’re doing street photography and you want both a subject and some environmental detail in focus, stopping down to f/4 or even f/5.6 is the right call.
The mistake most people make when they first buy a fast prime is leaving it wide open all day because that’s “what primes are for.” Lambert doesn’t say this outright, but it’s implied in how he talks about varying aperture based on creative needs. Think of f/1.8 as a tool in the kit, not a permanent mode.
Step 3: Factor In Your Sensor Size Before You Buy
 Lambert discussing crop sensor versus full frame field of view
This step gets skipped in a lot of lens recommendation videos, and it actually changes everything. If you’re shooting on a crop sensor camera (APS-C), a 50mm lens gives you a field of view equivalent to roughly 75-80mm on full frame, depending on your crop factor. That’s a solid portrait focal length, but it’s going to feel tight for anything wider in scope.
Lambert discussing crop sensor versus full frame field of view
This step gets skipped in a lot of lens recommendation videos, and it actually changes everything. If you’re shooting on a crop sensor camera (APS-C), a 50mm lens gives you a field of view equivalent to roughly 75-80mm on full frame, depending on your crop factor. That’s a solid portrait focal length, but it’s going to feel tight for anything wider in scope.
Lambert is direct about this: on a crop sensor, you’re going to be closer to telephoto territory, which works beautifully for portraits and isolating details, but might feel limiting if you shoot street or environmental work. On a full frame body, the 50mm hits what he calls a sweet spot: tight enough to flatter subjects, loose enough to include context. Know your sensor before you commit.
Step 4: Use the 50mm to Shoot Reflections and Environmental Context Together
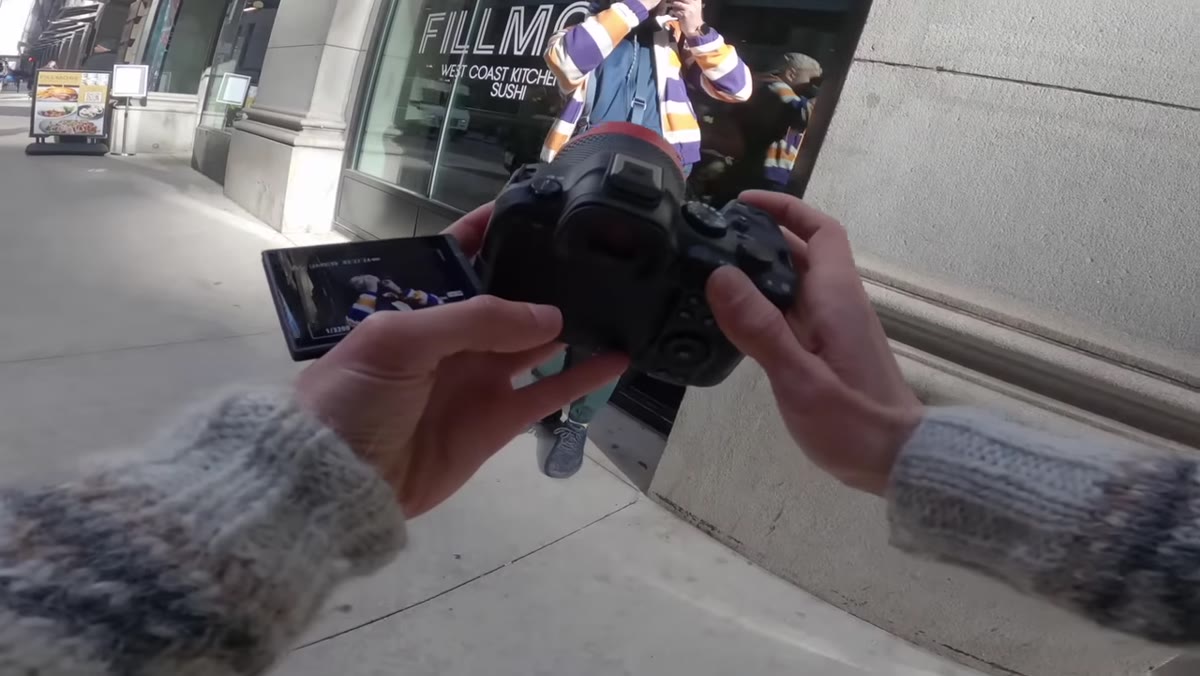
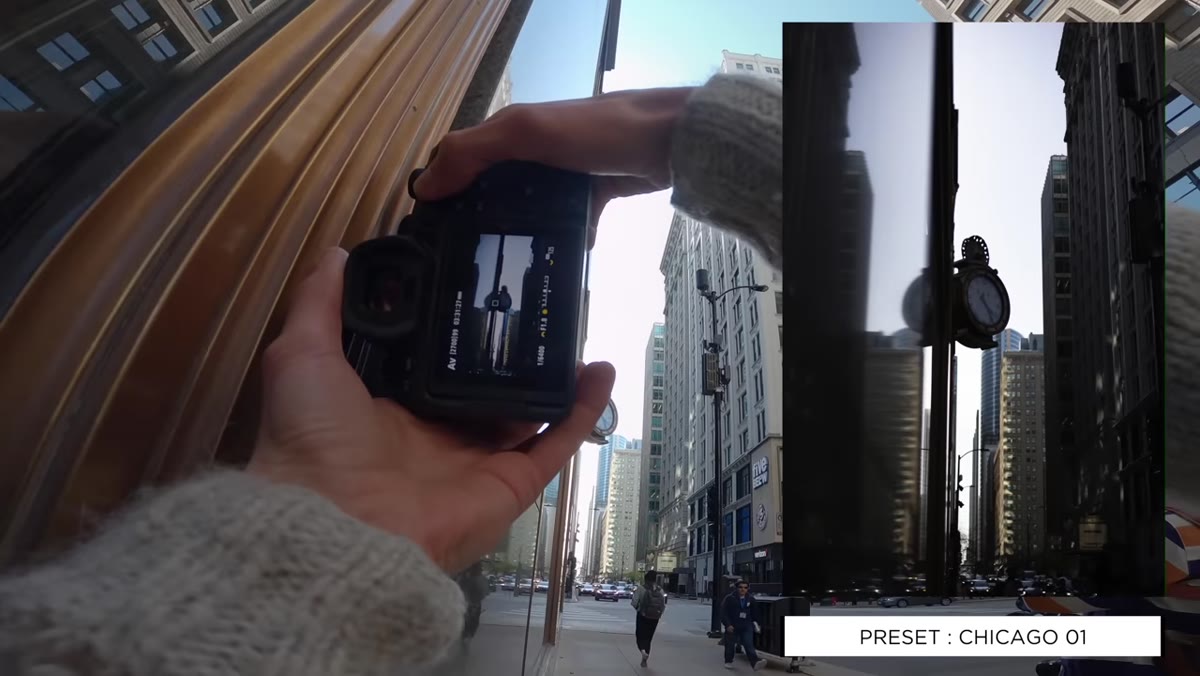 Lambert shooting reflection shot in Chicago store window at 50mm
One of the more specific and useful tips Lambert drops is using the 50mm for reflection shots, particularly against windows. At this focal length, you can capture a reflection while still keeping enough of the surrounding environment in the frame to give the image a sense of place. This is genuinely harder to pull off at 85mm or beyond, where the compression starts eating up that context.
Lambert shooting reflection shot in Chicago store window at 50mm
One of the more specific and useful tips Lambert drops is using the 50mm for reflection shots, particularly against windows. At this focal length, you can capture a reflection while still keeping enough of the surrounding environment in the frame to give the image a sense of place. This is genuinely harder to pull off at 85mm or beyond, where the compression starts eating up that context.
The technique itself is straightforward: position yourself so the reflected image sits cleanly in the window, then expose for the reflection rather than the interior light behind the glass. The 50mm gives you enough working distance that you’re not pressing your face against the window, which makes adjusting your angle much easier.
Step 5: Compare It Against the 35mm Before You Dismiss Either
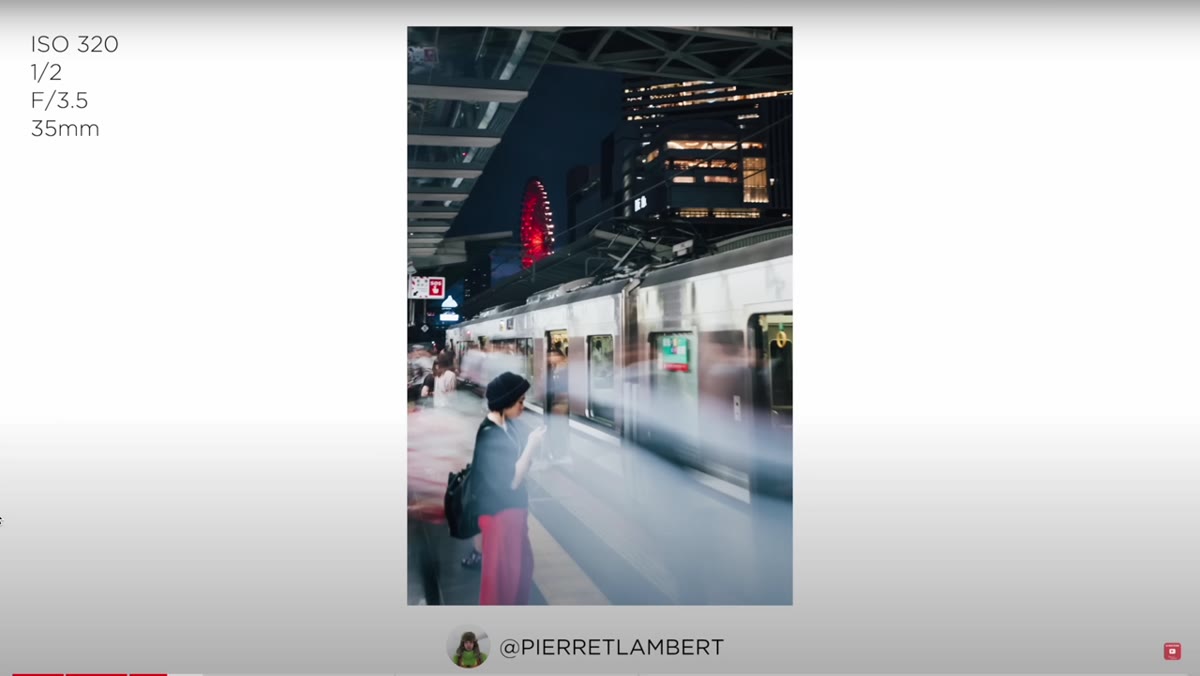 Lambert comparing 50mm versus 35mm shooting experience on location
Lambert brings up the 35mm as the natural comparison point, and it’s a fair one. A lot of photographers default to the 35mm as their first prime because it feels wide and versatile. Lambert’s take is that the 50mm is actually a better learning tool, specifically because the tighter frame forces more deliberate composition. You can’t just “get it all in” the way you might at 35mm. You have to decide what matters.
Lambert comparing 50mm versus 35mm shooting experience on location
Lambert brings up the 35mm as the natural comparison point, and it’s a fair one. A lot of photographers default to the 35mm as their first prime because it feels wide and versatile. Lambert’s take is that the 50mm is actually a better learning tool, specifically because the tighter frame forces more deliberate composition. You can’t just “get it all in” the way you might at 35mm. You have to decide what matters.
That said, this is a genuine preference question and not a universal rule. If you shoot a lot in tight interiors or you want something that feels closer to a wide normal view, the 35mm makes sense. But if you’re choosing between the two as a first prime and you don’t already have a strong preference, Lambert’s argument for the 50mm as a compositional teacher is worth taking seriously.
Step 6: Seriously Consider Third-Party Options Before Paying Full Price
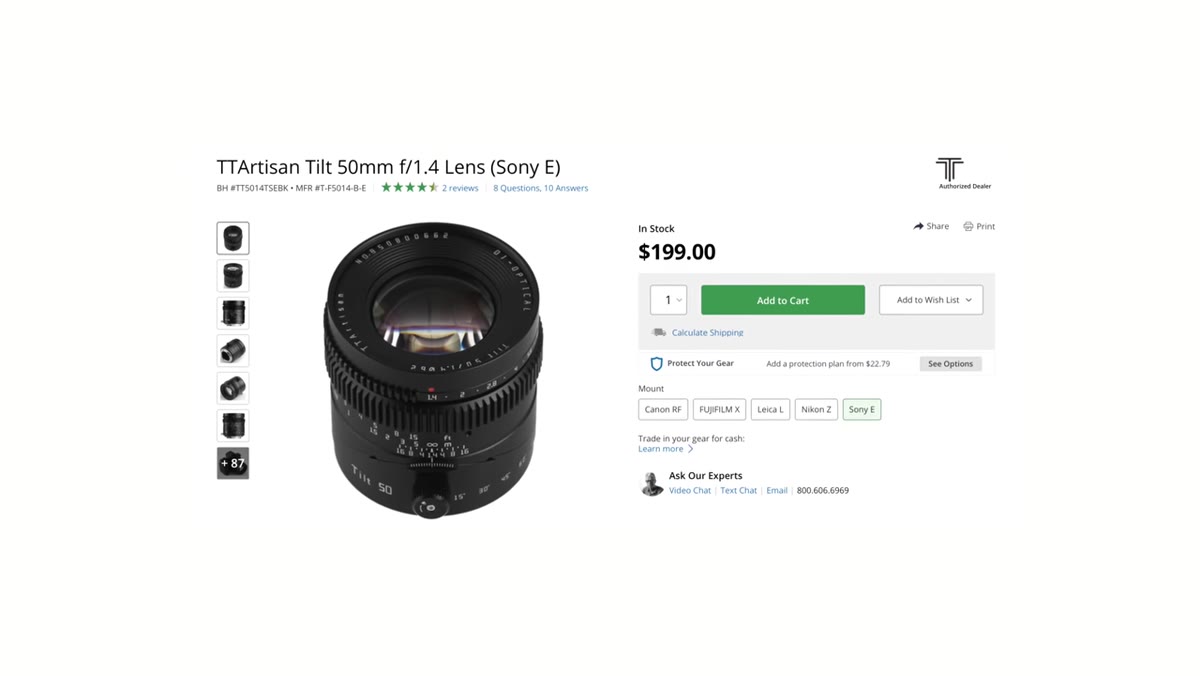 Magic showing TTArtisan lens from bag on Chicago street
Lambert’s guest casually pulls a TTArtisan 50mm f/1.4 out of his bag and describes it as cheap and genuinely good. Lambert doesn’t dismiss it. He compares it to his own setup and acknowledges it as a legitimate option. For anyone on a tight budget, this moment in the video is worth paying attention to.
Magic showing TTArtisan lens from bag on Chicago street
Lambert’s guest casually pulls a TTArtisan 50mm f/1.4 out of his bag and describes it as cheap and genuinely good. Lambert doesn’t dismiss it. He compares it to his own setup and acknowledges it as a legitimate option. For anyone on a tight budget, this moment in the video is worth paying attention to.
The TTArtisan 50mm f/1.4 runs well under $100 in most markets. Brands like Yongnuo, 7Artisans, and Meike also make 50mm primes in the $50-150 range that produce real, usable results. I’ve run a few of these through my own testing and the image quality gap between a $70 third-party 50mm and a $250 first-party f/1.8 is much smaller than the price gap suggests. You’re giving up some autofocus speed and build quality, but optically, the difference is often negligible in good light.
What I’d Add: Buy Used and Buy Twice as Fast
I’ve bought more than a dozen lenses secondhand over the past few years, and the 50mm f/1.8 is the easiest lens to find in excellent used condition because so many people buy it, underuse it, and sell it. On any given day, you can find a used Canon, Nikon, or Sony 50mm f/1.8 for under $100 on eBay or at your local camera shop. The optical formula hasn’t changed dramatically in years, so a five-year-old copy in good condition shoots just as well as a new one.
If you’re waiting until you can afford “a better lens,” stop waiting. The 50mm f/1.8 is the better lens. It’ll teach you more about light, composition, and aperture control than any zoom, and it’ll do it without putting a significant dent in your budget.
The single most important thing to take from Lambert’s video: the best lens for learning photography is a 50mm f/1.8, and it doesn’t matter what brand is on your camera. Get one, shoot with only that for 90 days, and your photography will be measurably different on the other side. Watch the full tutorial on YouTube to see Lambert’s actual street shots from Chicago and Magic’s take on the TTArtisan alternative.
Comments
Leave a Comment