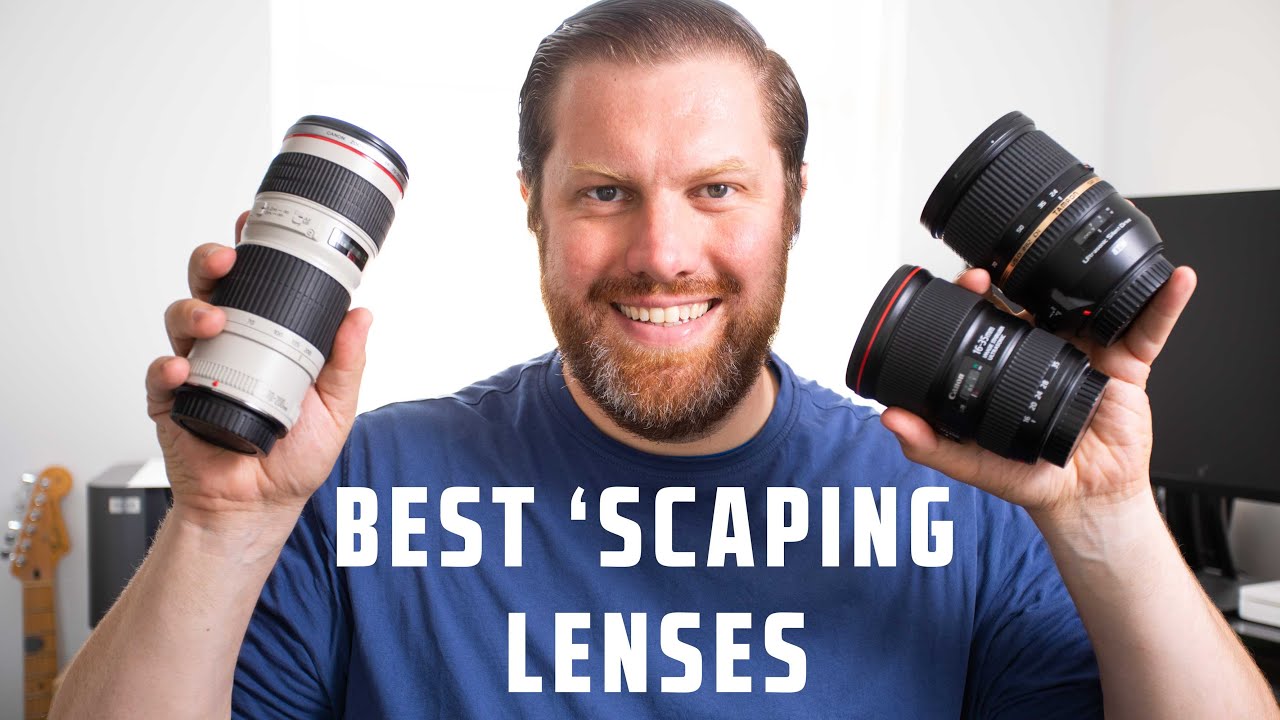
Every time I head into the mountains outside Denver for a shoot, I end up standing at a trailhead making the same decision: which lens stays in the bag. For years I defaulted to wide angle for everything outdoors because, honestly, that’s what the internet told me landscape photographers use. It wasn’t until I started paying closer attention to why certain focal lengths work in certain situations that my compositions actually improved.
Watch the full tutorial on YouTube
In this First Man Photography tutorial on the best lenses for landscape photography, the creator reframes the whole lens conversation around storytelling rather than specs. He’s shooting Canon, but he’s clear early on that the brand doesn’t matter here. What matters is understanding what each focal length does to your scene and using that intentionally. That shift in framing, from “which lens is sharpest” to “which lens tells this story best,” is the kind of thinking that separates snapshots from photographs. Here’s how he breaks it down.
Step 1: Reframe Focal Length as a Storytelling Choice, Not a Technical One
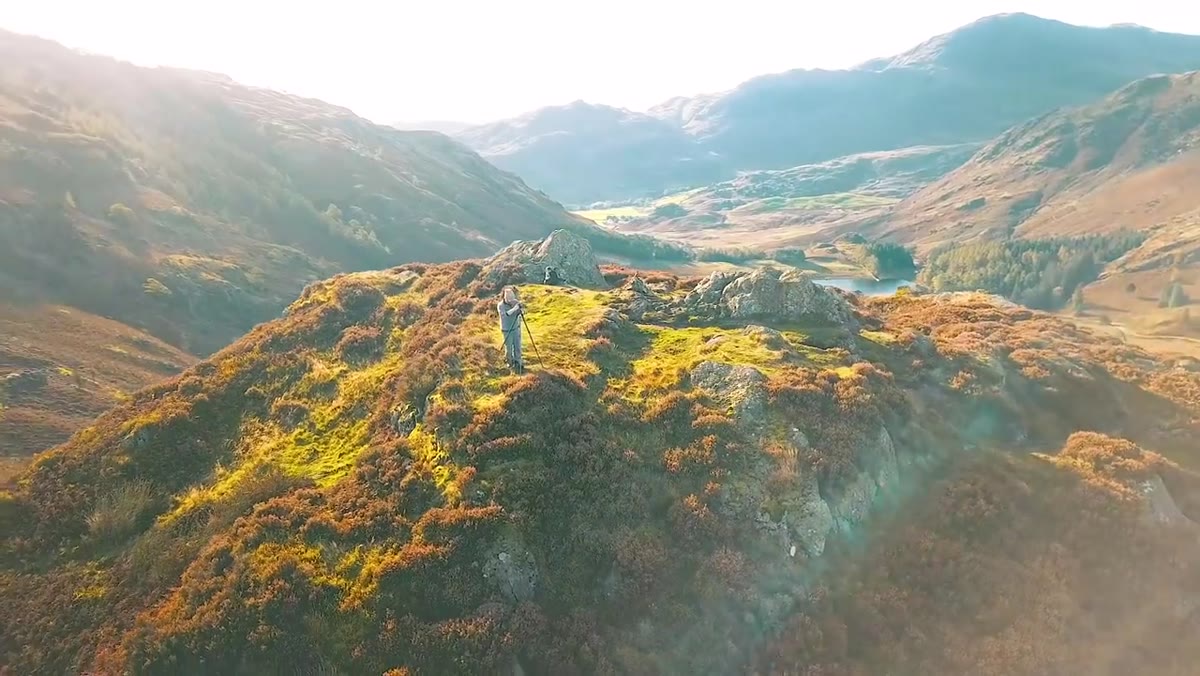 Presenter explaining focal length affects narrative not just optics
Before touching any specific lens, the tutorial makes one thing clear: focal length is a creative decision. The range of lenses covered, roughly 16mm on the wide end to 200mm on the long end, aren’t just different tools for different distances. Each one changes how the viewer experiences the scene. A wide angle pulls the viewer into the foreground. A telephoto compresses space and isolates a distant subject. Knowing which effect you want before you raise the camera is the whole game.
Presenter explaining focal length affects narrative not just optics
Before touching any specific lens, the tutorial makes one thing clear: focal length is a creative decision. The range of lenses covered, roughly 16mm on the wide end to 200mm on the long end, aren’t just different tools for different distances. Each one changes how the viewer experiences the scene. A wide angle pulls the viewer into the foreground. A telephoto compresses space and isolates a distant subject. Knowing which effect you want before you raise the camera is the whole game.
If you’re used to thinking about lenses purely in terms of sharpness or aperture, this is the mindset shift the tutorial is asking you to make. Write it on a sticky note if you have to: what story am I trying to tell, and which focal length helps me tell it?
Step 2: Understand What a Wide Angle Lens (16-35mm) Actually Does to a Scene
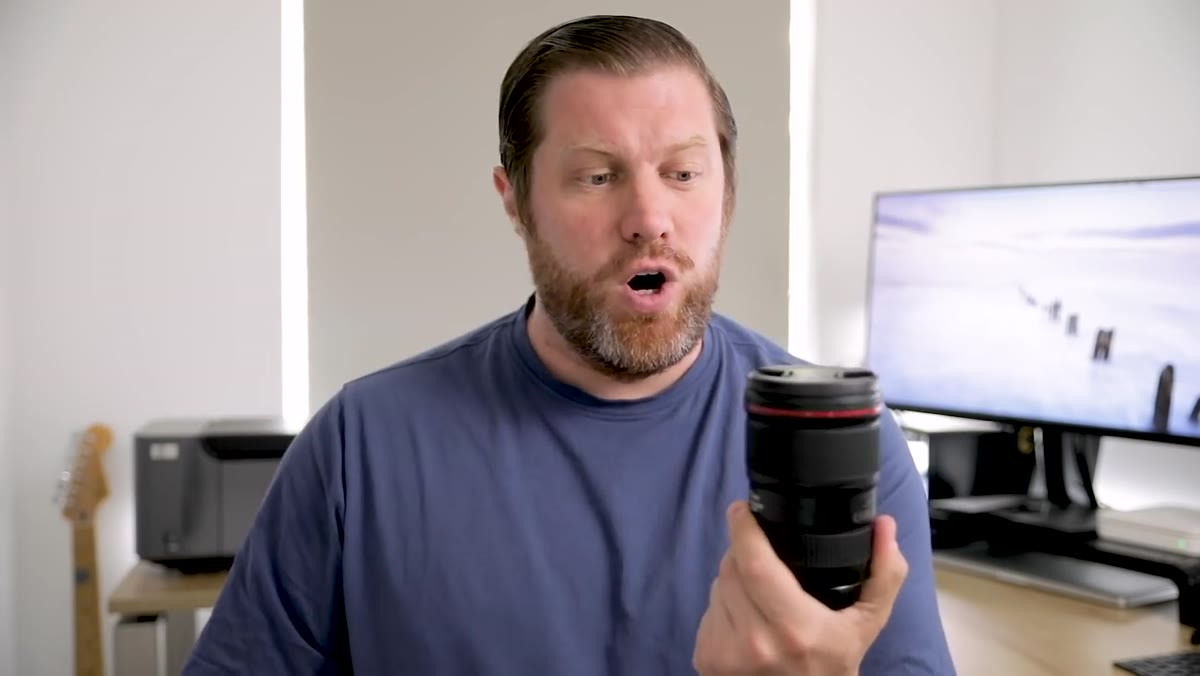 Wide angle lens shown being discussed with landscape context
The wide end of the zoom range, around 16-35mm on full frame (or 10-22mm on a crop sensor body), is what most people picture when they think “landscape lens.” And for good reason. At these focal lengths, you can fill the frame with a dramatic foreground while still capturing a broad sky or mountain range behind it. Rocks on a beach, lichen-covered crags, wildflowers along a trail - anything textured and close becomes a visual anchor that draws the eye into the frame.
Wide angle lens shown being discussed with landscape context
The wide end of the zoom range, around 16-35mm on full frame (or 10-22mm on a crop sensor body), is what most people picture when they think “landscape lens.” And for good reason. At these focal lengths, you can fill the frame with a dramatic foreground while still capturing a broad sky or mountain range behind it. Rocks on a beach, lichen-covered crags, wildflowers along a trail - anything textured and close becomes a visual anchor that draws the eye into the frame.
The catch, and this is the part people miss, is that the wide angle makes your background look small. The foreground expands, the background shrinks. So for this approach to work, you need a background that’s large enough to hold its own, a massive sky full of color, a whole mountain range, a sweeping valley. If your background is modest, the wide angle is going to flatten and minimize it. Use this focal length when you have something worth featuring at your feet and something grand behind it.
Step 3: Know When You Have No Choice But to Go Wide
 Discussing physical constraints forcing use of wide angle lens
There’s a practical reason to reach for a wide angle that has nothing to do with composition theory: sometimes you physically cannot back up any further. A rock face behind you, a cliff edge, a narrow canyon wall - the environment makes the decision for you. In those situations, a wide angle is the only way to capture what’s in front of you.
Discussing physical constraints forcing use of wide angle lens
There’s a practical reason to reach for a wide angle that has nothing to do with composition theory: sometimes you physically cannot back up any further. A rock face behind you, a cliff edge, a narrow canyon wall - the environment makes the decision for you. In those situations, a wide angle is the only way to capture what’s in front of you.
This isn’t settling. Working within physical constraints is part of location photography. Knowing your wide angle is available for exactly these moments means you can scout tighter locations without writing them off.
Step 4: Recognize That Focal Length Does Not Change Perspective
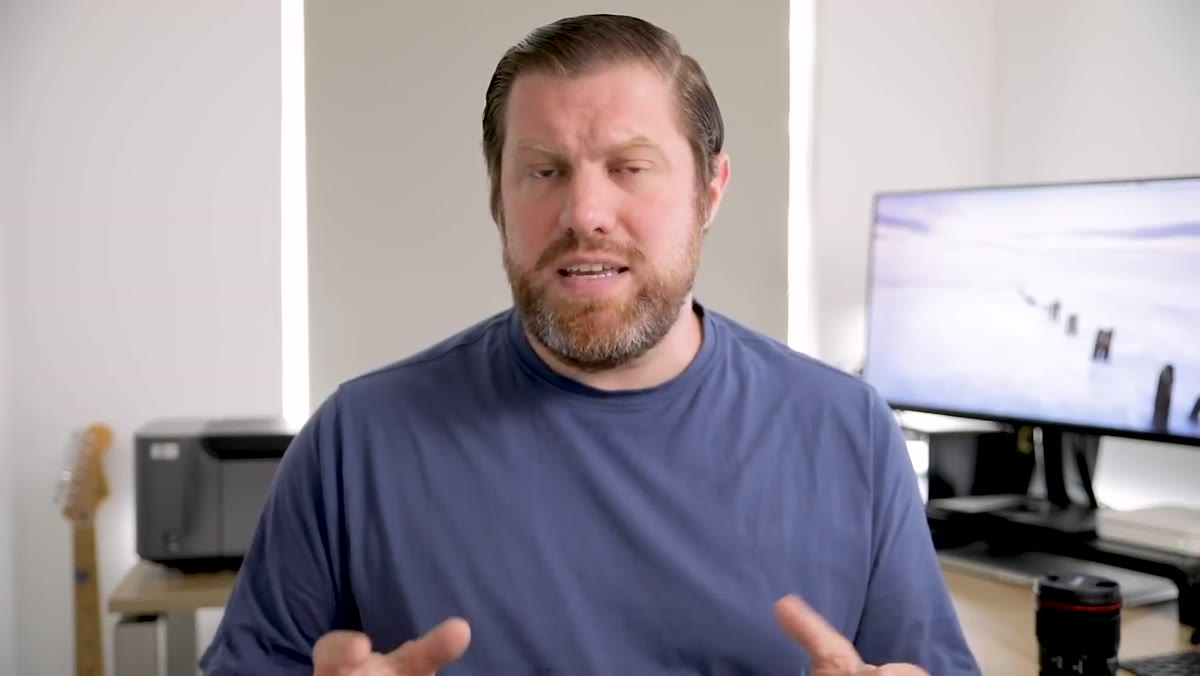 Presenter making key point about focal length versus perspective
This is the most misunderstood concept in the whole tutorial, and probably in lens education generally. Focal length does not change perspective. Your physical position does. If you stand in the same spot and swap from a 16mm to a 70mm, the relationship between objects in the scene stays the same. The telephoto just magnifies a portion of what was already there.
Presenter making key point about focal length versus perspective
This is the most misunderstood concept in the whole tutorial, and probably in lens education generally. Focal length does not change perspective. Your physical position does. If you stand in the same spot and swap from a 16mm to a 70mm, the relationship between objects in the scene stays the same. The telephoto just magnifies a portion of what was already there.
What does change perspective is where you put your feet. Move closer to the foreground rock, and it looms larger relative to the mountain behind it - regardless of which lens is on your camera. Understanding this stops you from blaming your lens for flat, uninteresting compositions. The solution is almost always to move, not to zoom.
Step 5: Use a Mid-Range Zoom (24-70mm) as Your Flexible Problem-Solver
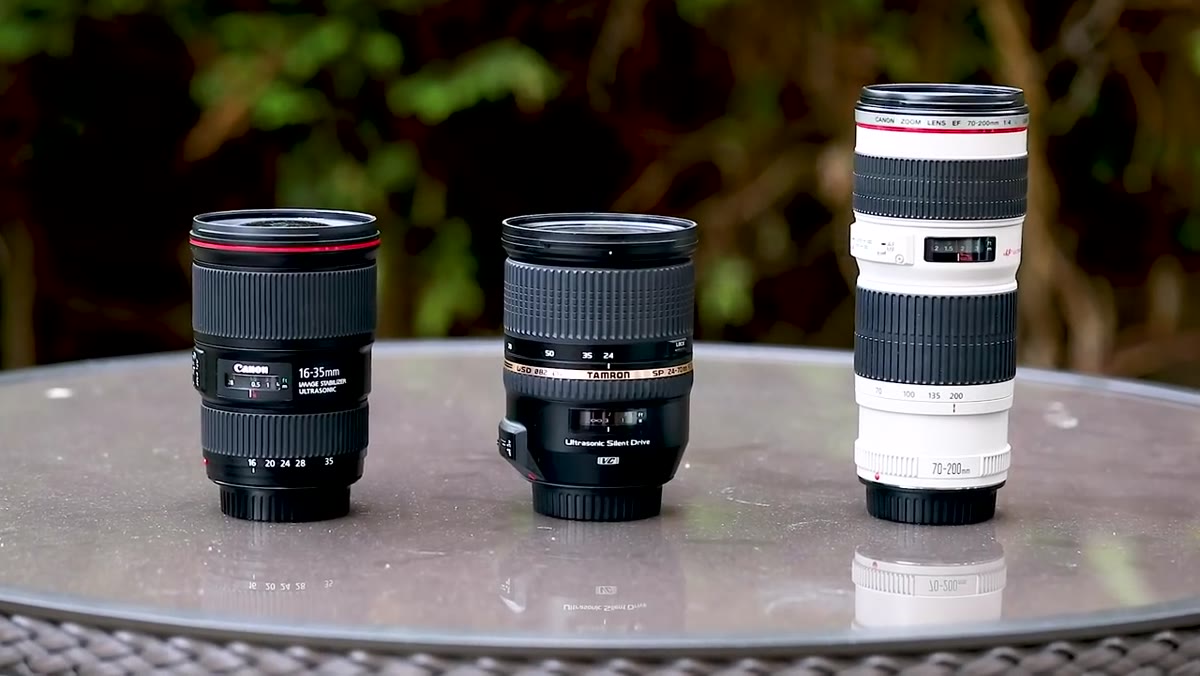 Holy Trinity of lenses listed including 24-70
The 24-70mm range is the one that often gets undersold in landscape conversations because it lacks the drama of a super-wide or the reach of a telephoto. But it earns its place in the kit as the most versatile option when you’re not sure what a scene is going to demand. It covers the standard field of view that’s closest to how the human eye sees, which makes compositions feel natural and balanced rather than exaggerated.
Holy Trinity of lenses listed including 24-70
The 24-70mm range is the one that often gets undersold in landscape conversations because it lacks the drama of a super-wide or the reach of a telephoto. But it earns its place in the kit as the most versatile option when you’re not sure what a scene is going to demand. It covers the standard field of view that’s closest to how the human eye sees, which makes compositions feel natural and balanced rather than exaggerated.
For landscapes with clean lines, symmetrical scenes, or situations where you want foreground and background to feel roughly equal in importance, this is the range to reach for. It’s also the lens I’d recommend for someone just getting started with dedicated landscape work, because it’s forgiving and teaches you to compose without relying on focal length extremes.
Step 6: Use a Telephoto (70-200mm) to Isolate, Compress, and Find Hidden Compositions
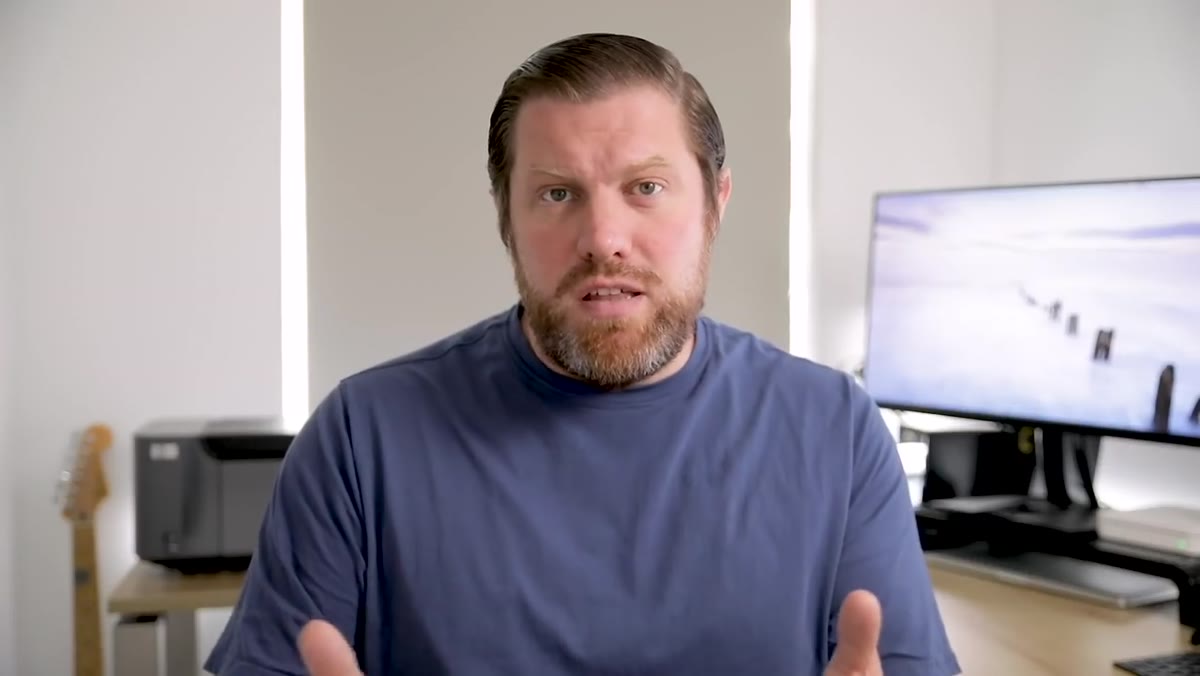 70-200 lens mentioned as third part of the Holy Trinity
The telephoto end of the range does something neither of the other focal lengths can: it compresses the apparent distance between objects. A mountain range shot at 200mm looks like the peaks are stacked right behind each other. A lone tree in a valley appears to sit directly against a ridge line that’s actually miles away. This compression creates a very specific mood - intimate, layered, almost painterly.
70-200 lens mentioned as third part of the Holy Trinity
The telephoto end of the range does something neither of the other focal lengths can: it compresses the apparent distance between objects. A mountain range shot at 200mm looks like the peaks are stacked right behind each other. A lone tree in a valley appears to sit directly against a ridge line that’s actually miles away. This compression creates a very specific mood - intimate, layered, almost painterly.
It’s also a tool for finding compositions within the chaos of a wide scene. When I’m standing somewhere with a lot going on, I’ll often put the 70-200 to my eye and scan around before I even set up a tripod. The telephoto acts like a cropping tool, helping me identify the strongest elements before I commit to a setup.
My Take: Budget Alternatives Cover This Same Focal Range
I’ve tested a lot of third-party lenses against their name-brand counterparts, and for landscape photography specifically, the value equation often tips hard toward the budget option. You’re typically shooting stopped down to f/8 or f/11 on a tripod, which is where almost every lens performs at its best regardless of price. The $400 Tamron 17-28mm f/2.8 and the $500 Sigma 100-400mm are sitting in my comparison spreadsheet right next to flagships that cost four times as much, and the real-world landscape shots are difficult to tell apart at print sizes most of us actually use.
The principle the tutorial is teaching, use focal length intentionally based on the story you want to tell, applies whether your lens cost $200 or $2,000. Get the focal length right first. Obsess over the glass later, if at all.
The single most important idea from this tutorial is also the simplest: before you raise the camera, decide what the photograph is about, then choose the focal length that supports that. Wide for foreground relationships. Telephoto for compression and isolation. Mid-range for balanced, natural scenes. That framework will do more for your landscape work than any lens upgrade.
Watch the full tutorial on YouTube
Comments (2)
I tried this on a client project yesterday and the results were way better than expected.
This is the kind of content that keeps me coming back.
Leave a Comment