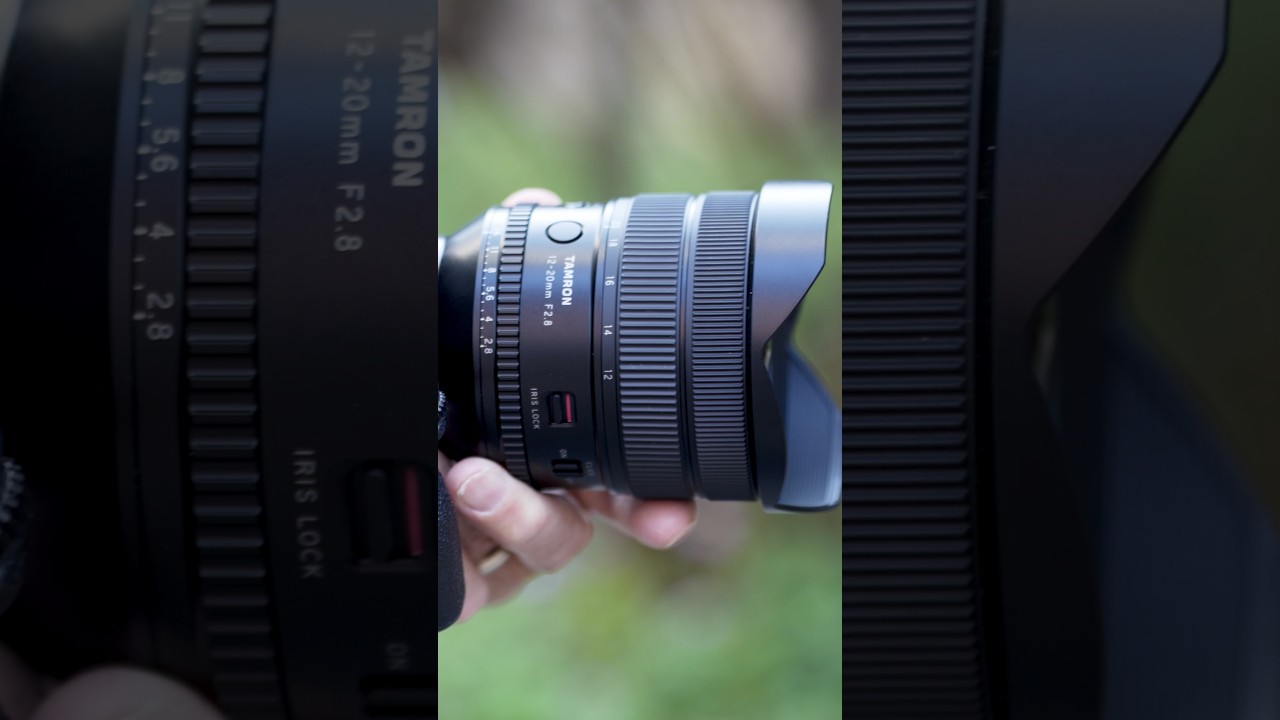
I’ve been burned enough times by ultra-wide lenses that I do my homework now. There’s a spreadsheet on my desktop with every wide-angle I’ve tested in the last three years, sorted by price-to-sharpness ratio, distortion control, and whether the autofocus holds up in low light. So when a lens comes along that actually threatens to shake up that list, I pay attention.
In this The Slanted Lens tutorial, creator Jay P. Morgan puts the Tamron 12-20mm f/2.8 through its paces with real-world shooting scenarios that match how working photographers actually use a lens like this. No lab charts, no pixel-peeping for its own sake. Just honest assessments of whether this lens earns a spot in a working kit. Watch the full tutorial on YouTube and then come back here for a step-by-step breakdown of everything covered.
What struck me most is that this lens sits at $1,700 and is being compared directly to Sony’s G Master in the same focal range, which runs over $3,300. That gap matters to people like me who are selective about where money goes in a kit. Here’s everything the tutorial walks through.
Step 1: Understand the Aperture Character and Sun Stars
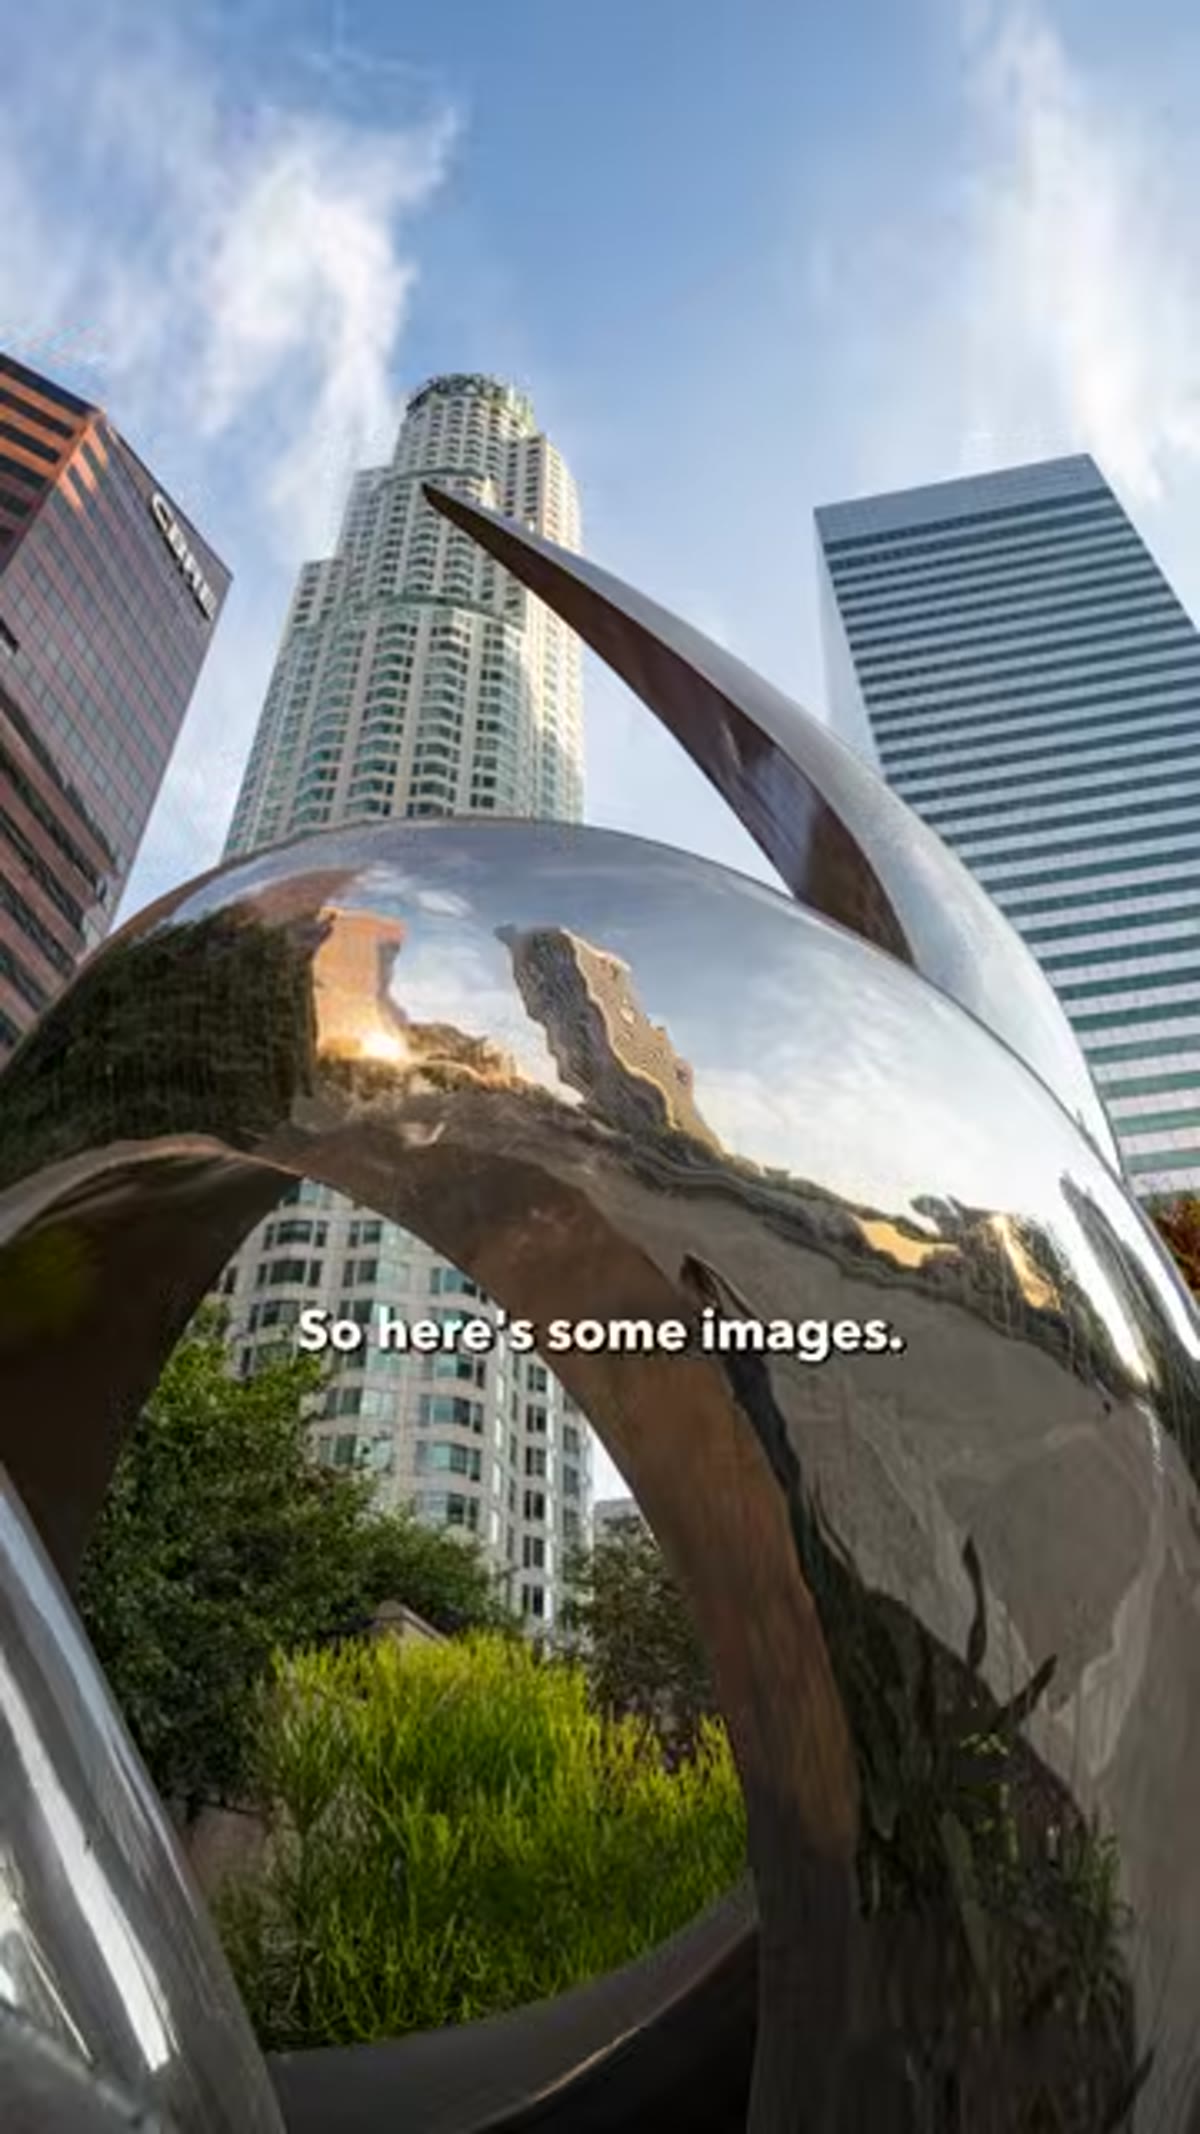 Library exterior shot with sun flare and starburst effect
One of the first things Morgan demonstrates is how the lens handles shooting directly into strong light sources. The 12-lobed diaphragm design produces sun stars with many rays, giving images a polished, intentional look when shooting architecture or landscape scenes with the sun in frame. This is not a trivial detail. Diaphragm blade count directly affects how sun stars render, and a 12-lobed design is more common in higher-end optics.
Library exterior shot with sun flare and starburst effect
One of the first things Morgan demonstrates is how the lens handles shooting directly into strong light sources. The 12-lobed diaphragm design produces sun stars with many rays, giving images a polished, intentional look when shooting architecture or landscape scenes with the sun in frame. This is not a trivial detail. Diaphragm blade count directly affects how sun stars render, and a 12-lobed design is more common in higher-end optics.
If you’re shooting architecture or outdoor scenes where the sun is part of the composition, stop down to around f/11 or f/16 to bring those rays out fully. The tutorial shows sample frames taken near a library exterior, and the starburst effect reads cleanly without the muddy or uneven patterns you sometimes get on cheaper wide-angles.
Step 2: Match the Lens to the Right Shooting Scenarios
 Wide interior architectural shot showing full room perspective
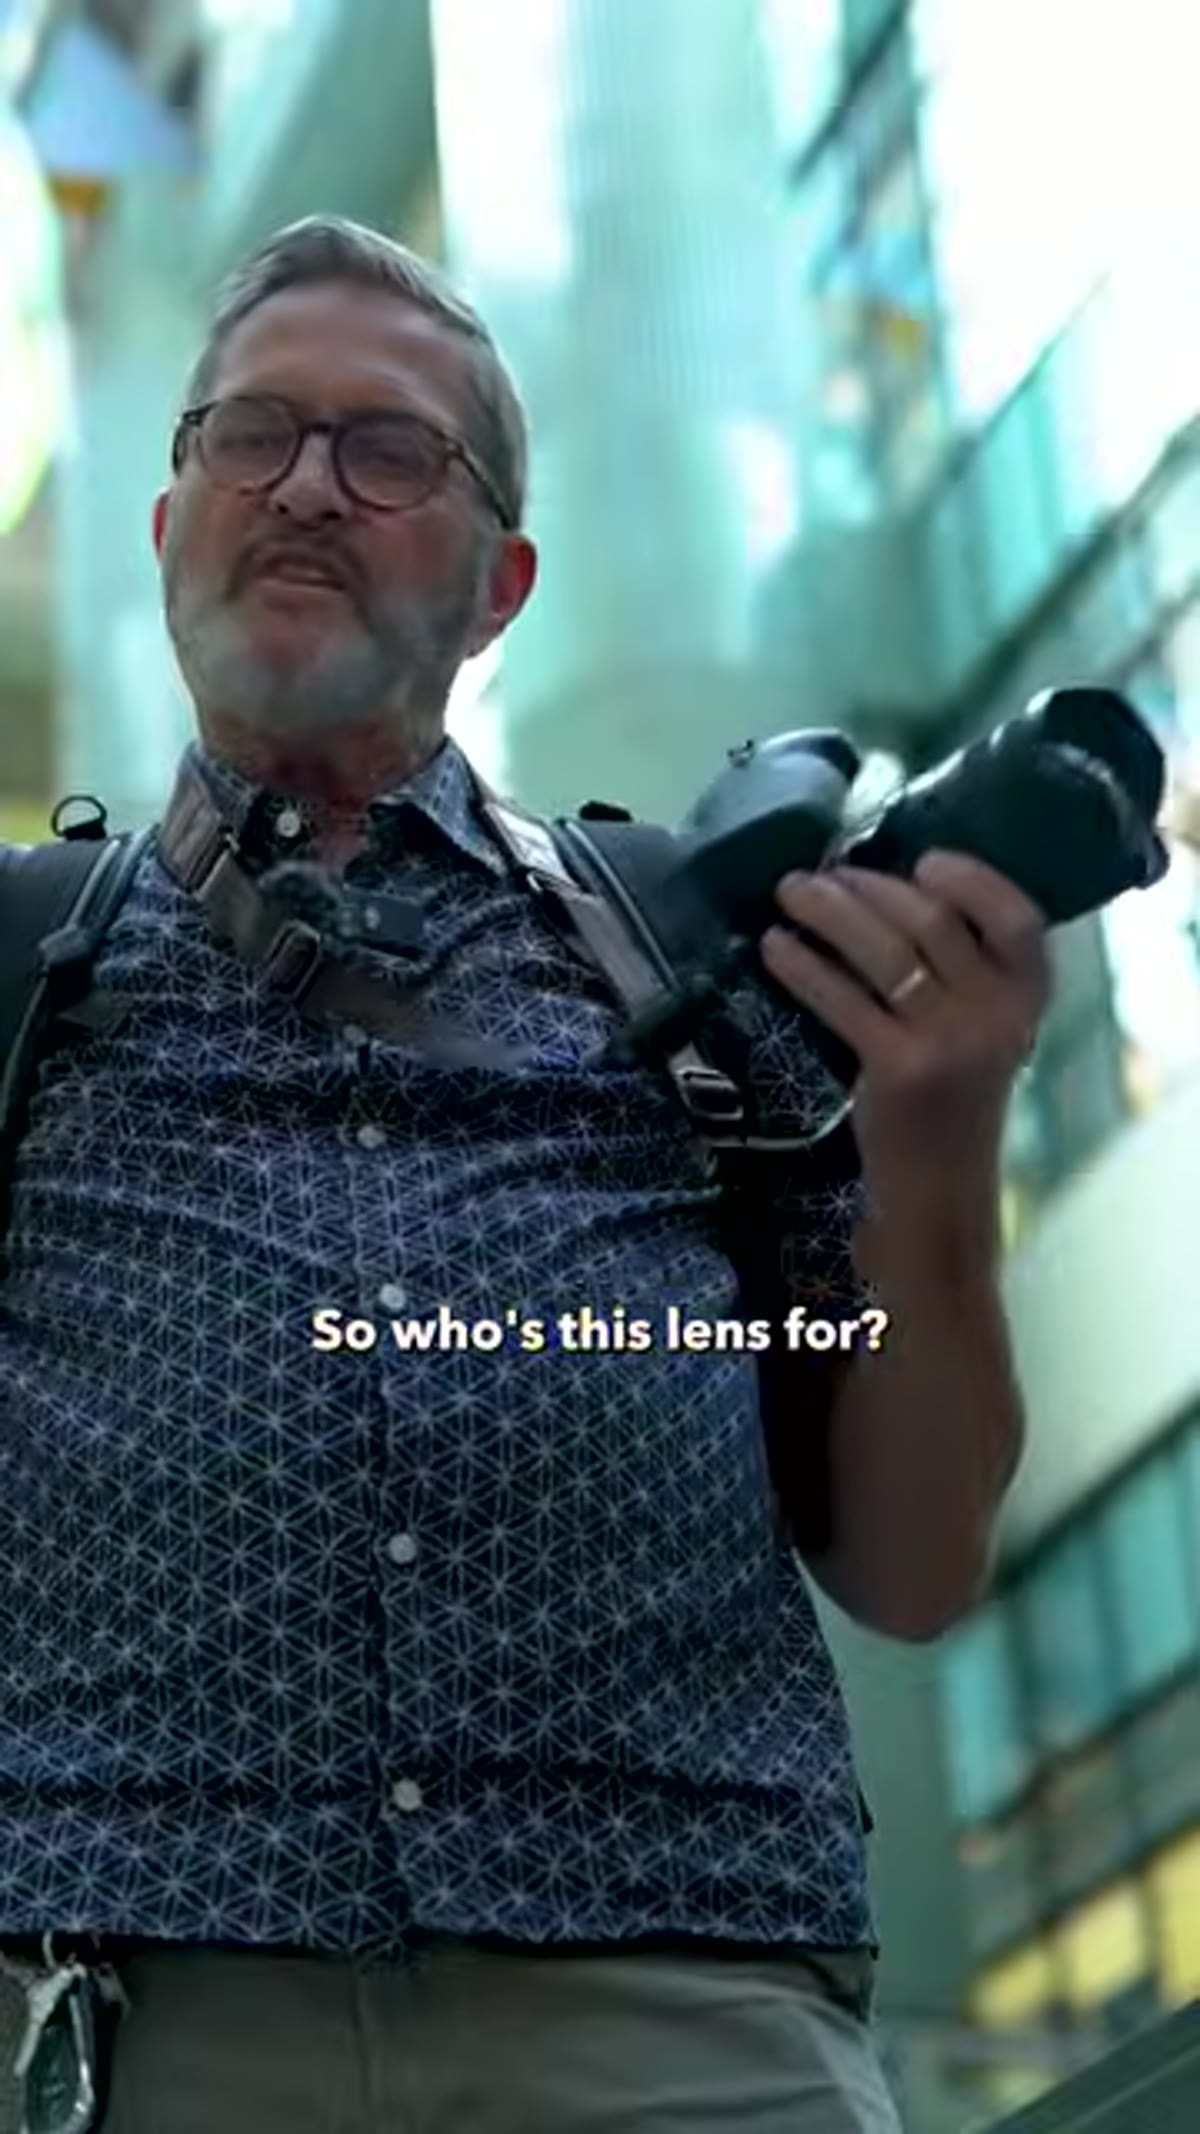
Morgan is deliberate about naming exactly who this lens is for, and it’s worth paying attention because it rules out some use cases while strongly reinforcing others. Landscapes, astrophotography, architectural interiors, and group shots in confined spaces are the primary targets. For astrophotography specifically, the ability to lock focus manually and leave it there throughout a session is a practical feature, not just a spec on paper.
Wide interior architectural shot showing full room perspective
Morgan is deliberate about naming exactly who this lens is for, and it’s worth paying attention because it rules out some use cases while strongly reinforcing others. Landscapes, astrophotography, architectural interiors, and group shots in confined spaces are the primary targets. For astrophotography specifically, the ability to lock focus manually and leave it there throughout a session is a practical feature, not just a spec on paper.
For architecture, the 12mm end lets you capture full interiors without the extreme distortion that plagues cheaper ultra-wides. If you’re shooting real estate, event spaces, or editorial interiors, this range covers situations where you physically cannot back up any farther. That’s a real problem this lens solves in a real way.
Step 3: Test Focus Breathing Before Any Video Work
 Close-up zoom test showing minimal subject size shift during focus pull
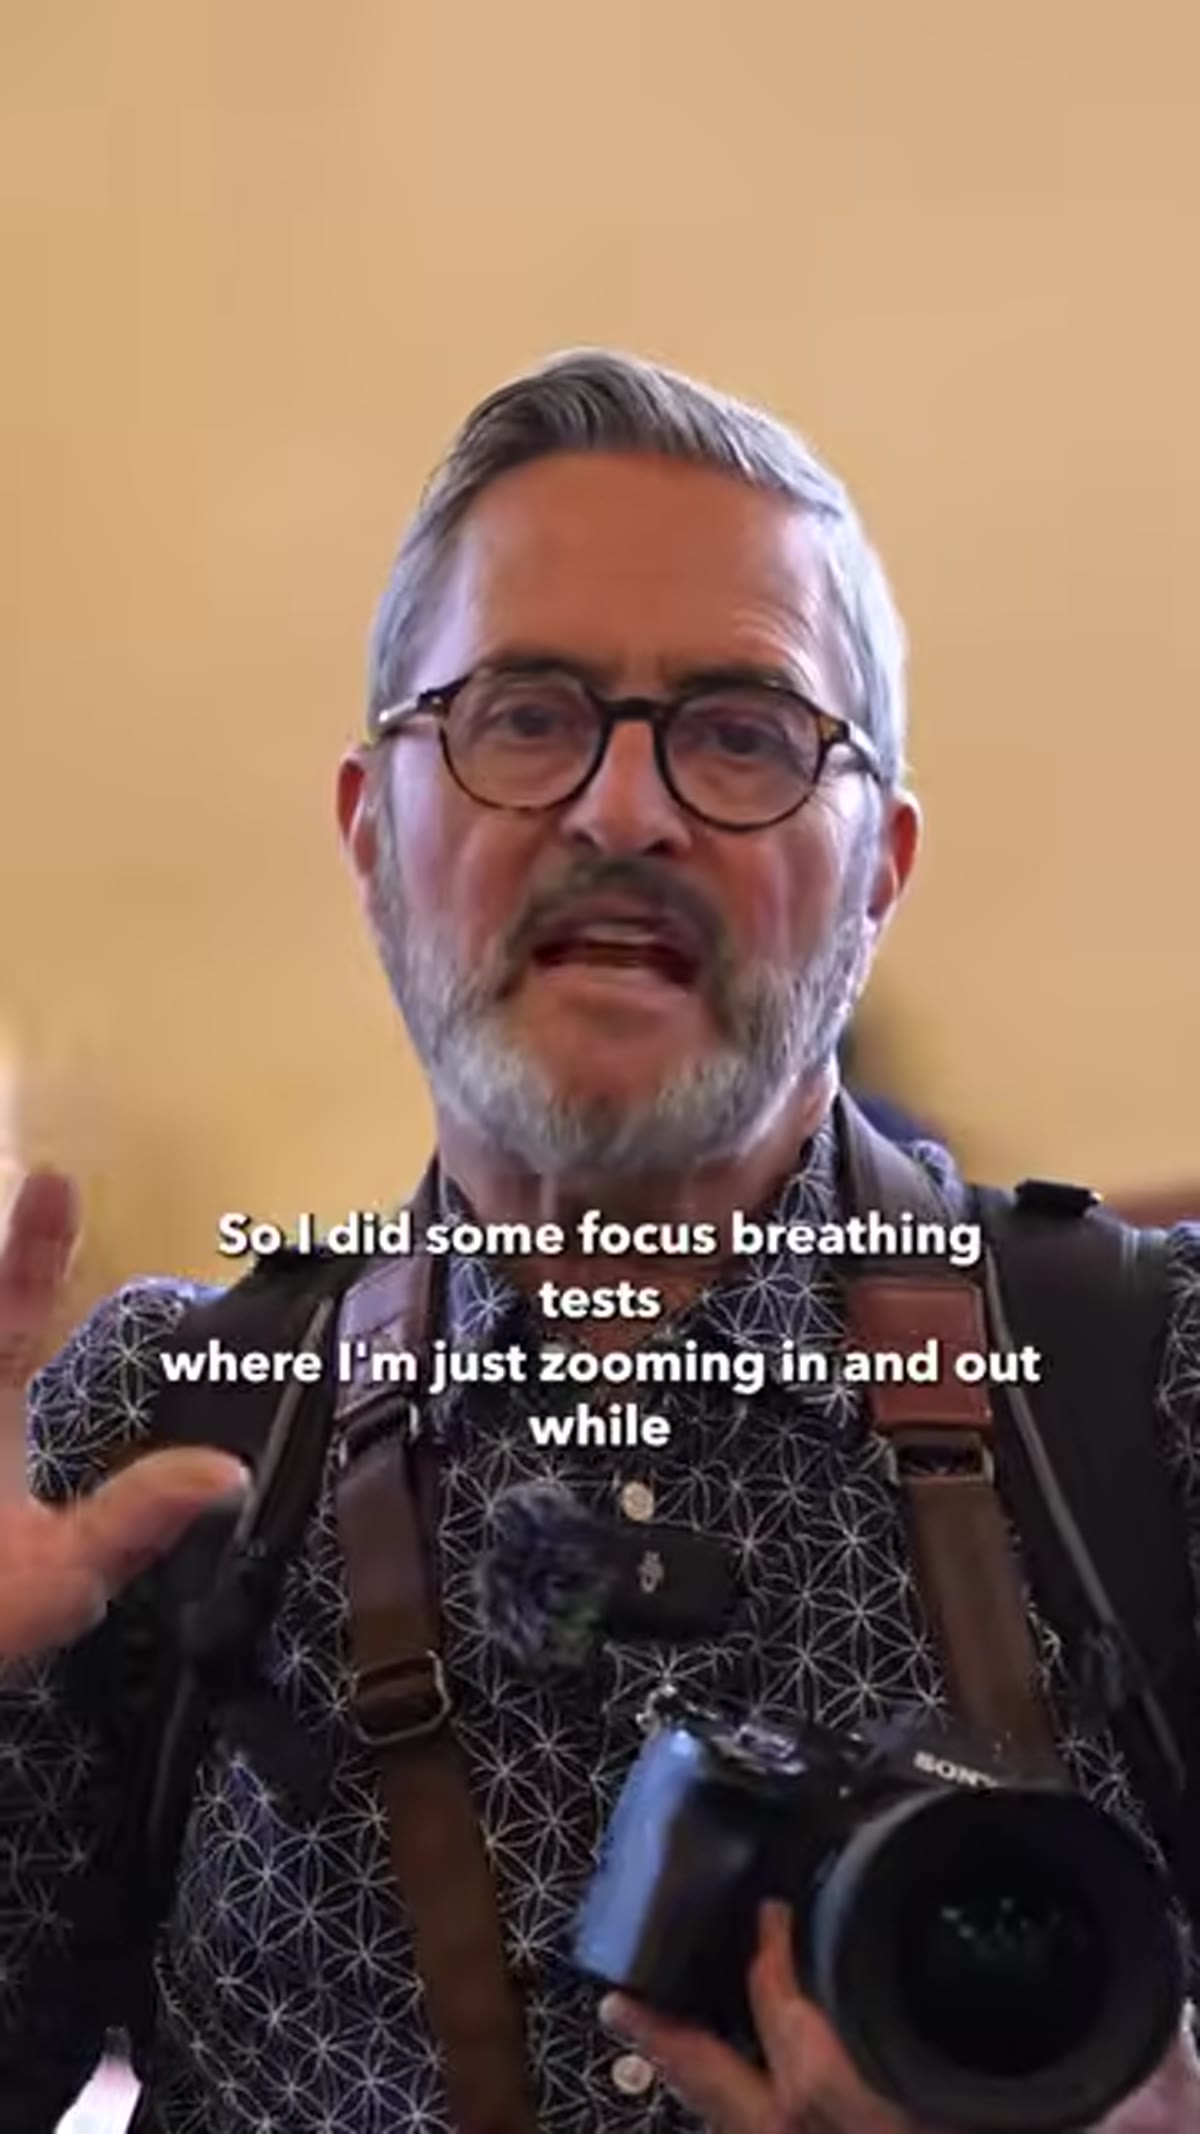
Focus breathing is the change in apparent focal length that happens when a lens shifts focus during video. It’s a problem that makes video footage look unprofessional, especially during any kind of rack focus or pull focus move. Morgan ran specific tests on this and found the breathing to be minimal, which is a meaningful result for a zoom lens in this price range.
Close-up zoom test showing minimal subject size shift during focus pull
Focus breathing is the change in apparent focal length that happens when a lens shifts focus during video. It’s a problem that makes video footage look unprofessional, especially during any kind of rack focus or pull focus move. Morgan ran specific tests on this and found the breathing to be minimal, which is a meaningful result for a zoom lens in this price range.
Before committing to this lens for a video project, run your own breathing test by locking off the camera and slowly pulling focus from close to far while recording. Watch the playback at full size and look for subject size shifts. On the 12-20mm, Morgan found the image stayed clean during zoom, which makes it a legitimate option for hybrid shooters who move between stills and video regularly.
Step 4: Use the Minimum Focus Distance Creatively
 Close-focus demonstration showing subject proximity at 12mm end
At 12mm, this lens focuses down to about 7.1 inches from the subject. That’s a genuinely short minimum focus distance for a wide-angle zoom, and it opens up a specific style of shooting that a lot of photographers overlook. Getting physically close to a subject while shooting at 12mm creates a dramatic wide perspective that exaggerates foreground elements and pulls in the environment behind them.
Close-focus demonstration showing subject proximity at 12mm end
At 12mm, this lens focuses down to about 7.1 inches from the subject. That’s a genuinely short minimum focus distance for a wide-angle zoom, and it opens up a specific style of shooting that a lot of photographers overlook. Getting physically close to a subject while shooting at 12mm creates a dramatic wide perspective that exaggerates foreground elements and pulls in the environment behind them.
Think product shots where you want environmental context, or landscape foreground details like rocks, flowers, or water that draw the viewer into the frame. This is not a macro technique, but it’s closer than most wide lenses allow and it changes what’s possible compositionally. The tutorial makes this point clearly, and it’s one I’d echo from my own testing of wide primes.
Step 5: Compare Weight Against the Competition
 Lens physical profile comparison showing compact build
At 20.2 ounces and 4.7 inches in length, the 12-20mm is competitive with much pricier options in the same category. Morgan positions this as a meaningful advantage over Sony and Sigma alternatives that deliver similar performance but add more weight to your bag. For anyone shooting handheld for extended periods, or traveling with a minimal kit, that weight difference accumulates over the course of a day.
Lens physical profile comparison showing compact build
At 20.2 ounces and 4.7 inches in length, the 12-20mm is competitive with much pricier options in the same category. Morgan positions this as a meaningful advantage over Sony and Sigma alternatives that deliver similar performance but add more weight to your bag. For anyone shooting handheld for extended periods, or traveling with a minimal kit, that weight difference accumulates over the course of a day.
Put this in practical terms: if you’re doing a half-day architectural shoot, hiking into a landscape location, or setting up astrophotography gear in the dark, you notice what’s heavy. Lighter glass that doesn’t sacrifice optical quality is a genuine win, not a marketing point.
Step 6: Evaluate the Autofocus System for Real Work
 Autofocus tracking demonstration showing fast subject acquisition
The 12-20mm uses a voice coil motor for autofocus, which Morgan describes as fast, quiet, and precise. For a wide-angle zoom, fast autofocus matters most in group photography and event shooting, where subjects move and you’re not always at a controlled distance. The quiet operation also matters for video, where a noisy autofocus motor ends up on the audio track.
Autofocus tracking demonstration showing fast subject acquisition
The 12-20mm uses a voice coil motor for autofocus, which Morgan describes as fast, quiet, and precise. For a wide-angle zoom, fast autofocus matters most in group photography and event shooting, where subjects move and you’re not always at a controlled distance. The quiet operation also matters for video, where a noisy autofocus motor ends up on the audio track.
During video or hybrid shooting sessions, test autofocus by tracking a subject walking toward the camera at 12mm. The wide field of view combined with fast acquisition means you stay sharp through movement without hunting. Morgan’s assessment on the 12-20mm is that it handles this as well as any Tamron lens he’s tested, which is a meaningful endorsement from someone who has covered the whole lineup.
My Take: The Price Comparison Is the Real Story
I’ve seen the G Master at $3,300 on the shelf and put it back. Not because it isn’t excellent, it clearly is, but because paying double for marginal gains on a lens I’m not using every single day is hard to justify. The Tamron 12-20mm at $1,700 isn’t a compromise pick. It’s a deliberate choice that holds up on sharpness, autofocus, distortion control, and build quality.
The one thing I’d add from my own experience with wide-angle zooms in this range: test your specific body’s lens correction profile with this lens before a critical shoot. Some cameras apply automatic distortion correction that affects the field of view slightly at 12mm. Know your settings before you’re on location.
The bottom line here is simple. If you need a professional wide-angle zoom and you’re not willing to spend $3,300 for a marginal improvement, the Tamron 12-20mm f/2.8 is the lens that belongs in your bag. It earns its place through optical performance, practical features, and a price that doesn’t require you to rationalize the purchase for three months.
Watch the full tutorial on YouTube to see the sample images and focus tests for yourself. And if you’re ready to buy, the Tamron 12-20mm f/2.8 is available for Sony and Nikon mounts at Amazon and B&H.
Comments
Leave a Comment