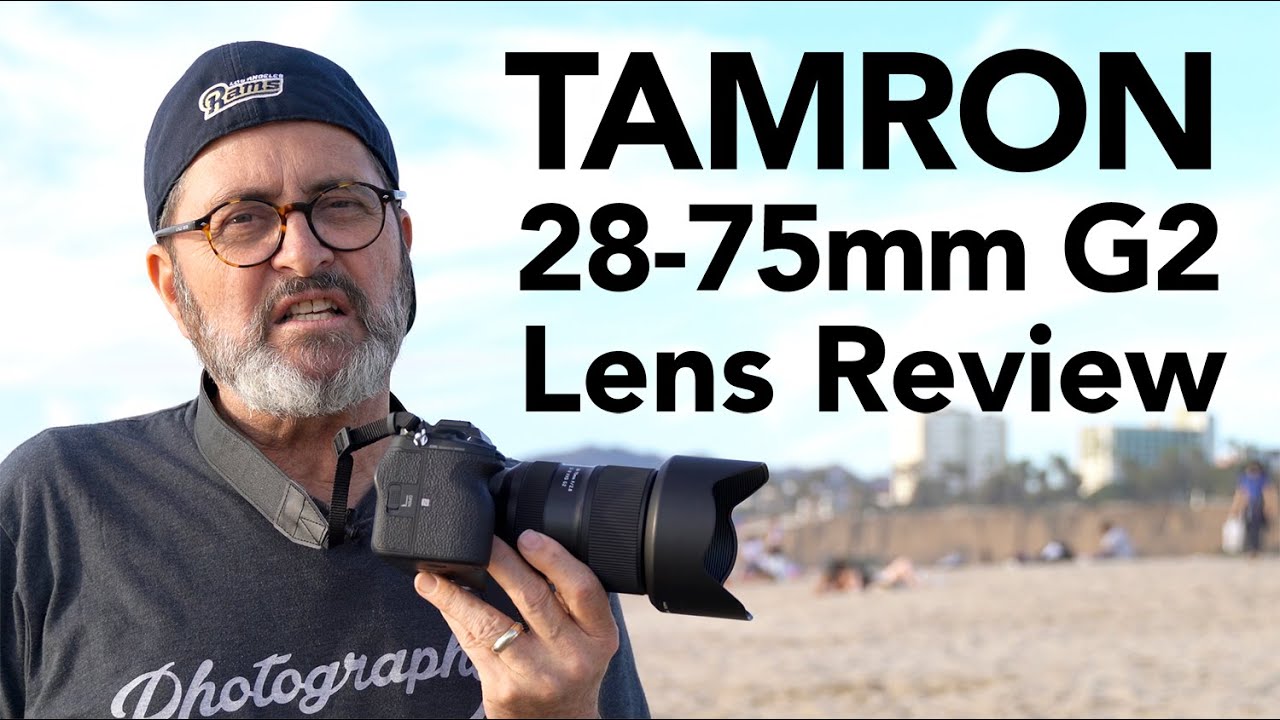
The hardest question I get from readers is some version of: “I have $800 to spend on a lens, what do I actually buy?” Not “what’s the best lens money can buy,” but what delivers the most usable image quality for real shooting situations without burning through your whole budget. That question used to take me 20 minutes to answer. Now I send them one link.
In this The Slanted Lens tutorial, Jay P. Morgan takes Tamron’s updated 28-75mm f/2.8 G2 out to Santa Monica for a real-world walkthrough, shooting everything from close portraits to street scenes. Jay has been doing this long enough that he doesn’t pad his reviews with specs you can read on a box. He shoots, he compares, and he tells you whether the upgrade is worth the money. That last part matters here, because this is a second-generation lens, and “should I upgrade from the first version” is a legitimate question a lot of Sony shooters are sitting with right now.
I’ve tested a lot of lenses in this price range. I have a spreadsheet that would make most people uncomfortable. And what Jay demonstrates in this video lines up closely with what I’ve found myself: the G2 isn’t a revolution, but the specific improvements it makes are exactly the ones that matter for working photographers. Here’s the full breakdown.
Step 1: Understand Where This Lens Sits in Your Kit
 Jay explaining the 28-75mm as a standard walk-around zoom
The 28-75mm range sounds like a compromise, and honestly, in the best way possible. Jay frames this as the “normal zoom” slot in what photographers call the trinity of zoom lenses, but he’s quick to point out that the 75mm end skews slightly longer than the more common 24-70mm you see from Sony and Sigma. That extra reach at the long end nudges the lens closer to portrait territory, which is genuinely useful if you shoot people.
Jay explaining the 28-75mm as a standard walk-around zoom
The 28-75mm range sounds like a compromise, and honestly, in the best way possible. Jay frames this as the “normal zoom” slot in what photographers call the trinity of zoom lenses, but he’s quick to point out that the 75mm end skews slightly longer than the more common 24-70mm you see from Sony and Sigma. That extra reach at the long end nudges the lens closer to portrait territory, which is genuinely useful if you shoot people.
Think of this as the lens you reach for when you don’t know what you’re walking into. Street work, events, quick portrait sessions, travel. The 28mm wide end gives you enough room to work in tight spaces, and 75mm gets you a flattering compression for headshots without making your subject feel like you’re in their face.
Step 2: Check Corner Sharpness at f/2.8 Before You Dismiss It
 Close-up image review showing corner sharpness at f/2.8
One of the most common knocks on fast zoom lenses at wide apertures is soft corners. Jay pulls up sample images specifically to address this, and the G2’s corners at f/2.8 are noticeably cleaner than the first-generation version. This isn’t a minor tweak. Soft corners at wide apertures force you to stop down, which defeats the point of buying an f/2.8 lens in the first place.
Close-up image review showing corner sharpness at f/2.8
One of the most common knocks on fast zoom lenses at wide apertures is soft corners. Jay pulls up sample images specifically to address this, and the G2’s corners at f/2.8 are noticeably cleaner than the first-generation version. This isn’t a minor tweak. Soft corners at wide apertures force you to stop down, which defeats the point of buying an f/2.8 lens in the first place.
By f/4, this lens is extremely sharp across the frame. But the real story is that you don’t have to wait for f/4 anymore. If you’re shooting wide open in lower light or trying to separate a subject from a background, the G2 gives you that option without the corner degradation tax. For the price, that’s a significant improvement.
Step 3: Test the Autofocus by Switching Between Near and Far Subjects
 Jay shooting and tracking focus shifting from close to far distance
Jay’s method for testing autofocus is simple and honest: he switches rapidly between subjects at very different distances and watches how the lens responds. The G2 uses a VXD linear motor mechanism, which is the same type of drive system you find in significantly more expensive lenses. The result is focus transitions that are fast and decisive rather than the hunting behavior you get from older motor designs.
Jay shooting and tracking focus shifting from close to far distance
Jay’s method for testing autofocus is simple and honest: he switches rapidly between subjects at very different distances and watches how the lens responds. The G2 uses a VXD linear motor mechanism, which is the same type of drive system you find in significantly more expensive lenses. The result is focus transitions that are fast and decisive rather than the hunting behavior you get from older motor designs.
To replicate this test yourself, find a scene where you can quickly shift focus from something a few feet away to something 20 or 30 feet out. Half-press your shutter and move your focus point deliberately. With the G2, the transitions are quick enough that you won’t miss moments waiting for the lens to catch up. The first generation was already solid here. The G2 is faster, and you’ll notice it most in fast-moving or unpredictable shooting situations.
Step 4: Use the Close Focus Distance for Near-Macro Work
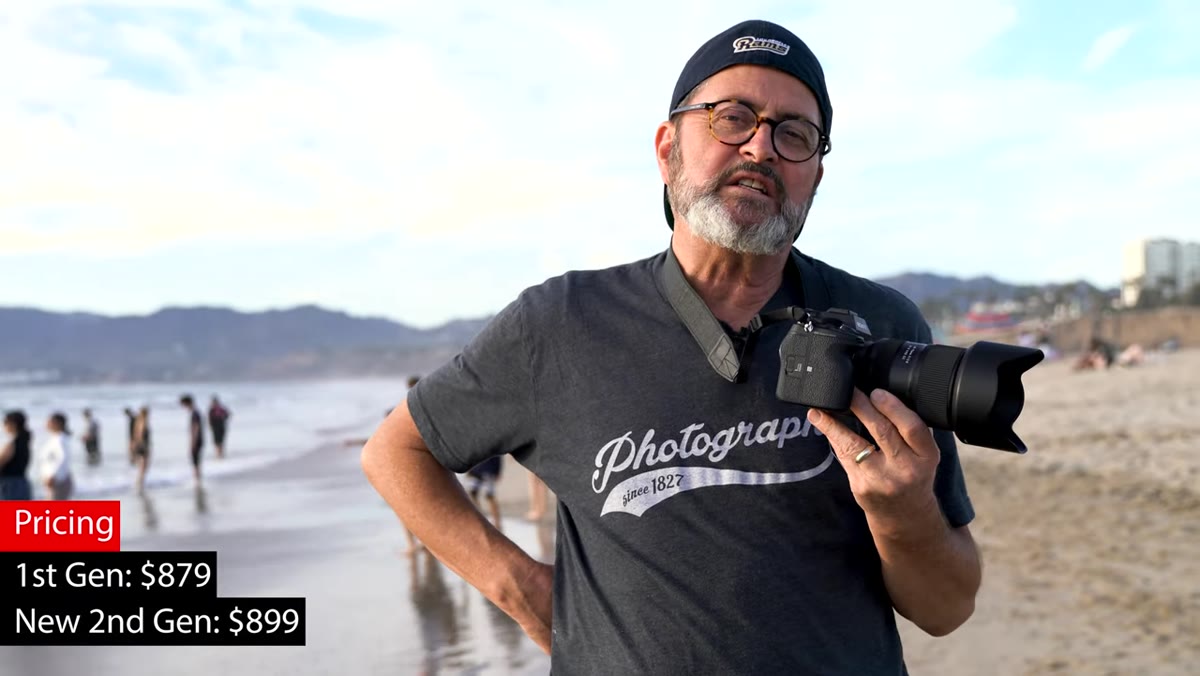 Jay shooting tight portrait detail at minimum focus distance
The 28-75 G2 has a minimum focus distance of about 7.1 inches measured from the sensor plane. That works out to a 1:2.7 macro reproduction ratio, which isn’t true macro but gets you surprisingly close. Jay demonstrates this by getting tight on a subject’s eyes at the 28mm end, and the results are close enough to macro that casual viewers wouldn’t know the difference.
Jay shooting tight portrait detail at minimum focus distance
The 28-75 G2 has a minimum focus distance of about 7.1 inches measured from the sensor plane. That works out to a 1:2.7 macro reproduction ratio, which isn’t true macro but gets you surprisingly close. Jay demonstrates this by getting tight on a subject’s eyes at the 28mm end, and the results are close enough to macro that casual viewers wouldn’t know the difference.
This is one of those features that doesn’t show up prominently in spec comparisons but matters a lot in practice. You don’t need to carry a dedicated macro lens for detail shots, product photography on the go, or tight environmental portraits. Just pull back to 28mm, get close, and let the lens do the work. The lens hood will practically graze your subject at minimum focus distance, so be aware of your physical positioning.
Step 5: Customize Lens Behavior via the USB-C Port
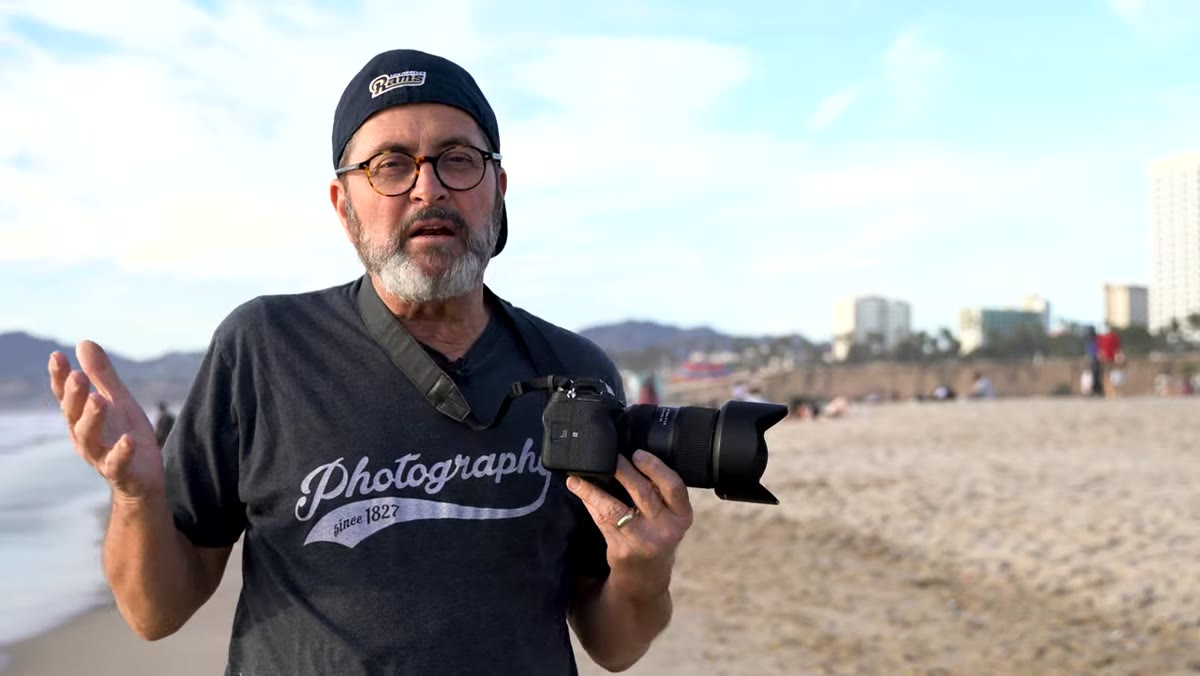 Jay demonstrating the USB-C port on the lens barrel
This is the feature I didn’t appreciate until I actually used it. The G2 has a USB-C port built into the lens body, and Tamron’s companion software lets you remap the physical controls on the lens itself. Focus hold buttons, the focus/aperture ring behavior, custom function assignments. You can tune this lens to match exactly how you work.
Jay demonstrating the USB-C port on the lens barrel
This is the feature I didn’t appreciate until I actually used it. The G2 has a USB-C port built into the lens body, and Tamron’s companion software lets you remap the physical controls on the lens itself. Focus hold buttons, the focus/aperture ring behavior, custom function assignments. You can tune this lens to match exactly how you work.
Connect the lens directly to your computer, open the Tamron Lens Utility software, and you’ll see a visual interface showing every programmable element. This is especially useful if you’ve switched from a different camera system and your muscle memory expects controls in different places. Instead of relearning, you just reassign.
What I’d Add From My Own Testing
The 67mm filter thread is something Jay mentions briefly, but I want to give it more weight. Almost every Tamron lens in their current Sony E-mount lineup shares this filter size. If you’re building out a filter kit, whether that’s polarizers, ND filters, or graduated NDs for landscape work, you buy one set of 67mm filters and they work across your whole bag. Compared to Sony’s own G Master lenses, which scatter across 72mm, 77mm, and 82mm filter sizes, this standardization saves you real money and real frustration.
I also want to be straight about who should upgrade from the first generation versus who should just buy the G2 fresh. If you already own the original 28-75 and it’s working for you, the G2 is a nice improvement but probably not an emergency upgrade. If you’re buying new and the price difference is small, get the G2. The sharper corners at f/2.8 and faster autofocus are real, not marketing language.
The single most important thing Jay’s walkthrough confirms is that this lens earns its reputation by being genuinely good at the things photographers actually use lenses for, not by winning spec sheet comparisons. Sharp wide open, fast to focus, close minimum focus distance, and a price that doesn’t require you to justify the purchase to yourself for six months. That’s the sweet spot, and the G2 hits it.
Watch the full tutorial on YouTube to see Jay’s sample images and real-time shooting footage from Santa Monica.
Comments
Leave a Comment