
I shoot on a budget. That’s kind of my whole thing. So when a lens exists that costs anywhere from $1,000 to $3,000 depending on the focal length, I want to understand exactly what it does before I ever recommend it or dismiss it. Tilt-shift lenses are one of those pieces of gear that get thrown around in architecture photography conversations without a lot of clear explanation. Most people know the name. Fewer people can tell you what the shift part actually does to the image, or why you’d want it over just cropping or correcting in post.
In this CreativeLive tutorial, photographer Ben Willmore gives one of the clearest explanations of the shift function I’ve come across. It’s practical, grounded in a real shooting problem, and it avoids the usual hand-waving. Watch the full tutorial on YouTube if you want to follow along. The walkthrough below extracts the core technique so you can understand exactly what’s happening optically, and whether this lens belongs anywhere near your kit.
The problem Willmore is solving is one every photographer runs into when shooting buildings: you tilt your camera up to fit the whole structure in frame, and suddenly the top of the building looks narrower than the bottom. It’s not a camera malfunction. It’s just perspective. The tilt-shift lens exists specifically to work around that, and the way it does it is more interesting than most gear explanations let on.
Step 1: Understand Why Tilting Your Camera Creates Distortion
 Hand moving close and far from face to show perspective
The distortion that makes buildings look like they’re falling backward isn’t a flaw in your lens. It’s basic perspective at work. Anything farther from your camera appears smaller. When you point a camera upward at a building, the top of the structure is physically farther away from your lens than the base is. So the top renders smaller, the sides converge, and you get that leaning effect. The solution most photographers reach for first is backing up until the building fits in the frame without tilting. That works sometimes, but not always. There might be a wall behind you, another building, traffic, or just a shift in the perspective you actually wanted that ruins the shot.
Hand moving close and far from face to show perspective
The distortion that makes buildings look like they’re falling backward isn’t a flaw in your lens. It’s basic perspective at work. Anything farther from your camera appears smaller. When you point a camera upward at a building, the top of the structure is physically farther away from your lens than the base is. So the top renders smaller, the sides converge, and you get that leaning effect. The solution most photographers reach for first is backing up until the building fits in the frame without tilting. That works sometimes, but not always. There might be a wall behind you, another building, traffic, or just a shift in the perspective you actually wanted that ruins the shot.
Step 2: Recognize When You Can’t Just Back Up
 Discussing scenarios where backing up changes the scene
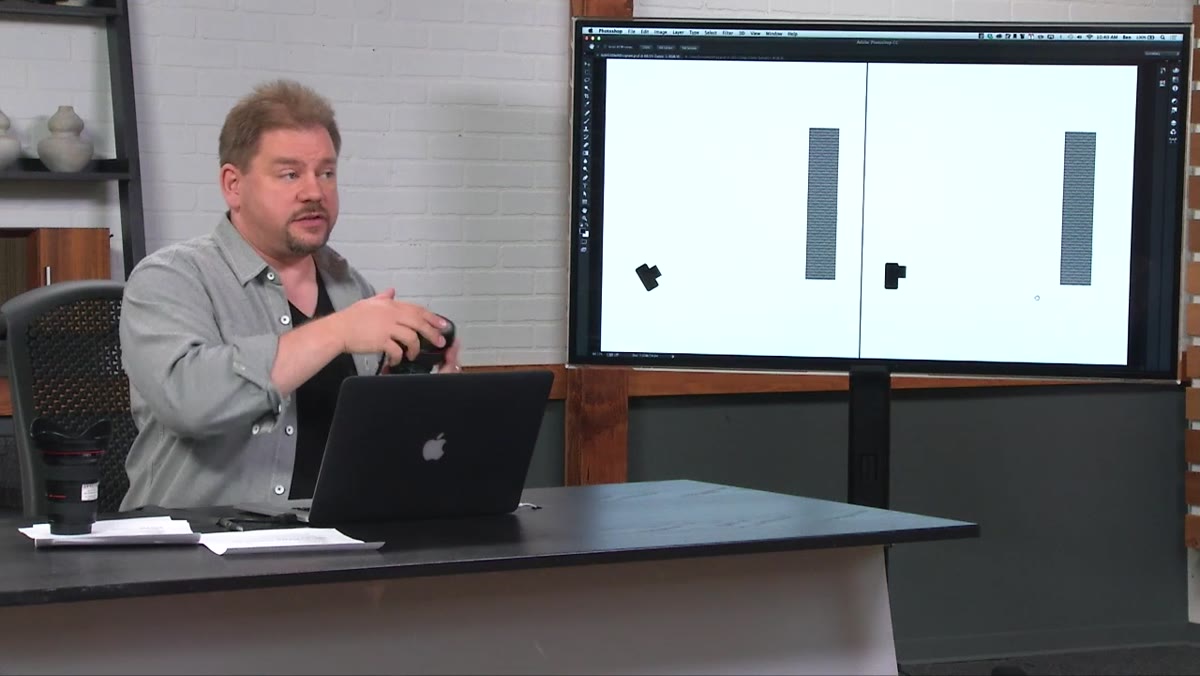
Willmore makes a point here that I think gets skipped in a lot of gear explainers. Backing up doesn’t just change your distance from the subject. It changes your perspective entirely. If you were shooting through an archway, under an awning, or at an angle that showed architectural detail at a specific height, stepping back changes what you can see, not just how much of it. The position itself has value. That’s when the tilt-shift lens earns its price tag: it lets you stay planted in one spot and get the shot that position offers, without tilting the camera and introducing convergence.
Discussing scenarios where backing up changes the scene
Willmore makes a point here that I think gets skipped in a lot of gear explainers. Backing up doesn’t just change your distance from the subject. It changes your perspective entirely. If you were shooting through an archway, under an awning, or at an angle that showed architectural detail at a specific height, stepping back changes what you can see, not just how much of it. The position itself has value. That’s when the tilt-shift lens earns its price tag: it lets you stay planted in one spot and get the shot that position offers, without tilting the camera and introducing convergence.
Step 3: See How the Shift Function Works Mechanically
 Demonstrating the shift knob on the side of the lens
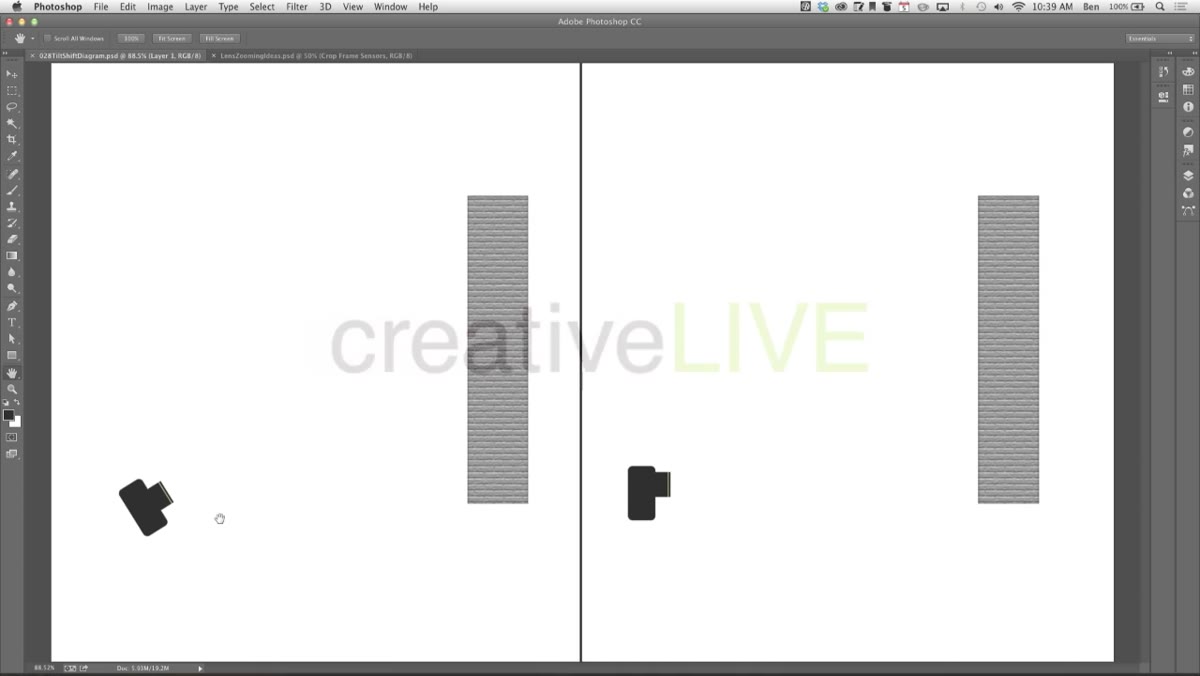
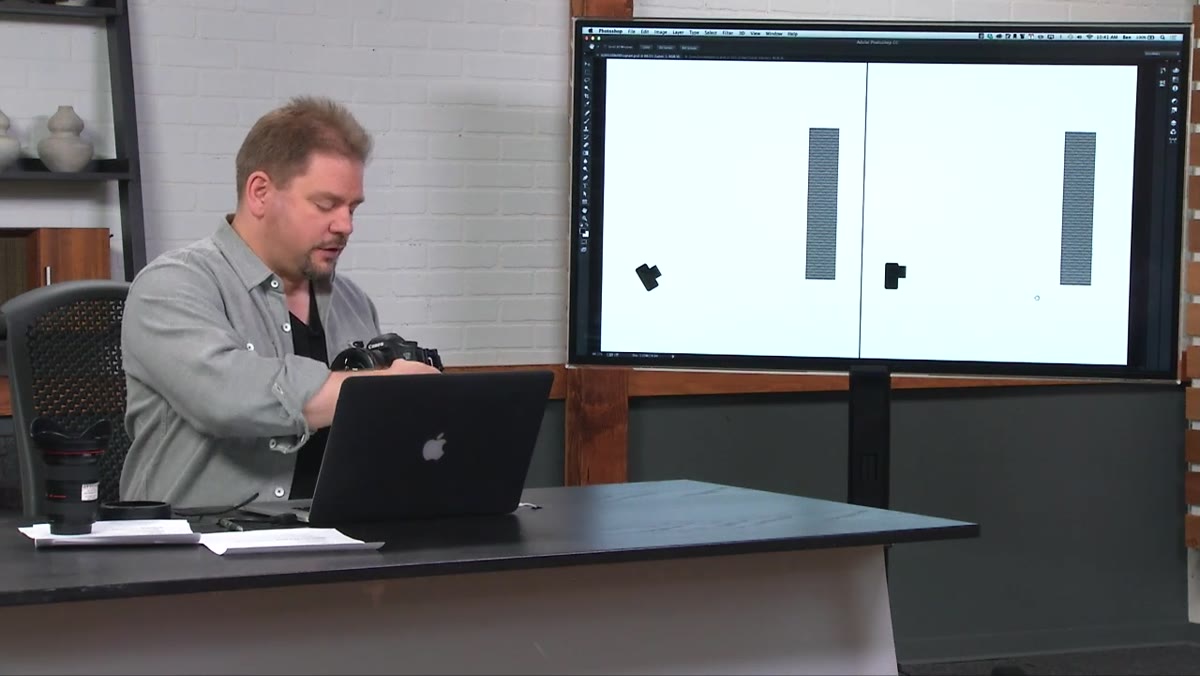
This is the part that clicked for me when I watched this tutorial. The lens has a knob on the side. Turning that knob physically moves the front lens element up or down relative to the camera body. You keep the camera level, perfectly parallel to the face of the building, and then you shift the lens upward to bring the top of the building into the frame. Because the camera itself never tilts, the sensor stays in a flat, neutral relationship to the subject. Both the top and bottom of the building remain the same distance from the front of the lens. That’s the key. Equal distance means equal scale. No convergence.
Demonstrating the shift knob on the side of the lens
This is the part that clicked for me when I watched this tutorial. The lens has a knob on the side. Turning that knob physically moves the front lens element up or down relative to the camera body. You keep the camera level, perfectly parallel to the face of the building, and then you shift the lens upward to bring the top of the building into the frame. Because the camera itself never tilts, the sensor stays in a flat, neutral relationship to the subject. Both the top and bottom of the building remain the same distance from the front of the lens. That’s the key. Equal distance means equal scale. No convergence.
Step 4: Level Your Camera Before You Shift Anything
 Explaining the lens position parallel to the building face
The technique only works if your camera is genuinely level. If the body is already tilted when you start shifting, you’re combining two sources of distortion instead of eliminating one. Use a bubble level, a hotshoe level, or the in-camera horizon display if your body has one. Get the sensor plane parallel to the front face of the building, lock it down on a tripod, and then use the shift knob to reframe. This is also why a tripod is basically mandatory for this kind of work. Hand-holding a tilt-shift lens for architecture defeats the precision you’re paying for.
Explaining the lens position parallel to the building face
The technique only works if your camera is genuinely level. If the body is already tilted when you start shifting, you’re combining two sources of distortion instead of eliminating one. Use a bubble level, a hotshoe level, or the in-camera horizon display if your body has one. Get the sensor plane parallel to the front face of the building, lock it down on a tripod, and then use the shift knob to reframe. This is also why a tripod is basically mandatory for this kind of work. Hand-holding a tilt-shift lens for architecture defeats the precision you’re paying for.
Step 5: Understand Why the Lens Needs a Larger Image Circle
 Explaining image circle coverage for shifting to work
Here’s the optical detail that separates a tilt-shift lens from a regular one. When you shift the lens element up, you’re asking it to project an image onto a part of the sensor that a standard lens wouldn’t cover. Standard lenses project their image circle right onto the sensor and barely beyond it. A tilt-shift lens is engineered with a much larger image circle, sized closer to what you’d expect from a medium format system. That extra coverage gives you room to shift. Without it, you’d just get severe vignetting or a black frame. This is also why the lenses are expensive. More glass, more engineering, tighter tolerances.
Explaining image circle coverage for shifting to work
Here’s the optical detail that separates a tilt-shift lens from a regular one. When you shift the lens element up, you’re asking it to project an image onto a part of the sensor that a standard lens wouldn’t cover. Standard lenses project their image circle right onto the sensor and barely beyond it. A tilt-shift lens is engineered with a much larger image circle, sized closer to what you’d expect from a medium format system. That extra coverage gives you room to shift. Without it, you’d just get severe vignetting or a black frame. This is also why the lenses are expensive. More glass, more engineering, tighter tolerances.
Step 6: Know Your Focal Length Options Before You Shop
 Mentioning Canon’s 17mm as the widest tilt-shift available
Willmore mentions that Canon makes a 17mm tilt-shift, which he describes as the widest option available at the time of the tutorial, and rare enough that its front element actually protrudes from the barrel in an unusual way. Most tilt-shift lenses sit in a longer focal length range. If you’re shooting interiors or tight urban environments, wider is better. If you’re working with more space and shooting facades or skylines, a slightly longer focal length gives you more control over compression. Research what’s currently available for your specific mount before assuming you have options at every focal length. Nikon, Canon, and third-party manufacturers like Laowa all have different coverage in this category, and it changes.
Mentioning Canon’s 17mm as the widest tilt-shift available
Willmore mentions that Canon makes a 17mm tilt-shift, which he describes as the widest option available at the time of the tutorial, and rare enough that its front element actually protrudes from the barrel in an unusual way. Most tilt-shift lenses sit in a longer focal length range. If you’re shooting interiors or tight urban environments, wider is better. If you’re working with more space and shooting facades or skylines, a slightly longer focal length gives you more control over compression. Research what’s currently available for your specific mount before assuming you have options at every focal length. Nikon, Canon, and third-party manufacturers like Laowa all have different coverage in this category, and it changes.
My Take: Post-Processing Is Not a Full Replacement
I’ve done the Lightroom perspective correction thing. I’ve used the Upright tool, the manual sliders, the guided transform. It works well enough for casual use and I still lean on it regularly. But correction in post always costs you something. You’re cropping into your image, losing edge detail, and sometimes introducing artifacts on straight architectural lines. If architecture photography is a consistent part of your work and you’re delivering to clients who are scrutinizing every pixel of a building’s facade, shooting it right in camera is worth more than fixing it later. That’s the honest case for a tilt-shift lens. Not magic, just physics used correctly.
The single most important thing Willmore explains in this tutorial is the relationship between keeping the camera level and using the shift to reframe. That’s the whole mechanism. Once you understand that the lens moves so the camera doesn’t have to, everything else about tilt-shift photography makes sense. It’s not a special effect. It’s an engineering solution to a real optical problem.
Watch the full tutorial on YouTube to see the lens demonstrated in Willmore’s hands with the diagram he references. Seeing the physical shift knob in action makes the whole concept land faster than any written explanation.
Comments
Leave a Comment