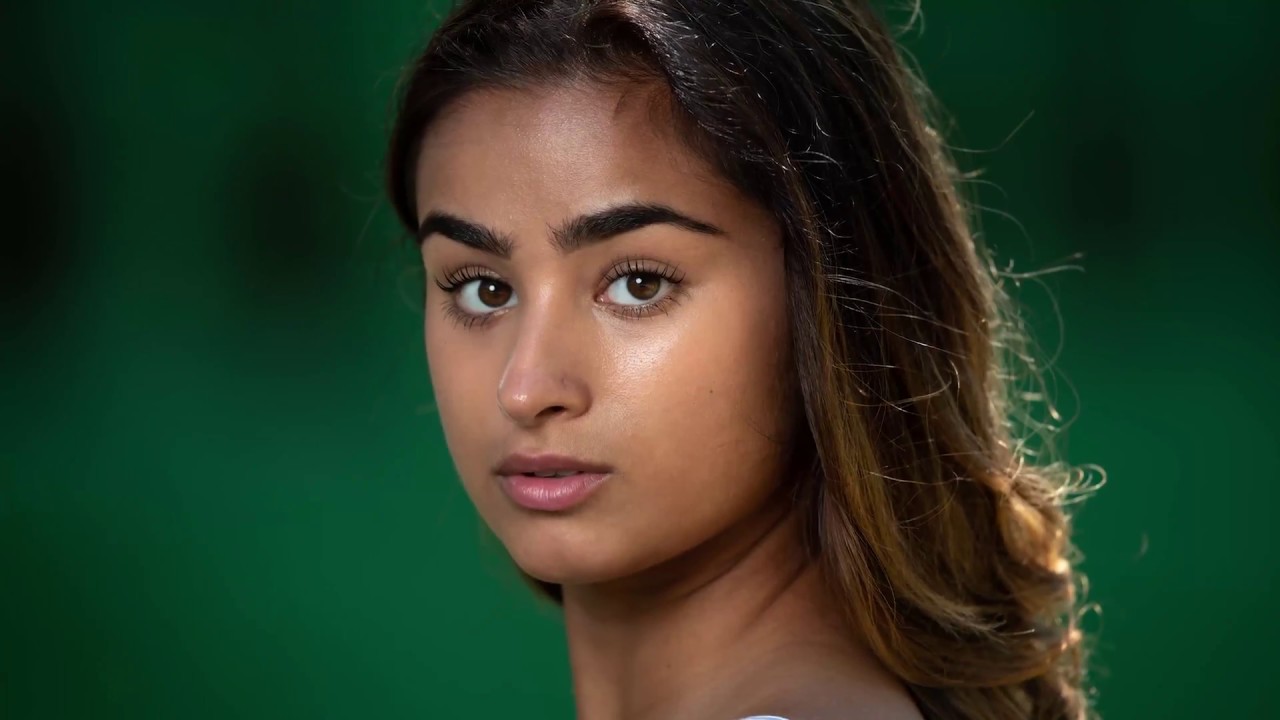
Most of my work is built around a pretty simple argument: the gear ceiling for great photos is a lot lower than the industry wants you to think. I’ve got a spreadsheet with every budget lens I’ve tested, and the pattern is consistent. Past a certain point, you’re paying for bragging rights, not better pictures. So when I came across this Tony & Chelsea Northrup tutorial where Tony hauls a 600mm f/4 telephoto out into a field to shoot portraits, my first instinct was to roll my eyes. Watch the full tutorial on YouTube
But here’s the thing. The experiment actually teaches you something real about focal length, background compression, and working distance that applies whether you’re shooting with a $200 kit lens or a lens that costs more than a used car. Tony’s surprise at how good the results look is the whole point. Understanding why they look good makes you a better shooter regardless of what’s in your bag.
This is less a tutorial about buying a 600mm lens and more a masterclass in what extreme focal lengths actually do to a portrait, and how you can chase those same properties, partially at least, with gear you already own.
Step 1: Accept That Communication Becomes a Physical Problem
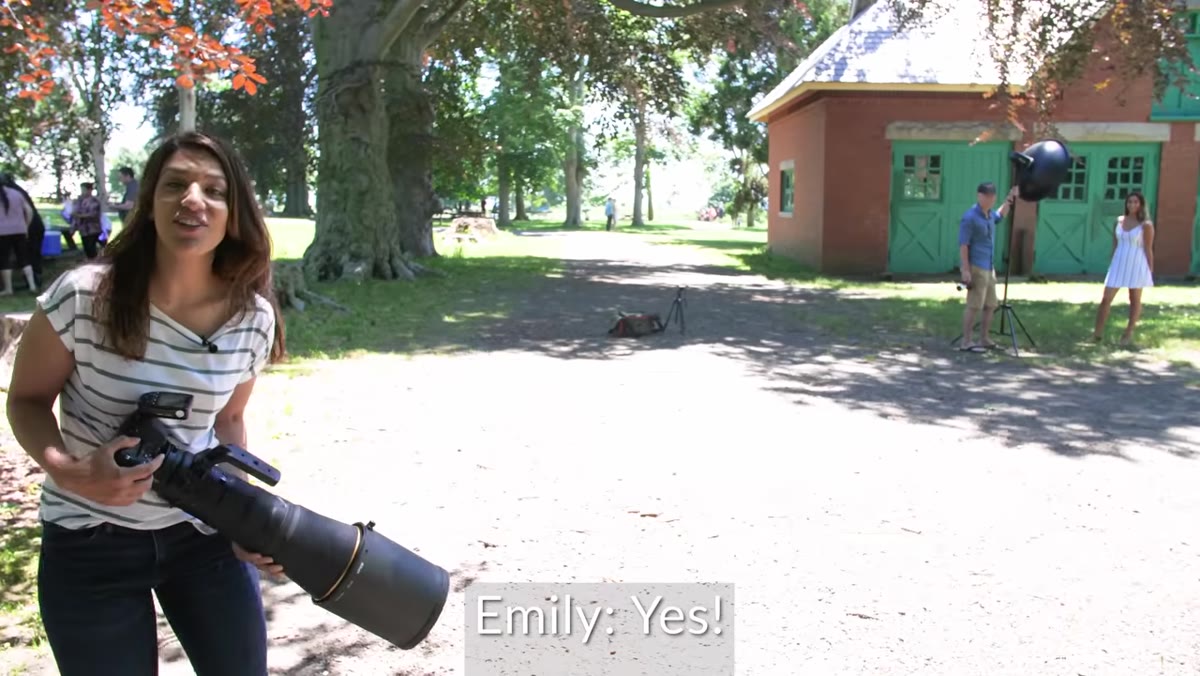 Tony calling out to Emily from extreme shooting distance
Before you fire a single frame, you need to solve a logistics problem that sounds absurd until you actually try it. At the distances a super-telephoto requires for portraiture, you cannot direct your subject by talking normally. Tony positions Emily somewhere between 75 and 100 feet away, and shouting directions across that gap is both inefficient and exhausting. Plan for this before the shoot. Use a walkie-talkie, a text thread on a second phone, or designate a stand-in near the subject who relays your cues. If you’re testing this concept at shorter distances with a 200mm or 300mm, you still need cleaner communication than you’d use in a studio. The gap changes everything about how you work.
Tony calling out to Emily from extreme shooting distance
Before you fire a single frame, you need to solve a logistics problem that sounds absurd until you actually try it. At the distances a super-telephoto requires for portraiture, you cannot direct your subject by talking normally. Tony positions Emily somewhere between 75 and 100 feet away, and shouting directions across that gap is both inefficient and exhausting. Plan for this before the shoot. Use a walkie-talkie, a text thread on a second phone, or designate a stand-in near the subject who relays your cues. If you’re testing this concept at shorter distances with a 200mm or 300mm, you still need cleaner communication than you’d use in a studio. The gap changes everything about how you work.
Step 2: Set Your Working Distance Based on Focal Length, Not Comfort
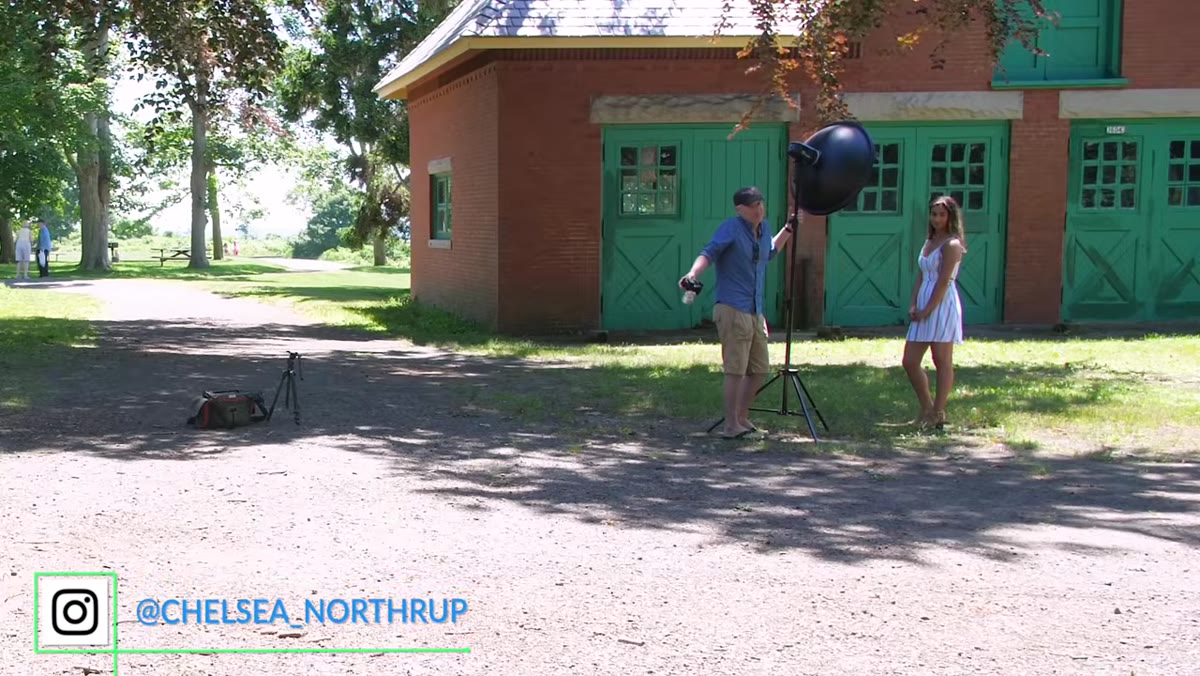 Tony and Emily separated by a large open outdoor space
The reason portraits at extreme focal lengths look interesting is compression. At 600mm, Tony is so far from Emily that the background elements are pulled toward her in the frame, creating a stacked, painterly quality that shorter focal lengths simply cannot produce. But that compression only kicks in when you’re actually using the focal length at distance. The mistake most people make is standing too close and wondering why their 200mm portrait doesn’t look any different from their 85mm shot. Figure out your minimum working distance for the focal length you’re using and then push farther. For a 600mm, that means getting far enough away that your subject is still reasonably sized in the frame while the background is genuinely compressed, not just soft.
Tony and Emily separated by a large open outdoor space
The reason portraits at extreme focal lengths look interesting is compression. At 600mm, Tony is so far from Emily that the background elements are pulled toward her in the frame, creating a stacked, painterly quality that shorter focal lengths simply cannot produce. But that compression only kicks in when you’re actually using the focal length at distance. The mistake most people make is standing too close and wondering why their 200mm portrait doesn’t look any different from their 85mm shot. Figure out your minimum working distance for the focal length you’re using and then push farther. For a 600mm, that means getting far enough away that your subject is still reasonably sized in the frame while the background is genuinely compressed, not just soft.
Step 3: Use a Remote Trigger to Manage Camera Weight and Stability
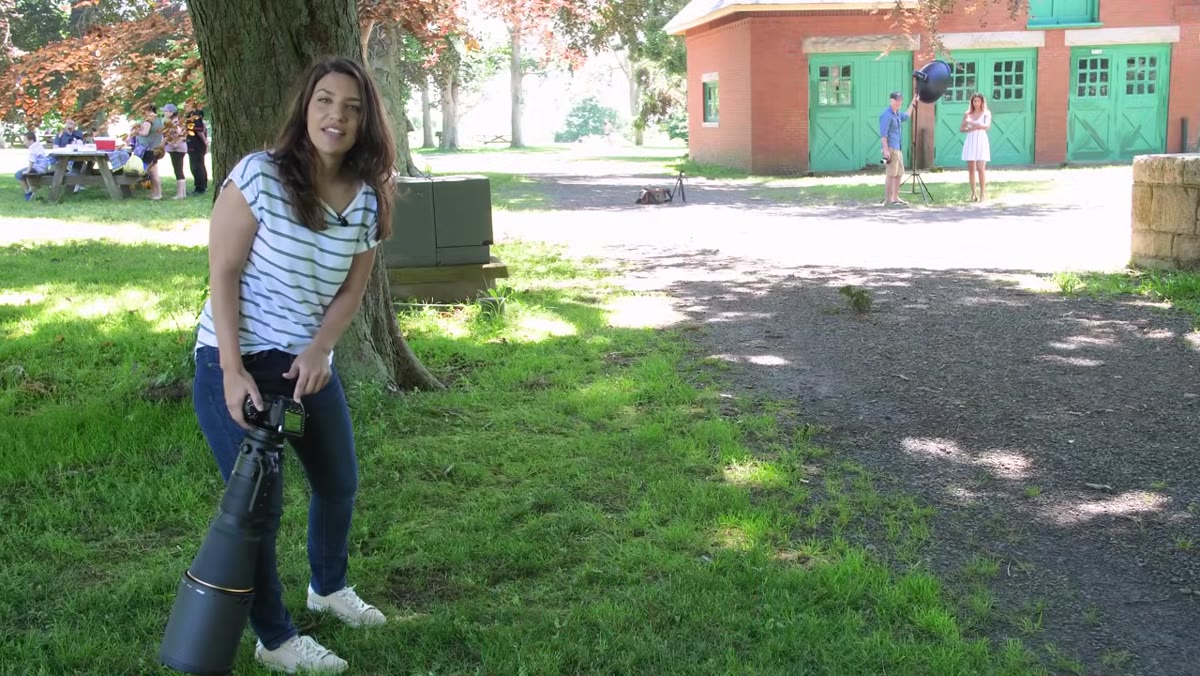 Tony holding the camera with a remote shutter release
A 600mm f/4 lens is brutally heavy. Tony is shooting handheld with his arm fatiguing in real time, and he mentions using a remote trigger to manage some of that strain. Even at less extreme focal lengths, handholding a long telephoto while directing a model is a recipe for soft images and back problems. If you’re doing this with a 300mm or longer, use a monopod at minimum. A remote shutter release lets you lock your stance, brace the camera properly, and fire without introducing shake at the moment of exposure. This is not optional equipment for this kind of shoot. It’s the difference between sharp frames and a card full of blurry misses.
Tony holding the camera with a remote shutter release
A 600mm f/4 lens is brutally heavy. Tony is shooting handheld with his arm fatiguing in real time, and he mentions using a remote trigger to manage some of that strain. Even at less extreme focal lengths, handholding a long telephoto while directing a model is a recipe for soft images and back problems. If you’re doing this with a 300mm or longer, use a monopod at minimum. A remote shutter release lets you lock your stance, brace the camera properly, and fire without introducing shake at the moment of exposure. This is not optional equipment for this kind of shoot. It’s the difference between sharp frames and a card full of blurry misses.
Step 4: Add Strobe to Compete With Ambient Light at Distance
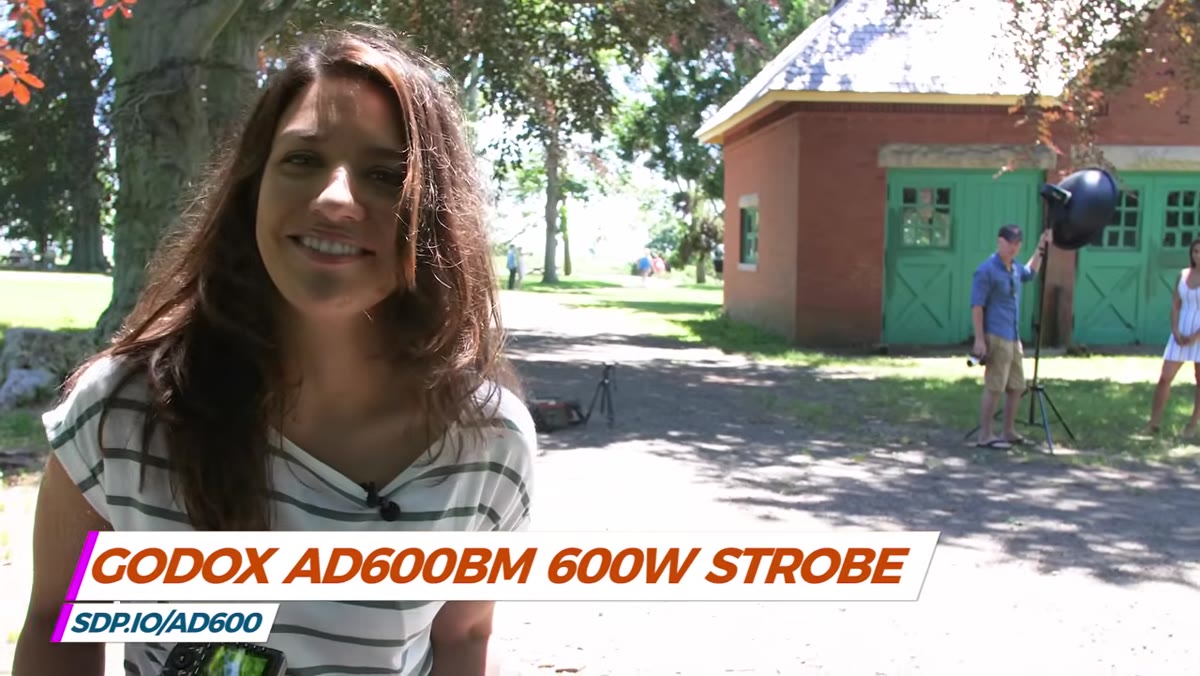 A strobe positioned in the shooting environment near the subject
Tony mentions dropping a strobe near the subject, and this detail is easy to skip over but worth thinking through. When your camera is 75 to 100 feet from your subject, you cannot use an on-camera flash with any meaningful effect. The light has to be placed near the subject independently. A strobe or speedlight near Emily lets Tony balance the exposure and add direction to the light even in open outdoor conditions. If you’re recreating this on a budget, a single manual speedlight on a stand near your subject, triggered wirelessly, solves the same problem. You’re not trying to overpower the sun necessarily. You’re just adding enough fill or direction to make the light do something intentional rather than whatever the sky decides.
A strobe positioned in the shooting environment near the subject
Tony mentions dropping a strobe near the subject, and this detail is easy to skip over but worth thinking through. When your camera is 75 to 100 feet from your subject, you cannot use an on-camera flash with any meaningful effect. The light has to be placed near the subject independently. A strobe or speedlight near Emily lets Tony balance the exposure and add direction to the light even in open outdoor conditions. If you’re recreating this on a budget, a single manual speedlight on a stand near your subject, triggered wirelessly, solves the same problem. You’re not trying to overpower the sun necessarily. You’re just adding enough fill or direction to make the light do something intentional rather than whatever the sky decides.
Step 5: Review Results Early and Check for Compression Artifacts
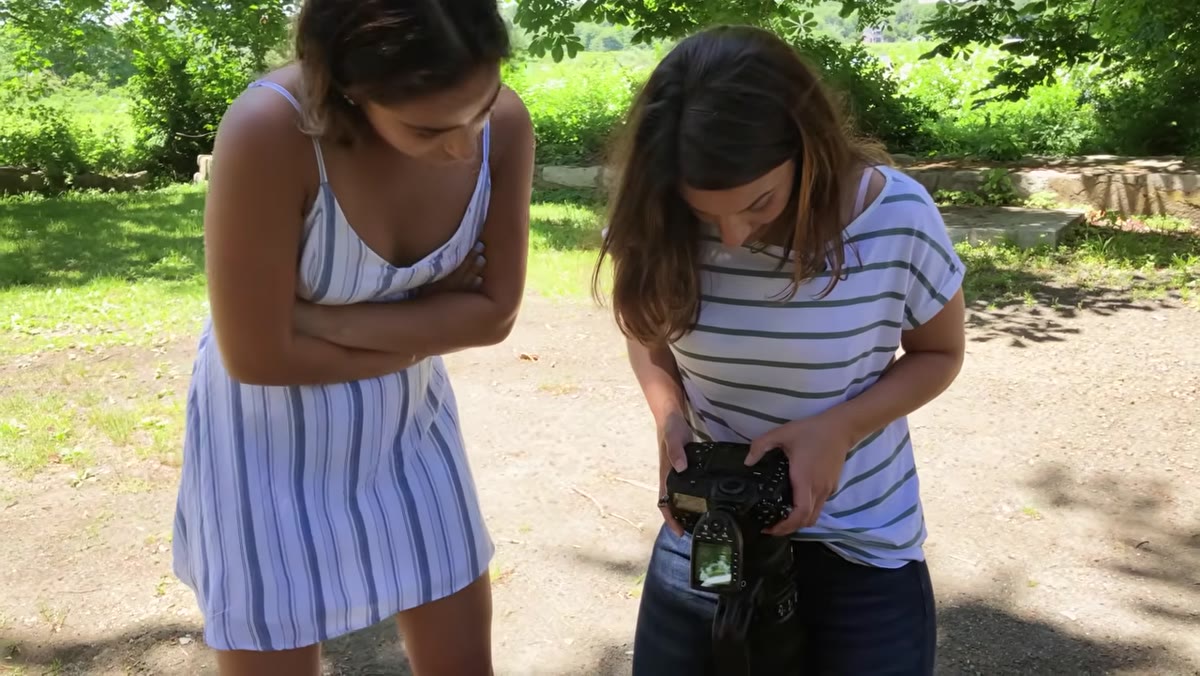 Tony walking toward Emily to show her the images on the camera
Tony walks a significant distance just to show Emily the test frames, and what he’s checking for is whether the extreme focal length has created unflattering compression on her face. This is a real concern at very long focal lengths. Facial features can stack in ways that look unnatural, particularly around the nose and ears. In Tony’s case, the results are better than expected, and he attributes this partly to the fact that flattering compression in the background doesn’t always translate to facial distortion, especially when your subject is a smaller portion of the total frame. Do a test frame early in the shoot and zoom into the face on your LCD. If something looks off, adjust your working distance slightly or reframe to give the face more breathing room in the composition.
Tony walking toward Emily to show her the images on the camera
Tony walks a significant distance just to show Emily the test frames, and what he’s checking for is whether the extreme focal length has created unflattering compression on her face. This is a real concern at very long focal lengths. Facial features can stack in ways that look unnatural, particularly around the nose and ears. In Tony’s case, the results are better than expected, and he attributes this partly to the fact that flattering compression in the background doesn’t always translate to facial distortion, especially when your subject is a smaller portion of the total frame. Do a test frame early in the shoot and zoom into the face on your LCD. If something looks off, adjust your working distance slightly or reframe to give the face more breathing room in the composition.
The Budget Angle They Didn’t Cover
I’m not going to pretend a 600mm f/4 is in anyone’s realistic kit who reads this site. But here’s what this experiment actually unlocks for the rest of us. A 300mm f/5.6 or a 400mm on a crop sensor body gets you meaningfully into this compression territory for a fraction of the price. I’ve tested portraits with a vintage 300mm f/5.6 that cost me $90 on eBay, and the background behavior is legitimately closer to what Tony is getting here than what you’d see from a 135mm prime. You won’t have the same maximum aperture, so you’ll need good light or you’ll need to push ISO. But the core technique, the distance, the compression, the remote trigger, the off-camera strobe, all of it transfers directly. The lens price is irrelevant to understanding why this works.
The single most important thing this experiment demonstrates is that focal length changes the relationship between your subject and their environment in ways that aperture alone cannot replicate. If your portraits feel flat or disconnected from their background, the answer might not be a faster lens. It might just be standing farther away and using more glass. That realization costs nothing to act on.
Watch the full tutorial on YouTube and pay attention to Tony’s reaction when he sees the results. Someone who shoots at this level being genuinely surprised is worth a few minutes of your time.
Comments (1)
Been doing this wrong for years apparently. Thanks for the wake-up call.
Leave a Comment