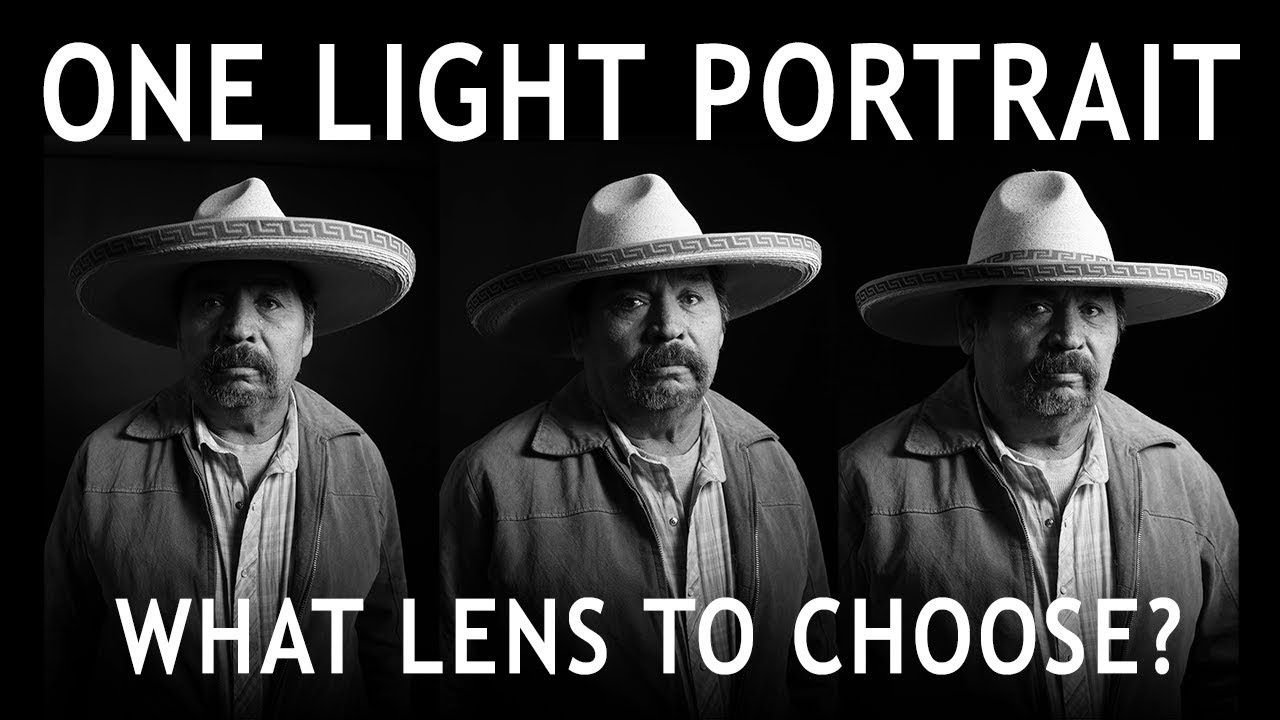
I’ve tested more budget lenses than I care to admit - there’s literally a spreadsheet on my desktop right now with 34 entries. But for a long time, I defaulted to whatever was in my bag without really thinking hard about why a specific focal length was the right call for a portrait session. That changed when I started paying closer attention to how focal length shapes the face, not just the frame.
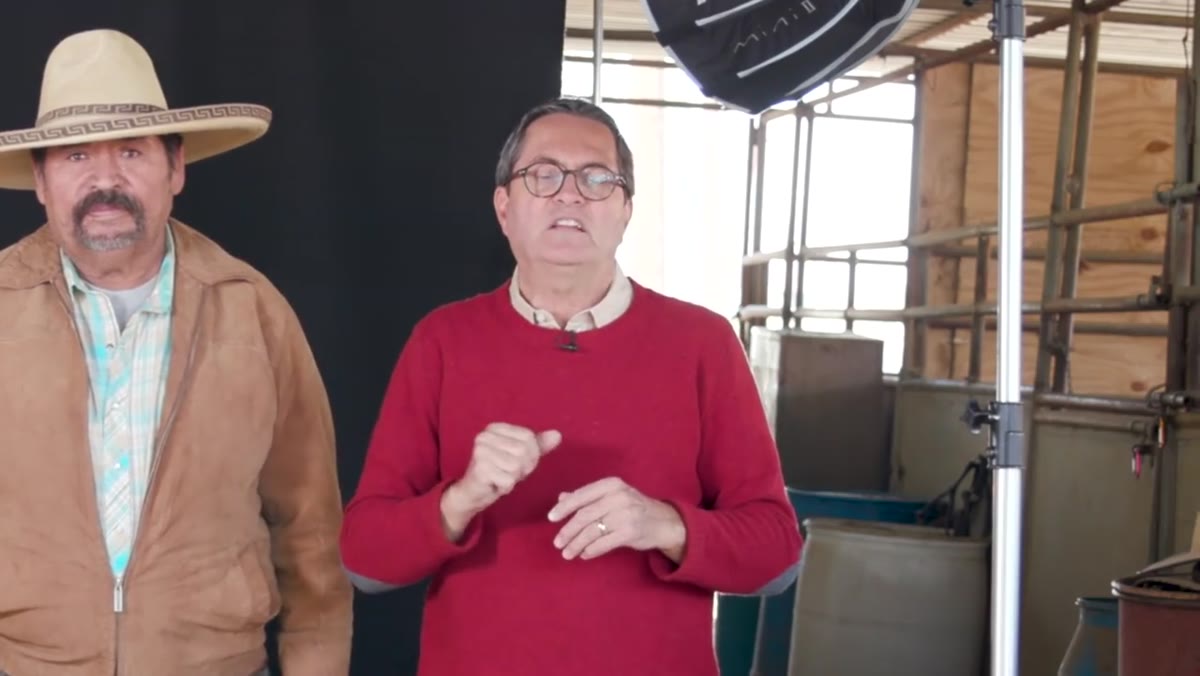
In this The Slanted Lens tutorial, Watch the full tutorial on YouTube, photographer Jay P Morgan takes a single-light portrait setup out into the field and runs through multiple lenses on the same subject, same settings, same light. No variables except glass. It’s one of the cleanest lens comparison formats I’ve seen, and it cuts through a lot of the noise you get from forum debates where people are comparing images shot in completely different conditions.
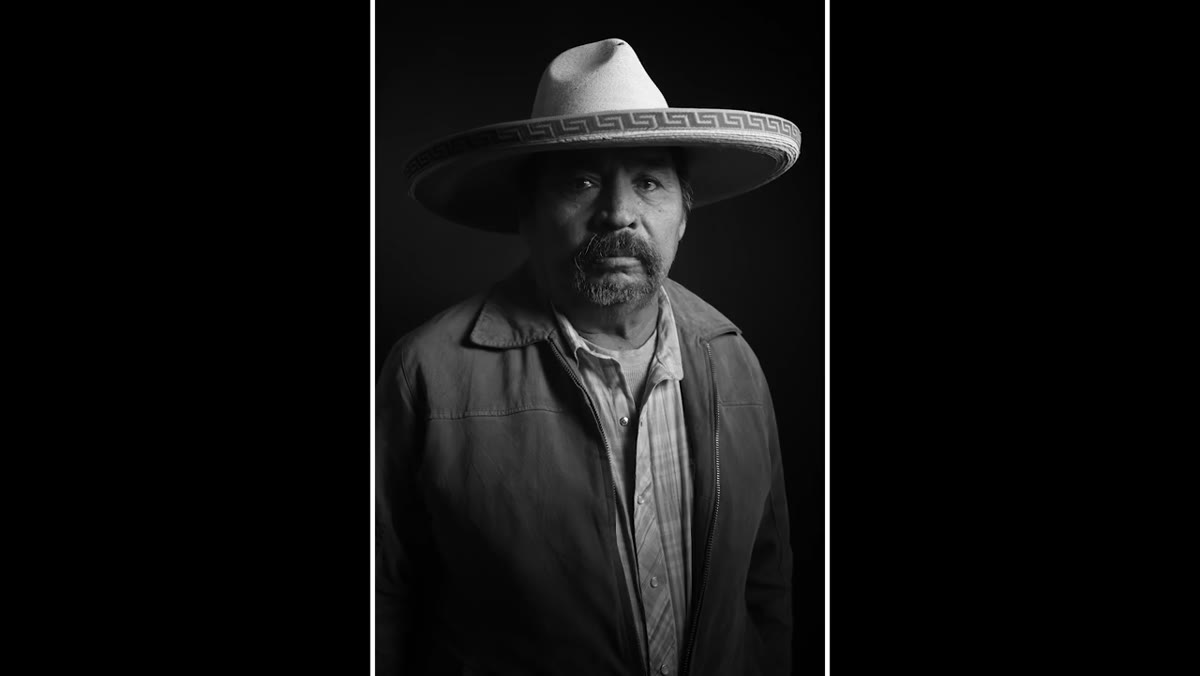
The subject is Isidro, a neighbor who rides horses in what Jay describes as genuine horse country. That real-world, on-location element matters because this isn’t a controlled studio exercise - it’s a working portrait session with a black background rigged outdoors and a single modifier. Watching how each lens decision creates a completely different problem to solve (or eliminates one entirely) is where the real education is.
Step 1: Build a Simple One-Light Setup You Can Repeat
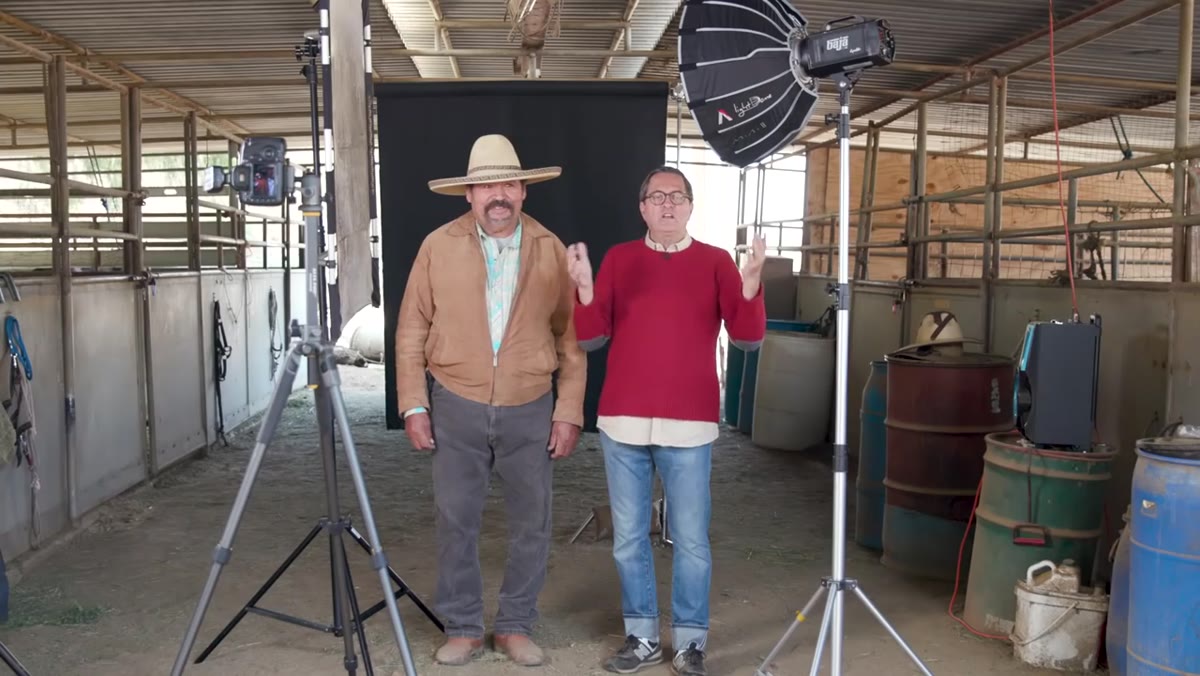 Aputure Light Dome Mini 2 with grid attached outdoors
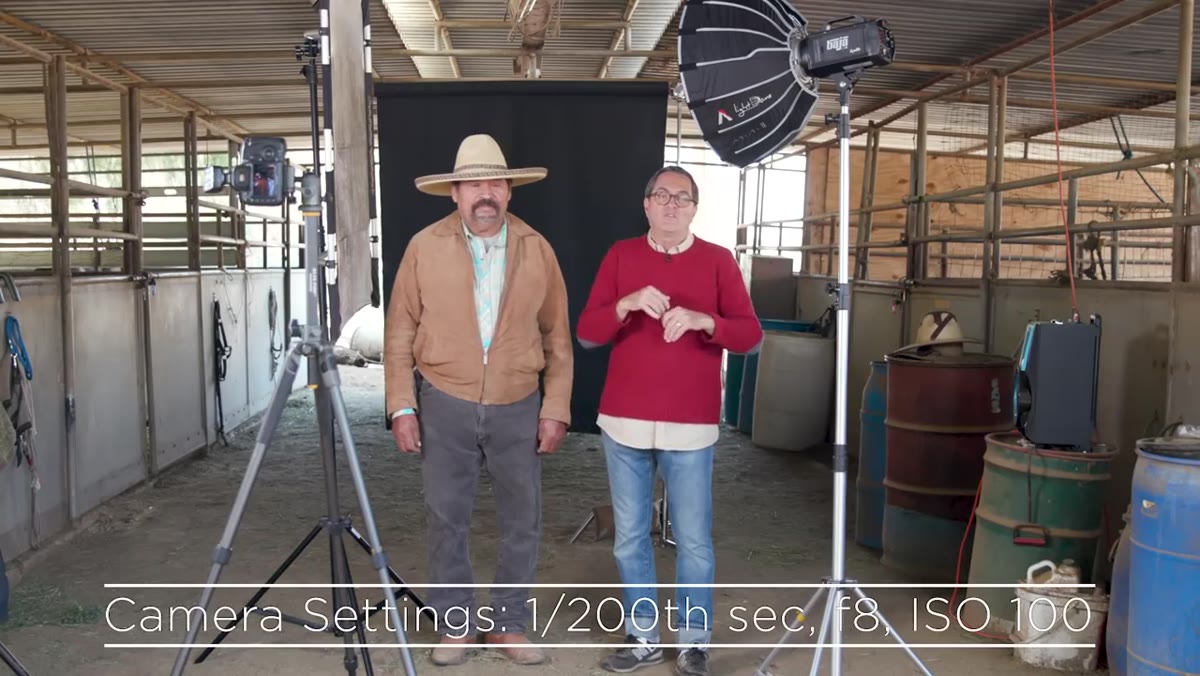
The foundation of this whole comparison is keeping every variable locked except the lens. Jay uses an Aputure Light Dome Mini 2 - a small octodome with a grid - tilted to push light away from the subject’s chest and concentrate it on the face. The smaller dome produces a slightly harder light than a large softbox would, which works well for dramatic black-and-white portraiture. A small reflector is placed opposite to open up shadows slightly.
Aputure Light Dome Mini 2 with grid attached outdoors
The foundation of this whole comparison is keeping every variable locked except the lens. Jay uses an Aputure Light Dome Mini 2 - a small octodome with a grid - tilted to push light away from the subject’s chest and concentrate it on the face. The smaller dome produces a slightly harder light than a large softbox would, which works well for dramatic black-and-white portraiture. A small reflector is placed opposite to open up shadows slightly.
The background is a piece of duvetyne, a non-reflective matte fabric that absorbs light and gives you a clean black background even outdoors. You can find it at B&H or fabric stores - it’s inexpensive and rolls up easily. Camera settings stay constant across all lenses: 1/200s, f/8, ISO 100. Locking those in means any visual difference you see between shots is purely the lens doing its work.
Step 2: Start With 45-50mm as Your Baseline
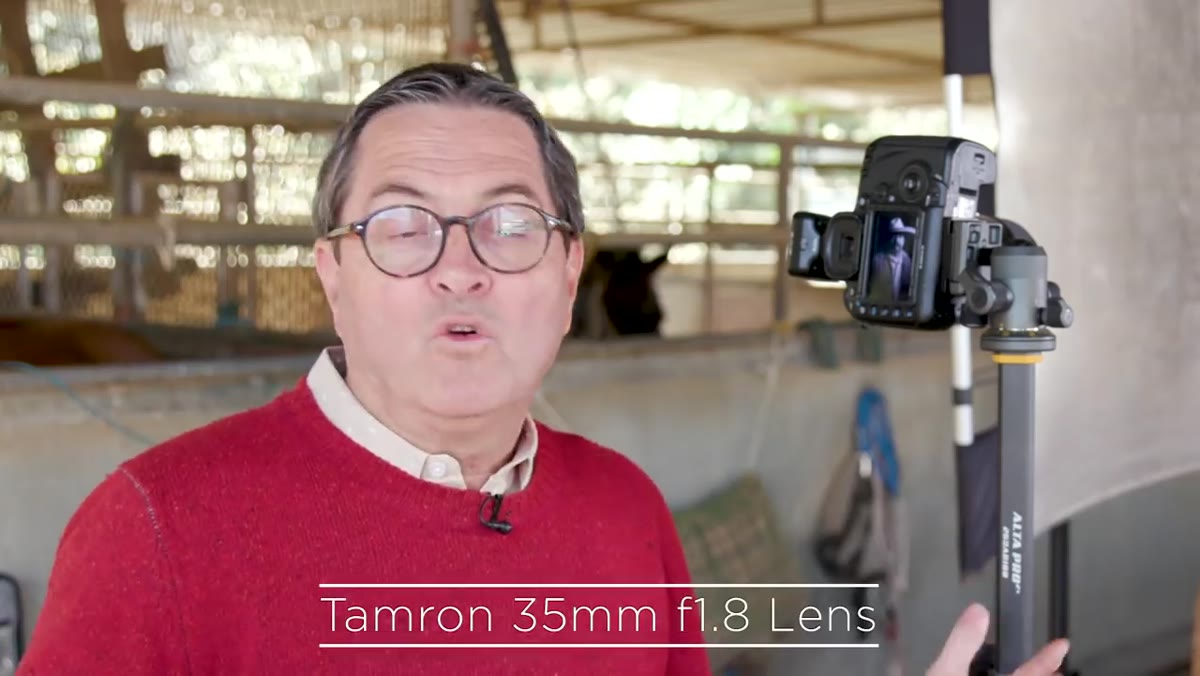
 Camera mounted with 45mm lens, subject standing before black background
The 45-50mm range is where most photographers start for portraiture, and Jay uses a Tamron 45mm f/1.8 here. The reason this range feels comfortable is that it roughly matches natural human vision - no exaggeration, no compression. The face looks like the face. Features sit where you’d expect them.
Camera mounted with 45mm lens, subject standing before black background
The 45-50mm range is where most photographers start for portraiture, and Jay uses a Tamron 45mm f/1.8 here. The reason this range feels comfortable is that it roughly matches natural human vision - no exaggeration, no compression. The face looks like the face. Features sit where you’d expect them.
The trade-off is background coverage. Because you’re not compressing the scene the way a telephoto would, the background appears smaller relative to your frame. You’ll need to either move the background closer to your subject or work with a physically larger backdrop. Jay actually had to push the duvetyne forward to make it work. This is a real logistical consideration, not just a theoretical one - if you’re running a tight one-light kit, extra background wrangling adds friction.
Step 3: Understand What Goes Wrong With Wide Lenses (and When to Use Them Anyway)
 Jay moving closer to subject with wider lens, background visible at edges
Moving to a 35mm or 24mm introduces facial distortion. Get close to fill the frame, and the nose gets slightly larger, the ears pull back, the forehead can look stretched. It’s not flattering for most portrait subjects. Jay is direct about this - wide lenses in close distort the face, and that’s just physics.
Jay moving closer to subject with wider lens, background visible at edges
Moving to a 35mm or 24mm introduces facial distortion. Get close to fill the frame, and the nose gets slightly larger, the ears pull back, the forehead can look stretched. It’s not flattering for most portrait subjects. Jay is direct about this - wide lenses in close distort the face, and that’s just physics.
But there’s a specific use case where wide angles earn their place: environmental portraits. If you want to show the person and their world - the barn, the horses, the surrounding landscape - a 35mm lets you stay reasonably close to the subject while capturing context in the background. The problem is that a portable black background becomes nearly impossible to work with at these focal lengths because your field of view is so wide. You’d need a backdrop the size of a barn wall to fill the frame.
Step 4: Use a Telephoto to Compress and Isolate
 Telephoto lens bringing background closer visually behind subject
This is where the one-light portrait setup really starts to sing. A telephoto lens - think 85mm, 100mm, or longer - does two things simultaneously. It flatters the face by compressing features slightly, and it pulls the background forward visually, making even a small piece of duvetyne look like it fills the entire frame behind the subject.
Telephoto lens bringing background closer visually behind subject
This is where the one-light portrait setup really starts to sing. A telephoto lens - think 85mm, 100mm, or longer - does two things simultaneously. It flatters the face by compressing features slightly, and it pulls the background forward visually, making even a small piece of duvetyne look like it fills the entire frame behind the subject.
That second point is huge for location work. Instead of lugging around a massive backdrop and fighting the wind to keep it flat, a telephoto lets you work with a compact background hung from a single stand. The compression does the heavy lifting. This is the lens choice that solves the most logistical problems while also delivering the most traditionally flattering portrait rendering.
Step 5: Match Your Lens Choice to Your Actual Goal
 Jay reviewing shots on camera, comparing results side by side
The point of running through all these focal lengths isn’t to declare a single winner - it’s to show that each lens is a decision with consequences. The 45-50mm is honest and neutral. Wide angles give you context and intimacy at the cost of distortion and background control. Telephotos flatter faces and compress backgrounds but require more distance between you and your subject.
Jay reviewing shots on camera, comparing results side by side
The point of running through all these focal lengths isn’t to declare a single winner - it’s to show that each lens is a decision with consequences. The 45-50mm is honest and neutral. Wide angles give you context and intimacy at the cost of distortion and background control. Telephotos flatter faces and compress backgrounds but require more distance between you and your subject.
Jay’s process here is worth borrowing: before you pick up your camera, decide what the portrait is actually trying to say. Is it about the person’s character? Go telephoto. Is it about the person in their environment? Go wider and ditch the portable background entirely. Are you just starting out and want something forgiving? Start at 50mm and learn what “normal” looks like before you start making creative deviations from it.
What I’d Add From Testing Budget Glass
I’ve shot this exact type of comparison myself, and one thing Jay’s tutorial reinforced for me is that the focal length discussion matters far more than the price of the glass. On my lens spreadsheet, the sharpest portrait results I’ve gotten at 85mm came from a manual focus vintage lens I paid $45 for on eBay - not a modern autofocus prime five times the price.
If you’re building a one-light portrait kit on a budget, prioritize getting a lens in the telephoto range first. Even a basic 85mm f/1.8 from a third-party brand will outperform an expensive wide prime for this type of work. The telephoto focal length solves your background problem automatically, flatters your subject, and lets you work with a smaller, cheaper backdrop setup. That’s three wins from one gear decision.
The single most important thing Jay demonstrates in this tutorial is that lens choice is a problem-solving tool, not just an aesthetic preference. Your background size, your distance from the subject, and how the face renders are all downstream consequences of which glass you mount. Watch the full comparison yourself and look at how different the same person looks across focal lengths:
Watch the full tutorial on YouTube
Comments (3)
I keep coming back to this article. It's that useful.
Clear and practical. No fluff. Appreciate that.
Great article! I actually covered something related on my site — the retouching angle is really complementary to this.
Leave a Comment