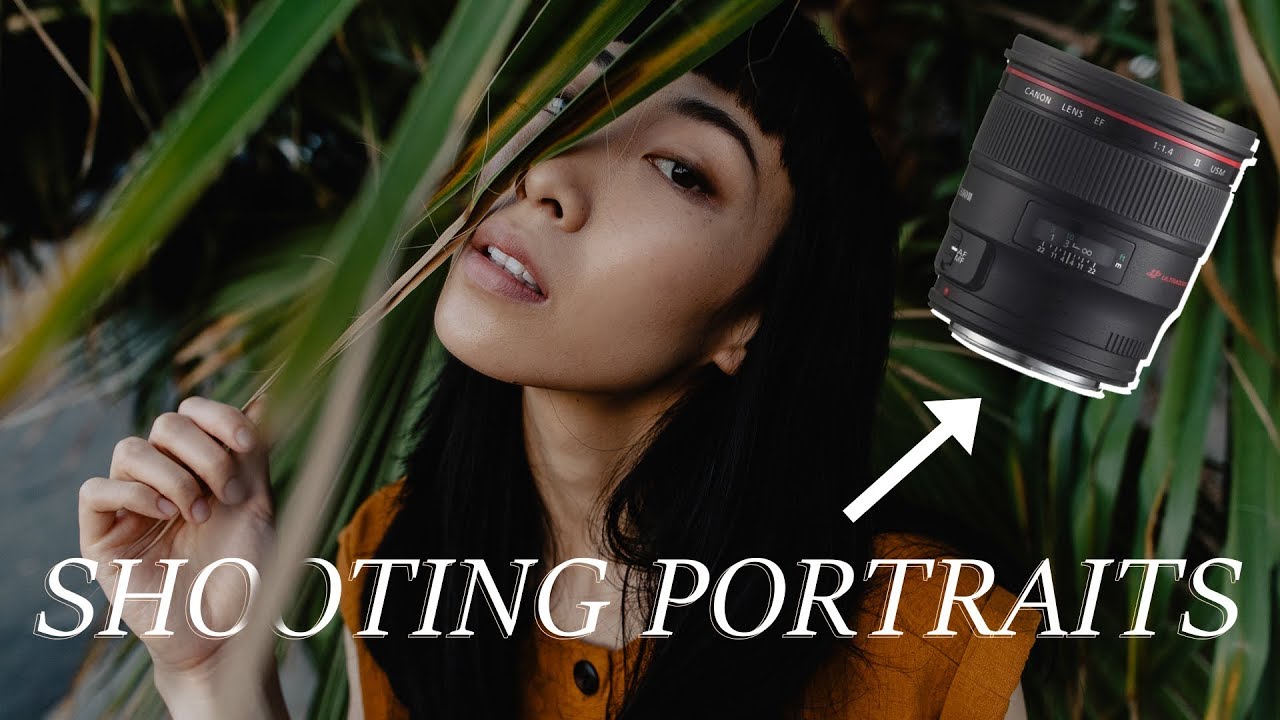
Every photographer I know has a comfort zone lens. For most portrait shooters, that’s an 85mm, a 50mm, maybe a 70-200mm if they’re feeling fancy. I get it. Those focal lengths are forgiving, flattering, and predictable. But predictable is also another word for boring, and I’ve been trying to push myself out of that rut lately.
What finally cracked things open for me was watching Mango Street take their brand new Canon 24mm f/1.4 L lens out for a full portrait session. Watch the full tutorial on YouTube - it’s a fast watch and the sample images alone are worth your time. They frame the whole thing around a real question: can a wide-angle lens actually work for portraits? The answer, as it turns out, is yes, but it requires you to rethink almost everything about how you normally approach a portrait shoot.
I’ve been testing budget glass for years, comparing focal lengths across a spreadsheet that my friends make fun of but quietly ask to reference. Wide primes have always interested me from a value standpoint because a sharp 24mm prime often costs a fraction of what a comparable telephoto runs. But after watching how Mango Street actually used this lens in the field, I realized the technique matters just as much as the optics. Here’s a step-by-step breakdown of what they did and how you can apply it.
Step 1: Acknowledge What You’re Working Against
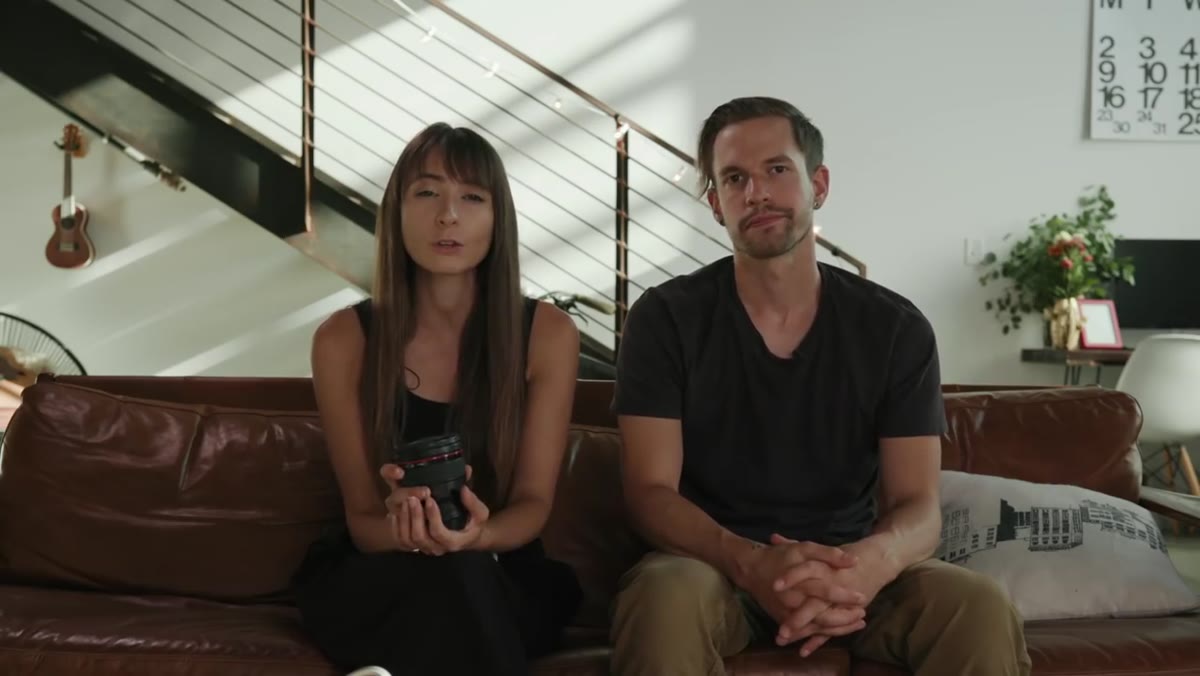
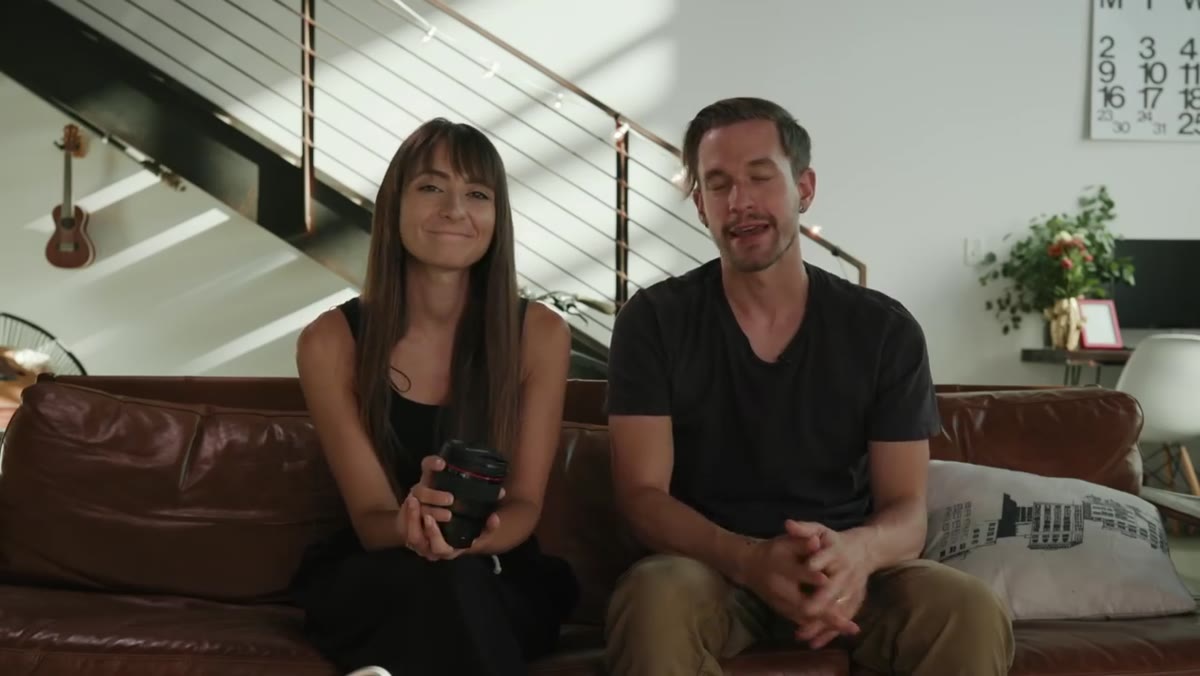
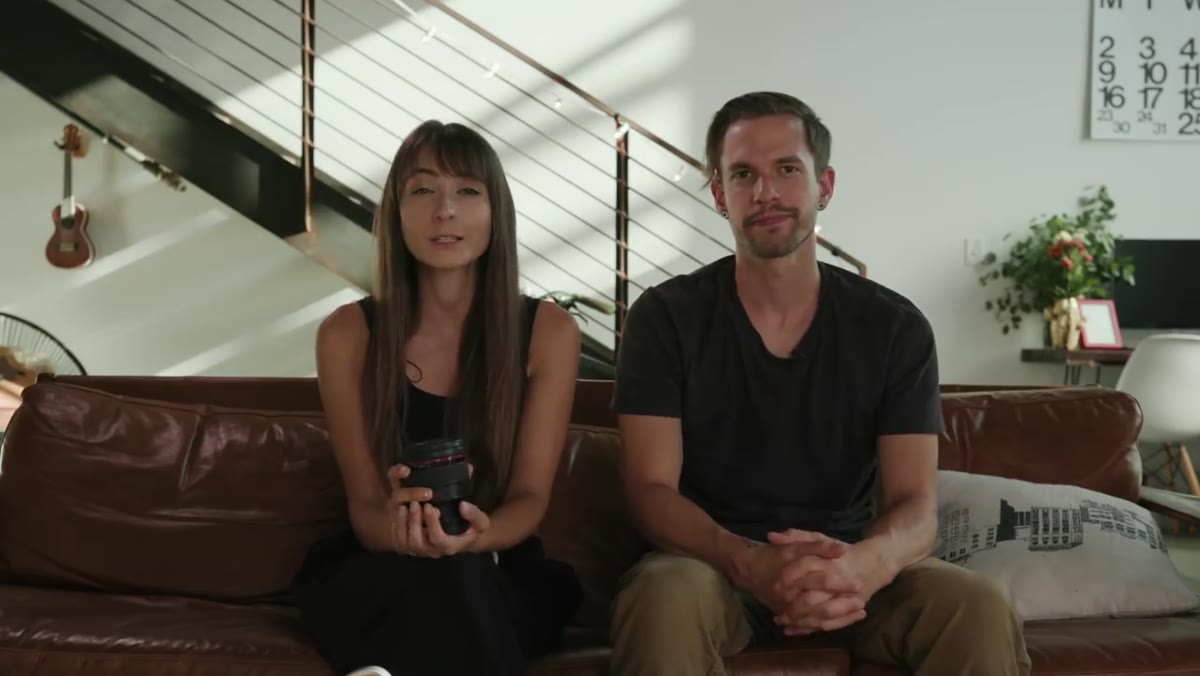 Hosts explaining 24mm is not a traditional portrait lens
Before you even put the camera to your eye, go in with clear expectations. A 24mm on a full-frame camera is not flattering by default. Mango Street are upfront about this: wide-angle lenses introduce two types of distortion that portrait shooters hate. Barrel distortion curves the edges of your frame inward, and perspective distortion makes features closest to the lens appear disproportionately large. Shoot too close to someone’s face and their nose becomes the main subject.
Hosts explaining 24mm is not a traditional portrait lens
Before you even put the camera to your eye, go in with clear expectations. A 24mm on a full-frame camera is not flattering by default. Mango Street are upfront about this: wide-angle lenses introduce two types of distortion that portrait shooters hate. Barrel distortion curves the edges of your frame inward, and perspective distortion makes features closest to the lens appear disproportionately large. Shoot too close to someone’s face and their nose becomes the main subject.
Knowing this going in lets you design around it rather than fight it in post. You’re not trying to replicate what an 85mm does. You’re doing something different on purpose.
Step 2: Get Physically Closer to Your Subject
 Photographer moving closer to subject during outdoor portrait
The core trade-off with a wide lens is that you have to close the physical distance between yourself and your subject to fill the frame. This is actually where the interesting stuff starts happening. Mango Street point out that shooting close with a wide lens creates a sense of intimacy that longer focal lengths just can’t replicate. The viewer feels like they’re in the scene, not observing it from across the room.
Photographer moving closer to subject during outdoor portrait
The core trade-off with a wide lens is that you have to close the physical distance between yourself and your subject to fill the frame. This is actually where the interesting stuff starts happening. Mango Street point out that shooting close with a wide lens creates a sense of intimacy that longer focal lengths just can’t replicate. The viewer feels like they’re in the scene, not observing it from across the room.
In practice, this means getting comfortable being close to your subject, often within a few feet. If that feels awkward for either of you, it will read in the photos. Spend a few minutes talking, moving around, getting the subject used to your presence before you start firing. The payoff is images that feel immediate and connected.
Step 3: Use the Environment as a Compositional Element
 Wide frame showing subject surrounded by environmental context
One of the biggest advantages of shooting wide is that you can include the world around your subject. With a 24mm, you’re not just making a portrait, you’re making a portrait in a place. Mango Street lean into this deliberately, choosing locations where the background adds context and visual interest rather than just serving as blur.
Wide frame showing subject surrounded by environmental context
One of the biggest advantages of shooting wide is that you can include the world around your subject. With a 24mm, you’re not just making a portrait, you’re making a portrait in a place. Mango Street lean into this deliberately, choosing locations where the background adds context and visual interest rather than just serving as blur.
Think about leading lines, architecture, or open sky that can frame your subject naturally. The wider field of view means more creative control over how much environment you include, but it also means more decisions. A cluttered or distracting background has nowhere to hide at 24mm the way it might behind a creamy 85mm bokeh wall.
Step 4: Experiment With Angle to Control Distortion
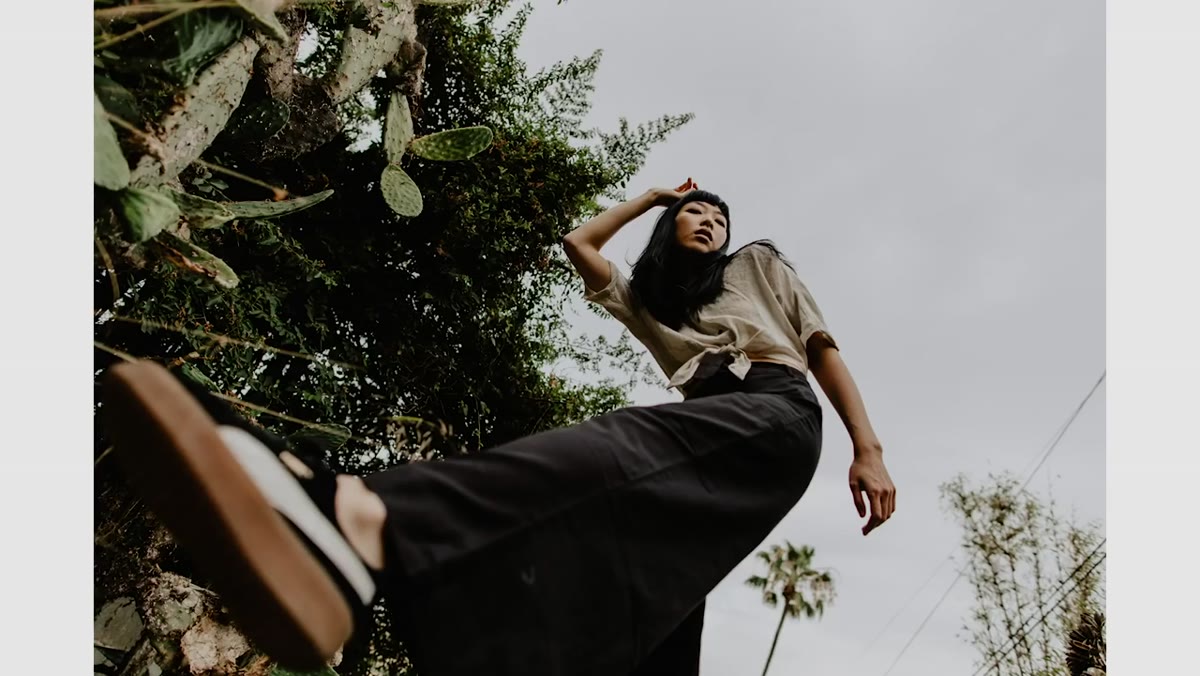 Photographer adjusting shooting angle relative to subject
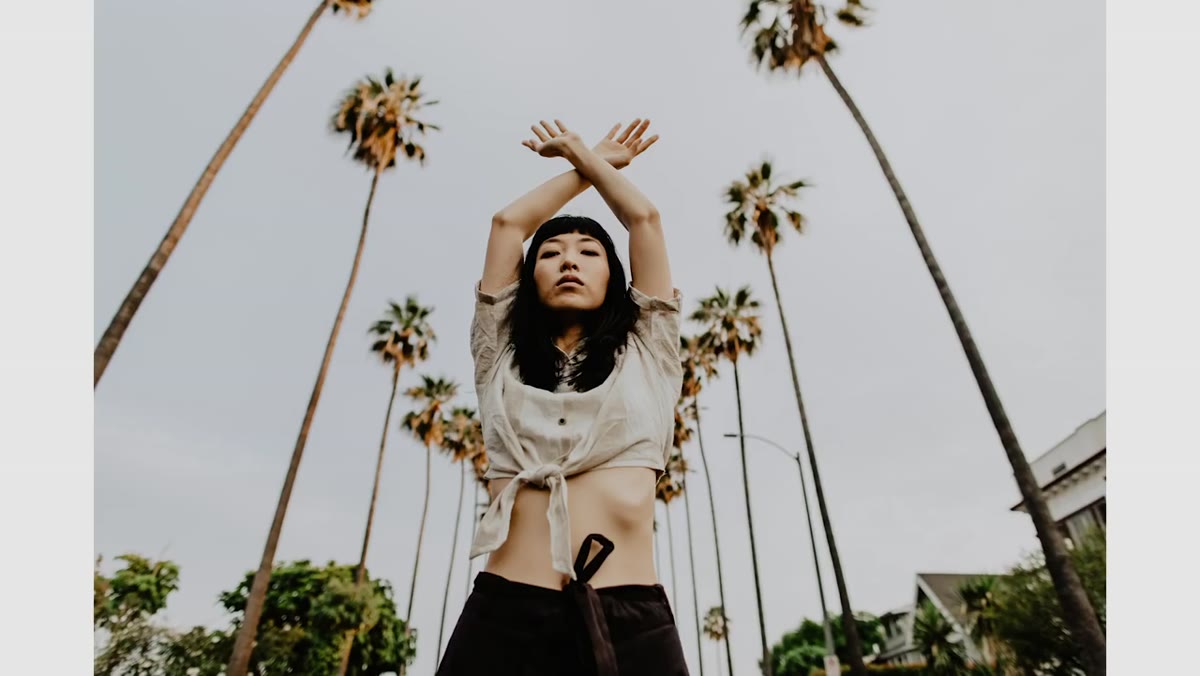
Perspective distortion at 24mm is a feature or a bug depending on how you use it. Shooting from slightly below your subject and angling up elongates the figure and creates a more dramatic, editorial look. This is why 24mm shows up constantly in fashion work. Shooting straight on or from above compresses things in less flattering ways, particularly if the camera is close to the face.
Photographer adjusting shooting angle relative to subject
Perspective distortion at 24mm is a feature or a bug depending on how you use it. Shooting from slightly below your subject and angling up elongates the figure and creates a more dramatic, editorial look. This is why 24mm shows up constantly in fashion work. Shooting straight on or from above compresses things in less flattering ways, particularly if the camera is close to the face.
Mango Street experiment with their angles throughout the shoot, which is the right instinct. There’s no single correct position. Crouch down, tilt the camera, move left and right. At 24mm you’ll find that small position changes produce dramatically different results compared to what you’re used to at longer focal lengths.
Step 5: Shoot Wide Open, But Watch Your Focus Distance
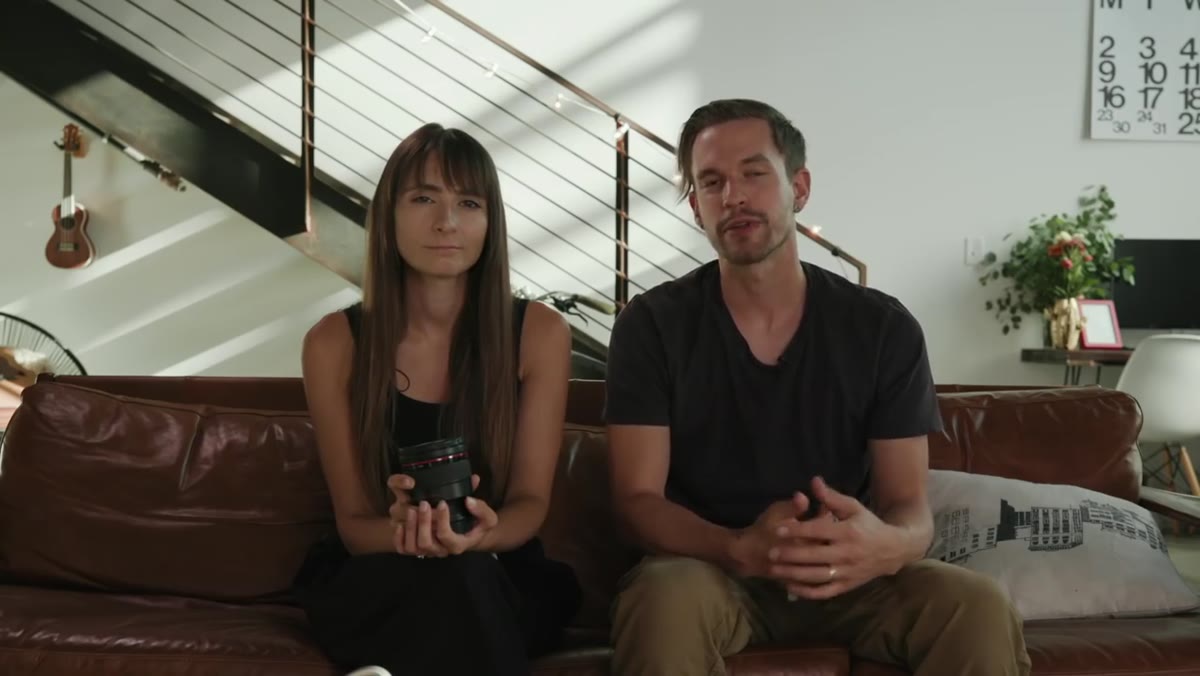
 Canon 24mm f/1.4 L lens shown on camera body
The Canon 24mm f/1.4 L that Mango Street are using is wide open at f/1.4, and at close portrait distances that aperture produces a razor-thin plane of focus. One thing that trips up photographers moving from 85mm portrait work to 24mm is that depth of field behaves differently across focal lengths. At the same f-stop, a wider lens produces more depth of field than a longer one, but at the close distances you’re working with to fill the frame, you can still blow focus easily.
Canon 24mm f/1.4 L lens shown on camera body
The Canon 24mm f/1.4 L that Mango Street are using is wide open at f/1.4, and at close portrait distances that aperture produces a razor-thin plane of focus. One thing that trips up photographers moving from 85mm portrait work to 24mm is that depth of field behaves differently across focal lengths. At the same f-stop, a wider lens produces more depth of field than a longer one, but at the close distances you’re working with to fill the frame, you can still blow focus easily.
Lock focus on the eyes, use single-point autofocus rather than zone or tracking modes, and if you’re working with a budget 24mm that has slower autofocus, consider stopping down to f/2 or f/2.8 to give yourself a little more margin. Sharp eyes in a portrait at 24mm look stunning. Soft eyes look like a mistake.
Step 6: Embrace the Edginess - Don’t Try to Make It Look Like 85mm Work
 Final portrait showing wide-angle editorial aesthetic
Mango Street make a point I want to underline: the “distortion” of a wide-angle portrait isn’t always a problem to correct. For fashion, music, editorial, and lifestyle work, that slightly exaggerated perspective gives images an energy and attitude that traditional portrait focal lengths can’t touch. If you spend your whole shoot trying to minimize the 24mm look, you’re missing the point of using it.
Final portrait showing wide-angle editorial aesthetic
Mango Street make a point I want to underline: the “distortion” of a wide-angle portrait isn’t always a problem to correct. For fashion, music, editorial, and lifestyle work, that slightly exaggerated perspective gives images an energy and attitude that traditional portrait focal lengths can’t touch. If you spend your whole shoot trying to minimize the 24mm look, you’re missing the point of using it.
Commit to the aesthetic. Pick subjects and locations that suit an edgier, more environmental style. Save the classic head-and-shoulders flattery for your 85mm days.
What I’d Add From My Own Testing
One thing the tutorial doesn’t dig into is the budget lens angle, which is obviously where my brain goes. You don’t need an f/1.4 L lens to explore this technique. I’ve tested several third-party 24mm primes in the $200-$400 range that are sharp enough to produce excellent results, especially if you’re stopping down to f/2 or f/2.8 anyway for focus safety. The technique Mango Street demonstrates here is what matters, and it transfers to any decent 24mm prime you can get your hands on.
If you already own a wide kit lens that covers 24mm, start there before buying anything. Shoot a deliberate portrait session at 24mm only, apply these steps, and see what you get. You might find you want to invest in a dedicated 24mm prime. Or you might discover the focal length isn’t for you. Either way, you’ll know before spending money.
The single biggest takeaway from this tutorial is that portrait rules about focal length are suggestions, not laws. A 24mm forces you to engage with your subject, your environment, and your angles in ways that longer lenses let you avoid. That friction is actually productive. Watch the full tutorial on YouTube and pay close attention to how Mango Street direct their subject and move their own body throughout the shoot. The lens choice matters less than the intentionality they bring to each frame.
Comments (3)
Would love to see a follow-up going deeper into this topic.
This is the kind of content that keeps me coming back.
Excellent tutorial. I'd add that from a retouching standpoint, this technique is incredibly versatile.
Leave a Comment