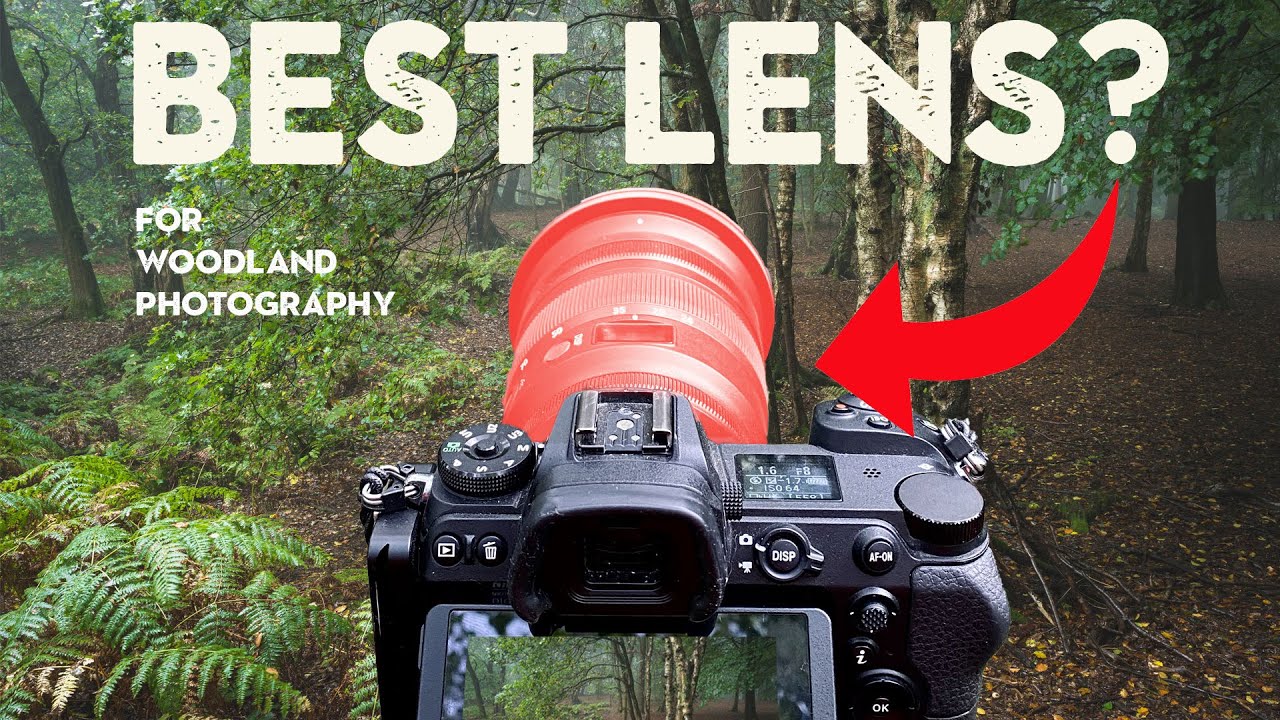
I’ve tested a lot of lenses. I have a spreadsheet to prove it. And one pattern that shows up constantly in my data is that the “boring” mid-range zoom outperforms specialty glass far more often than photographers expect, especially in environments where you’re reacting to light rather than controlling it. Woodland photography is the clearest example of this. You’re moving fast, the light is changing by the minute, and the difference between a good shot and a great one often comes down to being able to shift focal length without swapping glass.
That’s exactly the argument Nigel Danson makes in this tutorial, filmed during a moody, rain-soaked morning session in the woods. Watch the full tutorial on YouTube — but if you want to understand the technique before you hit play, here’s a breakdown of what he actually does and why it works.
The core idea isn’t complicated: the 24-70mm range maps almost perfectly to the visual decisions you make in woodland. Wide enough to pull in atmosphere and context, long enough to isolate and compress. Danson doesn’t just assert this. He demonstrates it shot by shot, and the reasoning holds up under scrutiny.
Step 1: Start at the Wider End to Establish Mood and Context
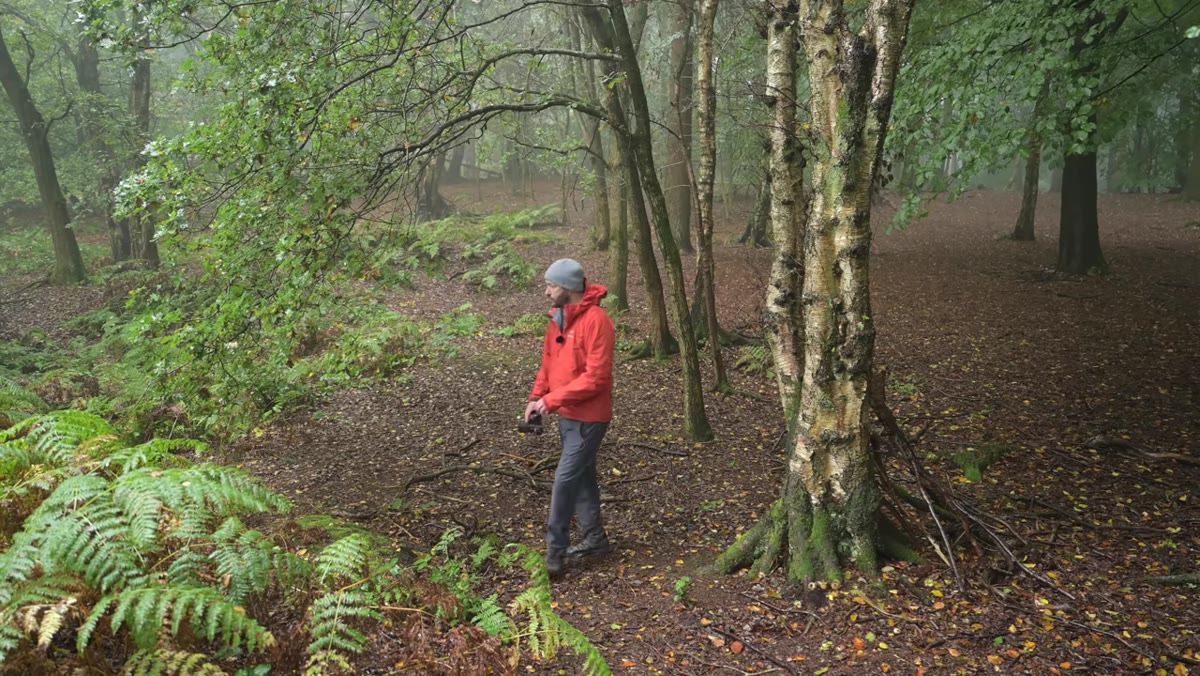 Danson framing silver birch trees at 28mm in misty rain
Danson’s first shot of the session is at 28mm, toward the wide end of his 24-70. The conditions are ideal: rain has just fallen, the bark on the silver birch trees is dark and wet, and there’s light mist threading through the canopy. He shoots at f/11 with a roughly four-second exposure. The wide angle here isn’t about getting more trees in the frame. It’s about capturing the atmosphere. Wet bark, ambient mist, and diffused light all read better when you have some spatial context around your subject. If you open too tight, you lose the environmental storytelling.
Danson framing silver birch trees at 28mm in misty rain
Danson’s first shot of the session is at 28mm, toward the wide end of his 24-70. The conditions are ideal: rain has just fallen, the bark on the silver birch trees is dark and wet, and there’s light mist threading through the canopy. He shoots at f/11 with a roughly four-second exposure. The wide angle here isn’t about getting more trees in the frame. It’s about capturing the atmosphere. Wet bark, ambient mist, and diffused light all read better when you have some spatial context around your subject. If you open too tight, you lose the environmental storytelling.
When you’re starting a woodland session, resist the urge to go long immediately. Walk in, find a scene, and spend a few minutes at 24-35mm just exploring what the space feels like. Your first composition at the wider end becomes a reference point for everything you shoot after.
Step 2: Pay Attention to Edge Management Before You Shoot
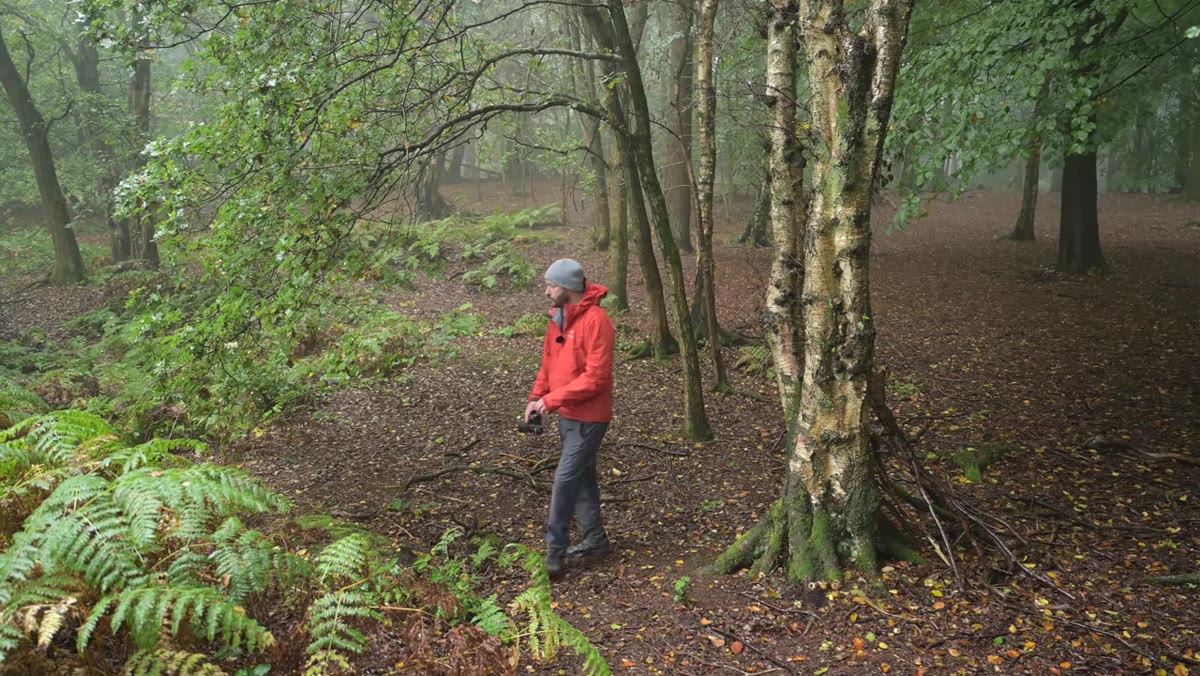 Wide composition showing deliberate tree placement at frame edges
Before Danson releases the shutter on that first shot, he talks about being “careful about the edges.” This sounds simple but it’s one of the most overlooked discipline points in woodland photography specifically. Trees bleed off the frame all the time, and a half-cut trunk at the border of your image creates visual tension that reads as a mistake rather than a choice. At wider focal lengths this problem compounds because you’re including more of the scene.
Wide composition showing deliberate tree placement at frame edges
Before Danson releases the shutter on that first shot, he talks about being “careful about the edges.” This sounds simple but it’s one of the most overlooked discipline points in woodland photography specifically. Trees bleed off the frame all the time, and a half-cut trunk at the border of your image creates visual tension that reads as a mistake rather than a choice. At wider focal lengths this problem compounds because you’re including more of the scene.
Before you trigger the shutter, scan the full frame edge by edge. Any tree that appears at the border should either be fully inside the frame or fully excluded. If it’s splitting the difference, zoom in slightly or reframe. Danson does this habitually, and it’s a big part of why his compositions feel resolved rather than accidental.
Step 3: Work the 35-60mm Range for Woodland Compression
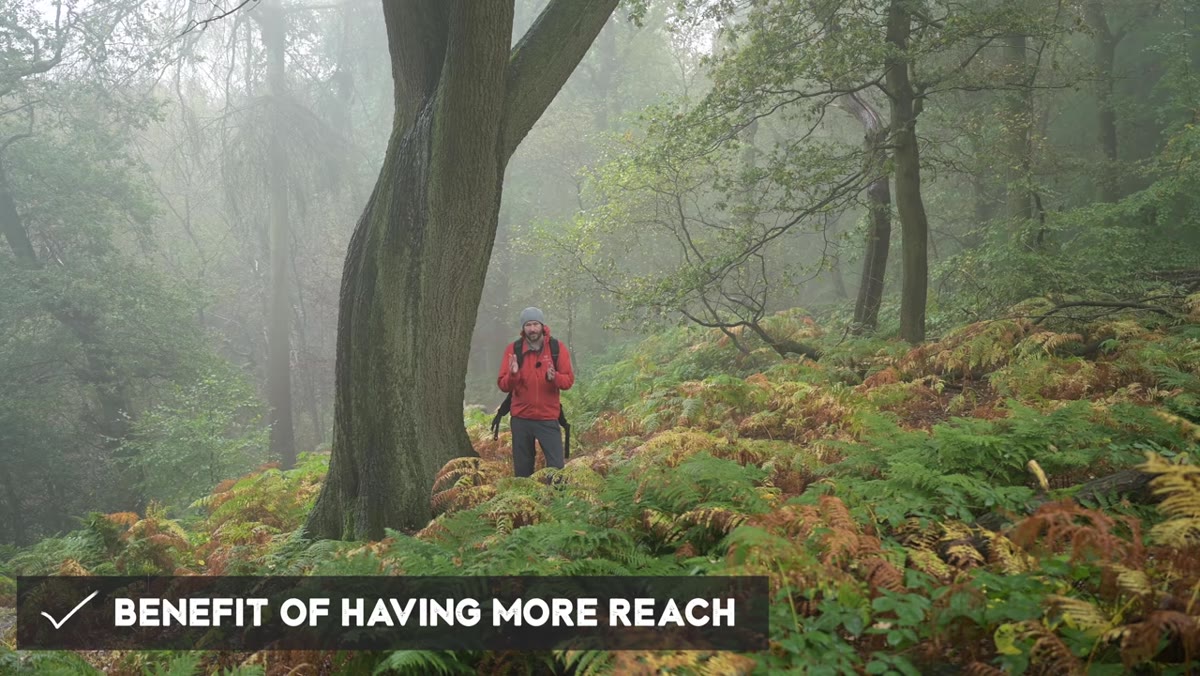 Danson zooming from 35mm to 50mm showing light change in top corner
This is the part of the tutorial I found most useful. Danson is standing in front of a scene he’s shot before, and he demonstrates in real time what happens when he zooms from around 35mm to 50mm. The change is subtle but meaningful: at 50mm he loses a patch of light in the upper left corner that was visible at 35mm. It sounds like a loss, but what he gains is compression, a tighter relationship between the trees, and a different quality of depth. He describes the 35-60mm range as the “sweet spot” for woodland, and after watching the demonstration it’s hard to argue with him.
Danson zooming from 35mm to 50mm showing light change in top corner
This is the part of the tutorial I found most useful. Danson is standing in front of a scene he’s shot before, and he demonstrates in real time what happens when he zooms from around 35mm to 50mm. The change is subtle but meaningful: at 50mm he loses a patch of light in the upper left corner that was visible at 35mm. It sounds like a loss, but what he gains is compression, a tighter relationship between the trees, and a different quality of depth. He describes the 35-60mm range as the “sweet spot” for woodland, and after watching the demonstration it’s hard to argue with him.
In practical terms, this means you shouldn’t treat your zoom ring as a binary choice between wide and long. Spend time at focal lengths you’d normally pass through: 38mm, 45mm, 52mm. The differences matter more in dense environments than they do in open landscapes, because the spacing between trees changes dramatically with small focal length adjustments.
Step 4: Understand Why He Stops at 70mm
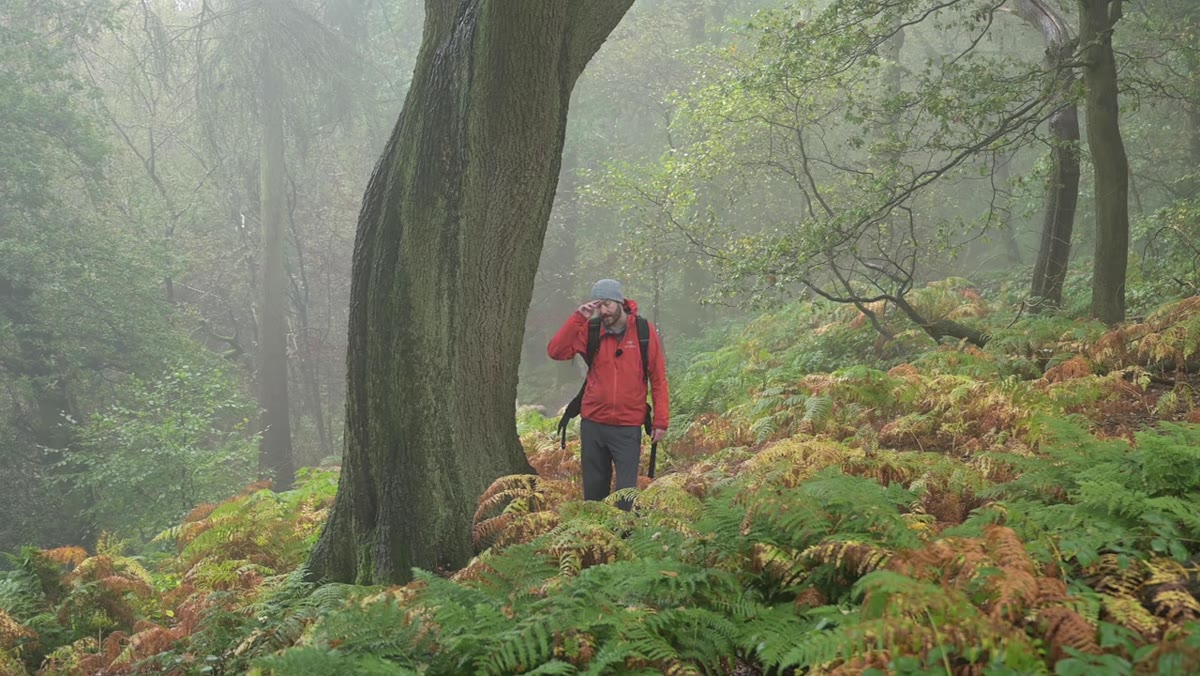 Danson explaining focal length and depth of field trade-off at longer end
Danson is direct about why he doesn’t regularly shoot past 70mm in woodland: depth of field becomes a problem. As focal length increases, depth of field narrows, and in a woodland environment where you want multiple layers of the scene in focus, that’s a real constraint. At 85mm or 100mm you can get beautiful isolation shots, but you start fighting the environment instead of working with it.
Danson explaining focal length and depth of field trade-off at longer end
Danson is direct about why he doesn’t regularly shoot past 70mm in woodland: depth of field becomes a problem. As focal length increases, depth of field narrows, and in a woodland environment where you want multiple layers of the scene in focus, that’s a real constraint. At 85mm or 100mm you can get beautiful isolation shots, but you start fighting the environment instead of working with it.
This is a useful framework for evaluating your own kit decisions. If you’re considering adding a 70-200mm to your woodland bag, the question isn’t whether it’s a great lens. It’s whether the shots you want at 85-200mm justify carrying the extra weight and managing shallower depth of field. For most woodland sessions, the answer is probably not. The 24-70 handles the realistic range, and anything beyond 70mm usually requires focus stacking to get right anyway.
Step 5: Use the Long End for Foreground-Background Relationships
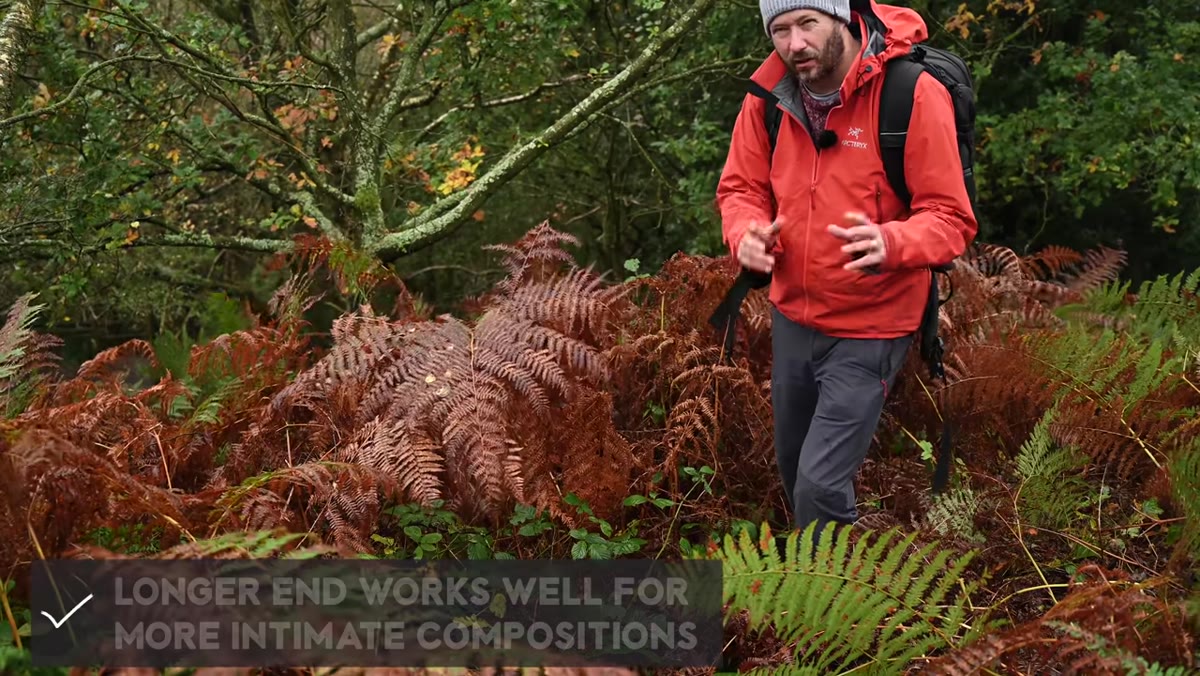 Danson composing fern foreground with oak tree at 70mm
Toward the end of the video, Danson finds a composition that combines a fern in the foreground with a small oak tree showing autumn color behind it. The physical distance between these two subjects is significant, and he reaches toward 70mm to compress that gap and make the relationship between the two elements feel intentional. He mentions that this kind of shot might require focus stacking because of the depth involved.
Danson composing fern foreground with oak tree at 70mm
Toward the end of the video, Danson finds a composition that combines a fern in the foreground with a small oak tree showing autumn color behind it. The physical distance between these two subjects is significant, and he reaches toward 70mm to compress that gap and make the relationship between the two elements feel intentional. He mentions that this kind of shot might require focus stacking because of the depth involved.
When you’re using the longer end of a 24-70 for foreground-background work, plan for focus stacking from the start rather than trying to rescue it in post. Shoot one frame focused on the foreground element, one on the background, and blend in Photoshop or Lightroom. Danson raises this as a possibility rather than a guarantee, which is honest. Not every shot needs it, but it’s worth having the workflow ready when you’re at 70mm and the scene has real depth.
What I’d Add From My Own Testing
The 24-70mm case Danson makes is strong, but I want to flag one practical consideration he doesn’t address directly: aperture and cost. The f/2.8 versions of this range from major manufacturers are expensive. If you’re shooting woodland primarily in diffused daylight or using a tripod (which you should be, given the multi-second exposures Danson is using throughout this video), you don’t need f/2.8. An f/4 version or a third-party alternative can cover the same focal range for significantly less money without costing you anything meaningful in this specific use case. I’ve run this comparison in my own testing and the results hold up. At f/11 on a tripod, the resolving difference between a $500 zoom and a $2000 zoom is much smaller than the price gap suggests.
The single most important thing Danson demonstrates here is that versatility within a focal range matters more than specialization in woodland photography. You need to react to light, manage edges, and adjust compression without stopping to change lenses. The 24-70mm does all of that. Whether you spend $500 or $2000 to get there is a separate conversation, but the focal range itself is hard to argue with.
Watch the full tutorial on YouTube to see Danson work through these compositions in real conditions.
Comments
Leave a Comment