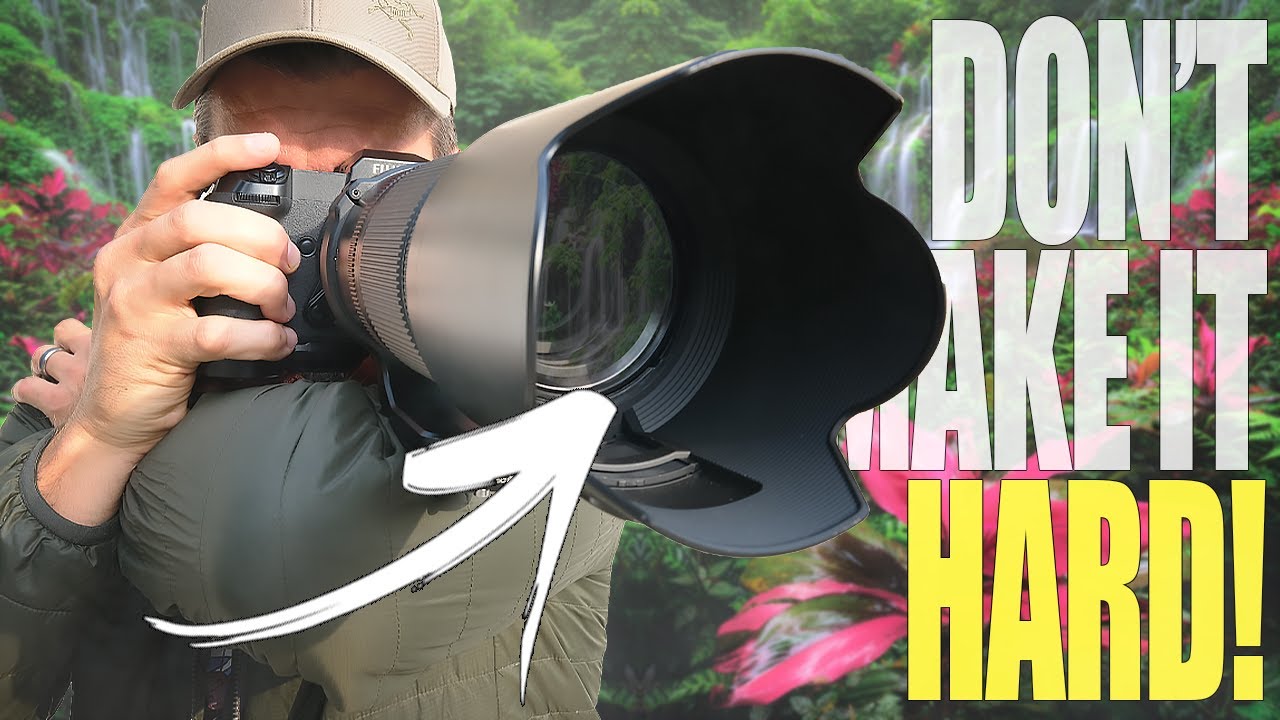
I spent my first two years shooting landscapes almost exclusively with a wide-angle lens. Made sense at the time - wide glass is cheap, it’s what every “landscape photography beginner” listicle recommends, and the dramatic foreground-to-sky shots look impressive as a thumbnail. But I kept running into the same wall: if the light wasn’t cooperating, if there wasn’t a compelling foreground element within arm’s reach, or if the scene just didn’t have that sweeping cinematic quality, I’d come home with nothing worth keeping. The lens was dictating what I could shoot, not the other way around.
That frustration is exactly what Mark Denney addresses head-on in this telephoto tutorial, and it’s one of the clearest breakdowns of long-lens technique I’ve seen aimed at landscape photographers. Watch the full tutorial on YouTube - it’s worth your time even if you already own a telephoto lens and think you know what you’re doing with it. The way Denney walks through real comparative examples, toggling between wide and telephoto shots of the same scene, makes abstract concepts click in about thirty seconds flat.
The core argument he makes - that telephoto glass is actually more forgiving and more versatile than wide-angle gear - flipped something in my thinking. Here’s how to put every technique he demonstrates into practice.
Step 1: Understand What “Compression” Actually Does to a Scene
 Wide vs telephoto comparison toggling between Dolomites shots
Compression is the word telephoto shooters throw around constantly, but Denney shows you what it actually looks like with side-by-side images from the Dolomites. A wide-angle frame captures an entire mountain range with a tiny, barely-visible hiker. Switch to a long focal length aimed at that same hiker, and suddenly the person is prominent in the frame and the mountain behind them looks close enough to touch - even though nothing physically moved.
Wide vs telephoto comparison toggling between Dolomites shots
Compression is the word telephoto shooters throw around constantly, but Denney shows you what it actually looks like with side-by-side images from the Dolomites. A wide-angle frame captures an entire mountain range with a tiny, barely-visible hiker. Switch to a long focal length aimed at that same hiker, and suddenly the person is prominent in the frame and the mountain behind them looks close enough to touch - even though nothing physically moved.
That illusion is the engine behind telephoto composition. The lens doesn’t move objects closer. It stacks them. Background elements that would appear distant and small in a wide frame get pulled into the same visual plane as your subject. Understanding this lets you look at a scene and mentally pre-visualize what a long lens will do to it before you ever raise the camera.
Step 2: Use Isolation to Eliminate What Doesn’t Belong
 Beach cliff scene toggling wide vs telephoto, two figures isolated
Denney shows a beach example where two people standing on a cliff in the background are barely noticeable in the wide shot. The telephoto version turns them into the clear subject of the image, and all the cluttered mid-ground visual noise disappears. This is isolation at work, and it’s a compositional superpower.
Beach cliff scene toggling wide vs telephoto, two figures isolated
Denney shows a beach example where two people standing on a cliff in the background are barely noticeable in the wide shot. The telephoto version turns them into the clear subject of the image, and all the cluttered mid-ground visual noise disappears. This is isolation at work, and it’s a compositional superpower.
In practice, this means actively scanning the edges of your wide-angle view for things worth isolating. A cluster of trees, a single rock formation, a person on a ridgeline. Things that read as “background detail” at 24mm become the entire story at 200mm or longer. Get in the habit of zooming in with your eye before you reach for your lens.
Step 3: Compress Separate Elements Into a Single Cohesive Frame
 Yosemite waterfall, wide vs telephoto pulling trees and falls together
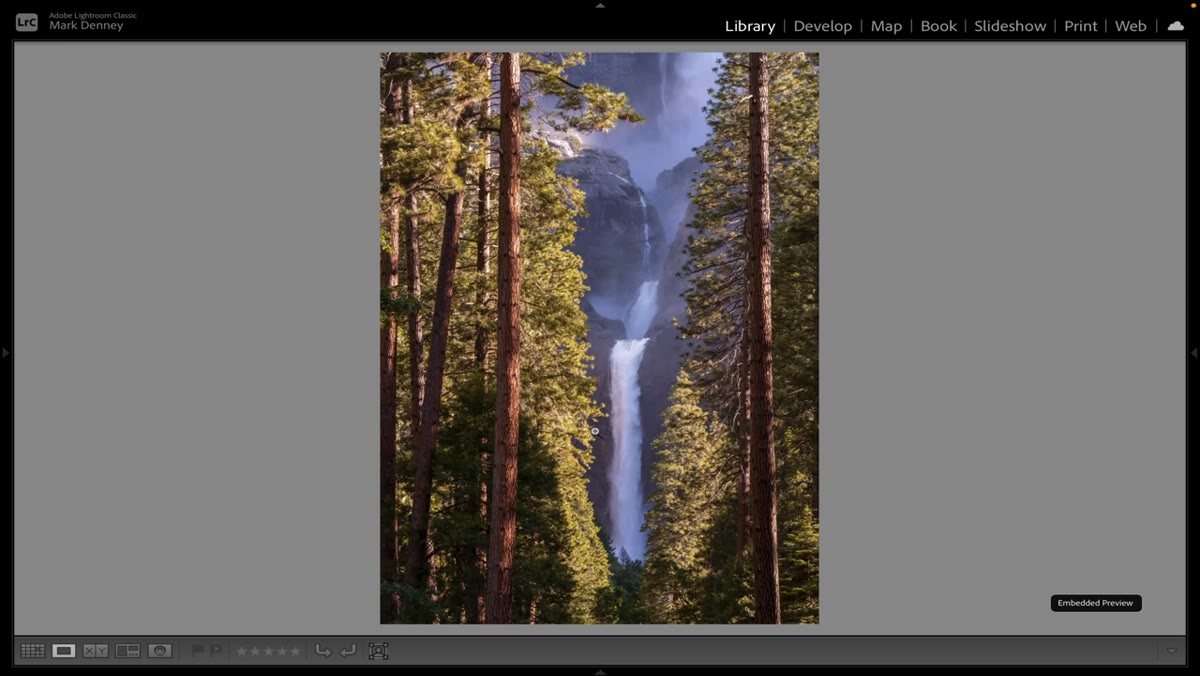
The Yosemite example Denney uses is particularly clean: a wide shot shows a waterfall and surrounding trees as separate elements with clear visual space between them. The telephoto version stacks everything together so the trees and the falls feel unified, which makes the whole image denser and more dramatic.
Yosemite waterfall, wide vs telephoto pulling trees and falls together
The Yosemite example Denney uses is particularly clean: a wide shot shows a waterfall and surrounding trees as separate elements with clear visual space between them. The telephoto version stacks everything together so the trees and the falls feel unified, which makes the whole image denser and more dramatic.
Look for scenes where two interesting elements exist in the same rough direction but at different distances. A foreground subject and a dramatic sky, layered mountain ridges, a river bend with cliffs beyond it. The telephoto turns that depth into layering rather than distance, and layering reads as complexity and richness in a final image.
Step 4: Hunt for Light and Atmosphere, Not Just Subjects
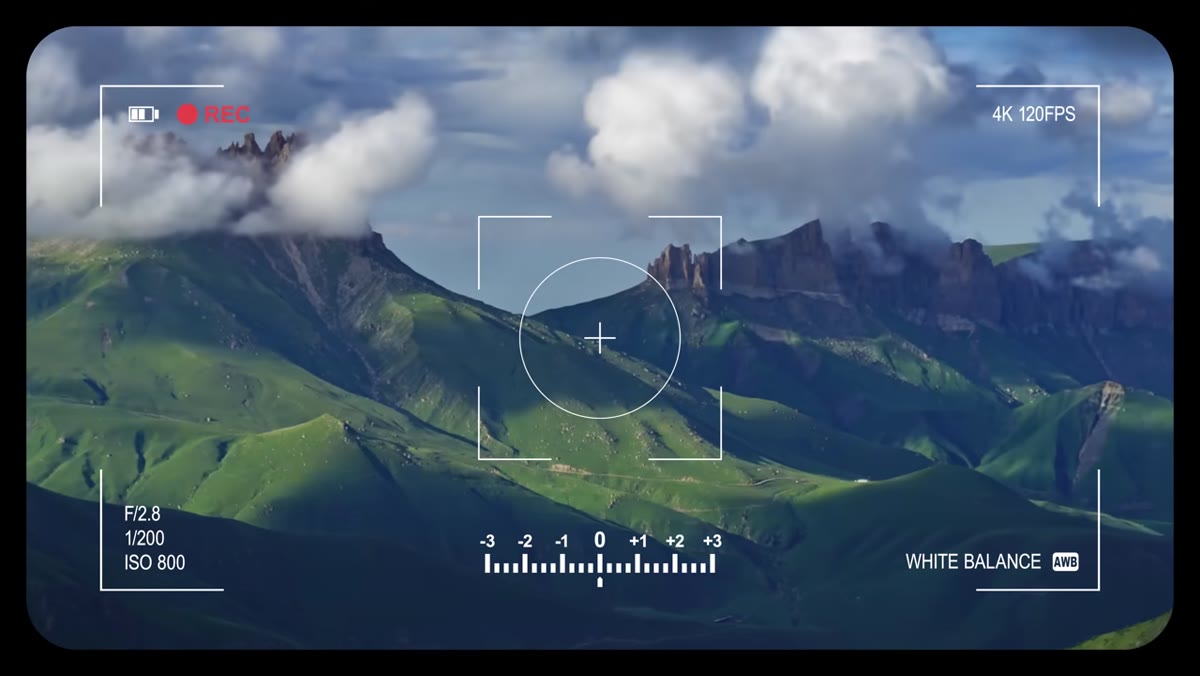 Discussion of exaggerating light and atmosphere with telephoto
This is where Denney’s advice moves past “telephoto 101” into something more useful. He points out that a telephoto lens can exaggerate light and atmosphere even when the subject itself isn’t spectacular. Fog rolling through a valley, rays of light cutting through a forest canopy, haze layering across distant hills - all of these get amplified by a long lens in a way a wide-angle simply cannot replicate.
Discussion of exaggerating light and atmosphere with telephoto
This is where Denney’s advice moves past “telephoto 101” into something more useful. He points out that a telephoto lens can exaggerate light and atmosphere even when the subject itself isn’t spectacular. Fog rolling through a valley, rays of light cutting through a forest canopy, haze layering across distant hills - all of these get amplified by a long lens in a way a wide-angle simply cannot replicate.
This is also why telephoto glass is more forgiving in poor conditions. A mediocre sunrise might produce flat, uninteresting light across a wide landscape scene. But that same mediocre sunrise might still throw one good shaft of light onto a distant hillside, and a 400mm frame of just that hillside can look intentional and dramatic. You’re not at the mercy of the whole scene behaving well - you just need one pocket of something interesting.
Step 5: Practice Selective Framing to Control the Story
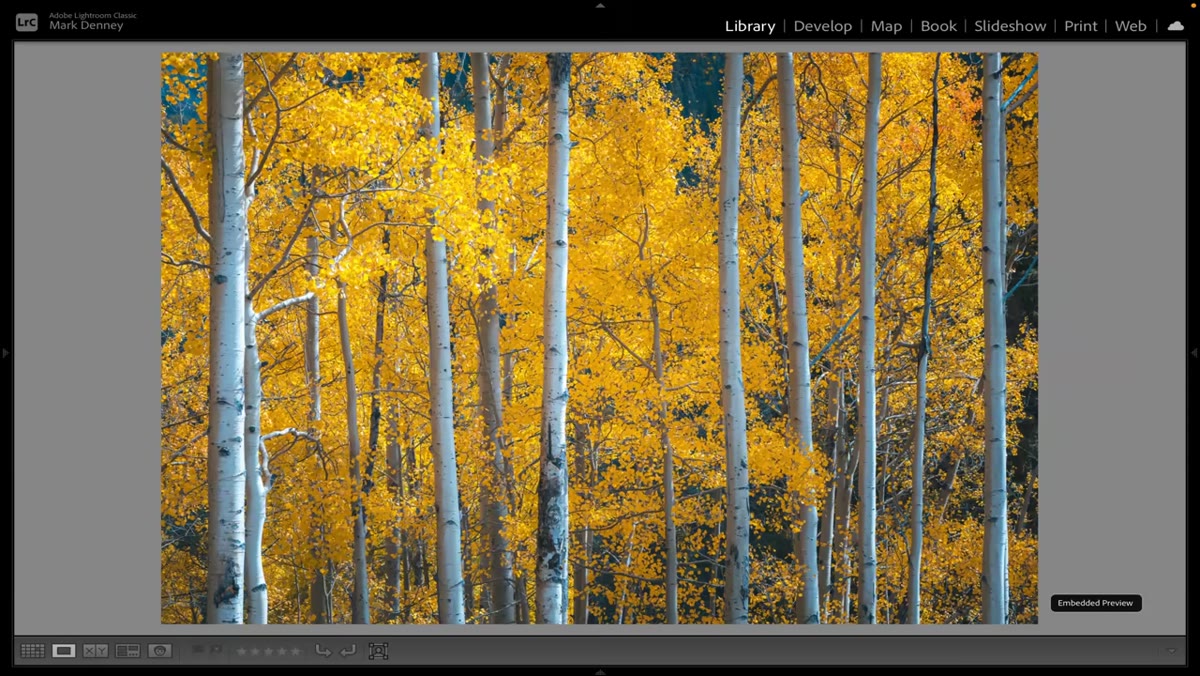 Colorado wide vs telephoto, tighter framing pulling scene together
Denney’s Colorado example drives home a point that took me too long to learn: cropping with your feet (or with focal length) is a compositional decision, not a fallback. When you shoot tight with a telephoto, you’re choosing exactly which information the viewer gets. Distracting elements - a parking lot edge, a telephone pole, another photographer’s tripod - simply don’t exist in the frame.
Colorado wide vs telephoto, tighter framing pulling scene together
Denney’s Colorado example drives home a point that took me too long to learn: cropping with your feet (or with focal length) is a compositional decision, not a fallback. When you shoot tight with a telephoto, you’re choosing exactly which information the viewer gets. Distracting elements - a parking lot edge, a telephone pole, another photographer’s tripod - simply don’t exist in the frame.
Before you set up a shot, identify the one or two elements that are actually doing the work in the scene. Then ask what focal length eliminates everything else. That discipline of selective framing translates directly into stronger images because you’re making a deliberate choice rather than including everything and hoping it holds together.
What I’d Add From My Own Experience: Budget Glass Gets You There Faster Than You Think
I’ve tested a lot of telephoto lenses across a pretty wide price range - budget zooms under $300, mid-tier primes, and a few pro-level options I borrowed to run comparisons. What I keep finding is that the techniques Denney demonstrates are available to you at almost any price point. A used 70-300mm zoom from a major manufacturer can be had for under $200 and will do everything shown in this video.
The place where cheaper glass does hurt you is at the extreme end: faster apertures for low-light compression, and really clean image quality when you’re cropping heavily. But for learning the technique - for training your eye to see telephoto compositions - the cheap kit is genuinely sufficient. Don’t wait until you can afford a $3,000 prime to start practicing this way of seeing. Buy a budget telephoto option, go out this weekend, and specifically challenge yourself to shoot a full session without touching anything wider than 100mm.
The single most valuable shift from Denney’s tutorial is this: stop treating the telephoto as a specialty tool you reach for when the subject is far away. It’s a compositional tool you should be reaching for when you want control. Control over what’s in the frame, control over how distance reads, control over how light and atmosphere are rendered. That reframe alone - pun intended - will change what you come home with.
Watch the full tutorial on YouTube and pay close attention to the before-and-after toggles he does. Seeing the two versions of the same scene side by side is worth more than any written explanation, including this one.
Comments
Leave a Comment