I used to think woodland photography was just about showing up when the light was good and pointing your camera at trees. Then I’d get home, pull the files into Lightroom, and wonder why half of them felt flat or chaotic despite looking great on the LCD. The problem wasn’t my gear. It was that I had no systematic way to evaluate what was actually working in a composition before I pressed the shutter.
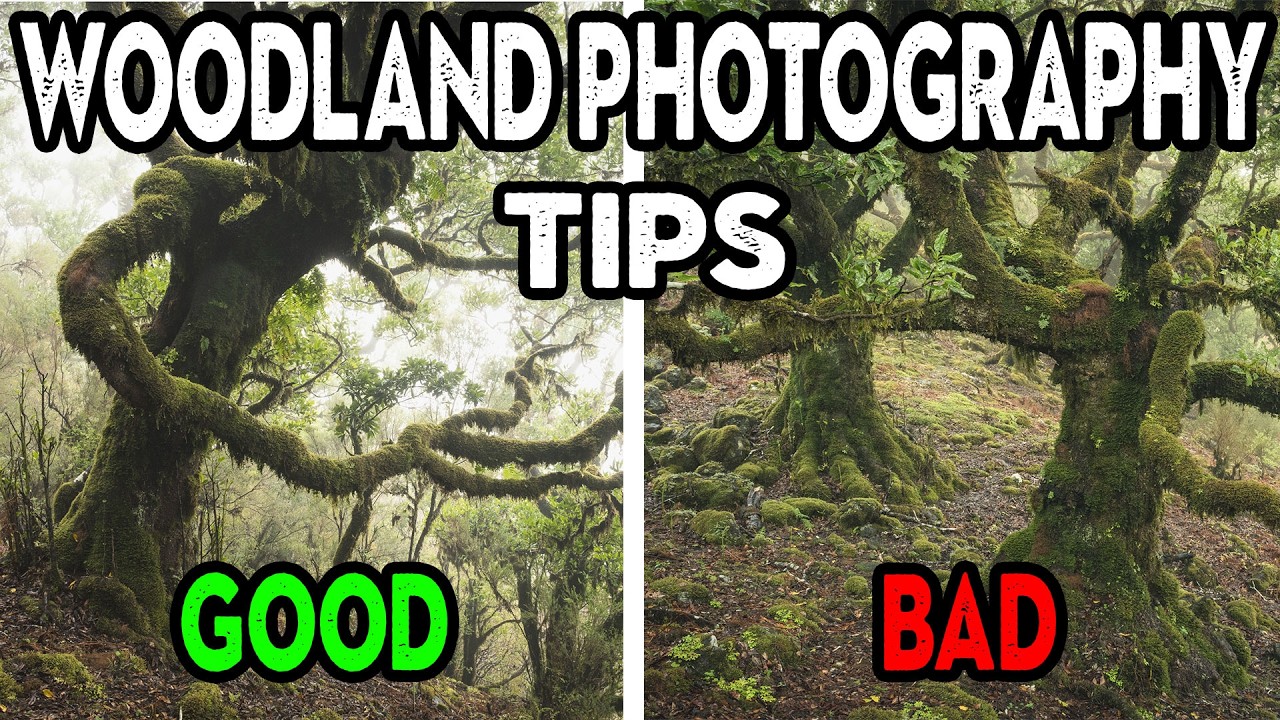
In this Nigel Danson tutorial on woodland composition, Danson does something genuinely useful: he sits down with a set of images from a rainy shoot in Madeira and walks through exactly why certain shots failed and others succeeded. Not in vague artistic terms, but in concrete, repeatable observations about light separation, anchor points, and distraction management. Watch the full tutorial on YouTube if you want to follow along with the actual images. What follows is my breakdown of the actionable lessons, rewritten for how I actually think about composition in the field.
Step 1: Check Your Sky Bleed Before You Move On
 Bright sky patch visible through tree canopy
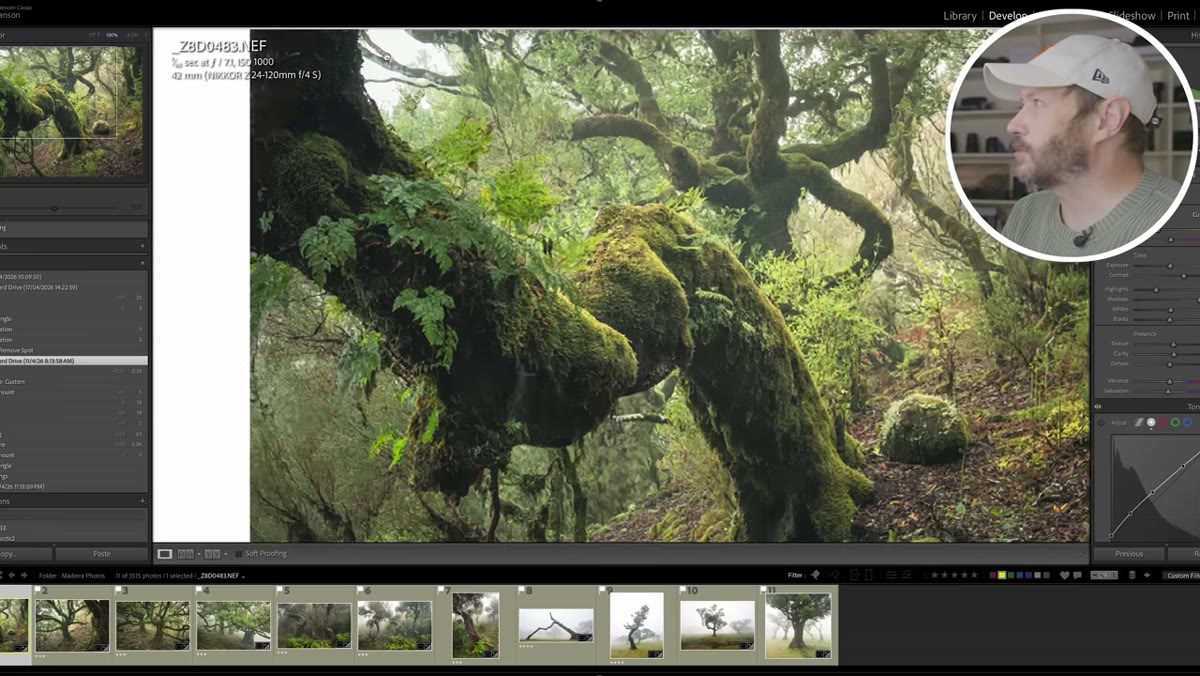
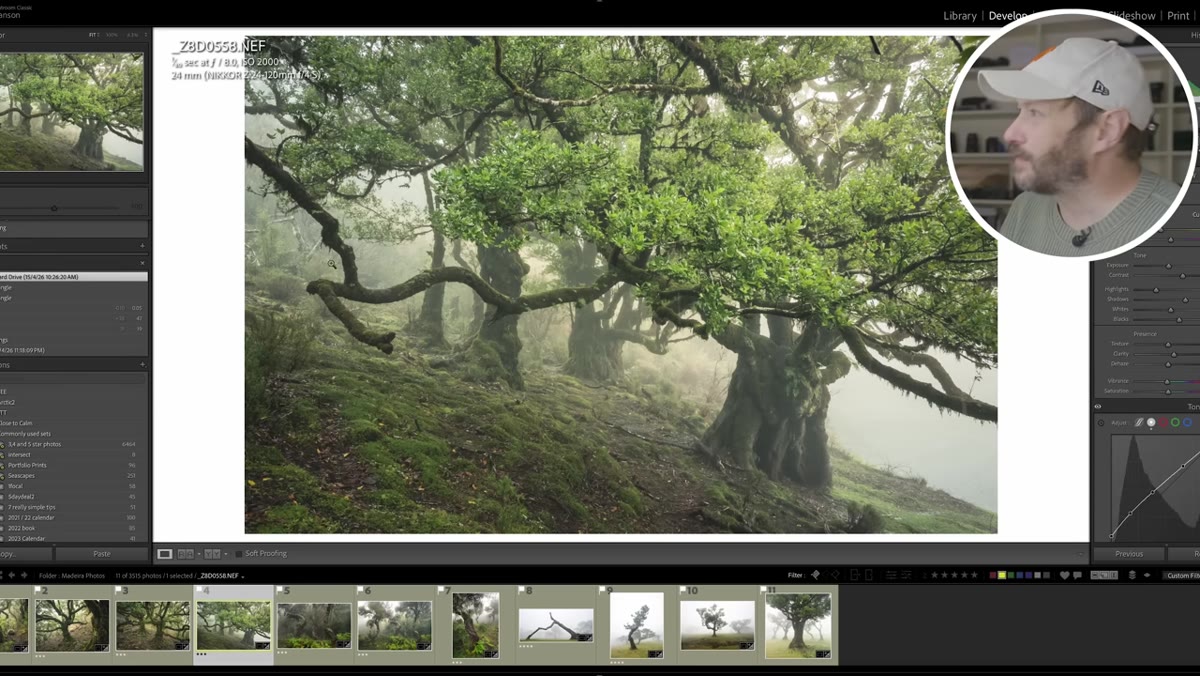
The first thing Danson flags is a patch of bright sky punching through the tree canopy near the top of the frame. It sounds minor, but it is one of the most common ways a woodland shot falls apart. Your eye is hard-wired to go to the brightest thing in the frame, and if that brightest thing is a blown-out gap of sky rather than your intended subject, the composition is working against you.
Bright sky patch visible through tree canopy
The first thing Danson flags is a patch of bright sky punching through the tree canopy near the top of the frame. It sounds minor, but it is one of the most common ways a woodland shot falls apart. Your eye is hard-wired to go to the brightest thing in the frame, and if that brightest thing is a blown-out gap of sky rather than your intended subject, the composition is working against you.
The fix is not always a crop or a filter. Sometimes it is just repositioning. Danson moved slightly left on a subsequent shot of the same scene and eliminated the problem entirely. Get in the habit of scanning the entire frame edge to edge, specifically looking for bright exits that will hijack the viewer’s attention.
Step 2: Use Side-Anchoring Trees Intentionally, Not by Default
 Single tree anchoring the left edge of the frame
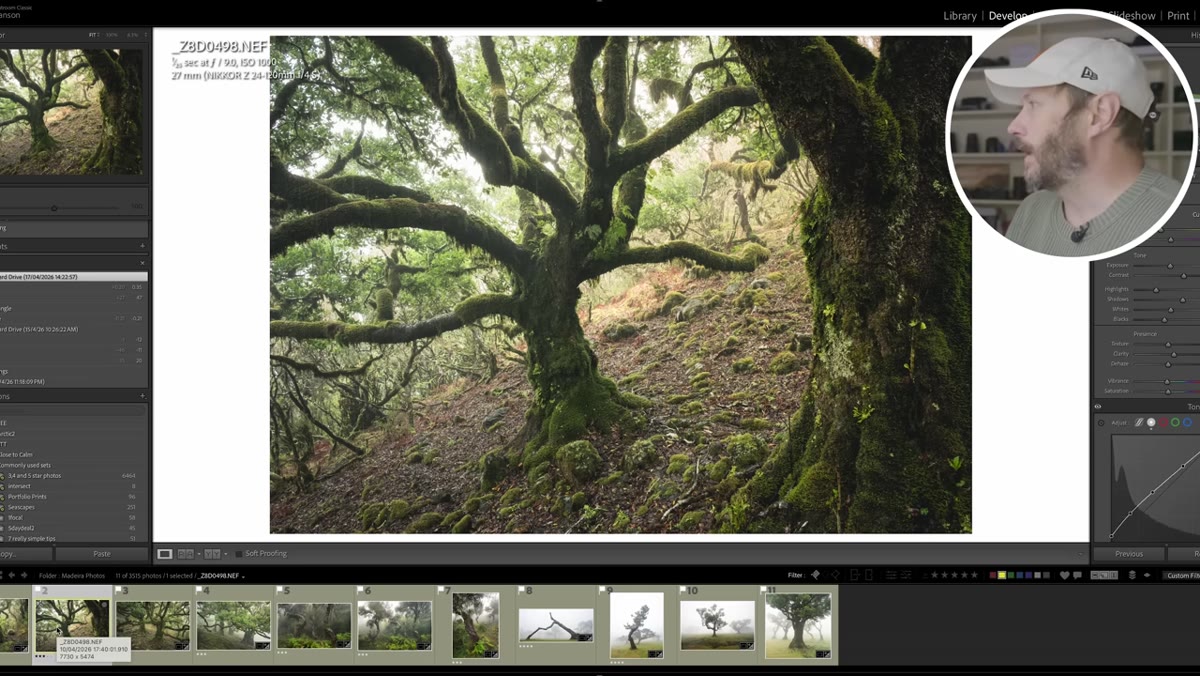
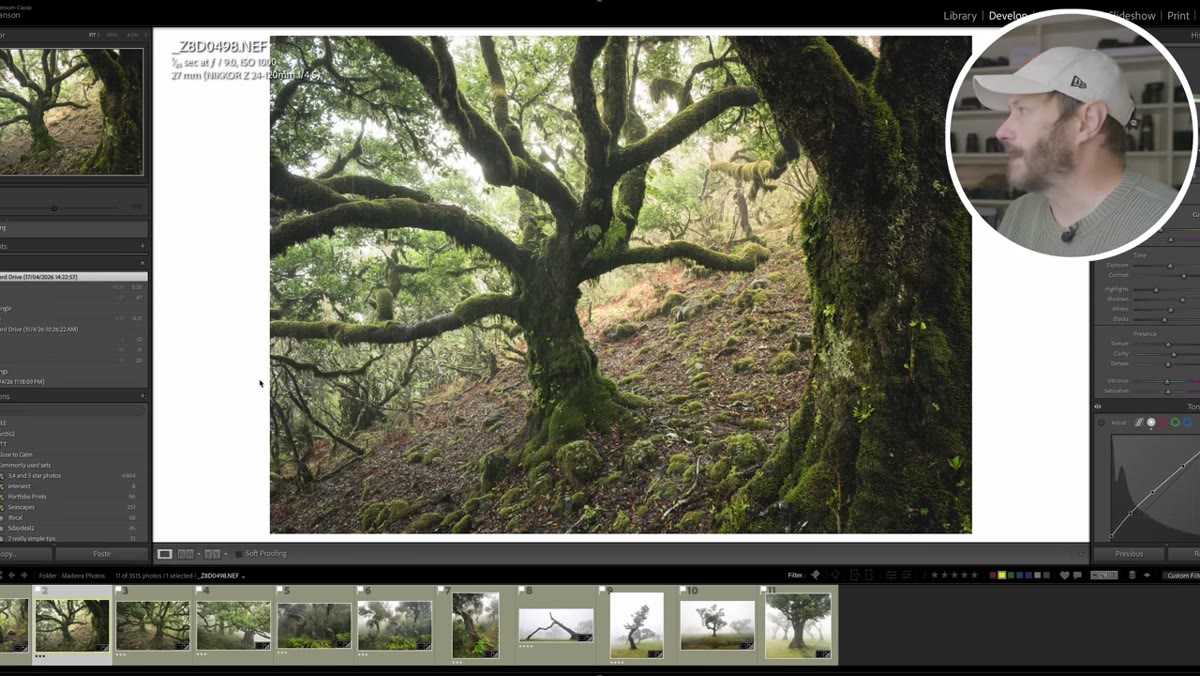
Danson mentions that he generally avoids using a tree to anchor the side of a frame because it can feel like a compositional shortcut. But he makes an exception here, and his reasoning is worth understanding. The tree works because the light coming through the background is evenly distributed around it. There are bright gaps on both sides and above, which means the tree reads as a deliberate anchor rather than something that just wandered into the frame.
Single tree anchoring the left edge of the frame
Danson mentions that he generally avoids using a tree to anchor the side of a frame because it can feel like a compositional shortcut. But he makes an exception here, and his reasoning is worth understanding. The tree works because the light coming through the background is evenly distributed around it. There are bright gaps on both sides and above, which means the tree reads as a deliberate anchor rather than something that just wandered into the frame.
The test I apply is this: if you covered that edge tree with your thumb, would the composition still make sense? If yes, the tree is probably adding weight and framing. If the whole image collapses without it, you may be leaning on it as a crutch. Intentional use is fine. Accidental use will cost you in the edit.
Step 3: Separate Your Subject from the Background
 Two versions of same tree showing contrast difference
This is the single most transferable lesson in the whole video. Danson shows two shots of the same tree taken from opposite sides. One works and one does not, and the difference comes down entirely to background separation. On the side that works, fog and light create contrast between the tree and what is behind it. On the other side, the tree blends into the background and loses its visual identity.
Two versions of same tree showing contrast difference
This is the single most transferable lesson in the whole video. Danson shows two shots of the same tree taken from opposite sides. One works and one does not, and the difference comes down entirely to background separation. On the side that works, fog and light create contrast between the tree and what is behind it. On the other side, the tree blends into the background and loses its visual identity.
In rainy or overcast woodland conditions, you have tools for this. Fog is obvious. But so is positioning yourself so that a darker tree reads against a brighter background gap, or a bright wet trunk reads against deep shadow. This is a positioning decision, not a post-processing one. You cannot fully rescue a flat-blending composition in Lightroom.
Step 4: Audit Every Branch and Edge Element Before You Shoot
 Distracting overhanging branch cutting across temporary lake reflection
Danson liked a shot in the field that he later rejected because of an overhanging branch cutting across the scene. He thought it worked at the time. It did not hold up on screen. This is a discipline problem more than a technique problem. When you are excited about a scene, especially one with water or interesting light, it is easy to tunnel-vision on the main subject and miss the branch, the stump, or the fence post sitting in your periphery.
Distracting overhanging branch cutting across temporary lake reflection
Danson liked a shot in the field that he later rejected because of an overhanging branch cutting across the scene. He thought it worked at the time. It did not hold up on screen. This is a discipline problem more than a technique problem. When you are excited about a scene, especially one with water or interesting light, it is easy to tunnel-vision on the main subject and miss the branch, the stump, or the fence post sitting in your periphery.
Before you press the shutter, run a quick perimeter check. Look at every edge of the frame. Look at what is in the negative space. Ask whether anything in the frame is pulling your eye away from where you want it to go. This takes about three seconds and will save you from a lot of keeper-rate disappointment.
Step 5: Shoot the Same Scene at Multiple Focal Lengths and Evaluate Later
 Wider version of fern and tree composition showing extra sky
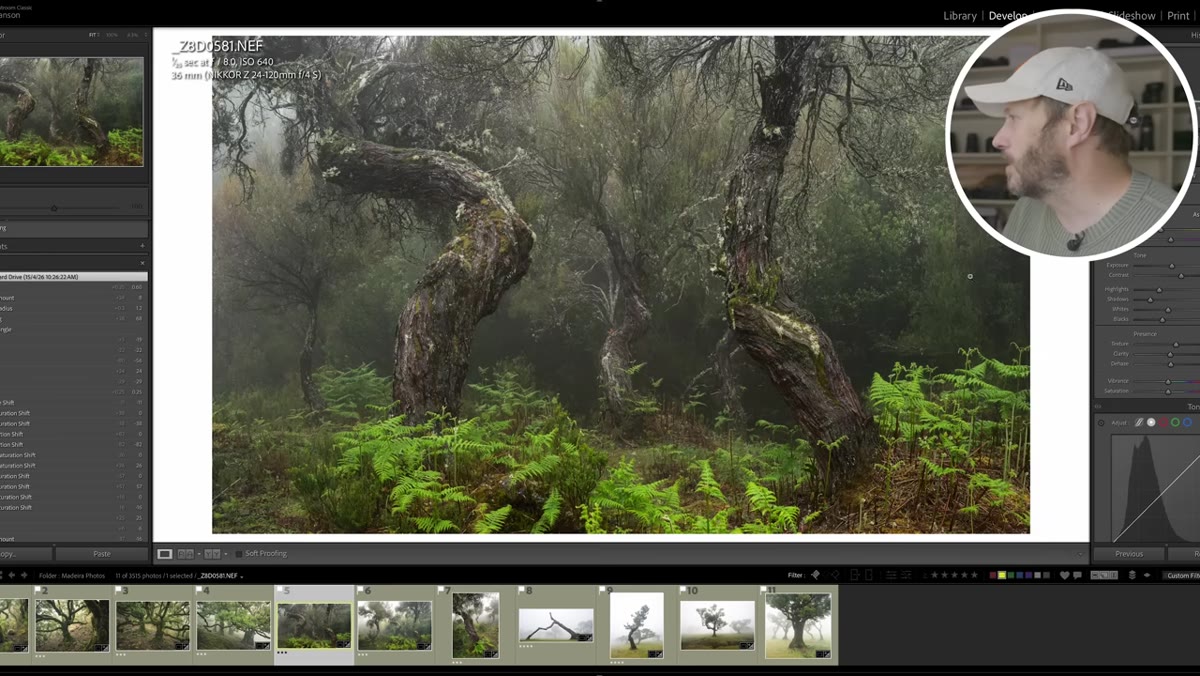
Danson shot the same composition with ferns and a tree at multiple widths and came home undecided about which version was strongest. The wider shot included more sky and an additional tree on the left that may or may not be helping. His approach was honest: he was not sure, so he was going to sit with it and edit both.
Wider version of fern and tree composition showing extra sky
Danson shot the same composition with ferns and a tree at multiple widths and came home undecided about which version was strongest. The wider shot included more sky and an additional tree on the left that may or may not be helping. His approach was honest: he was not sure, so he was going to sit with it and edit both.
This is actually a smart workflow. In the field, shoot the tight version and the wide version. Do not commit to one based on what looks good on a 3-inch screen in the rain. The detail shot, the medium shot, and the environmental shot of the same subject give you options and often reveal which framing was actually strongest once you see them at full size.
Step 6: Let Contextual Details Tell the Story
 Close-up of water droplets and fresh ferns on branches
One of Danson’s strongest compositional instincts is his belief in storytelling through detail. He was drawn to water droplets on lichen and fresh young ferns because those elements communicate something specific about when and where the photo was taken. They are not just texture. They are context.
Close-up of water droplets and fresh ferns on branches
One of Danson’s strongest compositional instincts is his belief in storytelling through detail. He was drawn to water droplets on lichen and fresh young ferns because those elements communicate something specific about when and where the photo was taken. They are not just texture. They are context.
When you are hunting for foreground interest or close-up details in a woodland setting, look for elements that place the image in time. New growth, frost, standing water after rain, autumn colour at a specific stage. These details make a viewer feel like they are inside a moment rather than looking at a generic forest photograph.
What I’d Add: The Budget Shooter Angle on Handheld in Low Light
Danson shot several of these images handheld in the rain at ISO 640 to 1000 and 1/25th of a second. That is not recklessness, that is practical field work. And the results held up. I say this because there is a persistent myth that woodland photography demands a heavy tripod setup and base ISO to be worth anything. My own testing across probably a dozen cameras under $600 tells a different story. Modern sensors, even budget ones, handle ISO 1000 in woodland conditions without the kind of noise that ruins a shot. If rain or difficult terrain makes tripod work impractical, shoot handheld with good technique and a slightly elevated ISO. You will lose fewer keepers to frustration and missed moments than you will to noise.
The takeaway here is simple: composition errors kill more shots than high ISO ever will. A perfectly sharp, perfectly exposed image with a blown sky patch or a blending tree is still a weak photograph. Get the compositional decisions right first. The technical side is usually fixable or forgivable. Structure is not.
Watch the full tutorial on YouTube to see Danson’s actual images side by side. Seeing both versions of the same composition is what makes the lessons land.
Comments (1)
This saved me so much time on my last edit. Wish I'd found this sooner.
Leave a Comment