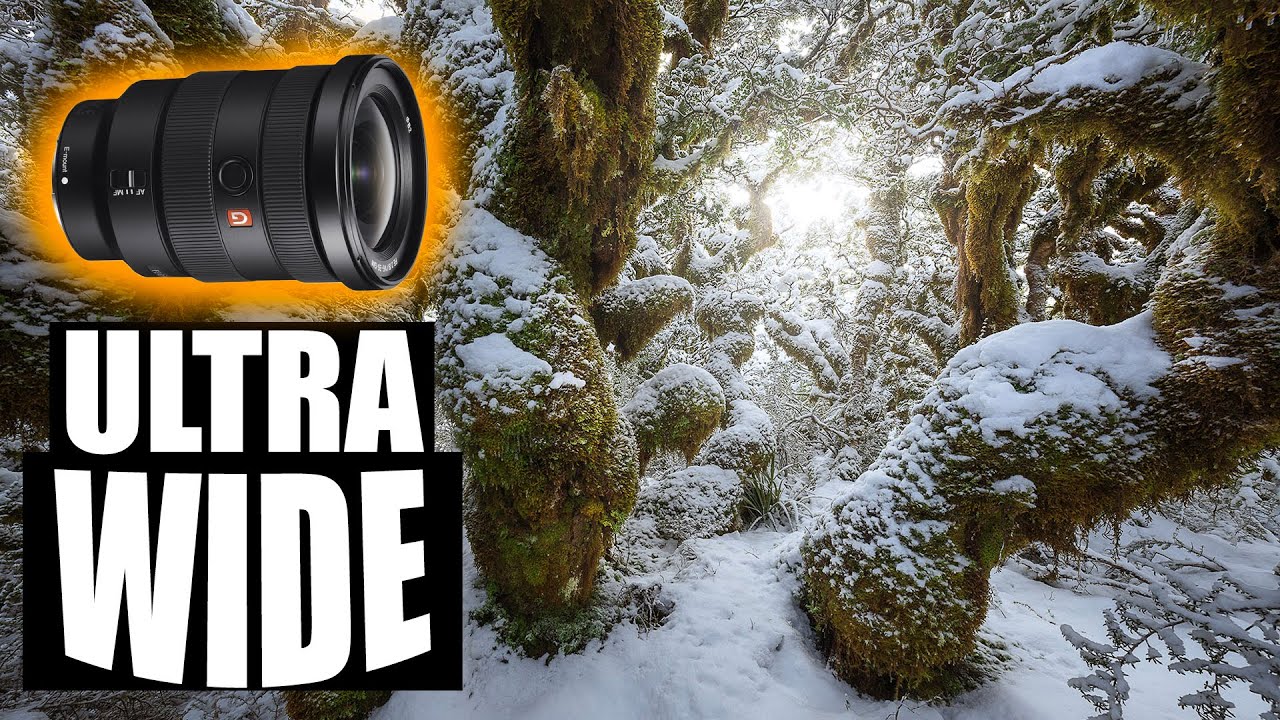
Wide lenses punish lazy composition. That’s the honest truth I’ve had to sit with since I started doing serious landscape work. A telephoto can compress a mediocre scene into something that looks intentional. A wide lens at 16mm in a forest full of snow-covered trees will expose every weak framing decision you make. So when I came across a tutorial that spends real time in a real winter environment showing how to think through wide-angle landscape shots, I paid attention.
In this William Patino tutorial, he takes his friend Dylan through a snow-dusted beech forest in New Zealand’s Fiordland region during what he calls a “spring snowfall” - the kind of fleeting, unpredictable light that makes landscape photographers either panic or produce their best work. Patino has clearly shot this location before, and that familiarity shows in how deliberately he moves through the forest, spotting frames instead of chasing them. Watch the full tutorial on YouTube
What struck me most is that almost nothing in this video is about gear settings or post-processing. It’s about the pre-shutter decisions: where to stand, what to include, how to read the light before it disappears. That’s the stuff that takes years to learn by trial and error, and Patino compresses it into a single overcast morning in the Southern Alps.
Step 1: Read the Scene Before You Lift the Camera
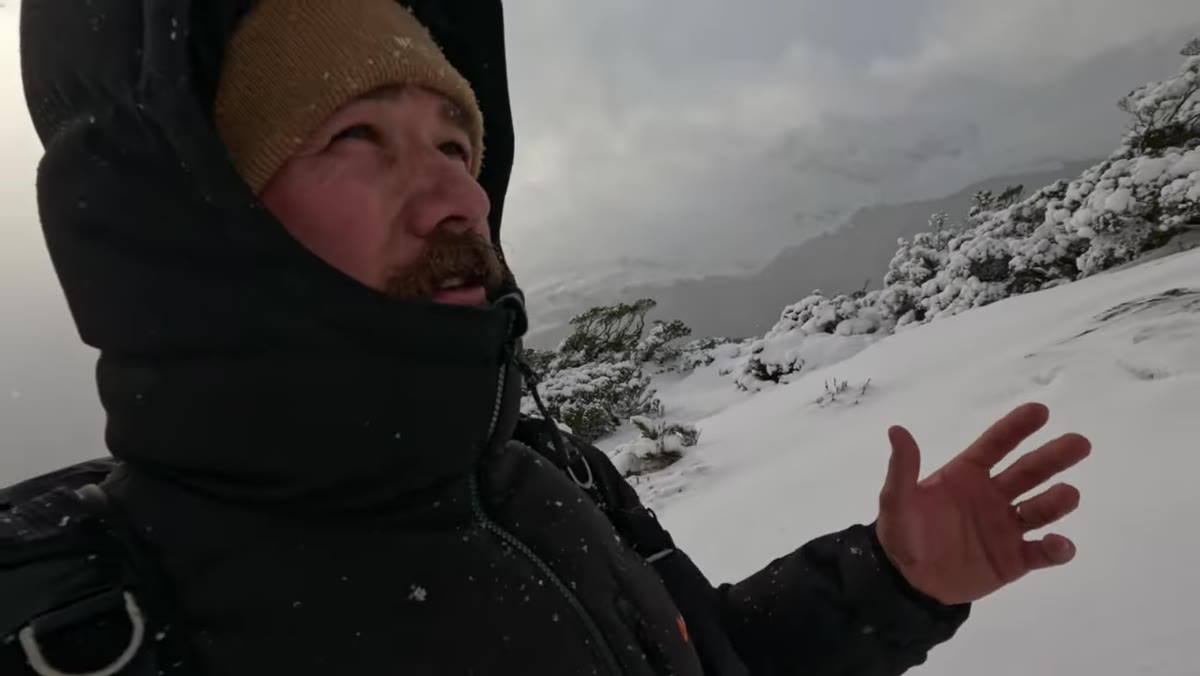 Patino and Dylan walking into snow-dusted beech forest
Patino doesn’t rush to shoot. He and Dylan walk into the forest first, talking about what makes the conditions special: intermittent light breaking through cloud cover, fresh snow still clinging to branches, color that pops against the grey sky. He’s doing a visual audit before committing to a frame. For wide-angle work especially, this matters because a 16mm lens doesn’t compress the scene for you. Every element you include will be visible and weighted. Walking the space first lets you notice what anchors the shot and what creates clutter.
Patino and Dylan walking into snow-dusted beech forest
Patino doesn’t rush to shoot. He and Dylan walk into the forest first, talking about what makes the conditions special: intermittent light breaking through cloud cover, fresh snow still clinging to branches, color that pops against the grey sky. He’s doing a visual audit before committing to a frame. For wide-angle work especially, this matters because a 16mm lens doesn’t compress the scene for you. Every element you include will be visible and weighted. Walking the space first lets you notice what anchors the shot and what creates clutter.
The practical habit here is to do one pass through a location without touching your camera. Note where the light is falling, which trees or foreground elements have strong shape, and where natural paths or sight lines already exist. Your eye will return to the strongest compositions on the second pass.
Step 2: Identify Natural Frames Within the Environment
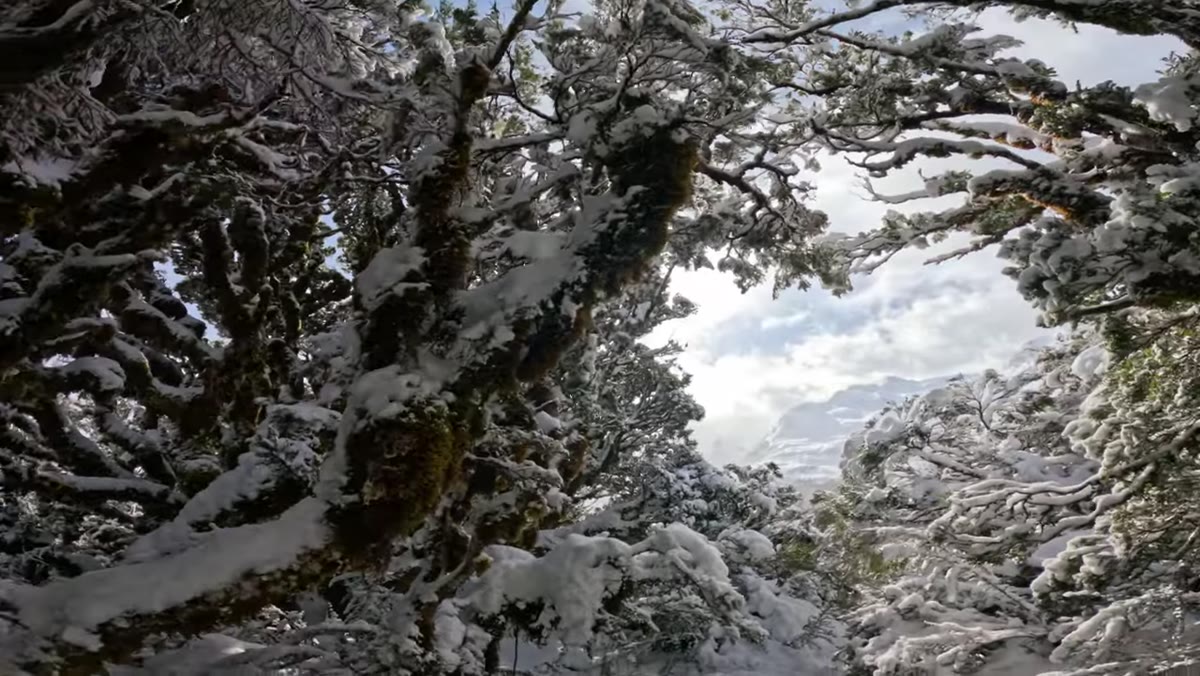
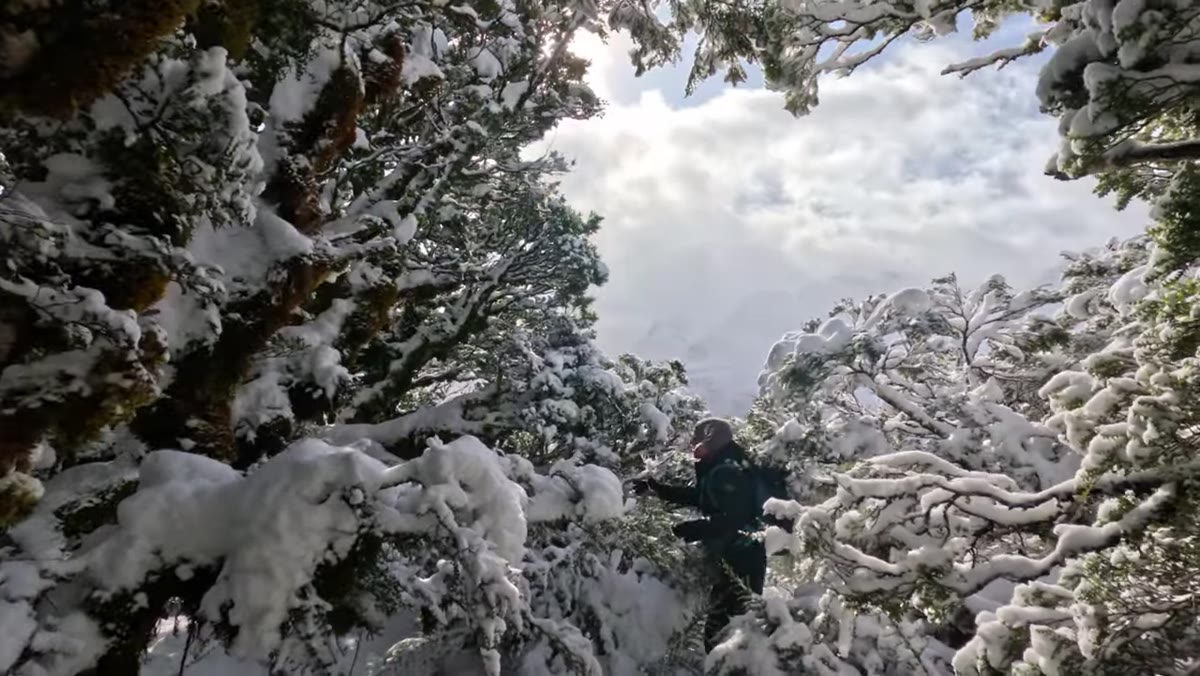 Patino pointing out an overhanging branch forming a natural frame
One of the first things Patino flags is a natural frame - an arch of branches overhead that encloses the view beyond. Wide lenses exaggerate depth, which means foreground framing elements become enormously powerful. A branch curving into the top of the frame at 16mm doesn’t just add context; it creates a visual container that draws the viewer’s eye into the scene rather than letting it wander off the edges.
Patino pointing out an overhanging branch forming a natural frame
One of the first things Patino flags is a natural frame - an arch of branches overhead that encloses the view beyond. Wide lenses exaggerate depth, which means foreground framing elements become enormously powerful. A branch curving into the top of the frame at 16mm doesn’t just add context; it creates a visual container that draws the viewer’s eye into the scene rather than letting it wander off the edges.
Look for these opportunities at ground level too - rocks, roots, converging tree trunks. The key is that the framing element should be darker or more textured than the background so it reads as a border, not just noise. In a snowy scene like Patino’s, the dark bark of beech trees against pale snow does this work naturally.
Step 3: Chase the Glowing Light, Not the Clear Sky
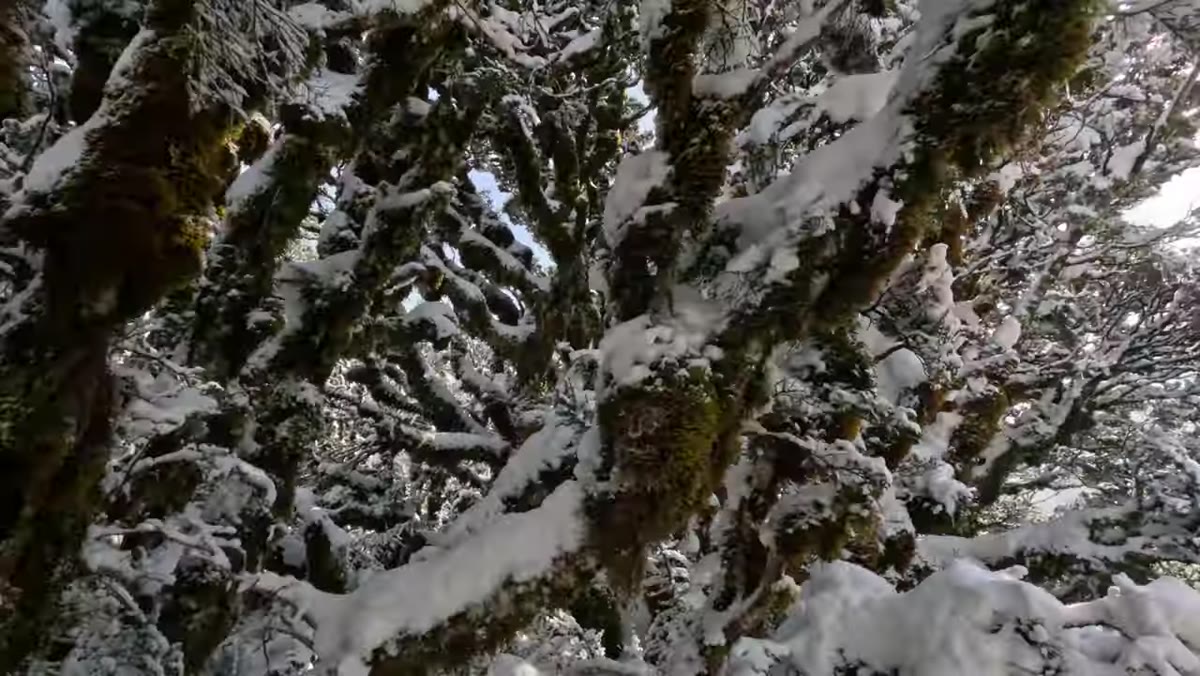 Golden light hitting the forest trail between snow-covered trees
Patino stops the walk when he spots something specific: yellow-gold light hitting the trail between the trees, turning the path into a glowing line through the forest. He describes it as looking lit from within. This is the quality of light that wide-angle landscape photographers live for, and it’s almost always found in the minutes after cloud breaks, not during full overcast or full sun.
Golden light hitting the forest trail between snow-covered trees
Patino stops the walk when he spots something specific: yellow-gold light hitting the trail between the trees, turning the path into a glowing line through the forest. He describes it as looking lit from within. This is the quality of light that wide-angle landscape photographers live for, and it’s almost always found in the minutes after cloud breaks, not during full overcast or full sun.
The practical read here is that mixed light conditions - some cloud, some breaks - are more interesting than either extreme. Full overcast flattens everything. Full sun creates harsh shadows that a wide lens picks up everywhere. That transitional light, where you get warmth against cool shadow areas, creates depth and drama that no amount of post-processing can fully replicate. When you see it, stop walking and shoot.
Step 4: Choose Your Focal Length Based on Conditions, Not Habit
 Patino discussing lens choice while holding the 16-35mm f/2
Patino mentions he brought a 16-35mm f/2 instead of a wider 12mm prime because the 12mm tends to pick up every droplet of moisture on the front element in wet conditions. That’s a real field decision, not a theoretical one. He’s prioritizing image quality consistency over maximum field of view.
Patino discussing lens choice while holding the 16-35mm f/2
Patino mentions he brought a 16-35mm f/2 instead of a wider 12mm prime because the 12mm tends to pick up every droplet of moisture on the front element in wet conditions. That’s a real field decision, not a theoretical one. He’s prioritizing image quality consistency over maximum field of view.
For anyone shooting with budget wide-angle zooms, the same logic applies. Know your lens’s weaknesses and match it to the conditions. A variable aperture kit lens in a wet forest on a dark day is going to force you into high ISO territory fast. A faster prime or f/2 zoom gives you flexibility without compromising sharpness. I keep a notes column in my lens comparison spreadsheet specifically for “conditions it struggles in” - it’s changed which lens I grab more than any spec sheet ever did.
Step 5: Use Visual Balance, Not Symmetry, to Build a Frame
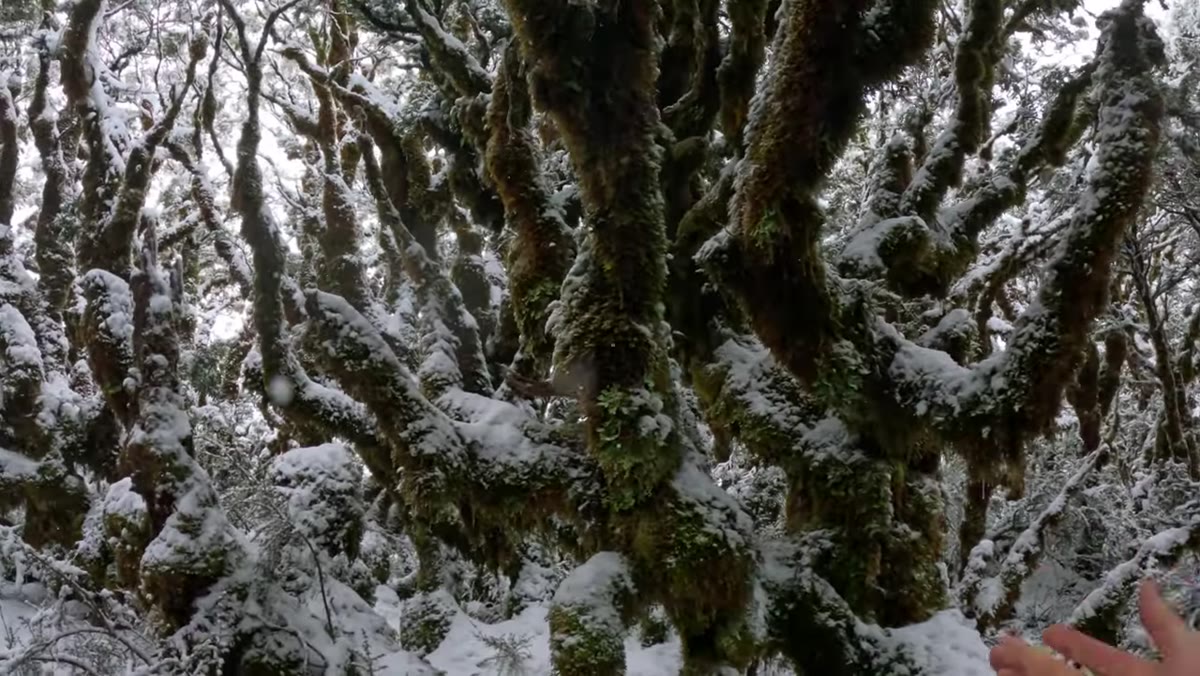 Patino framing snow-covered branches with weight distributed across the shot
Later in the walk, Patino pauses at a frame he really likes and explains why: there’s weight on both the left and right sides of the composition through large snow-covered branches, but the weight isn’t equal. It’s balanced the way a scale balances a large mass close to center against a smaller mass further out. He’s not centering a single tree. He’s distributing visual mass across the frame so no single corner dominates.
Patino framing snow-covered branches with weight distributed across the shot
Later in the walk, Patino pauses at a frame he really likes and explains why: there’s weight on both the left and right sides of the composition through large snow-covered branches, but the weight isn’t equal. It’s balanced the way a scale balances a large mass close to center against a smaller mass further out. He’s not centering a single tree. He’s distributing visual mass across the frame so no single corner dominates.
This is the compositional move that separates wide-angle shots that feel stable from ones that feel like the camera fell sideways. With a 16mm or wider, the edges of the frame are always pulling for attention. Placing meaningful subject matter near the edges - branches, rocks, converging lines - turns that pull into an asset.
Step 6: Wait for the Moment That Adds Texture
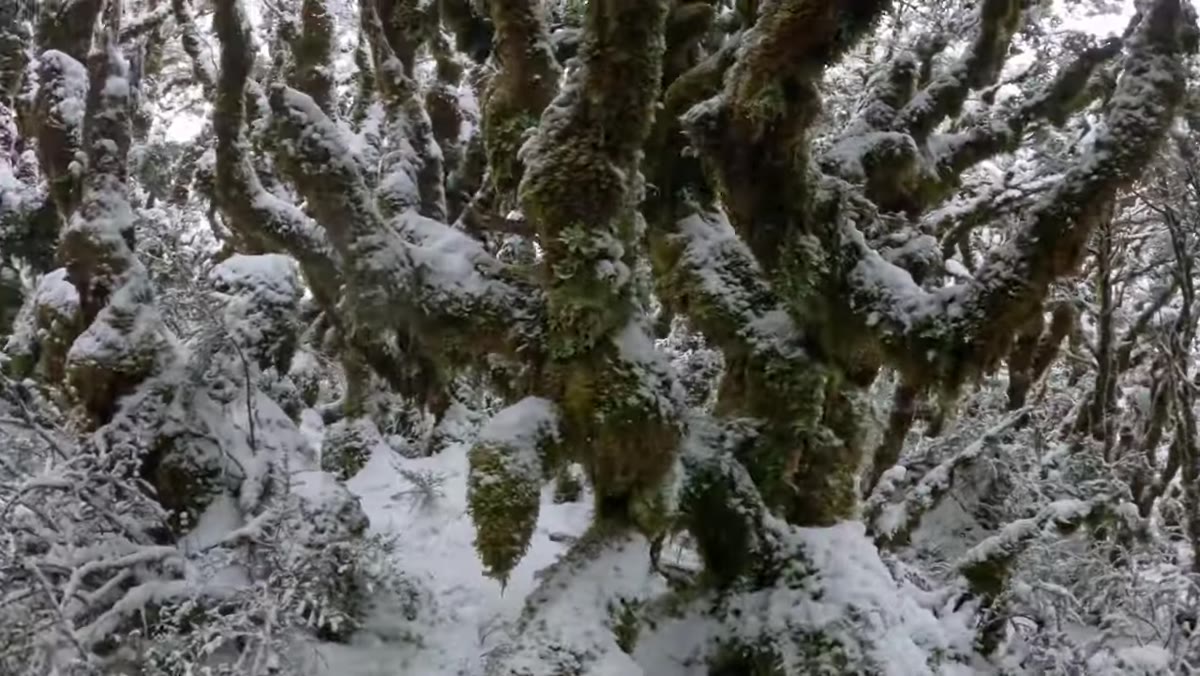 Light snowfall beginning to fall through the trees during the shot
At the end of the shoot, Patino is already happy with the frame but waits specifically for snowflakes to fall through the scene. His reasoning: falling snow adds texture and atmosphere that static snow can’t. It confirms to the viewer that this is a living, active environment rather than a still-life of winter.
Light snowfall beginning to fall through the trees during the shot
At the end of the shoot, Patino is already happy with the frame but waits specifically for snowflakes to fall through the scene. His reasoning: falling snow adds texture and atmosphere that static snow can’t. It confirms to the viewer that this is a living, active environment rather than a still-life of winter.
For wide-angle landscape work generally, this translates to waiting for the element that proves the scene is real and in motion. Light shifting. Leaves moving. Water running through frame. A wide lens captures so much that a completely static scene can feel like a painted backdrop. One moving element anchors it as a photograph.
What I’d Add From Shooting Colorado Winters
I shoot a lot of mountain terrain around Denver, and the one thing I’d layer onto Patino’s approach is exposure compensation when shooting snow-heavy scenes wide. Cameras will underexpose bright snow to protect highlights, which crushes shadow detail in your dark foreground elements. I typically dial in +0.7 to +1 stop of positive exposure compensation in snowy mixed-light scenes and verify with the histogram rather than the screen. Your LCD will lie to you in cold outdoor light every time.
The bigger lesson from this tutorial is one I keep having to relearn: familiarity with a location is a competitive advantage. Patino shoots this forest regularly, so he isn’t burning mental energy figuring out where to stand. He’s free to see. If you have a local park, trail, or patch of woods you know well, return to it in every season and every weather condition. Your best work will come from the place you understand, not the destination you visited once.
Watch the full tutorial on YouTube - the way Patino narrates his framing decisions in real time is worth your attention, especially if you’re trying to move from technically correct landscapes to ones that actually feel like something.
Comments (2)
This is going in my reference folder. Incredibly useful.
Simple but effective. Sometimes that's all you need.
Leave a Comment