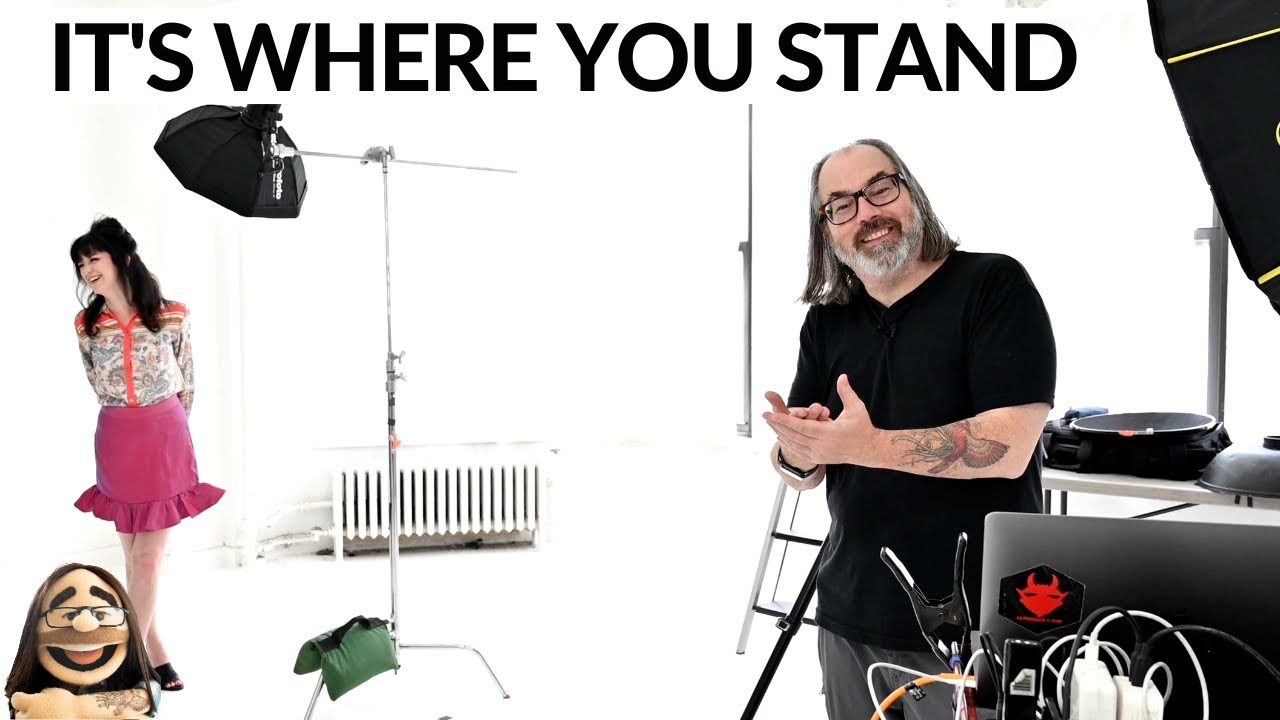
I spent way too long convincing myself that my portraits would improve the moment I bought a longer lens. I’d look at shots that felt flat or slightly off and immediately start browsing used gear listings. Then I watched a shooting demo from Daniel Norton, a New York-based professional photographer, and had one of those frustrating moments where the fix was embarrassingly simple. The problem wasn’t my glass. It was where I was standing when I fired the shutter.
Watch the full tutorial on YouTube
In this Daniel Norton Photographer tutorial, Norton shoots the same subject at multiple focal lengths and distances to visually prove a point that most gear-focused photographers miss entirely: your camera-to-subject distance shapes the image more fundamentally than your focal length does. The face compression, the background relationship, the way features sit on the face - all of that is driven by distance first, focal length second. Once I actually tested this myself, I stopped obsessing over lens specs and started paying attention to where my feet were. Here is how the whole thing breaks down.
Step 1: Start at a Neutral Focal Length to Establish Your Baseline
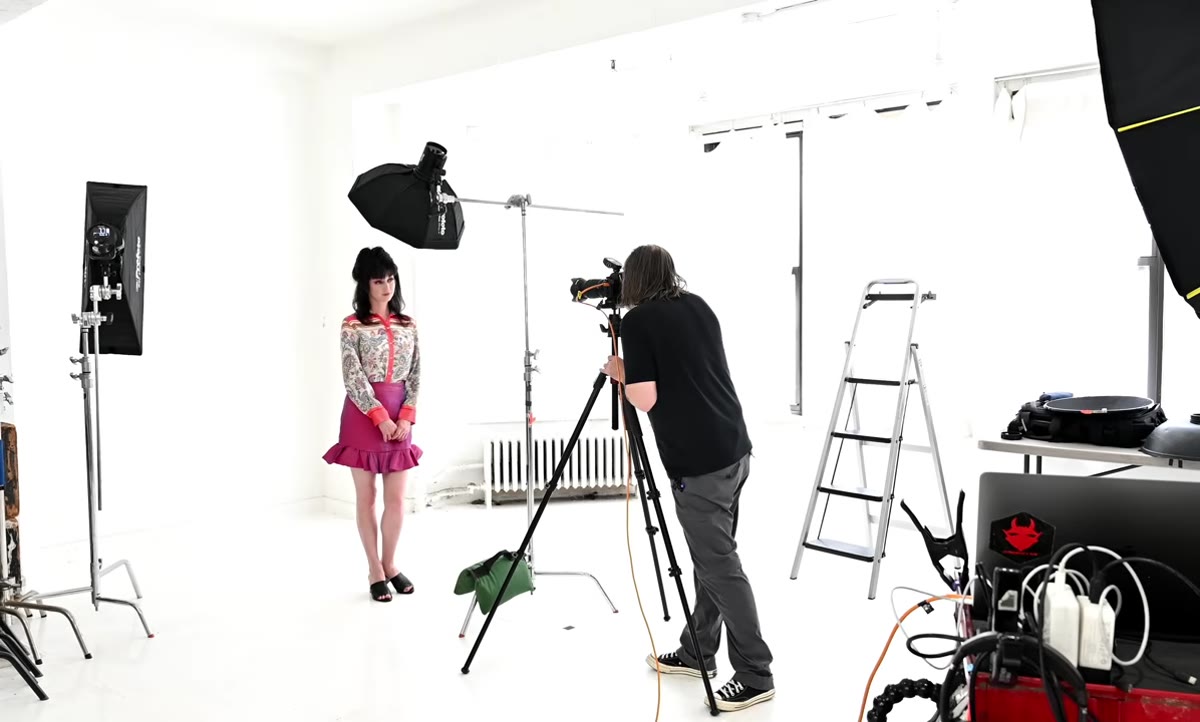 Shooting subject at 70mm from a medium working distance
Norton opens by shooting at 70mm from a natural working distance, roughly what you might call a conversational distance from your subject. He calls this a “naturalistic” angle - not so close that features distort, not so far that the image takes on heavy compression. If you shoot full frame, 70mm at this range is a solid baseline to start from. If you are on APS-C, 50mm gets you to a similar field of view. Before you change anything, take a reference shot here. This is your control frame.
Shooting subject at 70mm from a medium working distance
Norton opens by shooting at 70mm from a natural working distance, roughly what you might call a conversational distance from your subject. He calls this a “naturalistic” angle - not so close that features distort, not so far that the image takes on heavy compression. If you shoot full frame, 70mm at this range is a solid baseline to start from. If you are on APS-C, 50mm gets you to a similar field of view. Before you change anything, take a reference shot here. This is your control frame.
Step 2: Go Wider and Move Closer to Maintain Framing
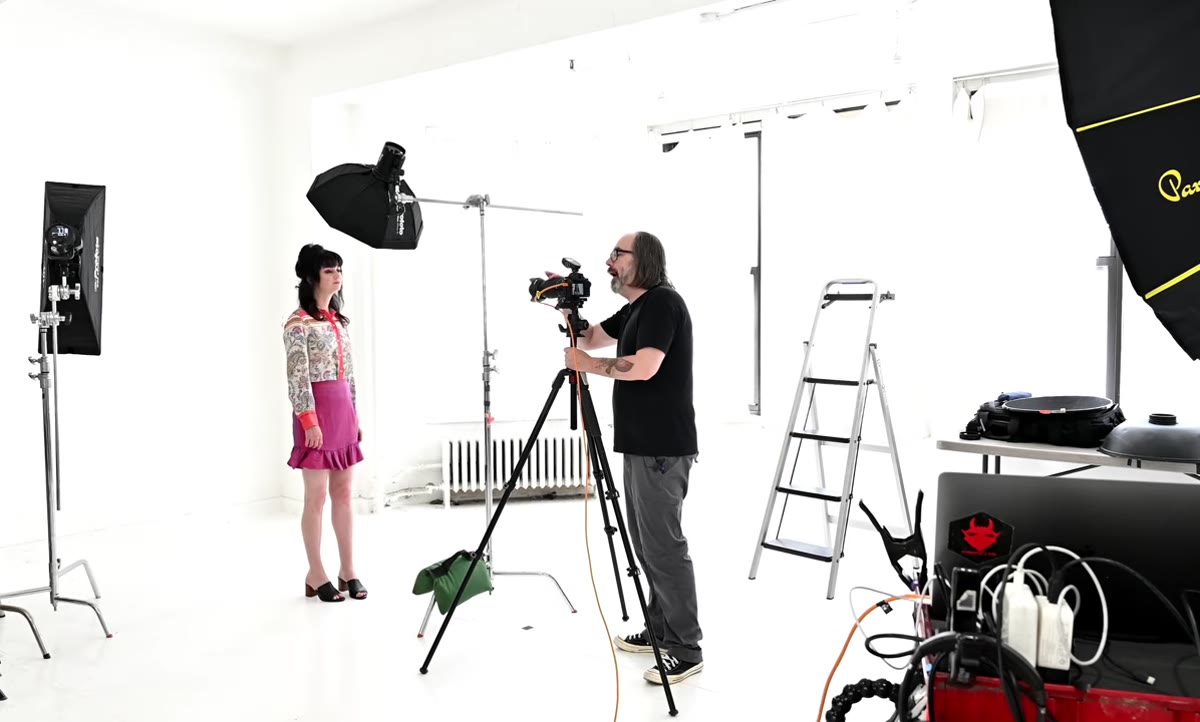 Shooting at 35mm from a closer physical position
Norton steps in and switches to 35mm, keeping the subject framed roughly the same size in the shot. This is where it gets interesting. Even though the subject fills a similar portion of the frame, the image looks different. Features read slightly wider, the nose gets a little more presence, and the face shape shifts. This is not a lens flaw. It is perspective distortion caused by physical proximity, not by the focal length itself. The 35mm did not distort the face. Being closer did. If you are on APS-C, 35mm sits close to a “normal” field of view, so this step will feel less dramatic for you, but the principle still holds.
Shooting at 35mm from a closer physical position
Norton steps in and switches to 35mm, keeping the subject framed roughly the same size in the shot. This is where it gets interesting. Even though the subject fills a similar portion of the frame, the image looks different. Features read slightly wider, the nose gets a little more presence, and the face shape shifts. This is not a lens flaw. It is perspective distortion caused by physical proximity, not by the focal length itself. The 35mm did not distort the face. Being closer did. If you are on APS-C, 35mm sits close to a “normal” field of view, so this step will feel less dramatic for you, but the principle still holds.
Step 3: Zoom Longer and Back Up to Match the Same Framing
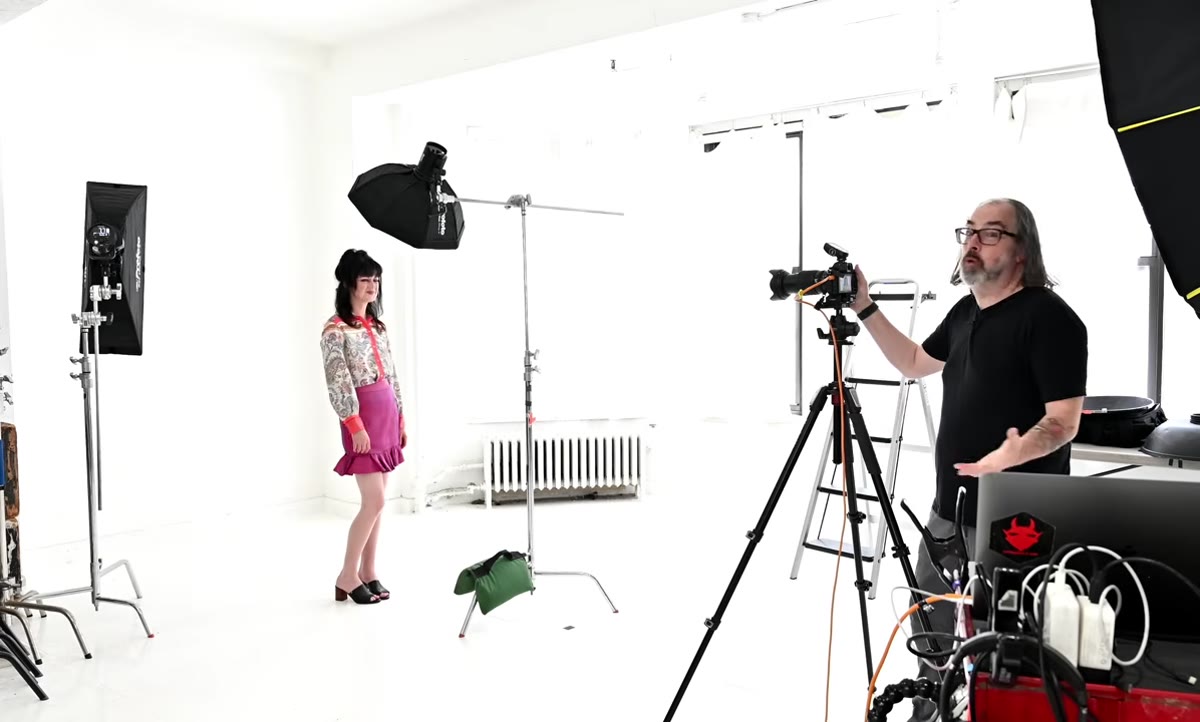 Shooting at 120mm with subject framed similarly
Now Norton does the reverse. He backs up and zooms to 120mm, again keeping the subject at roughly the same size in the frame. The image looks noticeably different from both previous shots. Features appear slightly compressed, the background closes in, and the face reads with more flatness and dimension at the same time. This is the “compression” effect people talk about with telephoto lenses, but again, it is not the lens doing this on its own. It is the increased distance between camera and subject. The longer focal length is simply how you compensate for framing from farther away.
Shooting at 120mm with subject framed similarly
Now Norton does the reverse. He backs up and zooms to 120mm, again keeping the subject at roughly the same size in the frame. The image looks noticeably different from both previous shots. Features appear slightly compressed, the background closes in, and the face reads with more flatness and dimension at the same time. This is the “compression” effect people talk about with telephoto lenses, but again, it is not the lens doing this on its own. It is the increased distance between camera and subject. The longer focal length is simply how you compensate for framing from farther away.
Step 4: Compare All Three Frames Side by Side
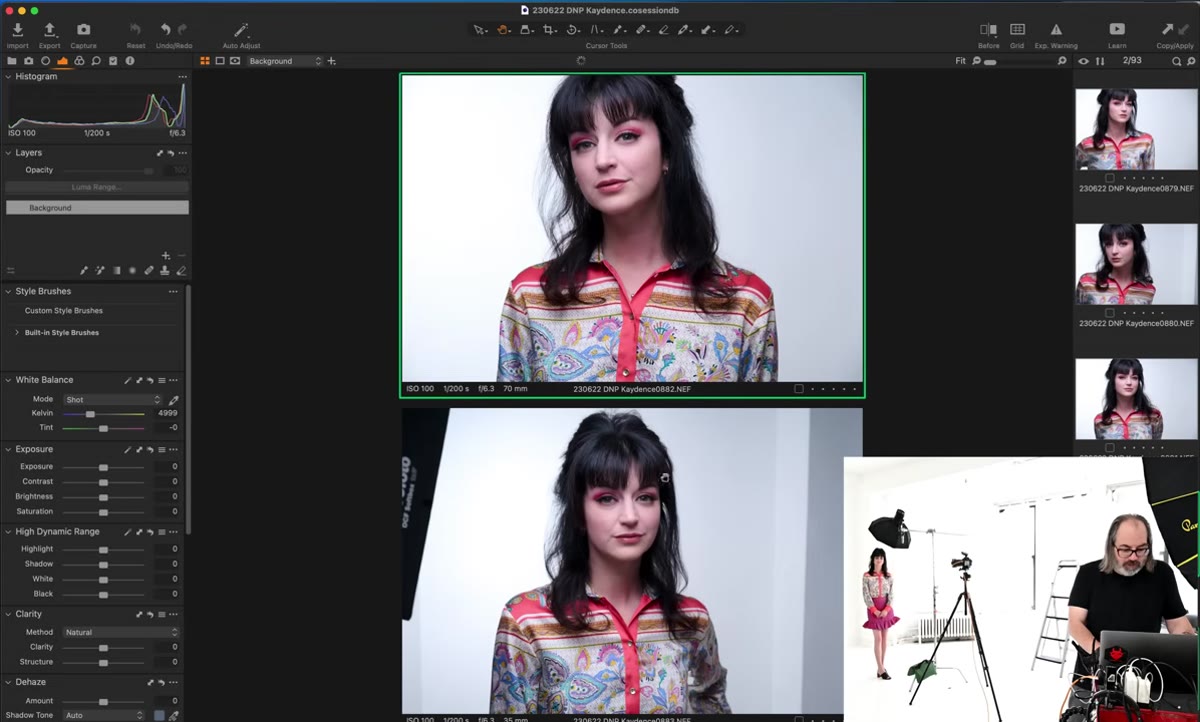 Side-by-side comparison of 35mm and 70mm portrait frames
The most instructive moment in the tutorial is when Norton pulls up two shots taken at different focal lengths but with similar framing and lets you simply look at them. The face shape changes. The spatial relationship between the subject and background changes. The depth of field appears different not just because of aperture but because of the distance variable. If you want to replicate this exercise yourself, shoot three frames - wide and close, mid and neutral, long and backed up - and then view them at the same size on your monitor. The differences are more obvious than any chart or diagram. This comparison is worth doing once with your actual gear because it resets your instincts in a way that reading about it never quite does.
Side-by-side comparison of 35mm and 70mm portrait frames
The most instructive moment in the tutorial is when Norton pulls up two shots taken at different focal lengths but with similar framing and lets you simply look at them. The face shape changes. The spatial relationship between the subject and background changes. The depth of field appears different not just because of aperture but because of the distance variable. If you want to replicate this exercise yourself, shoot three frames - wide and close, mid and neutral, long and backed up - and then view them at the same size on your monitor. The differences are more obvious than any chart or diagram. This comparison is worth doing once with your actual gear because it resets your instincts in a way that reading about it never quite does.
Step 5: Choose Your Focal Length Based on the Look You Want, Not a Rule
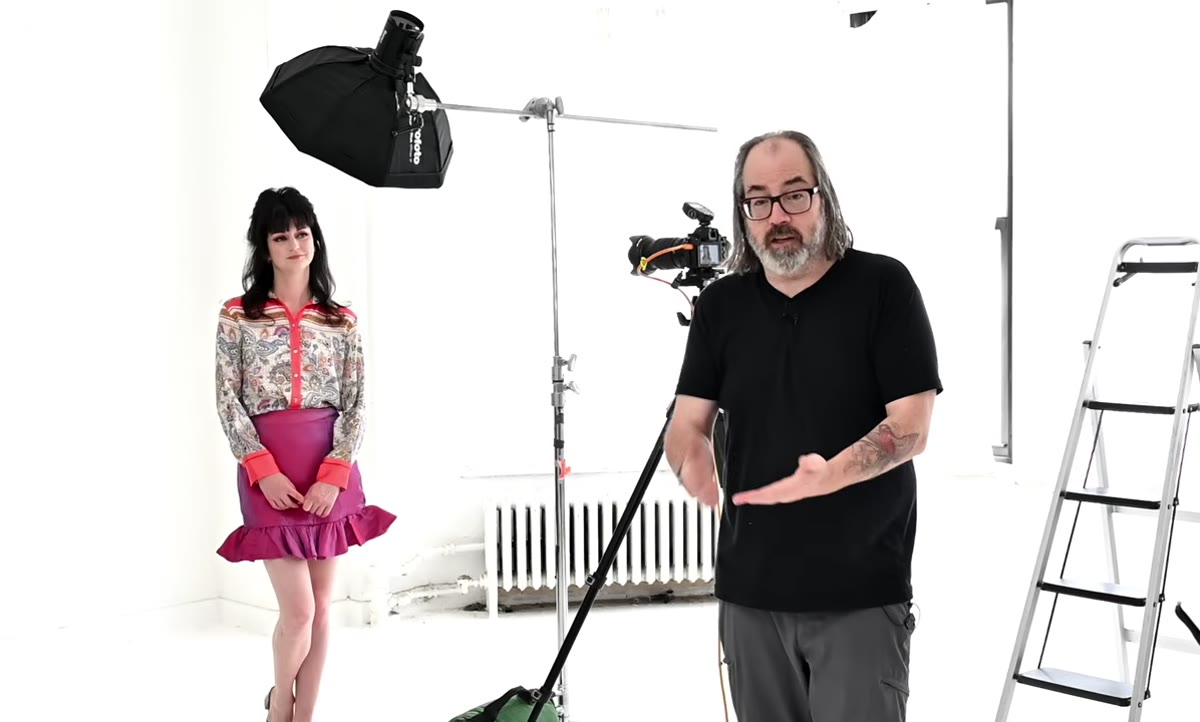 Daniel Norton introducing the concept of intentional lens choice
Norton references a quote attributed to Ansel Adams - that a good photograph has a lot to do with where you stand. Whether Adams said it exactly that way is beside the point. The idea is that photographers, especially newer ones, get handed these rules about portrait lenses and landscape lenses and start treating them like facts of physics. Norton’s point is that those rules describe outcomes that people liked, not laws you have to follow. If you want a dramatic, environmental portrait with a wide foreground presence, get close with a wide lens and own the distortion. If you want clean, compressed separation, back up and zoom in. Both are legitimate. Neither is wrong. The focal length you choose should describe the image you are after, not a genre label on a lens category list.
Daniel Norton introducing the concept of intentional lens choice
Norton references a quote attributed to Ansel Adams - that a good photograph has a lot to do with where you stand. Whether Adams said it exactly that way is beside the point. The idea is that photographers, especially newer ones, get handed these rules about portrait lenses and landscape lenses and start treating them like facts of physics. Norton’s point is that those rules describe outcomes that people liked, not laws you have to follow. If you want a dramatic, environmental portrait with a wide foreground presence, get close with a wide lens and own the distortion. If you want clean, compressed separation, back up and zoom in. Both are legitimate. Neither is wrong. The focal length you choose should describe the image you are after, not a genre label on a lens category list.
What I Would Add: Budget Zooms Make This Easier to Test Than Primes
The gear angle here is worth calling out. A lot of newer photographers are buying fast prime lenses chasing sharpness and bokeh, which is fine, but primes make this kind of distance experimentation harder because you are locked into one focal length at a time. A modest zoom lens, even a slow kit zoom, lets you run through this exact exercise in a single session without swapping glass. I have a spreadsheet comparing budget zooms I have tested, and honestly, something like a used 24-70mm or even a 18-55mm kit lens is a better learning tool for understanding perspective than a bag full of primes. Once you understand what distance does to an image, then you buy the prime that locks in the look you actually want. Doing it the other way around means you might buy the wrong one.
The single biggest shift this tutorial pushed me toward was thinking about my shooting position before I think about my focal length. Distance is the variable that changes the image. Focal length is how you correct for framing after you have decided where to stand. Get that order right and a lot of lens-buying anxiety disappears.
Watch the full tutorial on YouTube and watch the side-by-side comparisons yourself. Reading about perspective compression is useful. Seeing it in a live shoot makes it stick.
Comments (2)
Finally someone explains this in a way that actually makes sense.
Great article! I actually covered something related on my site — the workflows angle is really complementary to this.
Leave a Comment