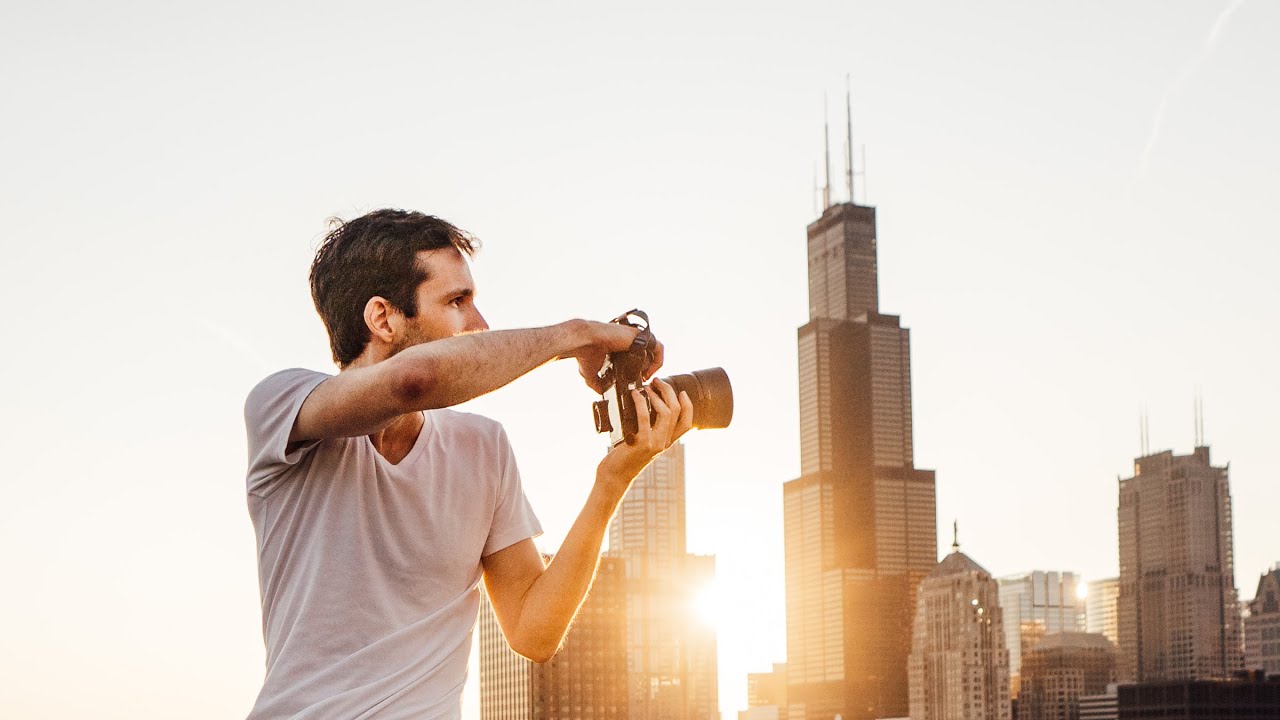
One question shows up in every photography forum, every beginner Facebook group, every comment section I’ve ever been in: “Which lens should I buy first?” I’ve answered it so many times I basically have a copy-paste response saved. But the honest answer isn’t a product recommendation. It’s a process. And watching Pierre T. Lambert work through exactly this question on a Chicago rooftop shoot helped me articulate that process better than I ever had before.
Watch the full tutorial on YouTube
In this Pierre T. Lambert tutorial, he doesn’t sit at a desk and debate spec sheets. He shows up to an unfamiliar location with a 35mm, a 20mm, and access to an 85mm, and he figures it out in real time. That’s the part most gear content skips. The “best” focal length isn’t a number. It’s whatever matches the way your brain sees a scene before the camera comes up. What follows is a breakdown of how he approaches that decision, and how I’d apply it on a budget.
Step 1: Pose the Focal Length Question Before You Touch Your Camera
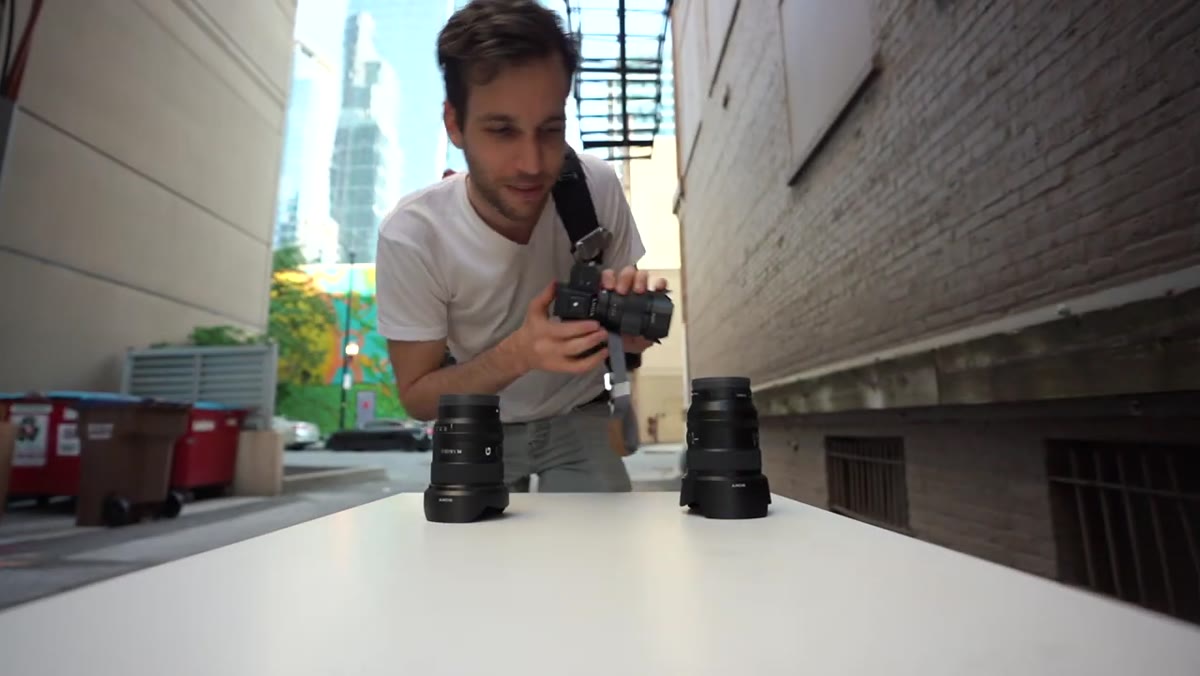 Pierre asking viewers to choose between three focal lengths
Before Lambert even gets to the rooftop, he frames the central decision out loud: 35mm f/1.8, 20mm f/1.8, or 24mm f/1.4. He’s not just picking a lens for the shoot. He’s training himself to think in focal lengths as a deliberate choice rather than a default. If you only own one lens, you never develop this muscle. The point of owning two or three options isn’t to carry them all. It’s to understand why you’d reach for one over another, so eventually you can commit to the right one for your style.
Pierre asking viewers to choose between three focal lengths
Before Lambert even gets to the rooftop, he frames the central decision out loud: 35mm f/1.8, 20mm f/1.8, or 24mm f/1.4. He’s not just picking a lens for the shoot. He’s training himself to think in focal lengths as a deliberate choice rather than a default. If you only own one lens, you never develop this muscle. The point of owning two or three options isn’t to carry them all. It’s to understand why you’d reach for one over another, so eventually you can commit to the right one for your style.
Before your next shoot, ask yourself the same question. What compression do you want? How close do you expect to be to your subjects? Do you want the environment in the frame or are you isolating your subject? Write the answer down before you leave the house.
Step 2: Scout the Location Without Shooting It
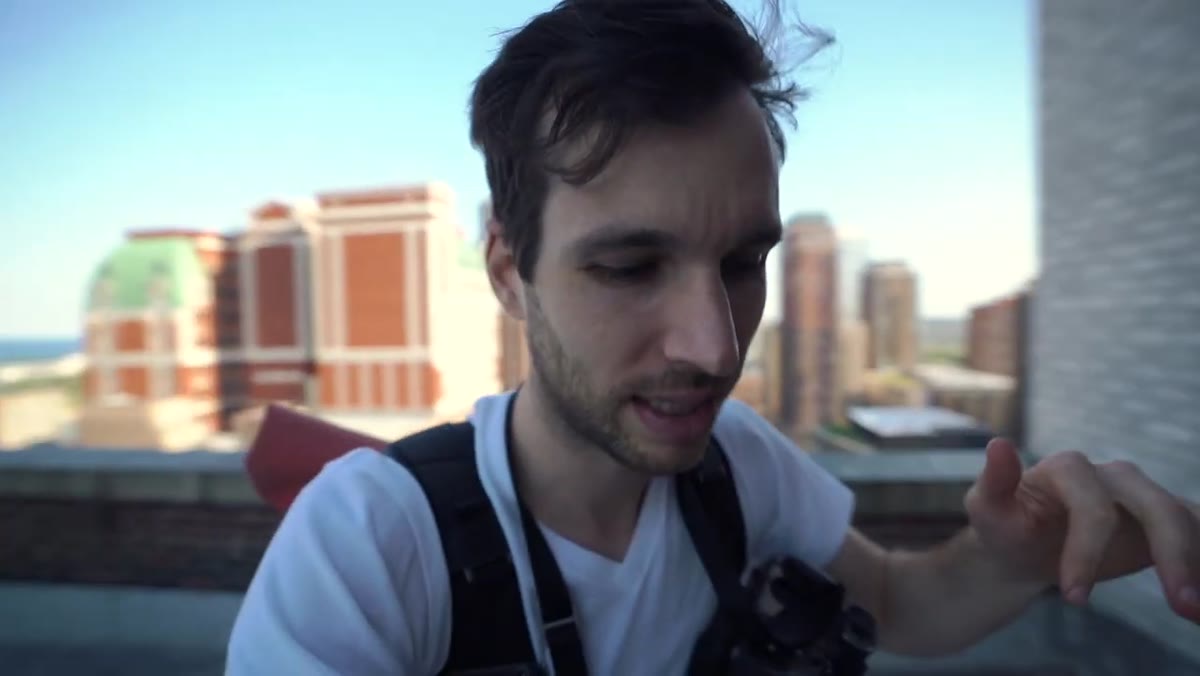 Pierre exploring the rooftop before starting to shoot
Lambert arrives at a rooftop he’s never visited and deliberately walks it before raising a camera. He’s looking at sight lines, available light direction, structural geometry like ladders and beams, and how far away subjects will naturally stand from him. This isn’t wasted time. This is how you decide which lens to mount first.
Pierre exploring the rooftop before starting to shoot
Lambert arrives at a rooftop he’s never visited and deliberately walks it before raising a camera. He’s looking at sight lines, available light direction, structural geometry like ladders and beams, and how far away subjects will naturally stand from him. This isn’t wasted time. This is how you decide which lens to mount first.
On a budget, this matters even more. If you’re shooting with one prime and you haven’t scouted, you’ll spend the whole session wishing you had something wider or longer. Two minutes of walking the space means you show up to your first frame with intention. Lambert even starts visualizing specific compositions during the scout, using a ladder and the building’s geometry as framing elements before a model is even in position.
Step 3: Start with Your Most Versatile Focal Length, Then Identify Its Limits
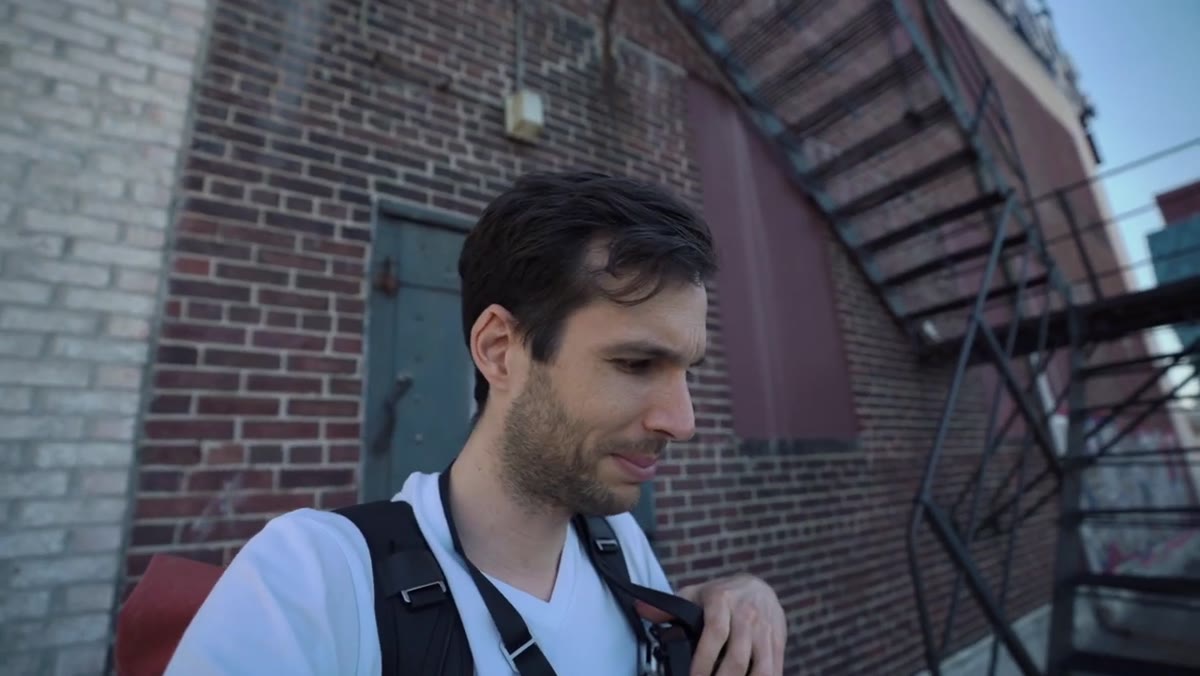 Pierre noting he has the 35mm mounted as his starting lens
Lambert’s default starting point is the 35mm. It’s wide enough to include environmental context, tight enough to isolate a subject with a fast aperture. He shoots the early rooftop frames at 35mm and notes what it gives him. The key move here is that he doesn’t just shoot and move on. He evaluates: what does this framing include that I don’t need, and what’s it missing that I want?
Pierre noting he has the 35mm mounted as his starting lens
Lambert’s default starting point is the 35mm. It’s wide enough to include environmental context, tight enough to isolate a subject with a fast aperture. He shoots the early rooftop frames at 35mm and notes what it gives him. The key move here is that he doesn’t just shoot and move on. He evaluates: what does this framing include that I don’t need, and what’s it missing that I want?
This is the practical test for finding your own “one lens.” Shoot a full session at 35mm. Then look at every frame you wished had more compression, more reach, more breathing room. That pattern tells you whether you’re a 35mm shooter, a 24mm shooter, or someone who actually needs that 85mm more than they want to admit. I’ve run this test with cheap kit lenses just to map out where my instincts land before spending money on a prime.
Step 4: Switch Focal Lengths When the Subject Distance Changes
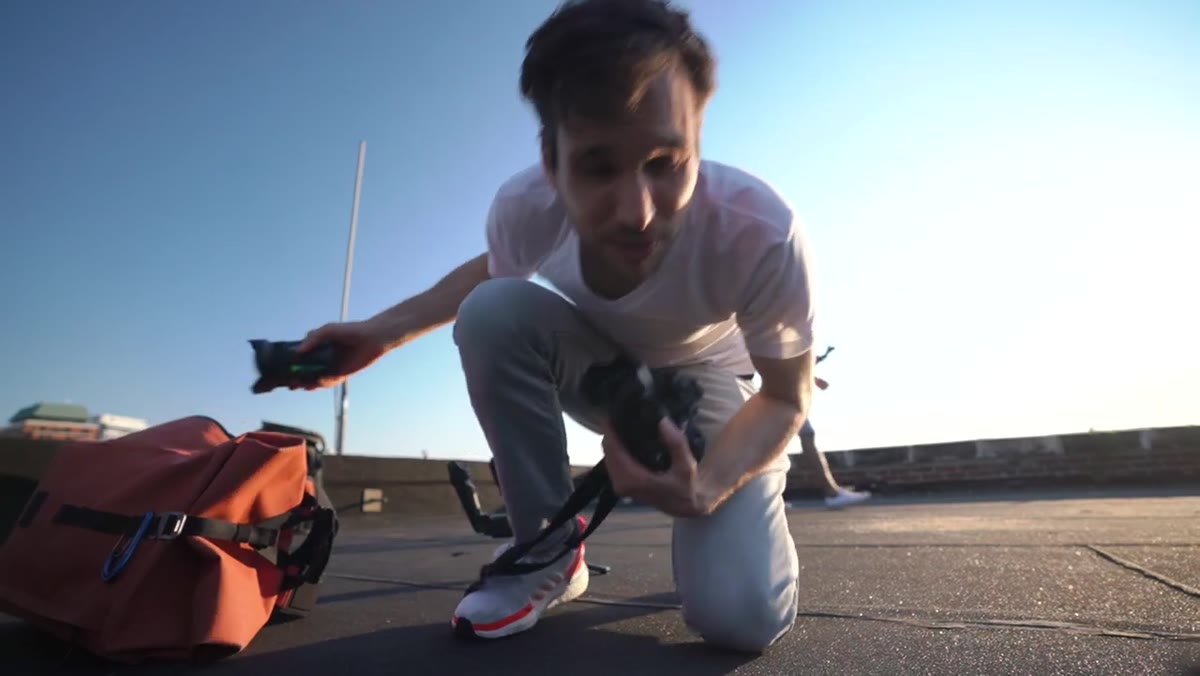 Pierre swapping to the 85mm for portrait work on the rooftop
Once a subject is in place and the light is doing something interesting, Lambert swaps to the 85mm. His reasoning is direct: he wants to capture what’s happening in the background and compress the layers of the scene, which the 35mm won’t do at that distance. This is the moment the tutorial gets most practical. The lens change isn’t about preference. It’s a response to a specific visual problem.
Pierre swapping to the 85mm for portrait work on the rooftop
Once a subject is in place and the light is doing something interesting, Lambert swaps to the 85mm. His reasoning is direct: he wants to capture what’s happening in the background and compress the layers of the scene, which the 35mm won’t do at that distance. This is the moment the tutorial gets most practical. The lens change isn’t about preference. It’s a response to a specific visual problem.
When you’re shooting lifestyle or portrait work, train yourself to notice when your current focal length is fighting the scene. If you’re physically backing up to fit a subject in frame and losing the background, you need more reach. If you’re cramming yourself against a wall to get enough context around them, you need to go wider. The lens swap is a tool, not a trophy.
Step 5: Layer Filters to Control Your Creative Look
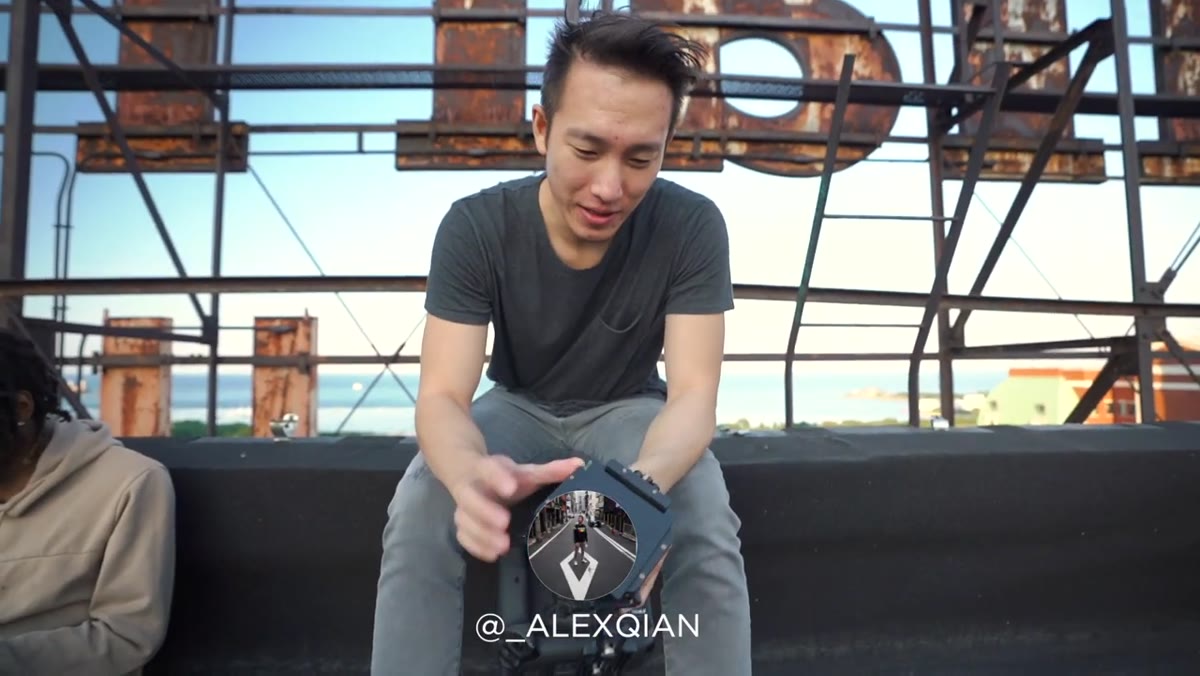 Alex showing stacked ND and pro-mist filters on his lens
Lambert’s collaborator on the shoot reveals a stacked filter setup that’s worth understanding. The combination is an ND polarizing filter to maintain wide-aperture exposure in bright light, stacked with a pro-mist filter to soften highlights and give the footage a diffused, almost analog quality. This isn’t just a video trick. The pro-mist filter applies equally to stills and can dramatically change the mood of a portrait without touching your editing.
Alex showing stacked ND and pro-mist filters on his lens
Lambert’s collaborator on the shoot reveals a stacked filter setup that’s worth understanding. The combination is an ND polarizing filter to maintain wide-aperture exposure in bright light, stacked with a pro-mist filter to soften highlights and give the footage a diffused, almost analog quality. This isn’t just a video trick. The pro-mist filter applies equally to stills and can dramatically change the mood of a portrait without touching your editing.
Budget alternative: you don’t need name-brand versions of either of these. I’ve tested off-brand variable ND filters under $40 that perform well enough for stills, and pro-mist style diffusion filters show up on Amazon for under $20. The optical difference at portrait distances with a fast prime is negligible unless you’re pixel-peeping at 100%. The technique matters more than the brand.
What I’d Add: Test the Focal Length Before You Buy It
I keep a running spreadsheet of every budget prime I’ve tested, and the single most useful column in it is “focal length feel.” Some shooters just don’t see in 35mm. They frame naturally at 50mm without realizing it, or they always want more compression than a wide prime gives them. The focal length question Lambert poses at the start of the video is genuinely the right question, and the answer is personal.
If you’re not sure where you land, rent before you buy. LensRentals and ShareGrid both carry the lenses Lambert discusses for weekend rates that cost less than a bad impulse purchase. Shoot one full session with a rented 20mm. Then rent the 35mm. Compare how often you cropped in post to “fix” the framing. That number tells you more than any spec comparison I could write.
The single most important thing this tutorial reinforces is that focal length selection is a creative decision made before the shoot, not a technical one made in post. Pick based on how you see, not based on what review sites say is “best.” Lambert working through this live, on an unfamiliar rooftop, with real light and real subjects, makes that point more clearly than any lab test could.
Watch the full tutorial on YouTube
Comments (1)
Just subscribed. If the rest of your content is this good, I'm in.
Leave a Comment