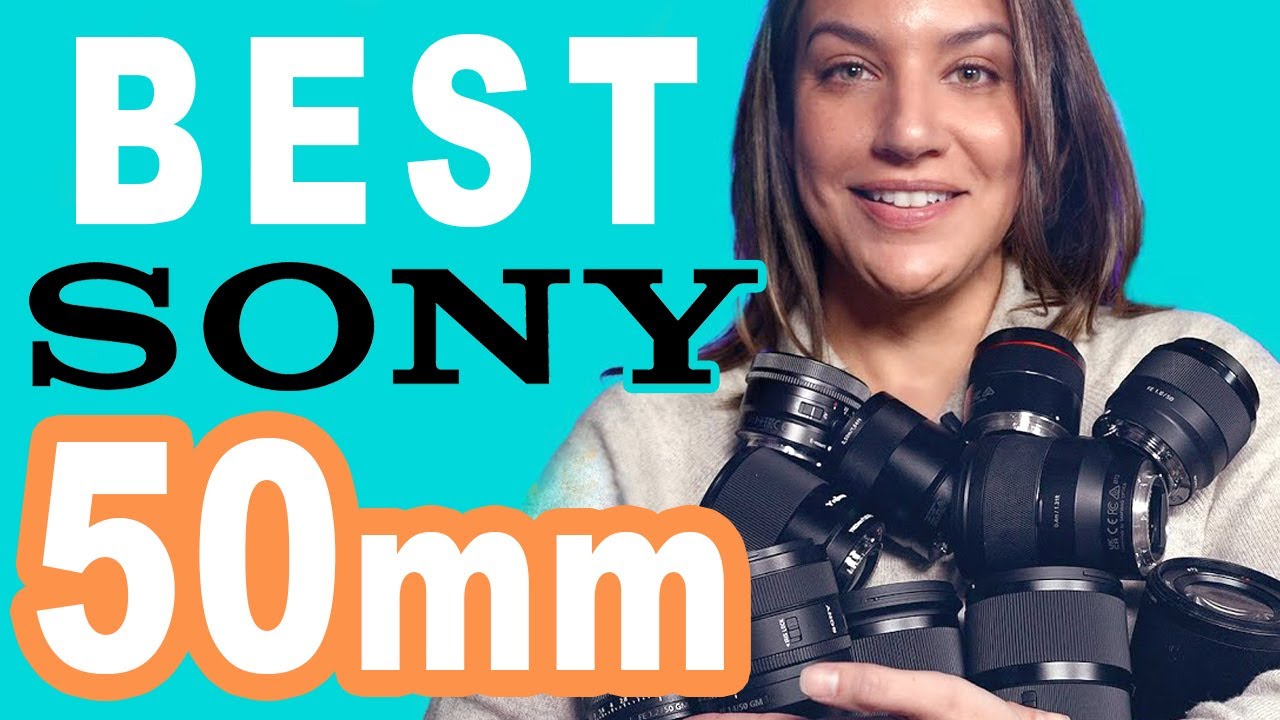
If you’re still shooting on the kit lens that came with your camera, I get it. That’s exactly where I started. But the single upgrade that changed how my images looked wasn’t a new camera body or a fancy flash. It was a fast 50mm prime. The subject separation alone, pulling your subject out of a cluttered background with a wide aperture, makes your photos look intentional rather than accidental. And in low light, a fast 50mm is the difference between a clean, usable shot and something grainy and soft that you’d never post.
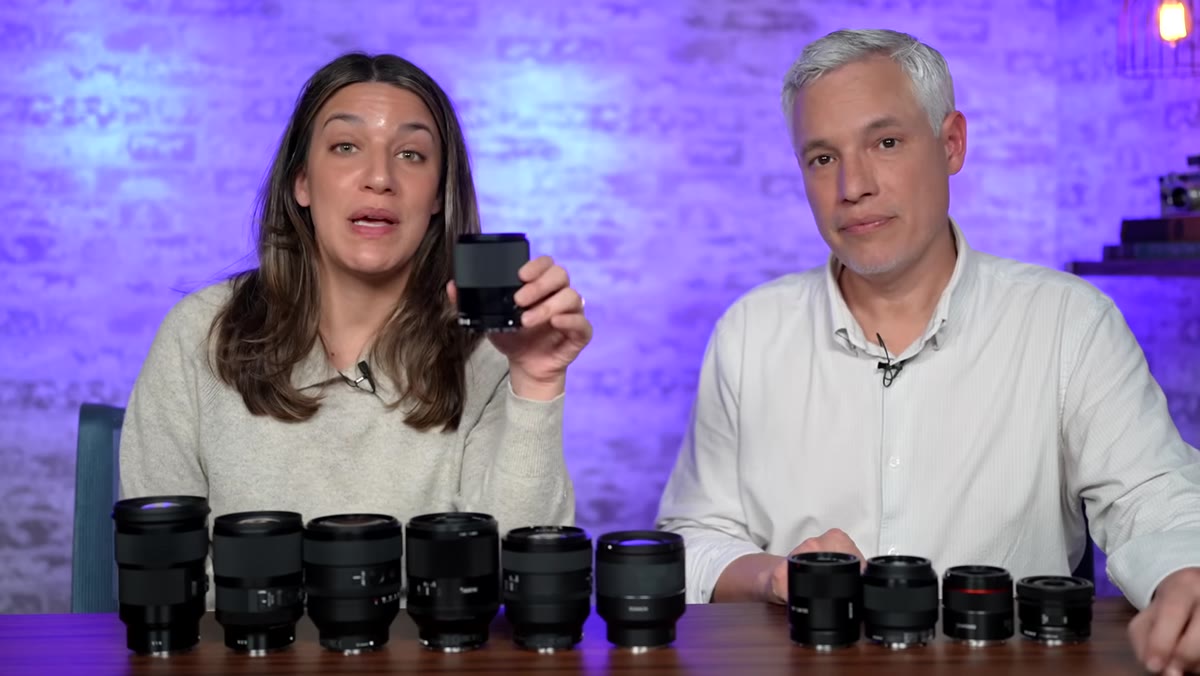
The problem is that Sony shooters have an overwhelming number of options. Eleven autofocus 50mm lenses exist for the E-mount system right now, ranging from around $200 to $2,000. I’ve been comparing budget glass for years and even I found this category harder to navigate than most. Then I came across a breakdown from Tony and Chelsea Northrup that did something I hadn’t seen before: a rigorous, scored, side-by-side test of all eleven lenses across more than ten categories. Watch the full tutorial on YouTube. What follows is my breakdown of how they ran that test and what the results actually mean if you’re trying to spend your money wisely.
Step 1: Understand Why 50mm is the Right First Prime
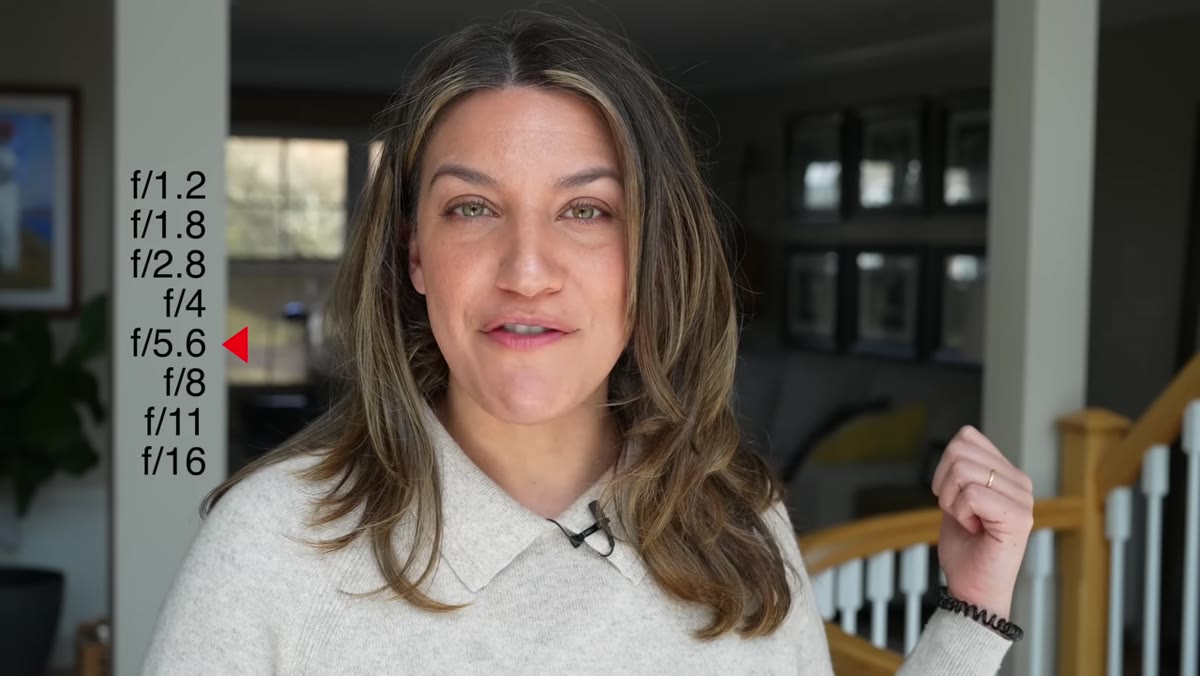 Tony explaining subject separation while filming at f/5.6
Before getting into the rankings, Tony and Chelsea establish the case for the focal length itself. Shooting wide open on a fast 50mm lets you blur the background in a way the kit lens simply cannot, even on a full-frame body. They demonstrate this by filming in a realistic low-light environment and showing the noise difference between a kit lens shot and a fast prime shot at a wider aperture. The practical lesson here is that you’re not just buying sharpness when you buy a 50mm prime. You’re buying cleaner files in darker rooms and more control over how much of your scene stays in focus.
Tony explaining subject separation while filming at f/5.6
Before getting into the rankings, Tony and Chelsea establish the case for the focal length itself. Shooting wide open on a fast 50mm lets you blur the background in a way the kit lens simply cannot, even on a full-frame body. They demonstrate this by filming in a realistic low-light environment and showing the noise difference between a kit lens shot and a fast prime shot at a wider aperture. The practical lesson here is that you’re not just buying sharpness when you buy a 50mm prime. You’re buying cleaner files in darker rooms and more control over how much of your scene stays in focus.
Step 2: Know the Testing Criteria Before Trusting Any Ranking
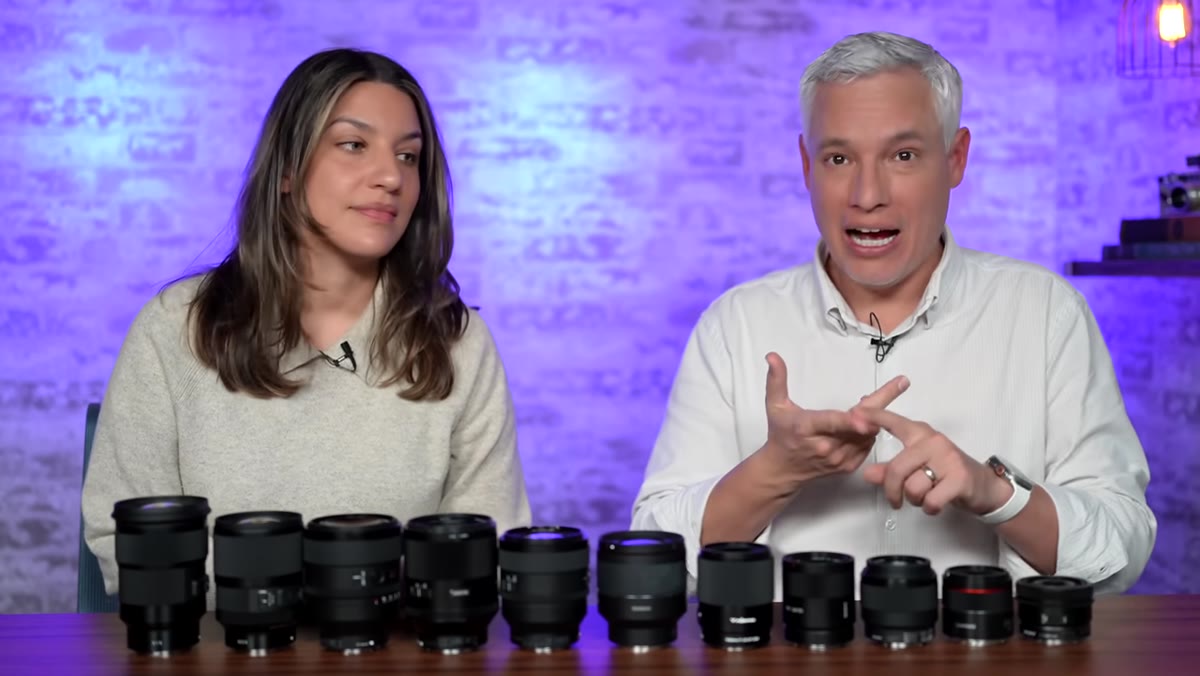 List of test categories shown on screen including sharpness, bokeh, AF tracking
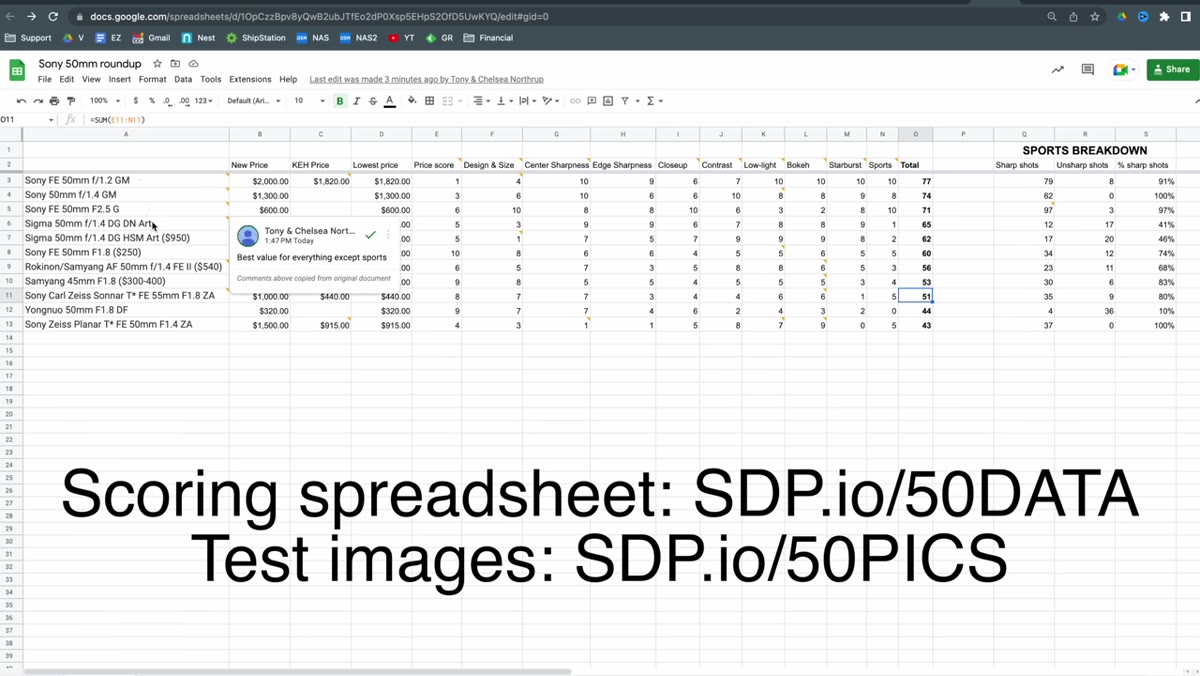
Tony and Chelsea scored every lens from zero to one hundred by running it through more than ten individual tests. The categories included center sharpness, edge sharpness, close-up performance, bokeh quality, starburst rendering, contrast in backlit conditions, and autofocus tracking for moving subjects. That last one matters more than people expect from a 50mm lens, since it doubles as a popular focal length for sports and event shooting. Before you take any lens ranking seriously, including this one, make sure you know what was actually measured. A lens that tops a sharpness chart might fall apart on AF tracking, and vice versa. Their full scoring spreadsheet is linked in the video description, and it includes downloadable sample files so you can judge the images yourself.
List of test categories shown on screen including sharpness, bokeh, AF tracking
Tony and Chelsea scored every lens from zero to one hundred by running it through more than ten individual tests. The categories included center sharpness, edge sharpness, close-up performance, bokeh quality, starburst rendering, contrast in backlit conditions, and autofocus tracking for moving subjects. That last one matters more than people expect from a 50mm lens, since it doubles as a popular focal length for sports and event shooting. Before you take any lens ranking seriously, including this one, make sure you know what was actually measured. A lens that tops a sharpness chart might fall apart on AF tracking, and vice versa. Their full scoring spreadsheet is linked in the video description, and it includes downloadable sample files so you can judge the images yourself.
Step 3: Learn Why Eleventh Place is Still Worth Knowing About
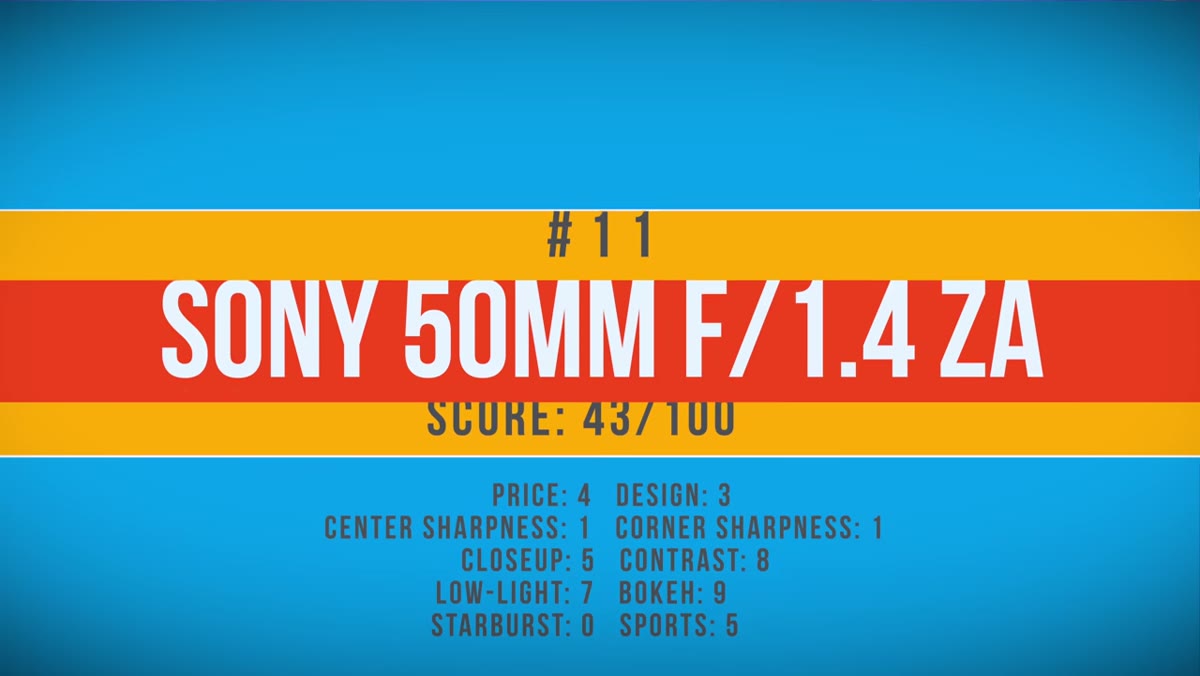 Sony 50mm f/1.4 Zeiss lens shown on camera body
Last place in their test went to the Sony 50mm f/1.4 Zeiss, which is the older lens in the lineup. The sharpness scores were surprisingly bad, worse than lenses costing a fraction of the price. Tony notes that their copy came from a reputable source and was checked before shipping, but quality control on this lens was historically inconsistent, meaning some copies might be fine and others aren’t. The broader lesson here is that age and brand prestige don’t equal performance. This lens once carried a premium reputation, but the competition has moved on. The one caveat worth holding onto: used copies have dropped to roughly $900, and if you buy through a seller with a return window, you have time to test whether your specific copy is one of the sharp ones.
Sony 50mm f/1.4 Zeiss lens shown on camera body
Last place in their test went to the Sony 50mm f/1.4 Zeiss, which is the older lens in the lineup. The sharpness scores were surprisingly bad, worse than lenses costing a fraction of the price. Tony notes that their copy came from a reputable source and was checked before shipping, but quality control on this lens was historically inconsistent, meaning some copies might be fine and others aren’t. The broader lesson here is that age and brand prestige don’t equal performance. This lens once carried a premium reputation, but the competition has moved on. The one caveat worth holding onto: used copies have dropped to roughly $900, and if you buy through a seller with a return window, you have time to test whether your specific copy is one of the sharp ones.
Step 4: Recognize What Budget Options Actually Get Wrong
 Yongnuo 50mm f/1.8 lens displayed next to camera
Tenth place went to the Yongnuo 50mm f/1.8 at around $320, which looks the part. It has a solid focusing ring, programmable buttons, and a clean design. But the test results exposed real weaknesses. Center sharpness is acceptable, but the corners fall apart. Shoot into a backlit scene and you lose contrast fast. The bokeh balls render smaller than you’d expect from an f/1.8 lens, which is a subtle but consistent sign that the optical design is cutting corners. The starburst rendering is soft rather than crisp. And in autofocus tracking tests, where the top-performing lens in the group hit 97 sharp shots, the Yongnuo landed at four. Four. That number tells you everything about where this lens belongs in your bag, which is not at any shoot where your subject is moving.
Yongnuo 50mm f/1.8 lens displayed next to camera
Tenth place went to the Yongnuo 50mm f/1.8 at around $320, which looks the part. It has a solid focusing ring, programmable buttons, and a clean design. But the test results exposed real weaknesses. Center sharpness is acceptable, but the corners fall apart. Shoot into a backlit scene and you lose contrast fast. The bokeh balls render smaller than you’d expect from an f/1.8 lens, which is a subtle but consistent sign that the optical design is cutting corners. The starburst rendering is soft rather than crisp. And in autofocus tracking tests, where the top-performing lens in the group hit 97 sharp shots, the Yongnuo landed at four. Four. That number tells you everything about where this lens belongs in your bag, which is not at any shoot where your subject is moving.
Step 5: Use the Ranked Structure to Match a Lens to Your Actual Shooting
 Ranked list framework introduced showing lenses to be covered worst to best
The format Tony and Chelsea use, ranking from worst to best across the full field, is more useful than a top-three list because it shows you the tradeoffs at every price point. As you work through the rankings, pay attention to which categories each lens wins and loses. A lens that ranks seventh overall but scores near the top on bokeh quality might be exactly right if you shoot portraits. A lens that ranks fourth overall but has weak AF tracking is probably not the one to bring to your kid’s soccer game. The ranked structure forces you to ask what you actually shoot before you decide what to buy, which is the right order to make that decision.
Ranked list framework introduced showing lenses to be covered worst to best
The format Tony and Chelsea use, ranking from worst to best across the full field, is more useful than a top-three list because it shows you the tradeoffs at every price point. As you work through the rankings, pay attention to which categories each lens wins and loses. A lens that ranks seventh overall but scores near the top on bokeh quality might be exactly right if you shoot portraits. A lens that ranks fourth overall but has weak AF tracking is probably not the one to bring to your kid’s soccer game. The ranked structure forces you to ask what you actually shoot before you decide what to buy, which is the right order to make that decision.
My Take: The Used Market Changes This Math Significantly
I’ve been buying and testing used glass since before it was cool to admit it. The gap between a lens’s new price and its used price often tells you more about its value than any review score. Several of the lenses in this comparison, including ones that ranked poorly, show up on used marketplaces at discounts steep enough to change the conversation. A lens that scores sixth out of eleven but costs 40 percent less used than the fifth-place finisher might be the smarter buy depending on your budget. I run a spreadsheet on every lens category I cover, and the used-to-new price ratio is one of the first columns I fill in. Tony and Chelsea mention KEH specifically for this reason. I’d add that checking multiple used sources before buying is worth the extra ten minutes. Prices move, and a lens that was overpriced last month might be a deal today.
The single most useful thing this comparison does is prove that price and performance don’t move in a straight line in the 50mm category. Two hundred dollars can beat five times that amount in specific tests, and knowing which tests matter for your work is how you stop paying for specs you don’t use. If you’re choosing your first prime or upgrading from a lens that’s let you down, spend an hour with this breakdown before you buy anything.
Watch the full tutorial on YouTube to see the full ranked results, the side-by-side sample images, and links to the scoring spreadsheet.
Comments (4)
Been doing this wrong for years apparently. Thanks for the wake-up call.
Solid advice. Especially the part about taking your time with it.
Shared this with my photography group. Everyone loved it.
Bookmarked. Coming back to this one for sure.
Leave a Comment