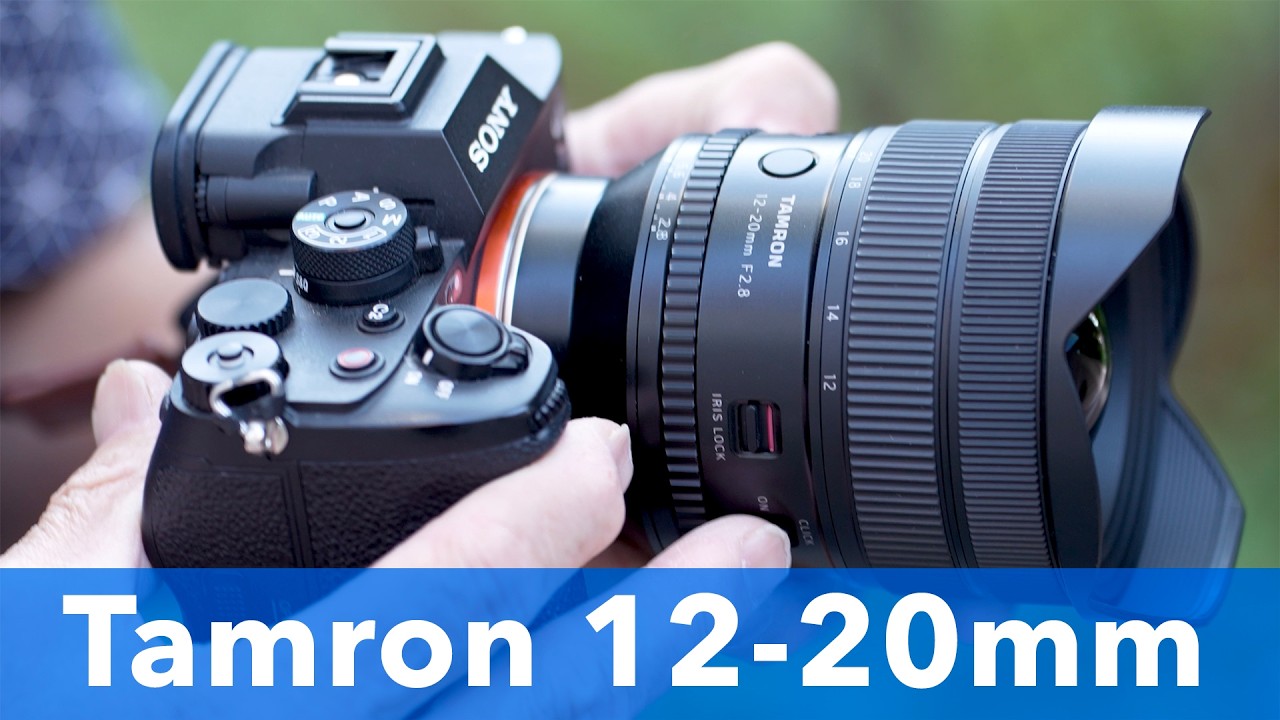
Every time I start pricing out ultra-wide lenses for a landscape or astro shoot, I end up closing seventeen browser tabs in frustration. The options under $1,000 are either optically soft, plasticky, or so stripped of controls that you’re basically buying a fixed aperture kit lens with a fancy name. The options over $1,000 are great, obviously, but spending that kind of money on a specialty focal length that lives in your bag for maybe 20% of your shoots is a hard sell when you’re trying to run a lean kit.
So when I came across The Slanted Lens’s recent walkthrough of the Tamron 12-20mm f/2.8, I watched the whole thing before my coffee finished brewing. This is exactly the kind of lens that shows up in my spreadsheet as a question mark: priced like a budget option, spec’d like a pro tool. Jay P. Morgan digs into every physical control, tests it in the field, and pulls actual images to back up the claims. Here’s what I took away, broken down step by step so you can decide whether this one belongs in your bag.
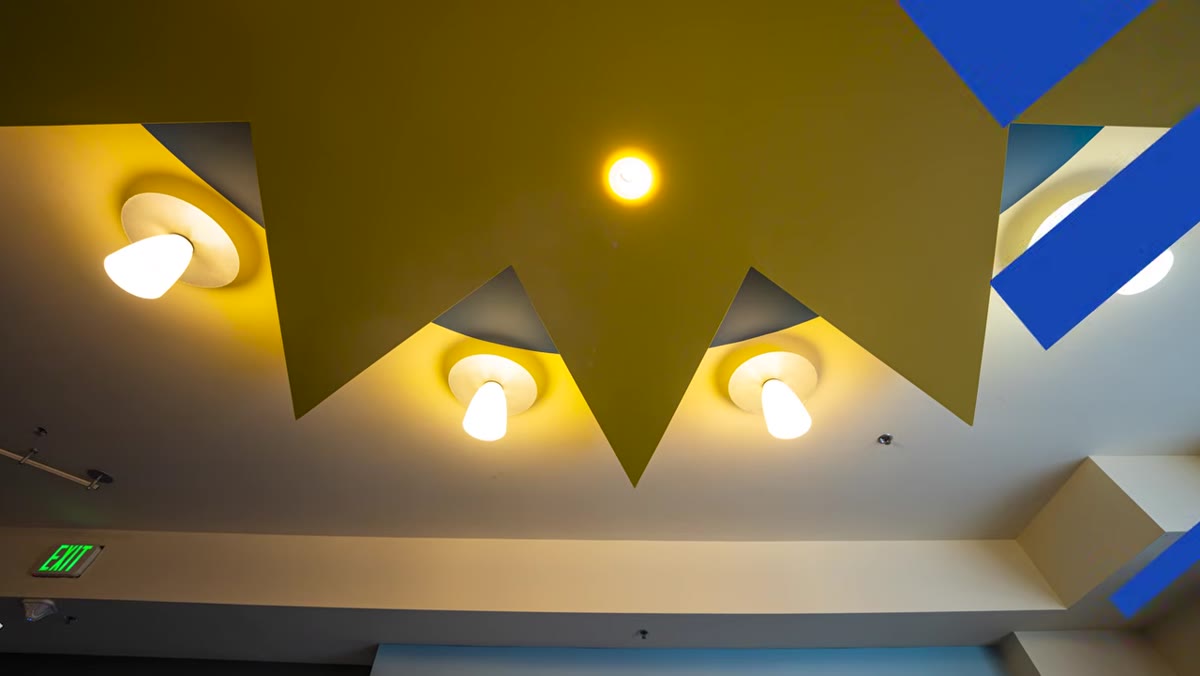
Watch the full tutorial on YouTube
Step 1: Orient Yourself to the Physical Controls
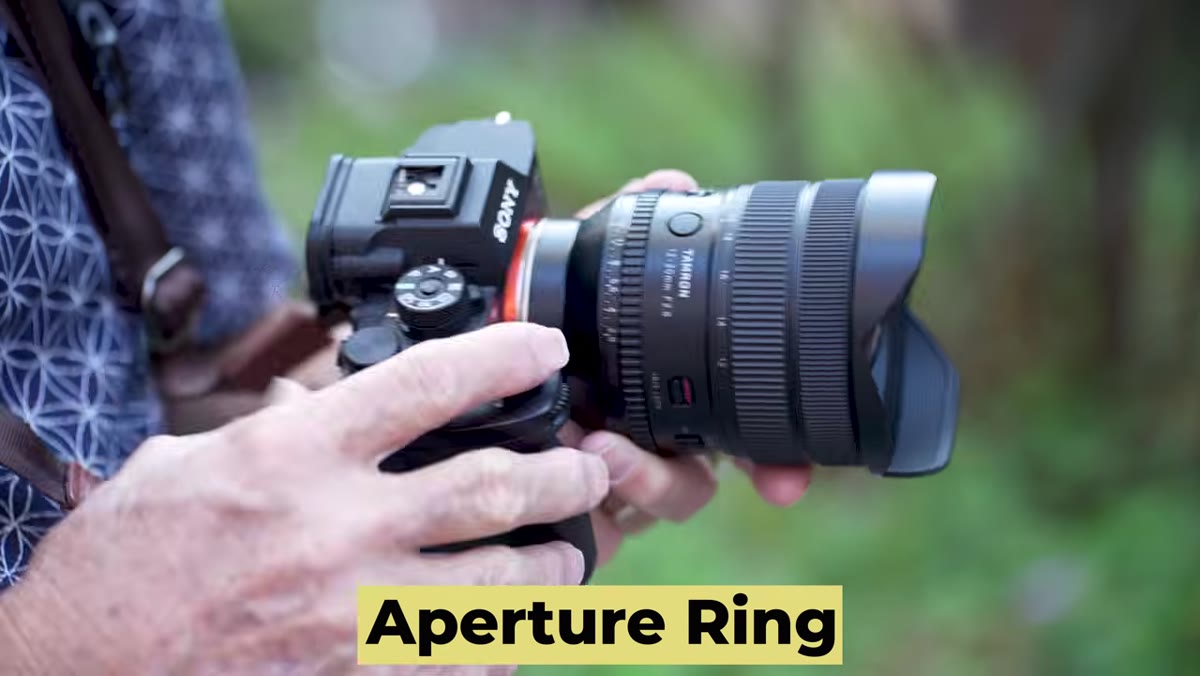
 Hands rotating the aperture ring on the Tamron 12-20mm
The first thing that jumps out in the tutorial is how many physical controls this lens actually has. Tamron’s recent lineup has leaned into minimalism, with some lenses having zero buttons and relying entirely on in-camera menus. This one goes the opposite direction. You get an aperture ring, a zoom lock, a manual focus lock, and two customizable function buttons, all sitting on the barrel where you can reach them without digging through settings.
Hands rotating the aperture ring on the Tamron 12-20mm
The first thing that jumps out in the tutorial is how many physical controls this lens actually has. Tamron’s recent lineup has leaned into minimalism, with some lenses having zero buttons and relying entirely on in-camera menus. This one goes the opposite direction. You get an aperture ring, a zoom lock, a manual focus lock, and two customizable function buttons, all sitting on the barrel where you can reach them without digging through settings.
Before you shoot with this lens, take sixty seconds to look at every switch and confirm its position. The reviewer makes this point from personal experience: he once spent a session wondering why autofocus wasn’t working, only to realize the manual focus lock had been bumped on. With this many controls, a quick pre-shoot check is non-negotiable.
Step 2: Understand the Aperture Ring and When to De-Click It
 Aperture ring turned to “A” position on lens barrel
The aperture ring runs from its widest setting all the way to an “A” position, which hands control back to the camera body. There’s a physical lock that prevents you from accidentally slipping into that auto mode mid-shoot, which is a small detail that matters more than it sounds when you’re spinning the ring quickly in low light.
Aperture ring turned to “A” position on lens barrel
The aperture ring runs from its widest setting all the way to an “A” position, which hands control back to the camera body. There’s a physical lock that prevents you from accidentally slipping into that auto mode mid-shoot, which is a small detail that matters more than it sounds when you’re spinning the ring quickly in low light.
The more interesting feature is the de-click option. If you’re shooting video and need to smoothly ramp exposure as you move from a dim interior to a bright exterior, de-clicking the aperture ring makes that transition seamless and silent. For still photographers, keeping the clicks engaged gives you tactile feedback on your current aperture without pulling the camera away from your eye. Know which mode serves your work before you head out.
Step 3: Use the Zoom Lock for Astrophotography and Gimbal Work
 Zoom lock switch shown at 12mm and 20mm positions
The zoom lock on this lens is limited to the two endpoints: 12mm and 20mm. It won’t freeze the focal length at 15mm or 17mm, which might feel limiting at first. But think about the actual use cases. If you’re mounting this on a gimbal for video, you want it locked at one end so the barrel doesn’t creep. If you’re doing a long-exposure astro shoot and you’ve framed the Milky Way at 12mm, you absolutely do not want that zoom drifting while the shutter is open for 20 seconds.
Zoom lock switch shown at 12mm and 20mm positions
The zoom lock on this lens is limited to the two endpoints: 12mm and 20mm. It won’t freeze the focal length at 15mm or 17mm, which might feel limiting at first. But think about the actual use cases. If you’re mounting this on a gimbal for video, you want it locked at one end so the barrel doesn’t creep. If you’re doing a long-exposure astro shoot and you’ve framed the Milky Way at 12mm, you absolutely do not want that zoom drifting while the shutter is open for 20 seconds.
For run-and-gun work where you’re constantly adjusting focal length, the lock stays off. But for deliberate, tripod-based shooting, knowing you can physically lock the zoom at your chosen end and forget about it is a genuine quality-of-life feature.
Step 4: Set the Manual Focus Lock Before Any Long-Exposure Shoot
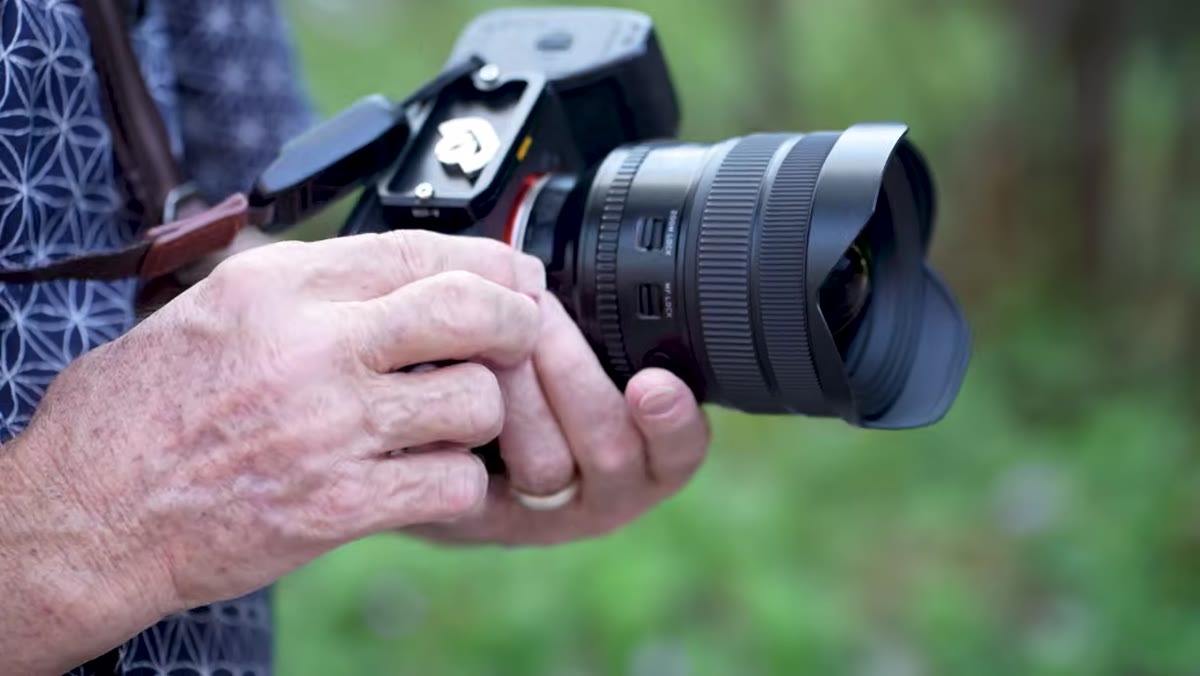
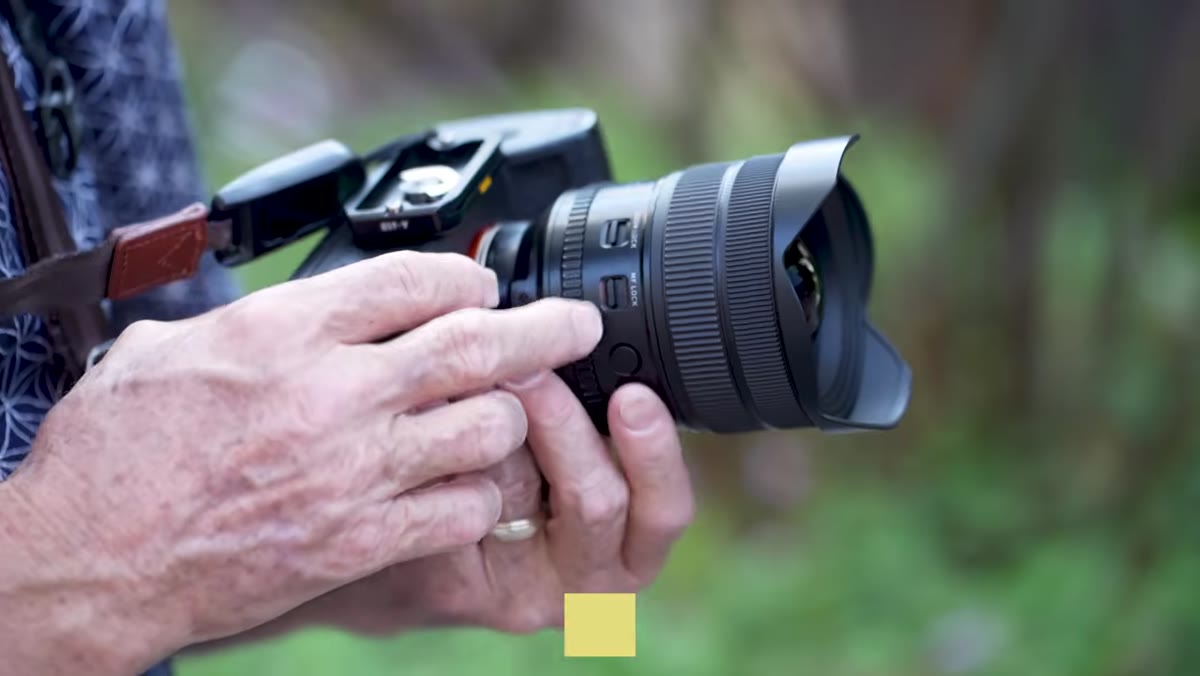 Manual focus lock switch highlighted on lens barrel
This is the control I’d use most. For astrophotography, nailing infinity focus is a ritual that usually involves live view magnification, trial-and-error exposures, and either a Sharpie mark on the barrel or a piece of gaffer tape. Once you find that sharp infinity point, the manual focus lock lets you freeze it there, physically, so no accidental touch or vibration can shift it.
Manual focus lock switch highlighted on lens barrel
This is the control I’d use most. For astrophotography, nailing infinity focus is a ritual that usually involves live view magnification, trial-and-error exposures, and either a Sharpie mark on the barrel or a piece of gaffer tape. Once you find that sharp infinity point, the manual focus lock lets you freeze it there, physically, so no accidental touch or vibration can shift it.
The same logic applies to any scenario where focus needs to stay constant: time-lapses, long sessions on a star tracker, or architectural work where you’ve locked in your hyperfocal distance. Set your focus, engage the lock, and stop thinking about it. That’s a real workflow improvement over drawing marks on a $700 lens.
Step 5: Customize the Function Buttons via USB-C and the Tamron App
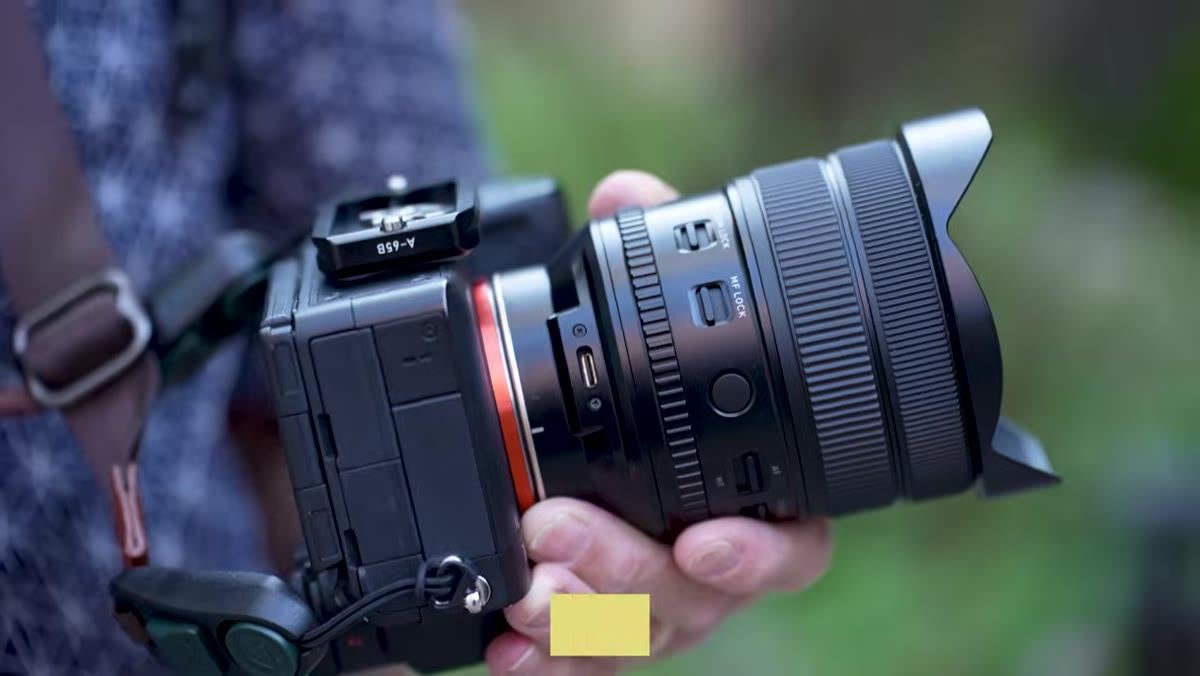 USB-C port shown on lens body
The lens has a USB-C port on the barrel, and that port connects directly to Tamron’s desktop software. The two physical function buttons on the lens can be remapped through that app to whatever you find most useful, focus hold, image stabilization toggle, or other camera-specific functions depending on your body. Tamron also offers a small wireless controller called Tamron Link that can trigger some of these functions remotely.
USB-C port shown on lens body
The lens has a USB-C port on the barrel, and that port connects directly to Tamron’s desktop software. The two physical function buttons on the lens can be remapped through that app to whatever you find most useful, focus hold, image stabilization toggle, or other camera-specific functions depending on your body. Tamron also offers a small wireless controller called Tamron Link that can trigger some of these functions remotely.
The practical takeaway here is that you should run the software setup before your first real shoot, not after. Spending ten minutes with the app at home means those buttons do exactly what you expect them to when you’re standing in a dark field at 2am or working fast on an architectural job with a client watching.
What I’d Add From My Own Testing
I haven’t had this specific lens in hand yet, but I’ve run similar high-control lenses through my own evaluation process, and the pattern I always see is this: lenses with lots of physical controls reward photographers who are deliberate and punish photographers who are in a hurry. The reviewer in the tutorial says exactly this. Every switch adds capability, but it also adds one more thing to check. My habit with any control-heavy lens is to run through all the switches in sequence before mounting it to the camera, same way a pilot runs a checklist. It takes maybe 30 seconds and it has saved me more than once.
Also worth noting: this lens is available for both Sony E-mount and Nikon Z-mount, and the pricing is competitive enough that it sits comfortably in the range where you’re not sacrificing optical quality to save money. I’ll be running it through a full comparison against my current ultra-wide options as soon as I can get one on loan.
The single biggest thing I took from this tutorial is that Tamron built a lens that gives you cine-style physical control at a price that makes sense for photographers who actually use ultra-wide glass as a working tool, not just a specialty toy. If you shoot landscapes, architecture, astrophotography, or wide group shots and you’ve been waiting for a full-frame zoom in this range that doesn’t require a second mortgage, this one deserves a serious look.
Watch the full tutorial on YouTube to see the sample images and hear the full breakdown from The Slanted Lens.
You can find the Tamron 12-20mm f/2.8 at Amazon for Sony, Amazon for Nikon, B&H for Sony, and B&H for Nikon.
Comments (1)
Finally someone explains this in a way that actually makes sense.
Leave a Comment