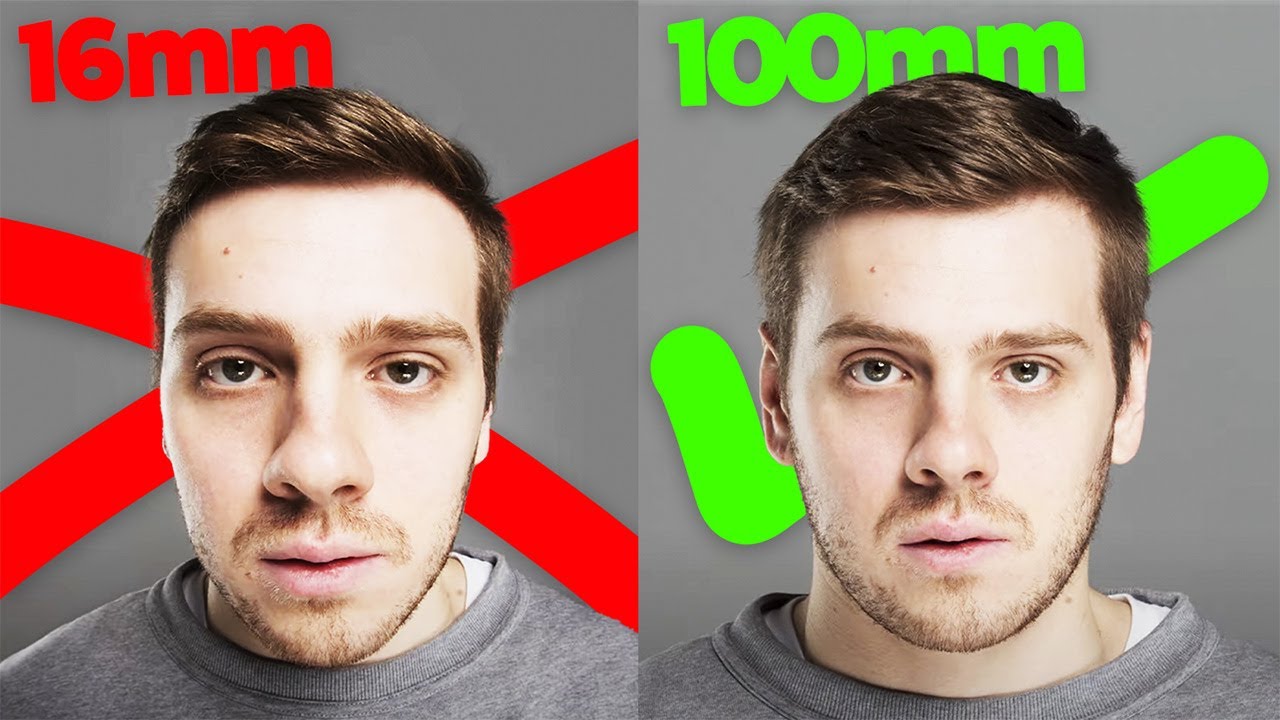
I spent a long time convinced that bad portraits were a lighting problem. I’d move the softbox, try a reflector, mess with the angle, and still get shots that felt slightly off. Faces looked a little bloated, or the background felt weirdly compressed, or the whole image just didn’t match what I was seeing with my own eyes. The real culprit, most of the time, was the lens I was standing behind and how far away I was from the subject. Focal length doesn’t just change how much of the scene you capture. It physically changes the way faces look in your frame.
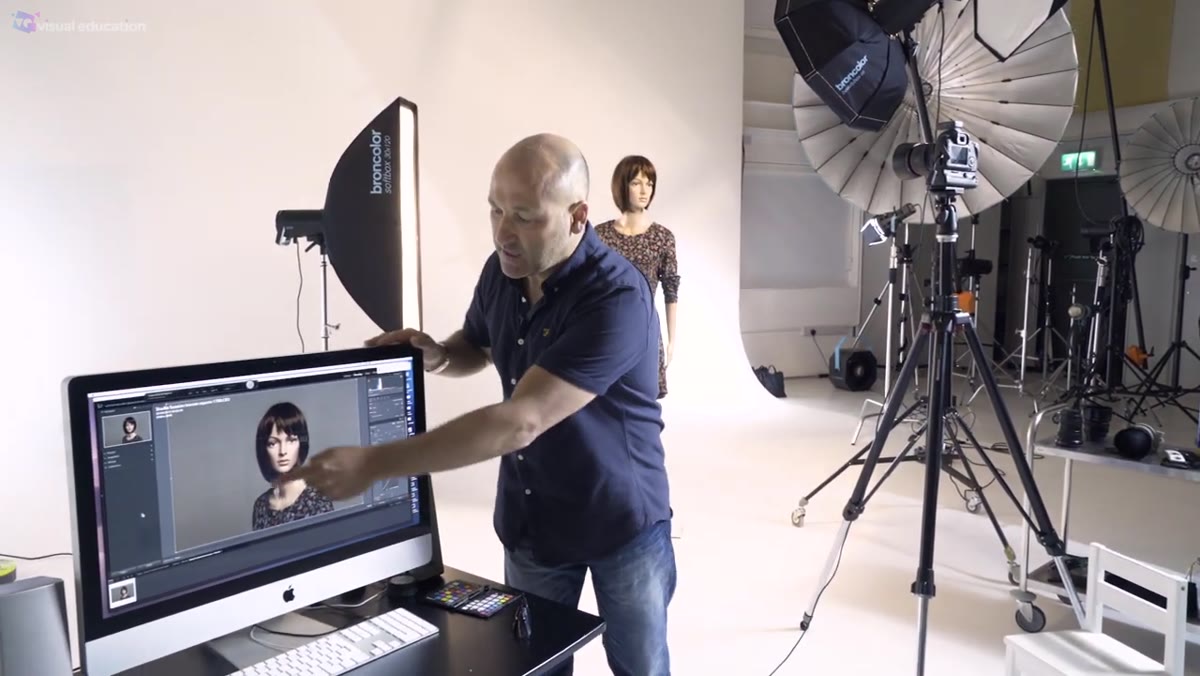
In this Visual Education tutorial on focal length and portraiture, the presenter runs a methodical comparison test using a real human subject, shooting from 16mm all the way to 200mm while keeping the subject’s head the same size in the frame for every shot. That last part is the key. By adjusting camera distance to compensate for each lens, you can see the actual distortion effect each focal length introduces, isolated from every other variable. It’s a simple test, but the results are stark and worth understanding before you buy your next lens. Watch the full tutorial on YouTube
Here’s how the test works and what it teaches you.
Step 1: Establish a Consistent Reference Point
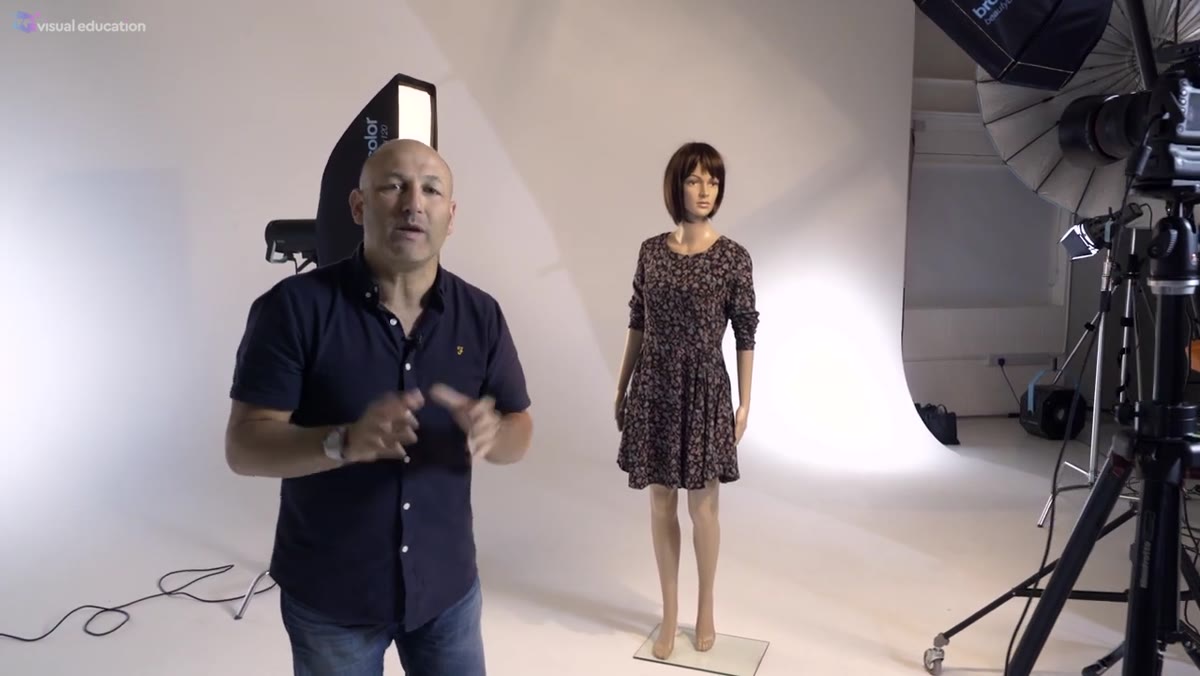 85mm portrait shot used as baseline reference
Before you can compare focal lengths meaningfully, you need a baseline. In the tutorial, that baseline is an 85mm lens on a full-frame (35mm format) camera. The presenter points out that 85mm renders a face in a way that closely matches natural human vision, which is exactly what you want from a flattering portrait. For medium format shooters, the equivalent range sits around 100-150mm. Lock in your reference shot at that focal length first. Place your subject on a fixed mark so they don’t drift between shots, and note your exact camera distance. Every other focal length in the comparison gets measured against this one.
85mm portrait shot used as baseline reference
Before you can compare focal lengths meaningfully, you need a baseline. In the tutorial, that baseline is an 85mm lens on a full-frame (35mm format) camera. The presenter points out that 85mm renders a face in a way that closely matches natural human vision, which is exactly what you want from a flattering portrait. For medium format shooters, the equivalent range sits around 100-150mm. Lock in your reference shot at that focal length first. Place your subject on a fixed mark so they don’t drift between shots, and note your exact camera distance. Every other focal length in the comparison gets measured against this one.
Step 2: Fix the Subject Position and Match Head Size Across All Shots
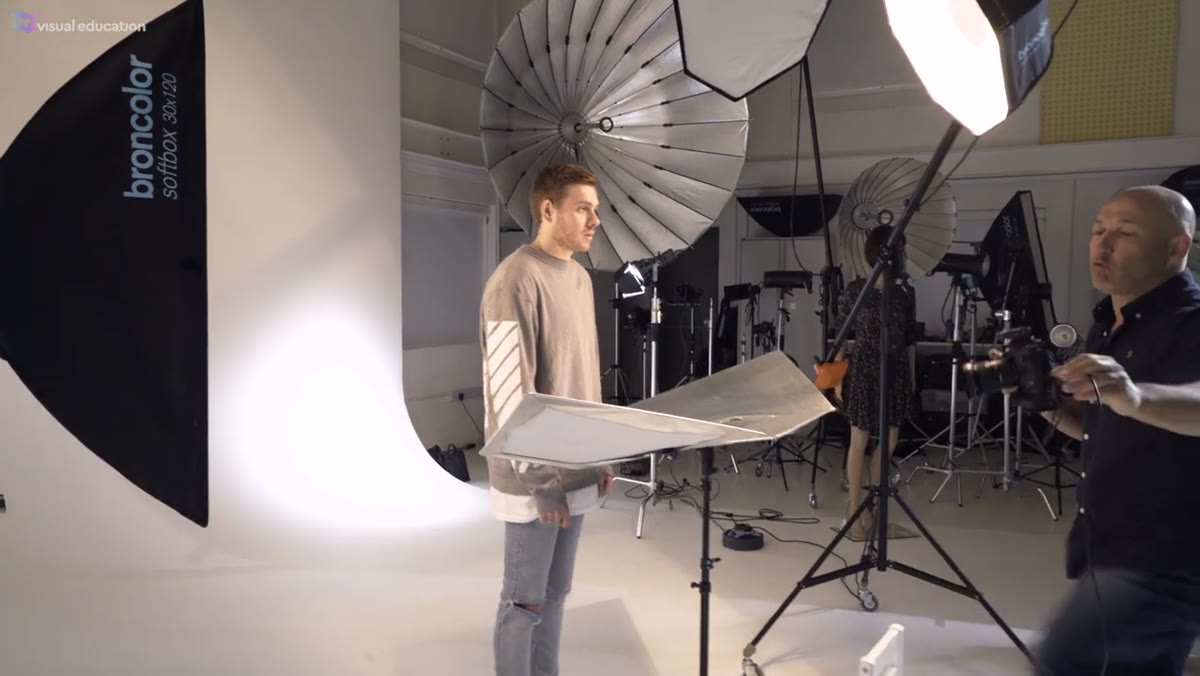
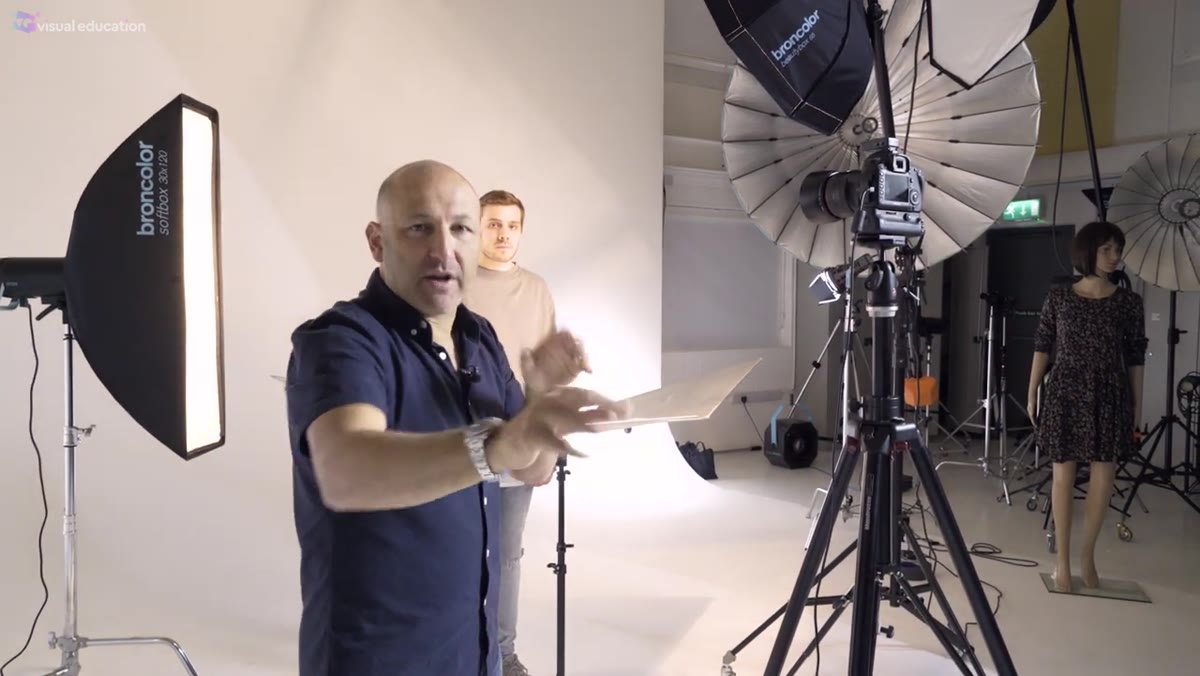
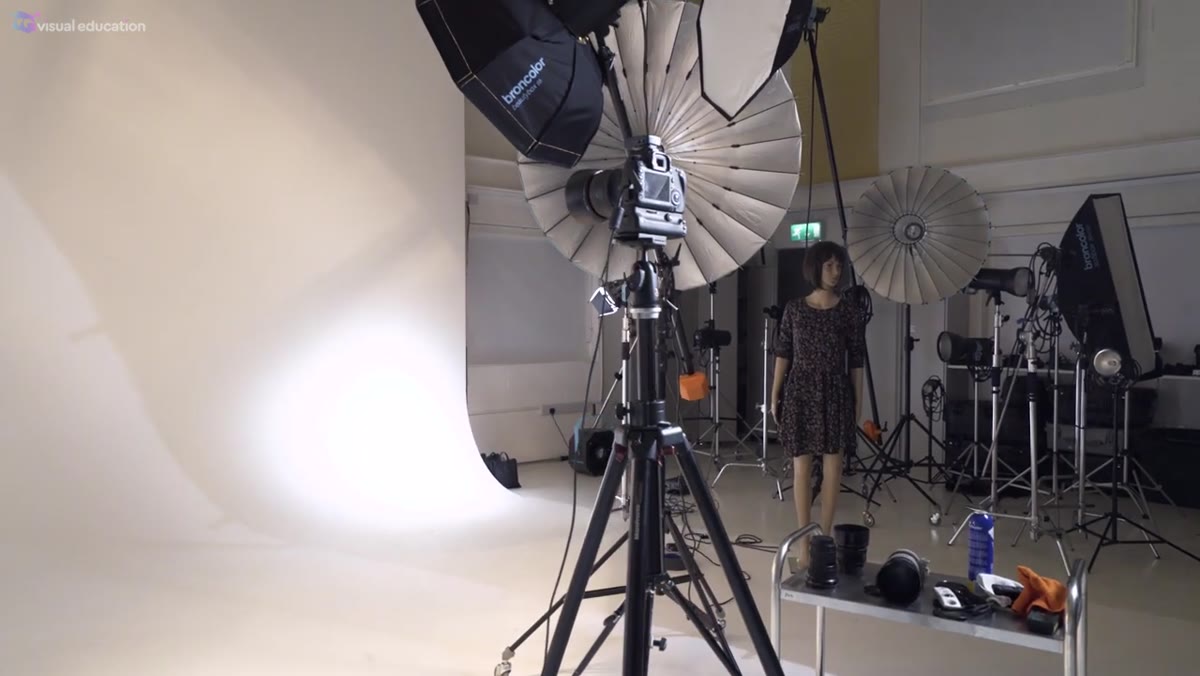 Subject marked on floor, camera repositioning for each lens
This is the part most people skip when they’re just swapping lenses around casually. The test only works if the subject’s head occupies the same amount of the frame in every shot. To do that, you move the camera. Wide angle means you step in close. Telephoto means you back way up. The subject stays planted on their mark the entire time. The tutorial uses tape on the floor to keep the subject consistent and refocuses on the eyes for each swap. Do the same if you’re running this test yourself. Even a few inches of subject movement will muddy the results and make it harder to isolate the lens effect.
Subject marked on floor, camera repositioning for each lens
This is the part most people skip when they’re just swapping lenses around casually. The test only works if the subject’s head occupies the same amount of the frame in every shot. To do that, you move the camera. Wide angle means you step in close. Telephoto means you back way up. The subject stays planted on their mark the entire time. The tutorial uses tape on the floor to keep the subject consistent and refocuses on the eyes for each swap. Do the same if you’re running this test yourself. Even a few inches of subject movement will muddy the results and make it harder to isolate the lens effect.
Step 3: Shoot the Extreme Wide End First (16mm)
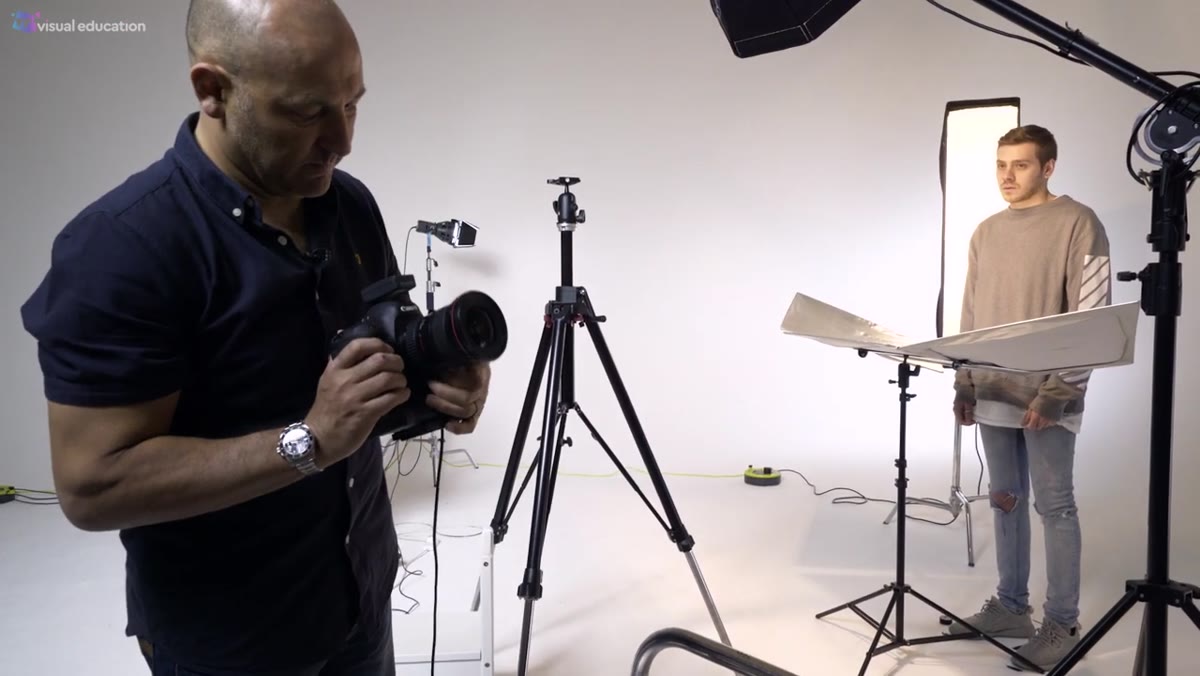 Extreme 16mm distortion visible on subject’s face
At 16mm, the camera has to get uncomfortably close to the subject to fill the frame with their head at the reference size. The presenter describes it as “absolutely ridiculous,” and the resulting image backs that up. Facial features closest to the lens get exaggerated heavily. The nose pushes forward and reads larger than it actually is. The overall shape of the face warps. No client wants to look like that. The takeaway isn’t that 16mm is a bad lens. It’s that using it this close to a face creates distortion that can’t be fixed in post. The presenter does note one legitimate use case: full-length fashion work where some body elongation is intentional and desirable, but for a standard head-and-shoulders portrait, 16mm is off the table.
Extreme 16mm distortion visible on subject’s face
At 16mm, the camera has to get uncomfortably close to the subject to fill the frame with their head at the reference size. The presenter describes it as “absolutely ridiculous,” and the resulting image backs that up. Facial features closest to the lens get exaggerated heavily. The nose pushes forward and reads larger than it actually is. The overall shape of the face warps. No client wants to look like that. The takeaway isn’t that 16mm is a bad lens. It’s that using it this close to a face creates distortion that can’t be fixed in post. The presenter does note one legitimate use case: full-length fashion work where some body elongation is intentional and desirable, but for a standard head-and-shoulders portrait, 16mm is off the table.
Step 4: Work Through the Mid-Range Focal Lengths (24mm to 50mm)
 24mm shot showing reduced but still visible distortion
As you move from 16mm toward 50mm, the distortion decreases noticeably but doesn’t disappear. At 24mm, the subject becomes recognizable, but compare it directly to the 85mm reference and the difference is still significant. At 35mm, you’re getting warmer but facial proportions still read slightly wider and puffier than they do in real life. The 50mm is where things start to become acceptable, though it still introduces some mild distortion that a careful portrait photographer would notice. These focal lengths aren’t useless for portraits. Environmental portraits and wider lifestyle shots at 35mm or 50mm can work well when you want to include context. But for a tight headshot where accuracy and flattery both matter, they fall short.
24mm shot showing reduced but still visible distortion
As you move from 16mm toward 50mm, the distortion decreases noticeably but doesn’t disappear. At 24mm, the subject becomes recognizable, but compare it directly to the 85mm reference and the difference is still significant. At 35mm, you’re getting warmer but facial proportions still read slightly wider and puffier than they do in real life. The 50mm is where things start to become acceptable, though it still introduces some mild distortion that a careful portrait photographer would notice. These focal lengths aren’t useless for portraits. Environmental portraits and wider lifestyle shots at 35mm or 50mm can work well when you want to include context. But for a tight headshot where accuracy and flattery both matter, they fall short.
Step 5: Confirm the Flattering Range (85mm to 135mm)
 85mm portrait showing natural facial proportions
This is where the tutorial confirms what most portrait photographers already follow as a rule: 85mm to 135mm is the sweet spot. At these focal lengths, the camera sits at a comfortable working distance from the subject, facial proportions look natural and accurate, and background compression starts to add a pleasing separation without going overboard. The 85mm shot in the comparison looks like the person. The 16mm shot does not. That’s not subtle. If you only take one thing from the entire test, it’s that staying in this focal length range for head-and-shoulders portraits makes the job easier and the results more flattering without any extra effort.
85mm portrait showing natural facial proportions
This is where the tutorial confirms what most portrait photographers already follow as a rule: 85mm to 135mm is the sweet spot. At these focal lengths, the camera sits at a comfortable working distance from the subject, facial proportions look natural and accurate, and background compression starts to add a pleasing separation without going overboard. The 85mm shot in the comparison looks like the person. The 16mm shot does not. That’s not subtle. If you only take one thing from the entire test, it’s that staying in this focal length range for head-and-shoulders portraits makes the job easier and the results more flattering without any extra effort.
Step 6: Observe What Telephoto Compression Does at 135mm to 200mm
 Telephoto end of comparison showing facial flattening effect
At the long end of the test, the opposite problem emerges. Telephoto lenses compress the apparent distance between the subject and the background, which can look beautiful for separating a subject from a busy scene. But pushed to 200mm for a portrait, facial features begin to flatten. The nose recedes, the face reads slightly flatter than it does in person, and background compression can become so strong it looks artificial. Some photographers actually like the slightly flattened look at 135mm for beauty and fashion work. For most standard portrait work though, once you push past 135mm you’re trading one kind of distortion for another.
Telephoto end of comparison showing facial flattening effect
At the long end of the test, the opposite problem emerges. Telephoto lenses compress the apparent distance between the subject and the background, which can look beautiful for separating a subject from a busy scene. But pushed to 200mm for a portrait, facial features begin to flatten. The nose recedes, the face reads slightly flatter than it does in person, and background compression can become so strong it looks artificial. Some photographers actually like the slightly flattened look at 135mm for beauty and fashion work. For most standard portrait work though, once you push past 135mm you’re trading one kind of distortion for another.
What I’ve Seen Running Budget Lenses Through the Same Test
I’ve put a lot of lenses through comparison grids over the years, and focal length behavior holds consistent regardless of price point. A $150 85mm f/1.8 and a $1,500 85mm f/1.4 will both flatter a face correctly because the physics are the same. Where cheap lenses fall apart is sharpness at wide apertures, chromatic aberration, and build quality, not focal length rendering. If you’re shooting portraits on a budget, a used 50mm or 85mm prime in the $100-200 range will do more for your portraits than upgrading to a full-frame body while sticking with a kit zoom. The focal length matters more than the glass grade for this specific issue.
The single most useful thing this tutorial shows is that distortion is a function of camera-to-subject distance, not just the lens itself. The lens just determines how close you have to stand. Understanding that changes how you think about every portrait session you plan. Watch the full tutorial on YouTube to see the full side-by-side comparison, because the visual difference between 16mm and 85mm at matched head size has to be seen to be fully appreciated.
Comments (5)
This saved me so much time on my last edit. Wish I'd found this sooner.
Been doing this wrong for years apparently. Thanks for the wake-up call.
Just used this on a wedding shoot edit. Client was thrilled.
Great breakdown. The step-by-step approach really helps.
Excellent tutorial. I'd add that from a landscape standpoint, this technique is incredibly versatile.
Leave a Comment