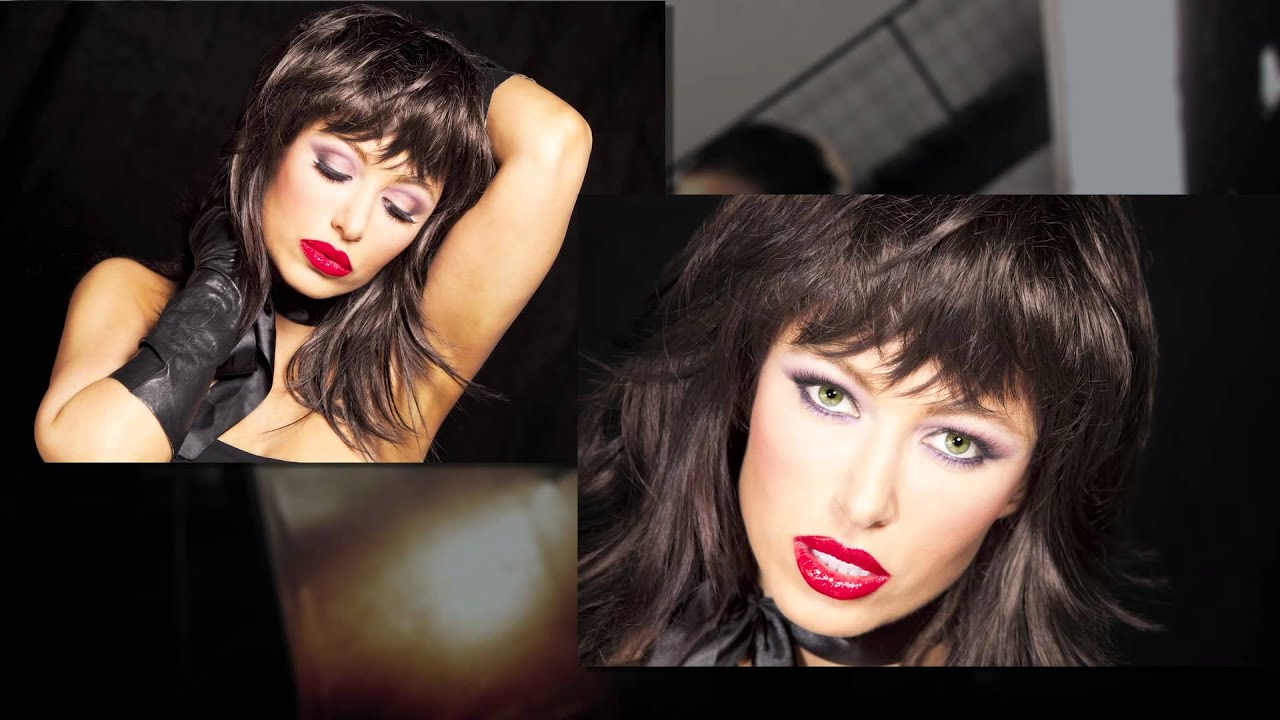
I used to obsess over lighting for portraits. Softboxes, reflectors, ratios, angles. Then I watched a photographer swap from a 200mm down to a 24mm without changing a single light, and the subject went from looking like a magazine cover to looking like a carnival mirror reflection. Same light. Completely different face. That was the moment I understood that focal length isn’t just a framing decision, it’s a shaping decision.
In this The Slanted Lens tutorial with JP Morgan, the concept gets laid out in the clearest side-by-side demonstration I’ve seen. Watch the full tutorial on YouTube before or after reading this, because seeing the face change in real time seals the lesson in a way that words alone can’t. What follows is a step-by-step breakdown you can apply immediately, whether you’re shooting headshots, portraits, or just trying to understand why your 35mm kit lens isn’t doing your subjects any favors.
Step 1: Understand What Focal Length Actually Controls
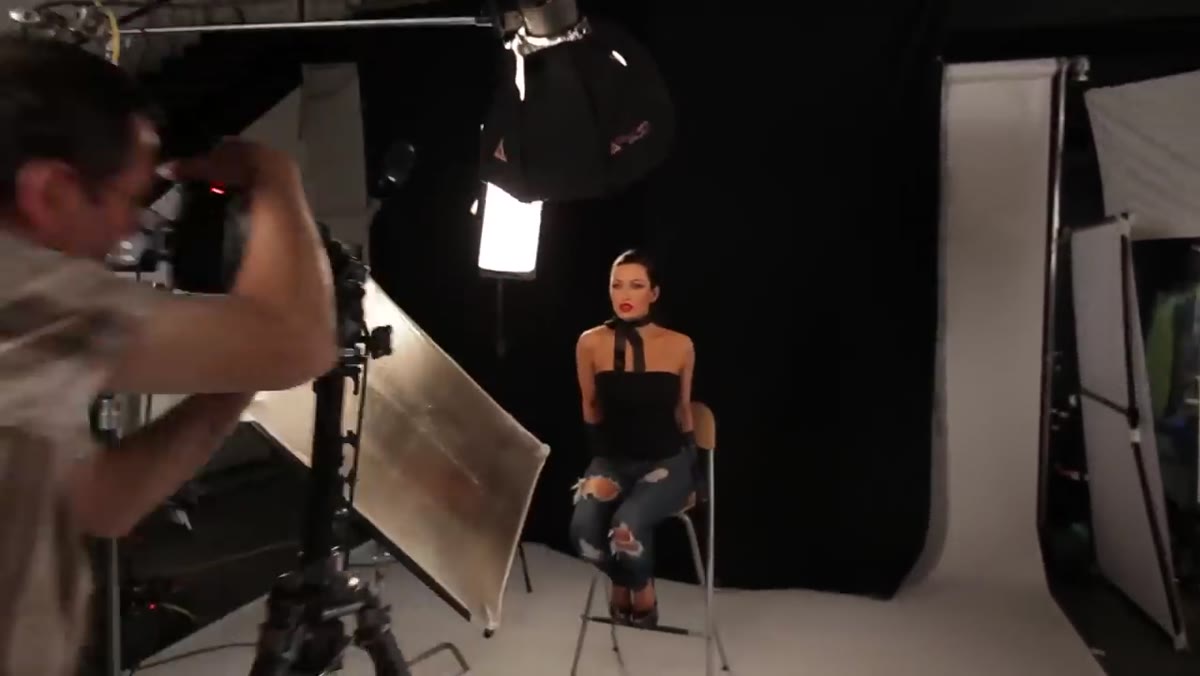 JP explaining focal length and angle of view
Focal length does two things simultaneously: it sets your angle of view, and it determines how compressed or stretched the spatial relationships in your frame appear. Most photographers think about the first part and ignore the second. When you move physically closer to fill the frame with a face using a wider lens, you’re changing the distance relationship between the camera and the subject’s facial features. The nose gets closer to the lens than the ears. That difference in distance gets exaggerated. The result is distortion, not because the lens is cheap or broken, but because of geometry.
JP explaining focal length and angle of view
Focal length does two things simultaneously: it sets your angle of view, and it determines how compressed or stretched the spatial relationships in your frame appear. Most photographers think about the first part and ignore the second. When you move physically closer to fill the frame with a face using a wider lens, you’re changing the distance relationship between the camera and the subject’s facial features. The nose gets closer to the lens than the ears. That difference in distance gets exaggerated. The result is distortion, not because the lens is cheap or broken, but because of geometry.
Longer lenses let you stand further back while still filling the frame with a face. At that distance, the nose-to-ear depth difference becomes a tiny percentage of the total camera-to-subject distance. Features look proportional. That’s not magic, it’s math.
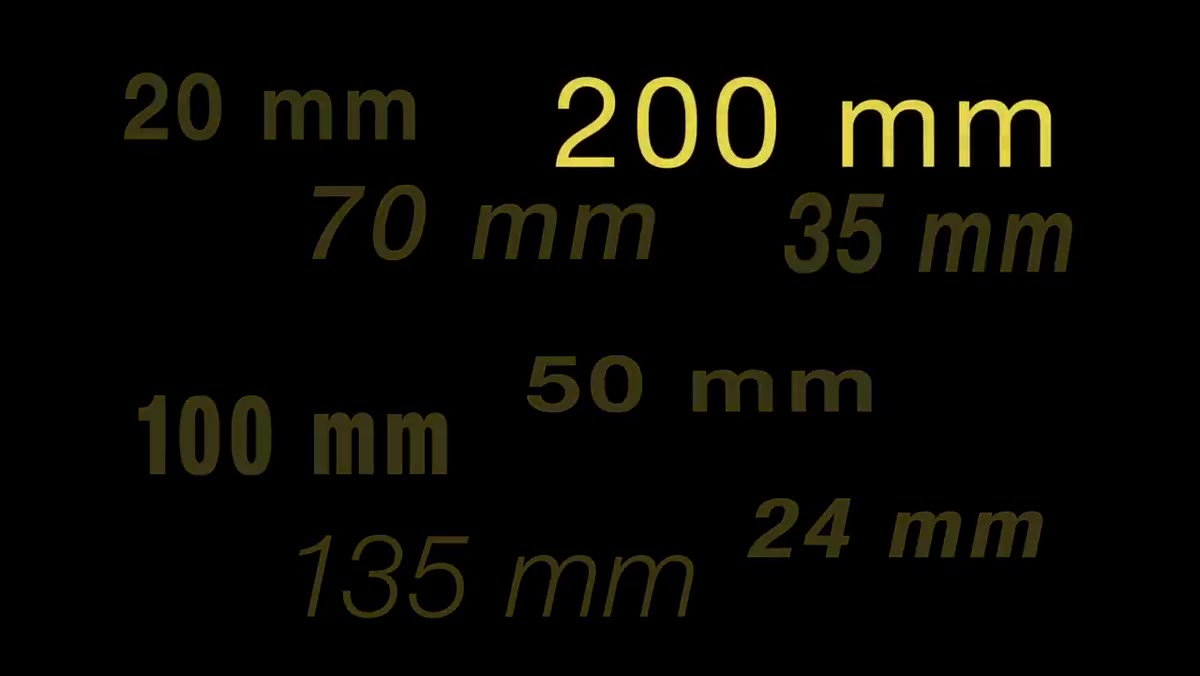
Step 2: Start at 200mm to See Maximum Compression
 200mm lens shot of subject’s face on camera
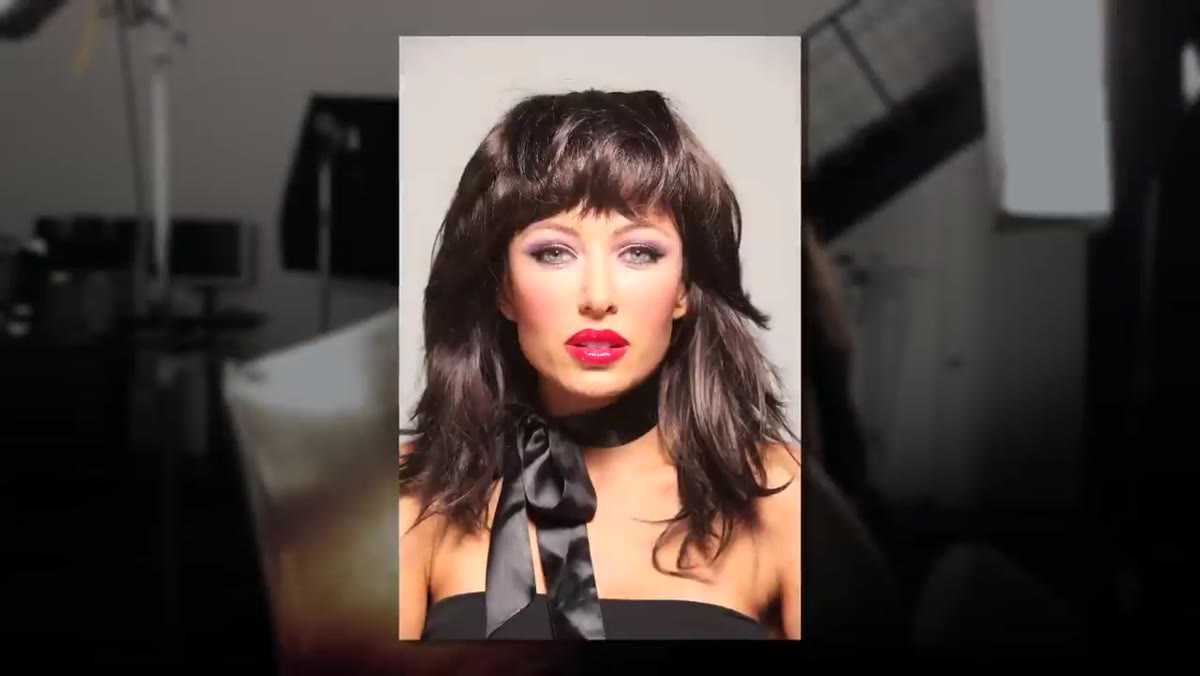
Shoot your first test frame at 200mm and keep the subject’s head the same size in the frame across all your tests. That consistency is the whole point. At 200mm, facial features compress slightly. The face looks a little flatter than in real life, which reads as polished and clean on camera. It’s not the most natural rendering, but it’s very forgiving and very flattering. If you’re shooting executive headshots or anything where the subject wants to look their most composed, 200mm gives you that buffer.
200mm lens shot of subject’s face on camera
Shoot your first test frame at 200mm and keep the subject’s head the same size in the frame across all your tests. That consistency is the whole point. At 200mm, facial features compress slightly. The face looks a little flatter than in real life, which reads as polished and clean on camera. It’s not the most natural rendering, but it’s very forgiving and very flattering. If you’re shooting executive headshots or anything where the subject wants to look their most composed, 200mm gives you that buffer.
The tradeoff is physical space. At 200mm you need room to back up, sometimes 15 to 20 feet or more depending on your subject’s head size and your sensor crop factor. In a small studio, this is a real constraint, not a hypothetical one.
Step 3: Find the Sweet Spot Between 100mm and 135mm
 135mm lens comparison shot displayed on screen
This is where JP lands his recommendation, and after testing it myself I agree completely. The 135mm focal length hits a balance between compression and natural proportion that makes faces look like themselves, just slightly idealized. The 100mm is close behind. Both require reasonable shooting distances without demanding a warehouse.
135mm lens comparison shot displayed on screen
This is where JP lands his recommendation, and after testing it myself I agree completely. The 135mm focal length hits a balance between compression and natural proportion that makes faces look like themselves, just slightly idealized. The 100mm is close behind. Both require reasonable shooting distances without demanding a warehouse.
If you’re buying one lens specifically for headshots and portraits, a 100mm or 135mm prime is the practical answer. You can find sharp, fast 135mm primes from third-party manufacturers at prices that used to feel impossible for that focal length. Check what’s available in your mount. The rendering at these focal lengths genuinely flatters most faces without turning the image into something that looks retouched or artificial.
Step 4: Watch What Happens as You Drop to 70mm and 50mm
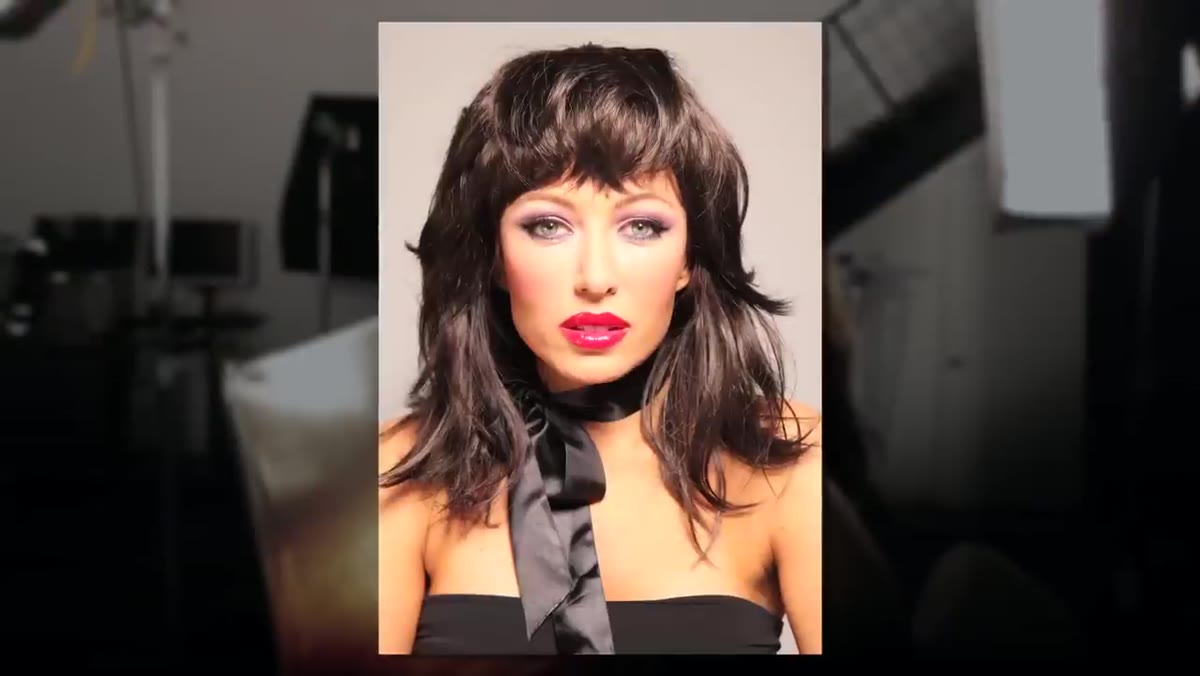 70mm focal length shot showing jaw elongation
At 70mm things start shifting in ways that are subtle but real. The jaw begins to look slightly longer. The top of the head can appear wider. It’s not disqualifying for portraits, but you’ll notice it once you’ve seen the 135mm comparison. At 50mm, the distortion becomes more obvious, especially if you’re keeping the head the same size in the frame, which requires getting closer to your subject. The “nifty fifty” is a great documentary and street lens. For tightly framed headshots, it’s fighting against you.
70mm focal length shot showing jaw elongation
At 70mm things start shifting in ways that are subtle but real. The jaw begins to look slightly longer. The top of the head can appear wider. It’s not disqualifying for portraits, but you’ll notice it once you’ve seen the 135mm comparison. At 50mm, the distortion becomes more obvious, especially if you’re keeping the head the same size in the frame, which requires getting closer to your subject. The “nifty fifty” is a great documentary and street lens. For tightly framed headshots, it’s fighting against you.
The fix at 50mm is to back up slightly and let the head sit smaller in the frame, then crop in post. You lose resolution but gain proportion. It’s a workaround, not a solution.
Step 5: Use Wide Angles Intentionally, Not by Default
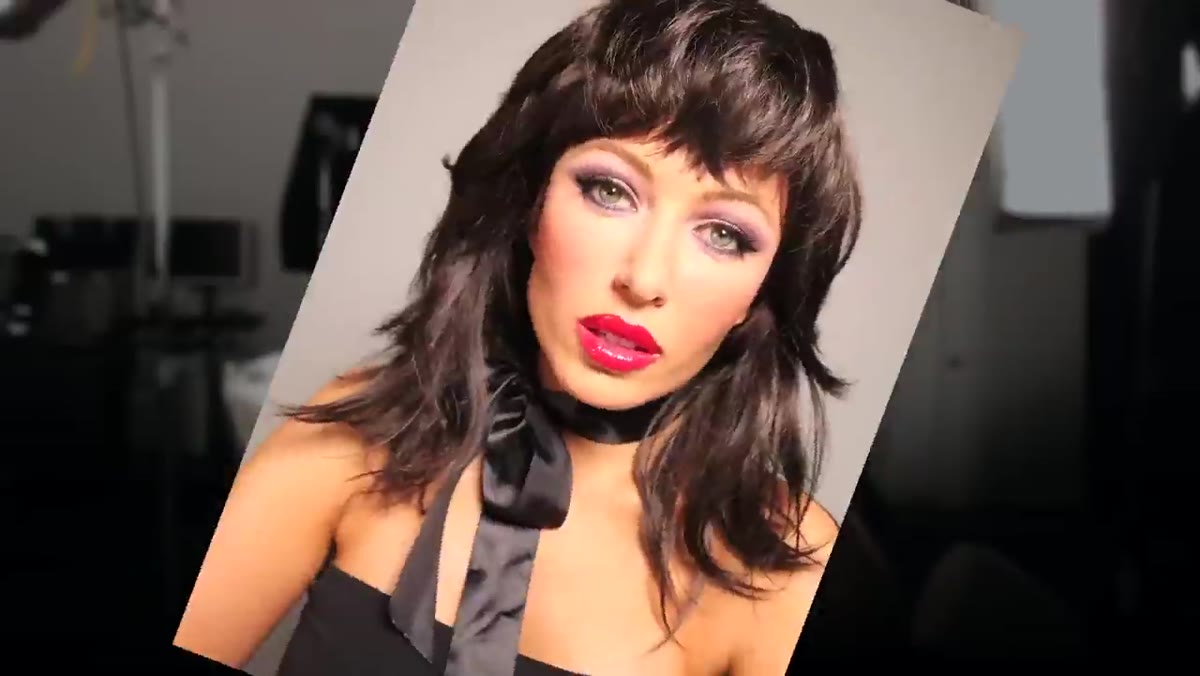 35mm wide angle showing elongated facial features
At 35mm and below, faces distort in ways that read as comedic or exaggerated. JP demonstrates this with 35mm, 24mm, and 20mm, and by 20mm the subject’s face looks genuinely alien. Wide angles aren’t wrong for portraits, but they need to be a deliberate stylistic choice. Environmental portraits where you want to show context, dramatic editorial shots, or intentional humor are all valid reasons to use a 24mm or 35mm on a face. Using it because it’s the only lens you have, or because it felt close enough in the viewfinder, is how you end up with portraits your subjects hate.
35mm wide angle showing elongated facial features
At 35mm and below, faces distort in ways that read as comedic or exaggerated. JP demonstrates this with 35mm, 24mm, and 20mm, and by 20mm the subject’s face looks genuinely alien. Wide angles aren’t wrong for portraits, but they need to be a deliberate stylistic choice. Environmental portraits where you want to show context, dramatic editorial shots, or intentional humor are all valid reasons to use a 24mm or 35mm on a face. Using it because it’s the only lens you have, or because it felt close enough in the viewfinder, is how you end up with portraits your subjects hate.
The background distortion at wide angles is also worth noting. At 24mm, JP’s subject starts to reveal the edges of the seamless paper backdrop. The wide angle isn’t just affecting the face, it’s pulling in more of everything around her.
Step 6: Build Your Lighting Setup to Stay Consistent Across Tests
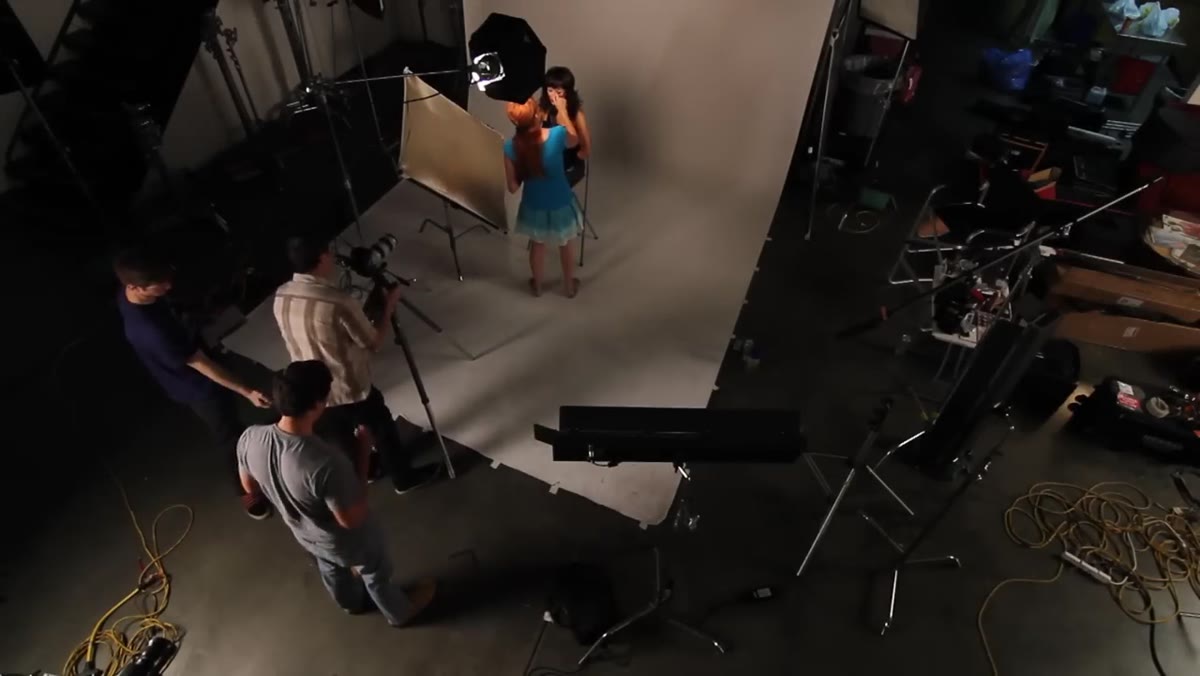 silver-lined octodome key light positioned near subject
JP uses a simple one-light setup with a silver-lined small octodome as the key light, positioned close enough to the subject that it also illuminates the background. Keeping lighting consistent across your focal length tests is critical. If you change your light between shots, you can’t isolate the focal length variable. For your own tests, pick one setup and lock it down. Even a single speedlight in a small softbox is enough. The point is consistency, not complexity.
silver-lined octodome key light positioned near subject
JP uses a simple one-light setup with a silver-lined small octodome as the key light, positioned close enough to the subject that it also illuminates the background. Keeping lighting consistent across your focal length tests is critical. If you change your light between shots, you can’t isolate the focal length variable. For your own tests, pick one setup and lock it down. Even a single speedlight in a small softbox is enough. The point is consistency, not complexity.
Later in the video he adds a strip box rim light and a gold reflector for fill, which upgrades the look significantly for a two-light fashion setup. That’s worth watching separately for the lighting lesson alone.
What I’d Add From My Own Testing
I’ve run focal length comparisons on budget lenses specifically, because my whole thing is proving that cheaper glass can still deliver. What I’ve found is that the compression and proportion behavior JP demonstrates holds true regardless of price point. A $150 manual 135mm prime behaves the same way geometrically as a $1,200 autofocus version. The autofocus version is faster and sharper wide open, sure. But for headshots where you’re typically stopping down a bit anyway, the face-shaping physics are identical.
Where cheaper lenses can hurt you on portraits isn’t focal length behavior, it’s edge sharpness and color rendering. Worth knowing before you assume a budget lens is automatically a bad portrait lens.
The single most important takeaway from this tutorial is that focal length is a shaping tool, not just a zoom decision. For any portrait where the subject’s face is the primary subject, 100mm to 135mm is the range that works with facial geometry instead of against it. Everything outside that range requires either intentional justification or a lot of cropping.
Watch the full tutorial on YouTube to see the side-by-side face comparisons in real time. Seeing the jaw change shape as JP steps through each focal length is worth more than any diagram I could describe.
Comments
Leave a Comment