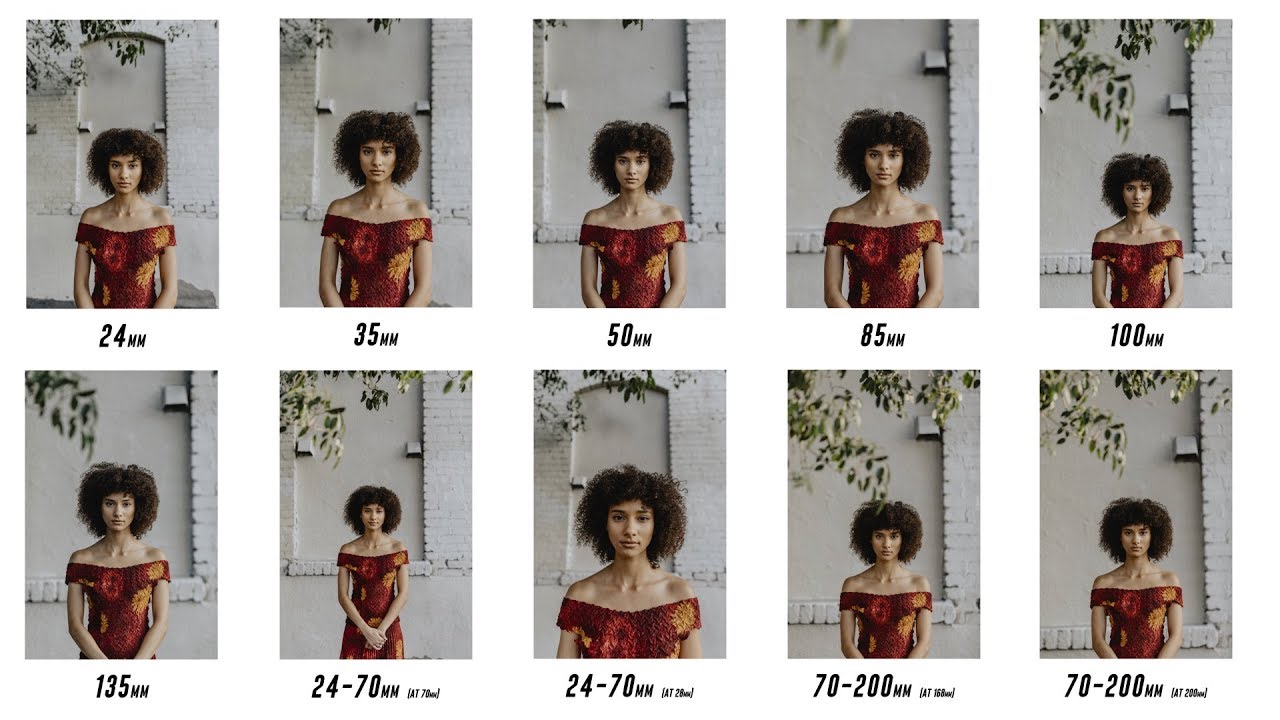
The question I get more than any other from photographers just building out their kits is some version of: “Which lens should I buy for portraits?” It sounds simple. It is not simple. The answer depends on your shooting style, your sensor size, your working distance, and honestly, your personality as a photographer. I’ve tested a lot of glass, and I’ve made a lot of bad purchases chasing someone else’s answer to that question.
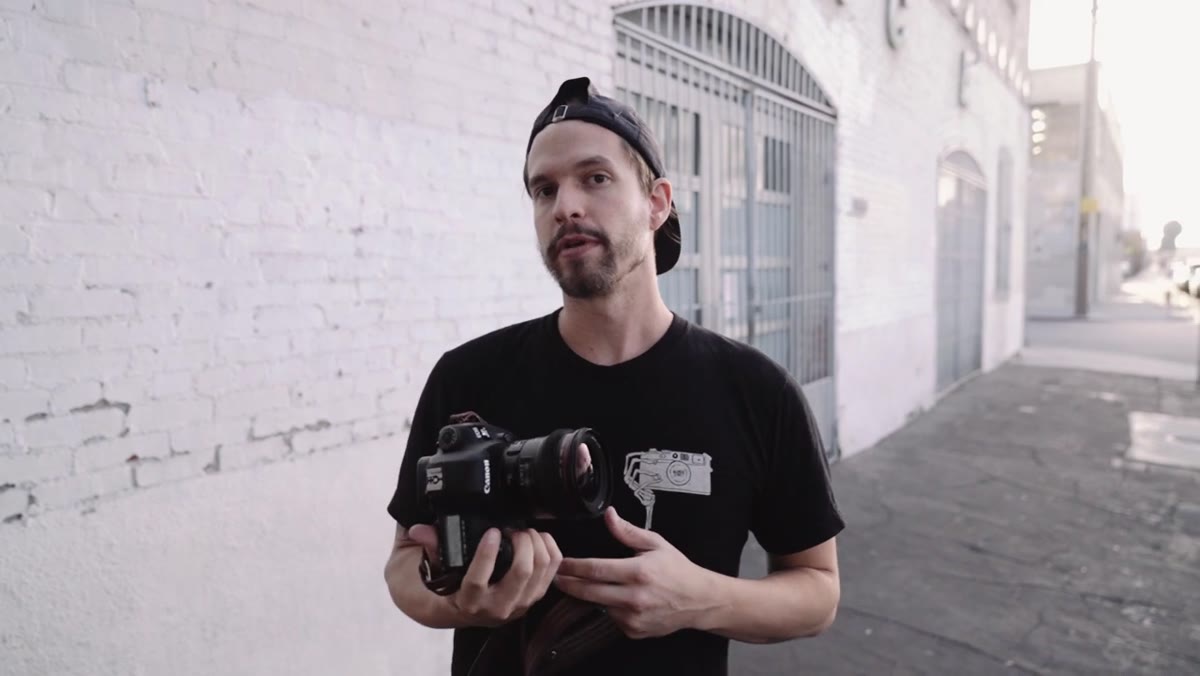
That’s exactly why I appreciated this Mango Street tutorial so much when I came across it. Rather than handing you a single verdict, Rachel and Daniel take six different lenses out into the real world and shoot actual portraits with each one. No lab tests. No brick wall charts. Just real results with a real subject. Watch the full tutorial on YouTube before or after reading this breakdown. I’ll pull out the practical lessons so you can apply them whether or not you can afford every lens in the lineup.
Step 1: Start Wide With the 24mm f/1.4
 Photographer framing a close portrait with 24mm lens
The first lens in the test is a 24mm prime at f/1.4, and it immediately shows you something important: wide lenses for portraits are a creative choice, not a safe one. At this focal length, you can get physically close to your subject, which lets you pull in environmental context that longer lenses would lose. The shallow depth of field at f/1.4 still separates the subject from the background. The tradeoff is facial distortion. Get too close and noses look larger, faces look wider. If your subject is comfortable with that look, or if you’re going for something a little raw and editorial, it works. If you’re shooting a client who wants flattering headshots, proceed with caution.
Photographer framing a close portrait with 24mm lens
The first lens in the test is a 24mm prime at f/1.4, and it immediately shows you something important: wide lenses for portraits are a creative choice, not a safe one. At this focal length, you can get physically close to your subject, which lets you pull in environmental context that longer lenses would lose. The shallow depth of field at f/1.4 still separates the subject from the background. The tradeoff is facial distortion. Get too close and noses look larger, faces look wider. If your subject is comfortable with that look, or if you’re going for something a little raw and editorial, it works. If you’re shooting a client who wants flattering headshots, proceed with caution.
Step 2: Understand What Makes the 35mm Feel “Intimate”
 Shooting a portrait with 35mm lens at close range
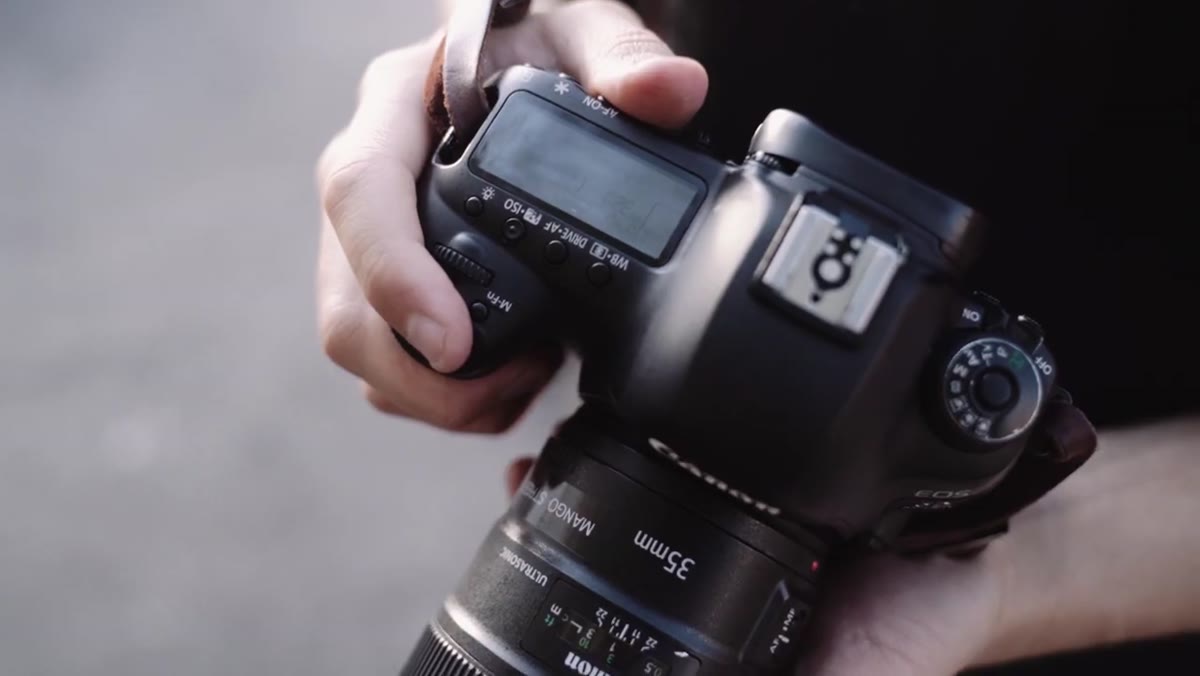
The 35mm is the one Mango Street calls their personal favorite, and after hearing their reasoning I think it’s worth unpacking. They describe it as close to how the eye actually perceives a scene, and that quality gives 35mm portraits a feeling of presence, like the viewer is standing right there with the subject. At f/1.4, you still get a pleasantly soft background without the aggressive compression of longer glass. The key difference from the 24mm is that the distortion risk drops significantly. You can still shoot close, still get environmental context in the frame, but faces read more naturally. For photographers who want a documentary or lifestyle feel, the 35mm is hard to argue with.
Shooting a portrait with 35mm lens at close range
The 35mm is the one Mango Street calls their personal favorite, and after hearing their reasoning I think it’s worth unpacking. They describe it as close to how the eye actually perceives a scene, and that quality gives 35mm portraits a feeling of presence, like the viewer is standing right there with the subject. At f/1.4, you still get a pleasantly soft background without the aggressive compression of longer glass. The key difference from the 24mm is that the distortion risk drops significantly. You can still shoot close, still get environmental context in the frame, but faces read more naturally. For photographers who want a documentary or lifestyle feel, the 35mm is hard to argue with.
Step 3: Treat the 50mm as a Foundation, Not a Destination
 50mm portrait shot demonstrating moderate background separation
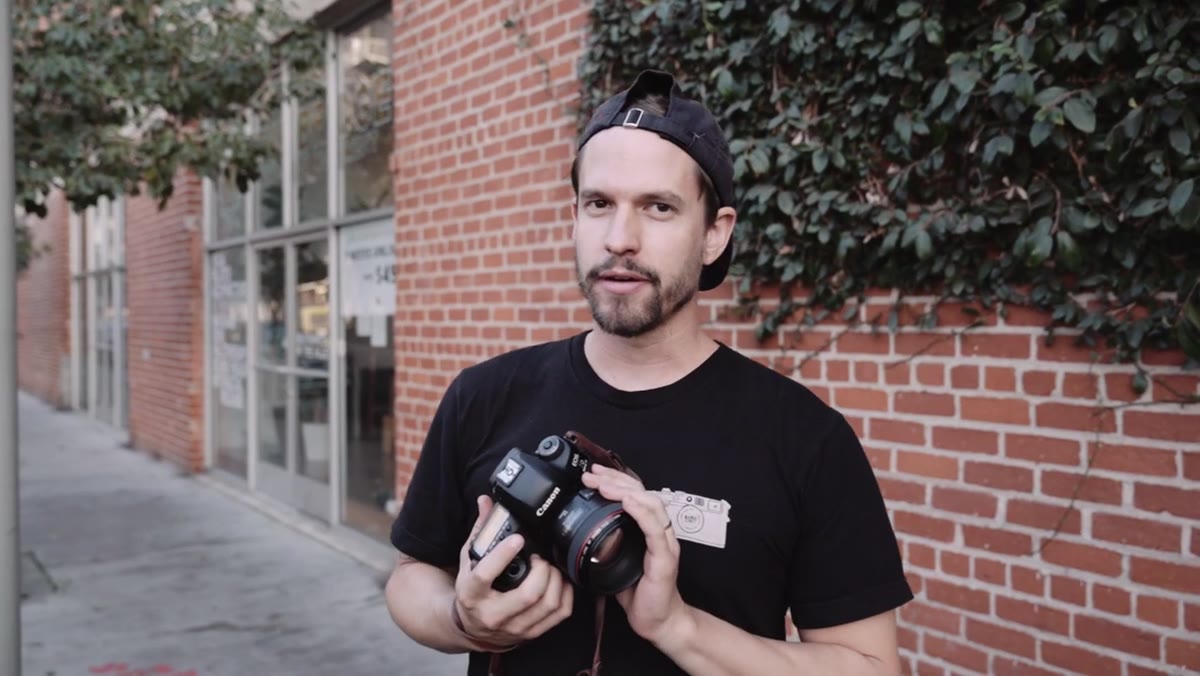
The 50mm at f/1.2 has the widest maximum aperture of every lens in this test. On paper, that sounds like a win. In practice, Mango Street points out that it sits in a kind of no man’s land. It’s not wide enough to feel environmental, not long enough to produce dramatic background compression. They call it a solid all-around lens, and that’s fair. If you’re new to prime lenses and want one focal length that handles portraits, street, and casual shooting without fighting you, the 50mm delivers. But if you already have some experience and know your style leans in a specific direction, it might not excite you the way a 35mm or an 85mm will.
50mm portrait shot demonstrating moderate background separation
The 50mm at f/1.2 has the widest maximum aperture of every lens in this test. On paper, that sounds like a win. In practice, Mango Street points out that it sits in a kind of no man’s land. It’s not wide enough to feel environmental, not long enough to produce dramatic background compression. They call it a solid all-around lens, and that’s fair. If you’re new to prime lenses and want one focal length that handles portraits, street, and casual shooting without fighting you, the 50mm delivers. But if you already have some experience and know your style leans in a specific direction, it might not excite you the way a 35mm or an 85mm will.
Step 4: Use the 85mm When Your Background Is Working Against You
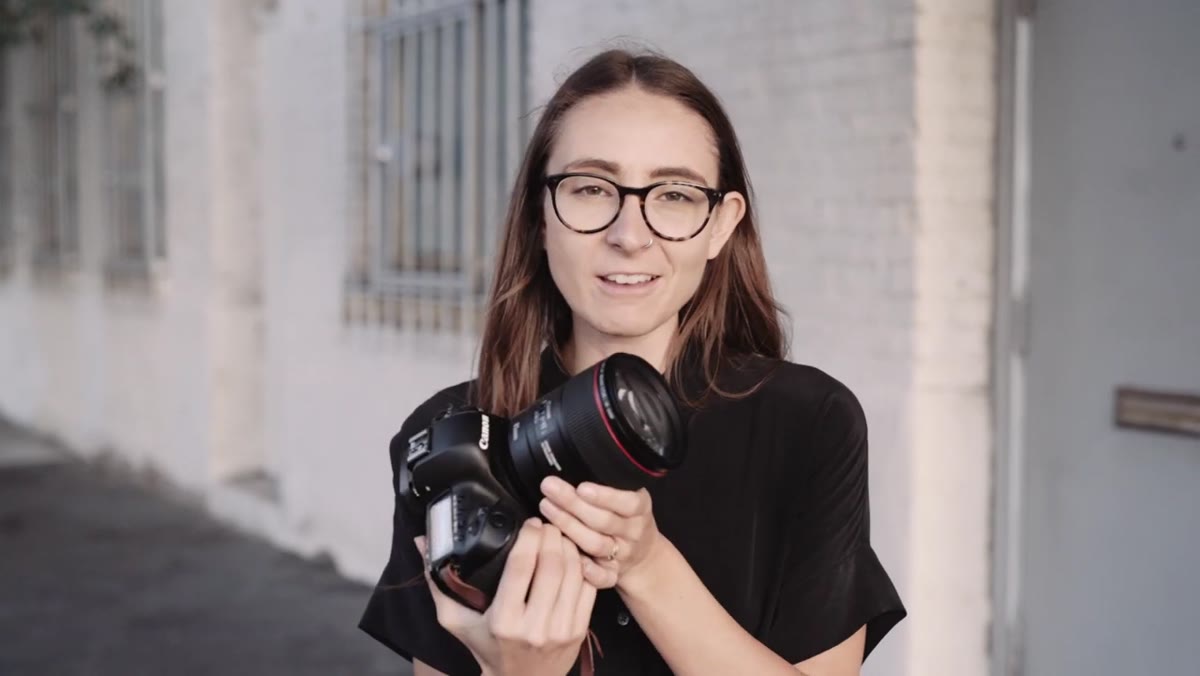 85mm portrait with blurred urban background showing compression
This is where the tutorial gets genuinely useful for working photographers. Daniel demonstrates shooting toward a cluttered urban background, trucks and fences and all the visual noise that makes location portraits difficult. The solution is stepping back and letting the 85mm do its job. At longer focal lengths, the background compresses and blurs more aggressively, even at the same aperture. A distracting wall becomes a soft texture. A parking lot becomes an abstract smear of color. This is background separation used as a problem-solving tool, not just an aesthetic preference. If you regularly shoot in environments you don’t control, an 85mm earns its place in your bag on that feature alone.
85mm portrait with blurred urban background showing compression
This is where the tutorial gets genuinely useful for working photographers. Daniel demonstrates shooting toward a cluttered urban background, trucks and fences and all the visual noise that makes location portraits difficult. The solution is stepping back and letting the 85mm do its job. At longer focal lengths, the background compresses and blurs more aggressively, even at the same aperture. A distracting wall becomes a soft texture. A parking lot becomes an abstract smear of color. This is background separation used as a problem-solving tool, not just an aesthetic preference. If you regularly shoot in environments you don’t control, an 85mm earns its place in your bag on that feature alone.
Step 5: Use a Telephoto Zoom to Compress Distant Backgrounds Into the Frame
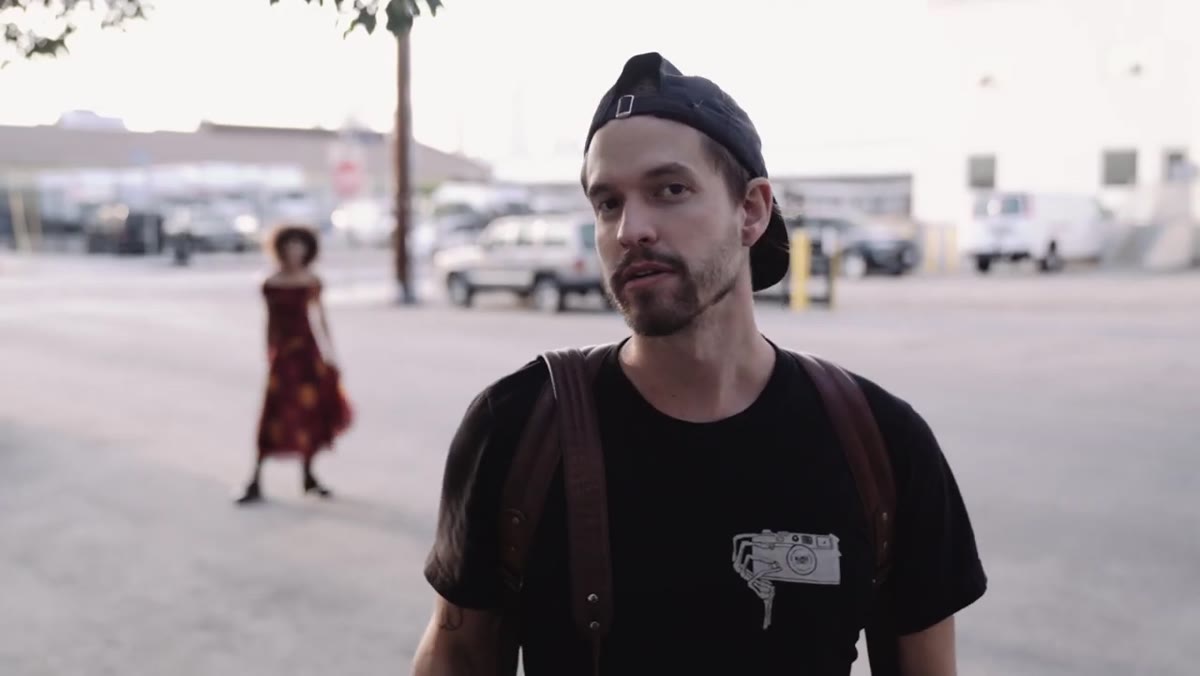 Shooting with 70-200mm zoom toward a skyline background
The tutorial also covers a 24-70mm zoom used toward the longer end, plus a dedicated telephoto zoom around 70-200mm range. The specific value here is compression: when you want a dramatic skyline, a tree line, or any distant element to feel like it’s right behind your subject rather than miles away, you need a longer focal length. A wide lens makes that background feel small and far. A telephoto pulls it forward and makes it feel like part of the portrait. This is a compositional trick that changes the entire story of the image without moving your subject an inch. It’s worth practicing even if you never buy a dedicated telephoto, because the 70mm end of a kit zoom can get you part of the way there.
Shooting with 70-200mm zoom toward a skyline background
The tutorial also covers a 24-70mm zoom used toward the longer end, plus a dedicated telephoto zoom around 70-200mm range. The specific value here is compression: when you want a dramatic skyline, a tree line, or any distant element to feel like it’s right behind your subject rather than miles away, you need a longer focal length. A wide lens makes that background feel small and far. A telephoto pulls it forward and makes it feel like part of the portrait. This is a compositional trick that changes the entire story of the image without moving your subject an inch. It’s worth practicing even if you never buy a dedicated telephoto, because the 70mm end of a kit zoom can get you part of the way there.
Step 6: Know When Macro Glass Doubles as Portrait Glass
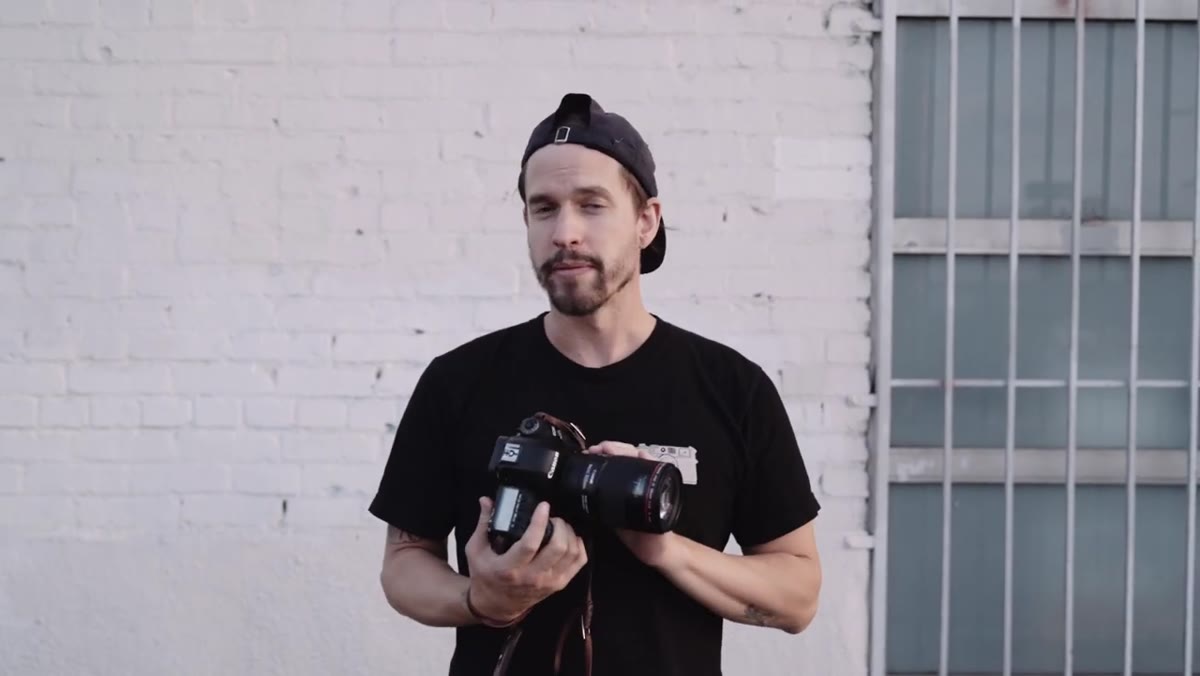 100mm macro lens portrait showing background compression at f/2.8
Mango Street throws in a 100mm macro at f/2.8, which is not conventionally considered a portrait lens. But longer focal lengths produce that same flattering compression, and f/2.8 still creates a soft background. If you already own a macro lens for product or detail work, test it on portraits. You might be surprised. The working distance is longer, which some subjects actually prefer since it feels less intrusive, and the images have that same polished quality you’d expect from a dedicated portrait prime in the same range.
100mm macro lens portrait showing background compression at f/2.8
Mango Street throws in a 100mm macro at f/2.8, which is not conventionally considered a portrait lens. But longer focal lengths produce that same flattering compression, and f/2.8 still creates a soft background. If you already own a macro lens for product or detail work, test it on portraits. You might be surprised. The working distance is longer, which some subjects actually prefer since it feels less intrusive, and the images have that same polished quality you’d expect from a dedicated portrait prime in the same range.
Step 7: Recognize the Trade-Off of Going Too Long
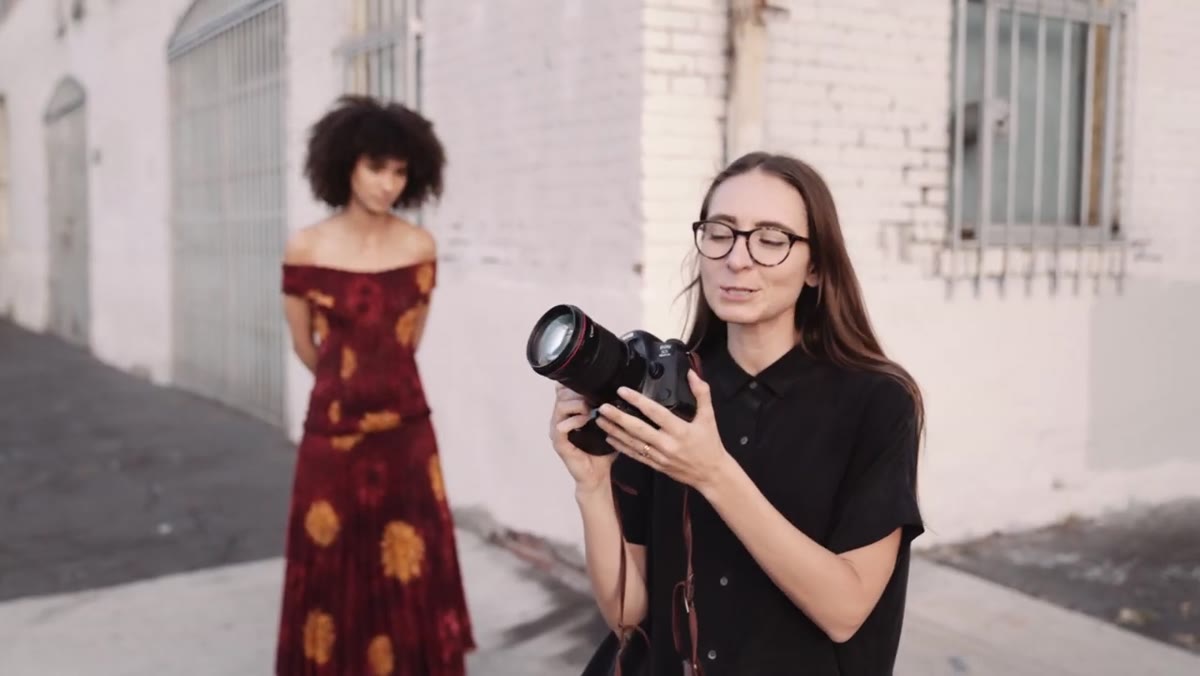 135mm lens portrait demonstrating subject-photographer distance
The 135mm is the one focal length Mango Street actively dislikes for portrait work, and their reason is worth sitting with. It’s not about sharpness or bokeh quality. It’s about the physical distance required to use it. When you’re 30 or 40 feet from your subject, something changes in the dynamic between photographer and person being photographed. The energy drops. The connection gets harder to maintain. The images can feel static rather than alive. That’s a subjective judgment, but it matches my own experience. Long lenses have their place, especially when you need to be unobtrusive at weddings or events, but for intimate portrait sessions, distance can work against you.
135mm lens portrait demonstrating subject-photographer distance
The 135mm is the one focal length Mango Street actively dislikes for portrait work, and their reason is worth sitting with. It’s not about sharpness or bokeh quality. It’s about the physical distance required to use it. When you’re 30 or 40 feet from your subject, something changes in the dynamic between photographer and person being photographed. The energy drops. The connection gets harder to maintain. The images can feel static rather than alive. That’s a subjective judgment, but it matches my own experience. Long lenses have their place, especially when you need to be unobtrusive at weddings or events, but for intimate portrait sessions, distance can work against you.
My Take: Crop Sensor Shooters, This Changes Everything
Here’s what Mango Street says toward the end that I wish more tutorial creators would emphasize. If you’re shooting on a crop sensor camera and you currently have a 50mm as your go-to portrait lens, your photos might be feeling uncomfortably tight, and you might not know why. A 50mm on a crop sensor behaves more like a 75-80mm equivalent. That’s not a portrait lens anymore, that’s a short telephoto. The fix is straightforward: go wider. A 35mm on a crop sensor gives you roughly a 50mm equivalent field of view. A 24mm lands around 35-38mm. This is the most practical piece of advice in the whole video for anyone who hasn’t yet moved to full frame.
I’ve seen this exact issue at meetups where someone shows me their portraits and something just feels off, that compressed, slightly disconnected quality. Nine times out of ten they’re on a crop body with a 50mm and they’ve never considered that their “normal” lens is actually pushing their subjects away.
The real lesson from this tutorial isn’t which single lens to buy. It’s that every focal length makes a specific trade-off, and knowing what that trade-off is lets you choose deliberately instead of guessing. Wide lenses bring you close and create context. Long lenses compress and isolate. The one that fits your style is the one worth investing in.
Watch the full tutorial on YouTube to see the actual side-by-side portrait results with each lens. Seeing the images back to back makes the differences click in a way that reading about focal lengths never quite does.
Comments
Leave a Comment