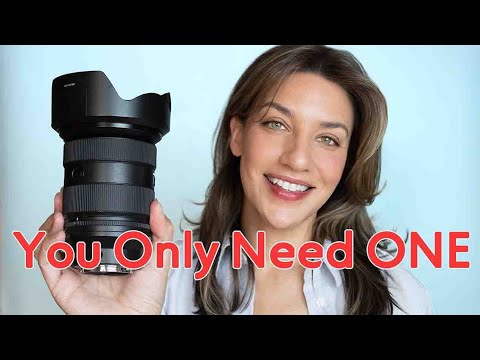
I spent years thinking portrait quality came down to two things: a fast aperture and a sharp lens. Get an f/1.8 prime, shoot wide open, blur the background into oblivion, done. It took an embarrassingly long time for me to realize I was missing the bigger picture, literally. Focal length isn’t just a cropping tool. It fundamentally changes how your subject’s face looks, how the background relates to them, and what emotional story the image tells. Once I understood that, my whole approach to lens selection changed.
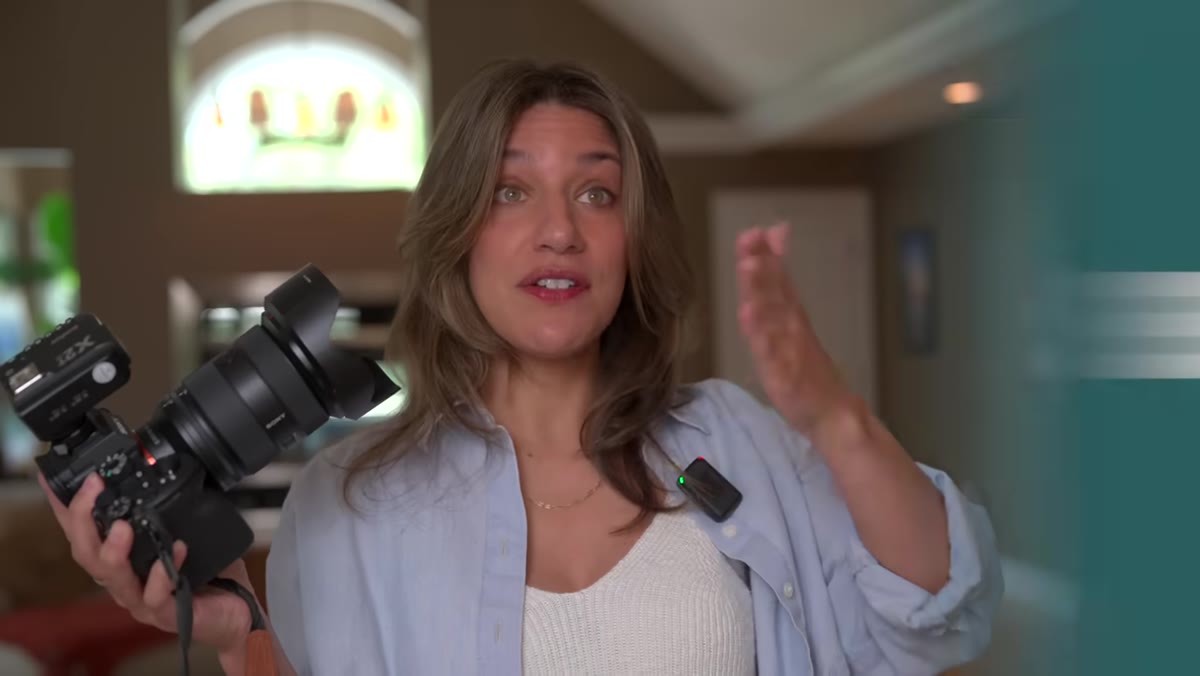
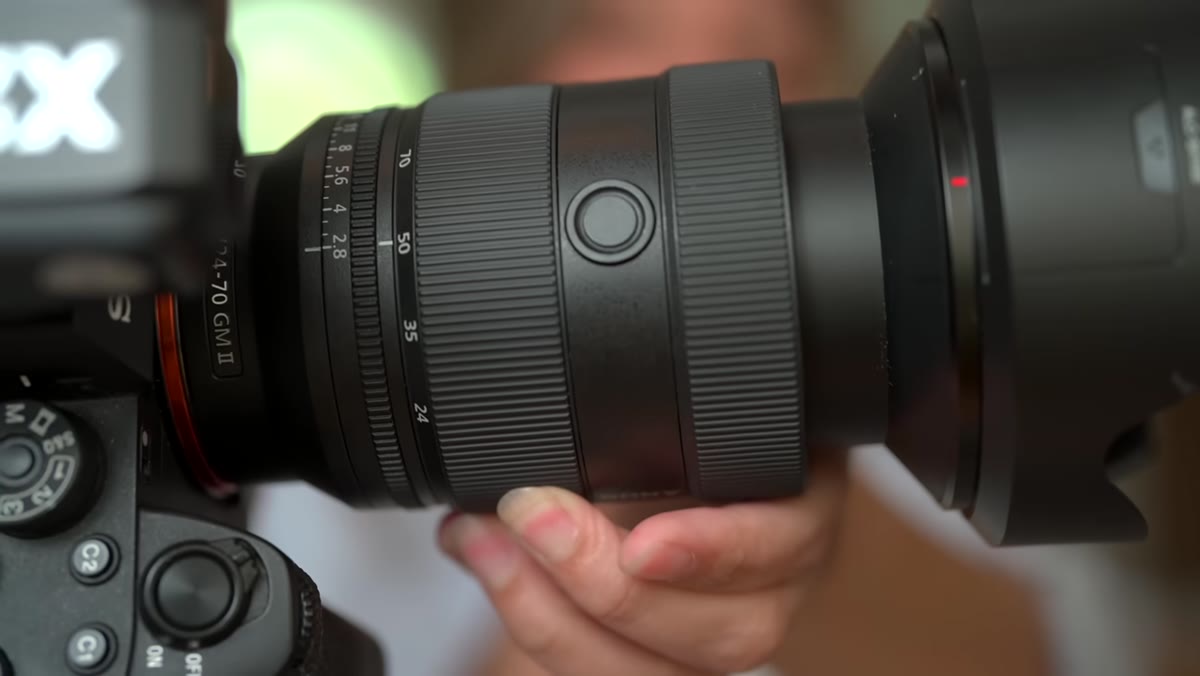
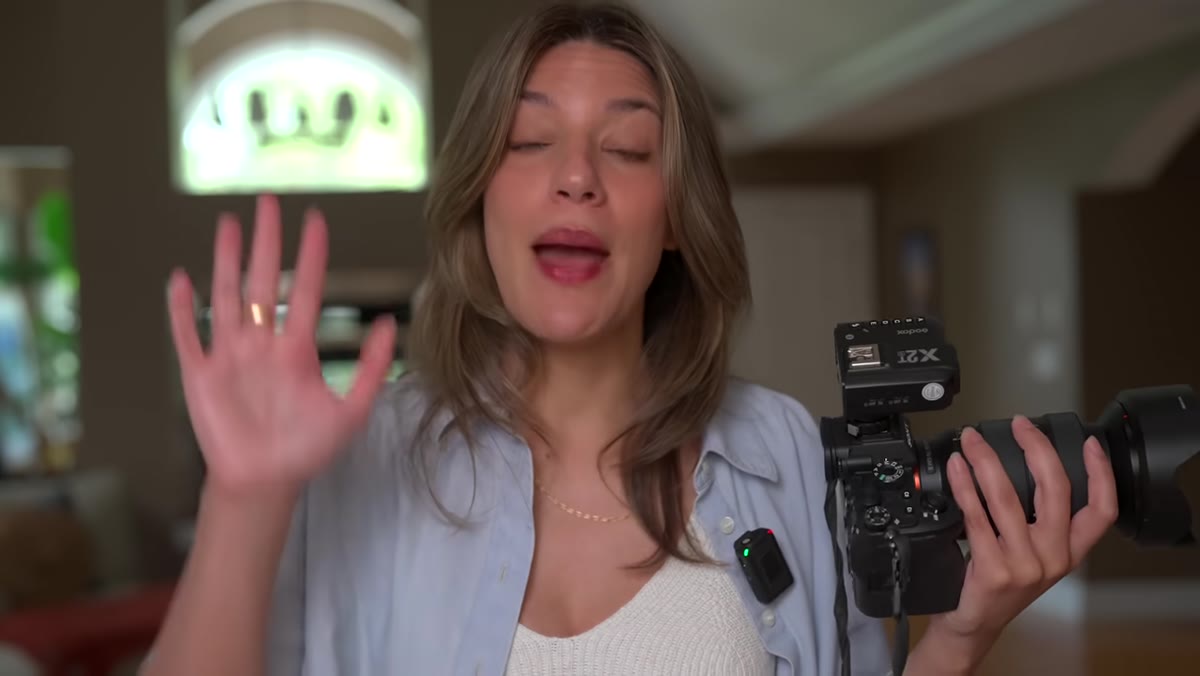
In this Tony & Chelsea Northrup tutorial, Watch the full tutorial on YouTube, Tony makes the case for the 24-70mm f/2.8 zoom as the single best portrait lens investment you can make. He’s shooting with the Sony 24-70mm G Master II, which runs about $2,500. I’ll be honest, that’s not a lens I’m recommending you run out and buy today. But the principles he walks through apply to any zoom covering that range, including several solid options under $600 that I’ve tested. The technique here is the real value. Let me walk you through it.
Step 1: Understand That Focal Length Distorts Faces, Not Just Framing
 Wide vs telephoto comparison of same subject’s face
Most photographers know that a 24mm lens “sees more” than a 70mm lens. What fewer people internalize is that those focal lengths are actively reshaping your subject’s facial geometry depending on how close you are. At 24mm, the center of the frame gets pushed toward the camera while the edges fall away. On a face, that means the nose appears larger, the forehead or chin gets stretched depending on your angle, and the ears seem to disappear toward the sides. The face looks narrower and more intense.
Wide vs telephoto comparison of same subject’s face
Most photographers know that a 24mm lens “sees more” than a 70mm lens. What fewer people internalize is that those focal lengths are actively reshaping your subject’s facial geometry depending on how close you are. At 24mm, the center of the frame gets pushed toward the camera while the edges fall away. On a face, that means the nose appears larger, the forehead or chin gets stretched depending on your angle, and the ears seem to disappear toward the sides. The face looks narrower and more intense.
At 70mm, the opposite happens. The compression of a telephoto focal length pulls background and foreground closer together optically. On a face, that means a smaller-looking nose, ears that appear closer to the nose, and an overall flatter, rounder face. Neither effect is inherently bad. They’re tools. But using them without understanding them is how you end up with unflattering portraits that you can’t quite explain.
Step 2: Use 24mm Close Up for Intimacy and Grit, Not Just Drama
 Taylor Swift Time magazine cover used as wide-angle example
Tony uses a Time magazine cover of Taylor Swift to illustrate this point, and it lands hard. Shot at something close to 24-35mm with the camera in close, the image looks nothing like the polished, compressed glamour shots we usually see. Her nose reads slightly larger, the image has an unguarded, almost confrontational closeness to it. It doesn’t look wrong. It looks raw and real.
Taylor Swift Time magazine cover used as wide-angle example
Tony uses a Time magazine cover of Taylor Swift to illustrate this point, and it lands hard. Shot at something close to 24-35mm with the camera in close, the image looks nothing like the polished, compressed glamour shots we usually see. Her nose reads slightly larger, the image has an unguarded, almost confrontational closeness to it. It doesn’t look wrong. It looks raw and real.
That quality is actually useful. If you’re shooting environmental portraits, documentary-style headshots, or any situation where you want the viewer to feel like they’re in the room with the subject, a shorter focal length used close is your friend. The key phrase is “used close.” If you step back at 24mm, you lose most of the distortion, and the effect softens. So the distance to your subject matters just as much as the focal length you choose.
Step 3: Treat 35mm as Your Approachable Middle Ground for Close Work
 Side-by-side comparison of 35mm vs 24mm portrait shots
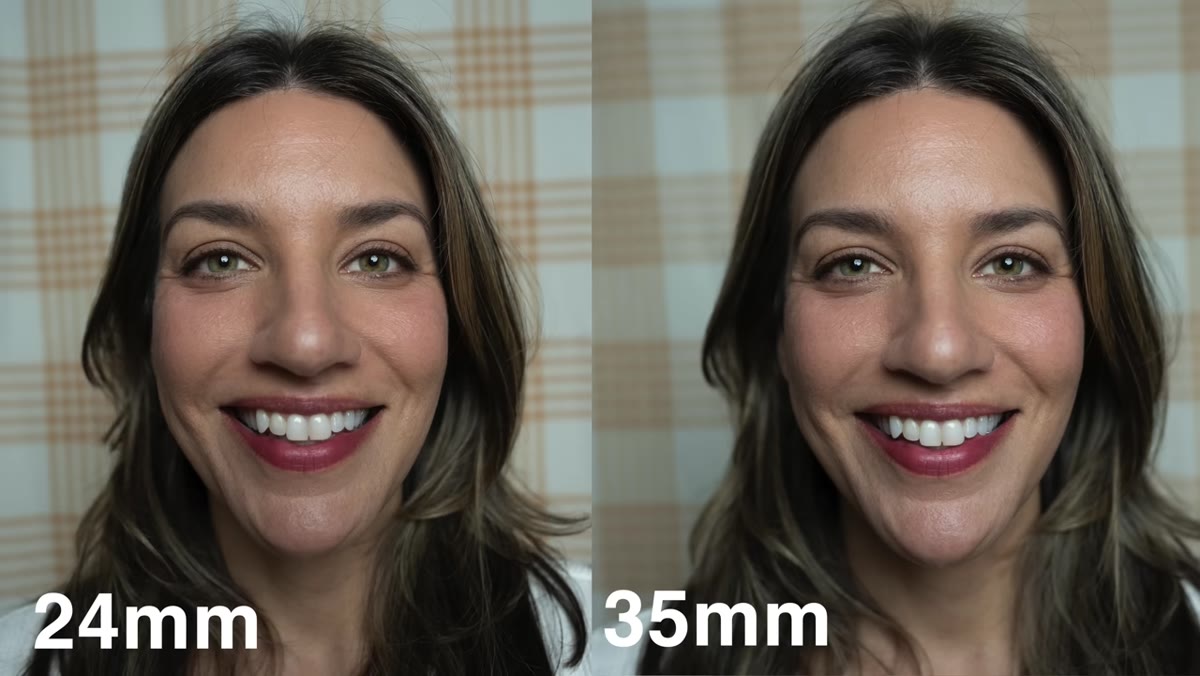
If 24mm close up feels a little aggressive, 35mm gives you most of the intimacy without the exaggerated distortion. Tony compares shots at both focal lengths, and the 35mm image still has that personal, up-close energy, but the face reads more naturally. It’s the kind of image that feels candid without feeling distorted.
Side-by-side comparison of 35mm vs 24mm portrait shots
If 24mm close up feels a little aggressive, 35mm gives you most of the intimacy without the exaggerated distortion. Tony compares shots at both focal lengths, and the 35mm image still has that personal, up-close energy, but the face reads more naturally. It’s the kind of image that feels candid without feeling distorted.
This is the focal length I reach for when I’m shooting in tighter spaces or want a lifestyle-feel portrait where some environment shows in the frame. It’s forgiving, it’s natural, and it doesn’t require you to be hyperaware of how close you are to accidentally cartoon-ify someone’s nose.
Step 4: Default to 50mm When You Want Neutral, Flattering Results
 50mm portrait showing balanced facial features
Tony calls 50mm the sweet spot, and the reasoning is practical. The 50mm focal length approximates how the human eye perceives depth and proportion, so faces at 50mm look like faces. Features appear balanced. There’s enough compression to avoid the wide-angle stretch, but not so much that the face starts going flat.
50mm portrait showing balanced facial features
Tony calls 50mm the sweet spot, and the reasoning is practical. The 50mm focal length approximates how the human eye perceives depth and proportion, so faces at 50mm look like faces. Features appear balanced. There’s enough compression to avoid the wide-angle stretch, but not so much that the face starts going flat.
You also get a natural reduction in background visibility compared to wider focal lengths, along with a bit more background blur. For anyone doing standard headshots or portraits where you want the subject to look their best without any stylistic agenda, 50mm is the reliable answer. I’d go so far as to say most portrait sessions should probably be anchored here.
Step 5: Use 70mm Compression Deliberately, and Know When It Backfires
 70mm portrait showing compression effect on facial features
At the telephoto end of a 24-70mm zoom, you’re getting meaningful compression. The background and subject appear closer together in the frame. On a face, that pushes the nose and ears optically closer, creating a flatter, rounder appearance. For subjects with stronger bone structure, this can look genuinely flattering. Tony says it with some confidence that he thinks he looks quite good at 70mm, and honestly, it works.
70mm portrait showing compression effect on facial features
At the telephoto end of a 24-70mm zoom, you’re getting meaningful compression. The background and subject appear closer together in the frame. On a face, that pushes the nose and ears optically closer, creating a flatter, rounder appearance. For subjects with stronger bone structure, this can look genuinely flattering. Tony says it with some confidence that he thinks he looks quite good at 70mm, and honestly, it works.
The caveat matters, though. If someone already has a rounder or flatter face, 70mm can push that into what Tony calls “moon face,” where the compression turns a naturally round face into something that looks almost circular. In those cases, pulling back to 35mm or even 24mm and stepping closer will serve the subject better. This is why knowing your focal lengths isn’t just a technical exercise. It’s how you make good decisions quickly on a shoot.
What I’d Add: Budget Zooms That Teach the Same Lessons
I’m not going to pretend the Sony G Master II is on my radar for a personal purchase. But I’ve run similar focal length comparisons with the Tamron 28-75mm f/2.8 G2, which you can find used for well under $500, and the visual principles Tony demonstrates hold up completely. The distortion behavior at wide focal lengths, the compression at the telephoto end, the way 50mm just sits naturally on a face, none of that is proprietary to a $2,500 lens.
My actual suggestion: if you already own a kit zoom that covers 24-70mm or something close to it, run your own version of Tony’s comparison before buying anything. Set up a subject at a fixed distance, shoot the same framing at 24, 35, 50, and 70mm, and look at the faces. You’ll see exactly what he’s talking about. That exercise alone is worth more than reading gear specs for an hour, and it’ll help you decide which focal lengths you actually reach for before spending money on a dedicated lens.
The single biggest takeaway from this tutorial is that focal length is a creative decision, not just a framing one. Your choice of where to stand and what to zoom to is shaping your subject’s face, the story your image tells, and how the viewer emotionally connects with the portrait. That’s not something you outsource to a camera. That’s the work.
Watch the full tutorial on YouTube to see Tony’s side-by-side comparisons in motion. Seeing the shift from 24mm to 70mm on the same subject in real time makes the concept click in a way that reading about it doesn’t fully replicate.
Comments
Leave a Comment