Checkerboard Lighting: How to Use Background Light for Dramatic Portraits

Checkerboard Lighting: How to Use Background Light for Dramatic Portraits

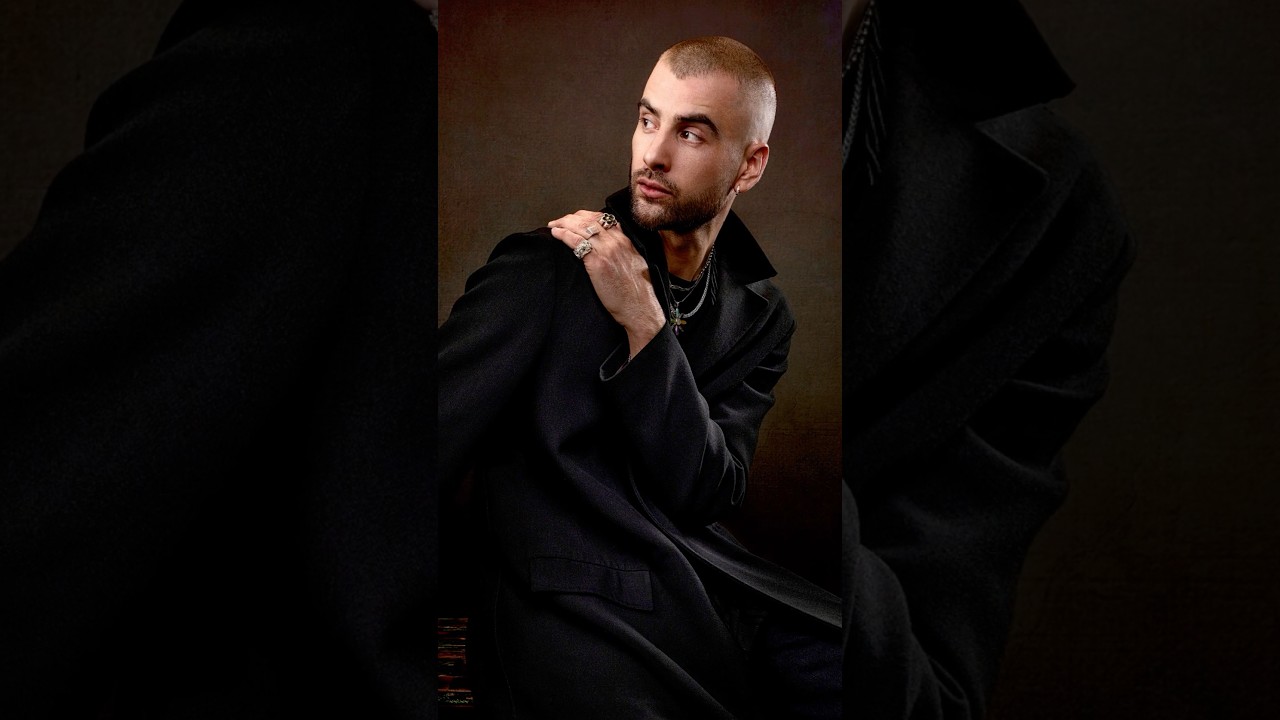
Background light is one of those things I ignored for an embarrassingly long time. My subject would look fine on camera, but something always felt flat about the image. The shadow side of a face would just dissolve into the background like the person was being swallowed by the frame. I kept thinking it was a posing problem or a post-processing problem. It wasn’t. It was a separation problem, and the fix lives in how you think about your background.

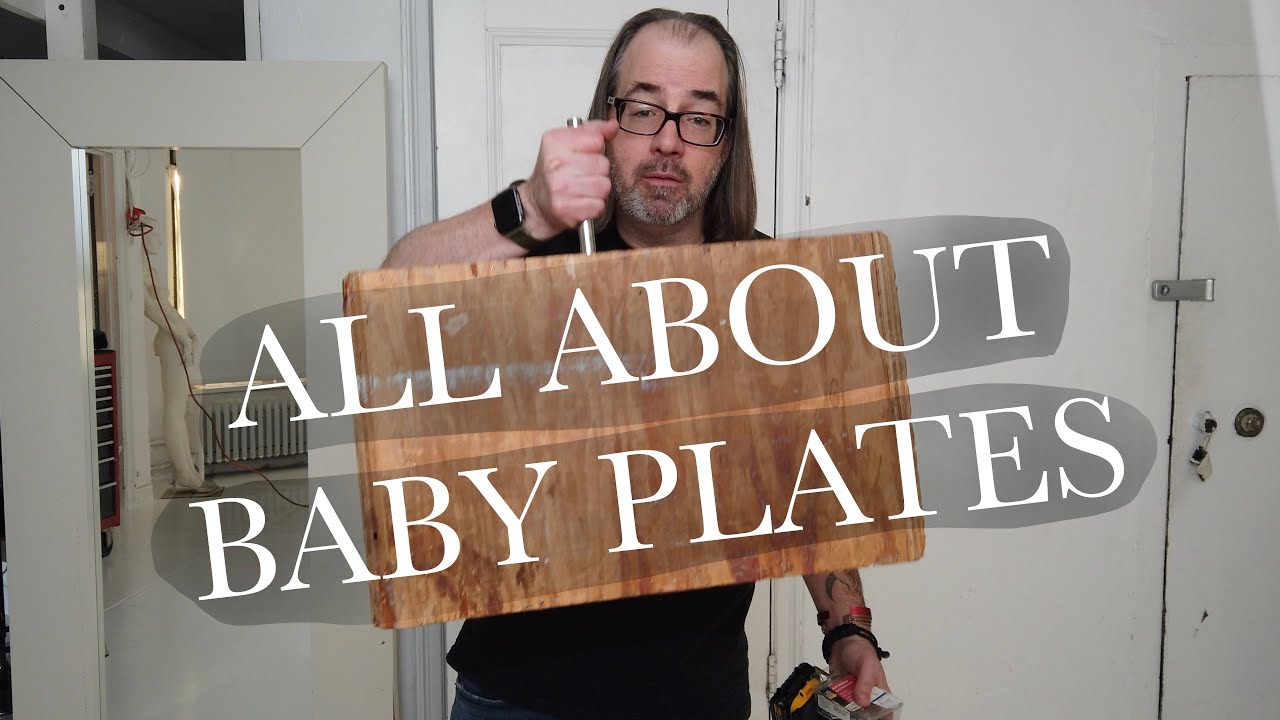
Baby Plates: The $15 Grip Accessory That Unlocks a Permanent Studio Setup

Baby Plates: The $15 Grip Accessory That Unlocks a Permanent Studio Setup

If you shoot in a small studio or on location with any regularity, you’ve probably hit this wall: you need a light somewhere there’s no logical place to put a stand. Maybe the corner is too tight, the floor is too cluttered, or you’re working in a space where you’ll be back every week and setting up stands every single time is eating into your shoot time. This is the problem that baby plates solve, and once you understand what they are, you’ll wonder how you worked without them.

How to Shoot Lens Flare In-Camera for Portraits (No Photoshop Required)

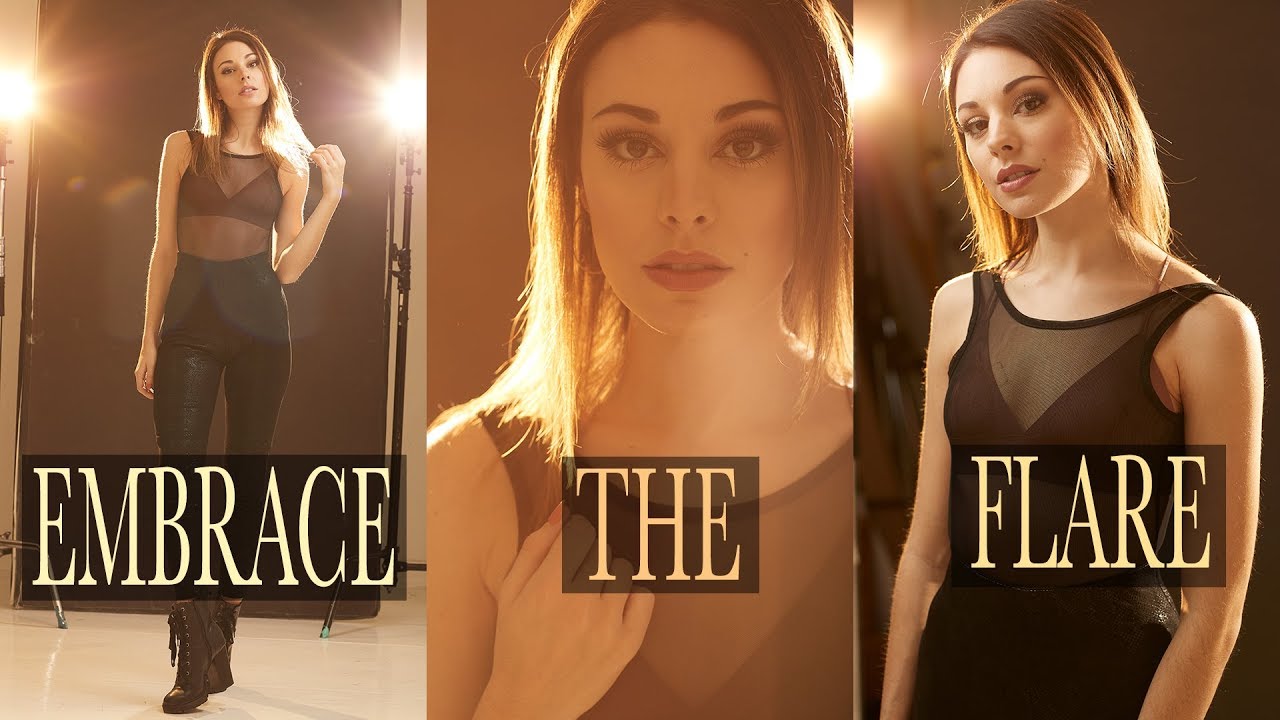
How to Shoot Lens Flare In-Camera for Portraits (No Photoshop Required)

Most of the lens flare you see in portraits is faked in post. A few clicks in Lightroom, a flare overlay from some preset pack, and suddenly everything looks like a J.J. Abrams fever dream. I get it. It’s fast. But there’s a problem: fake flare looks flat. It sits on top of the image instead of living inside it, and anyone who shoots seriously can spot it. Real, in-camera flare has a quality to it that you just can’t replicate with a slider.

Two Lights, One Reflector, Zero Excuses: A Simple Portrait Setup That Actually Works

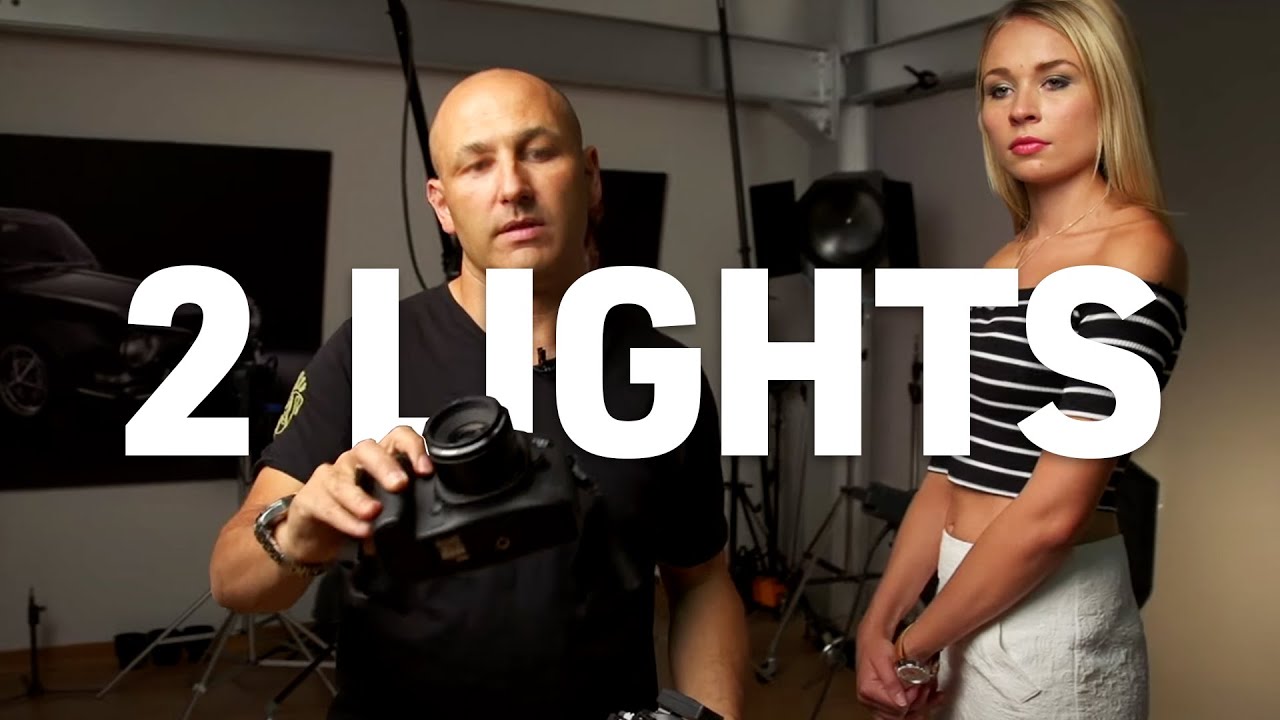
Two Lights, One Reflector, Zero Excuses: A Simple Portrait Setup That Actually Works

I’ve done the blind test. I’ve stood in a room full of photographers and watched them fail to pick out which portrait came from a $500 camera and which came from a $2,000 one. Every time, the conversation eventually lands in the same place: it was the light. Not the sensor. Not the glass. The light. That’s why this particular tutorial from Visual Education stopped my morning scroll cold. It strips a portrait setup down to two lights and a piece of foam board, then shoots the same subject on a high-end Canon 5D and a budget Olympus mirrorless camera to prove the point.

Joel Grimes' 10-Step Lighting Formula: What It Actually Teaches You About Light Ratios

Joel Grimes' 10-Step Lighting Formula: What It Actually Teaches You About Light Ratios

I’ve been shooting portraits on a tight budget for years, and the single thing that separated my early work from anything worth showing was not the camera or the lens. It was having no real system for light. I’d move a softbox around until something looked “pretty good,” chimp the screen, adjust again. It worked sometimes. But I couldn’t repeat it, and I definitely couldn’t explain what I’d done after the fact.

Joel Grimes' Lighting Breakdown: What I Actually Took Away (And What I'd Change)

Joel Grimes' Lighting Breakdown: What I Actually Took Away (And What I'd Change)

Dramatic portrait lighting is one of those things that looks impossibly complex until someone pulls back the curtain and shows you exactly what’s happening. I’ve spent a lot of time reverse-engineering lighting setups from behind-the-scenes photos, squinting at catch lights in subjects’ eyes, trying to figure out where the photographer put their gear. It’s a frustrating way to learn. So when I came across a breakdown that just tells you directly, I pay attention.