Fake Lens Flare That Actually Looks Real: A Photoshop Technique Worth Stealing

Fake Lens Flare That Actually Looks Real: A Photoshop Technique Worth Stealing

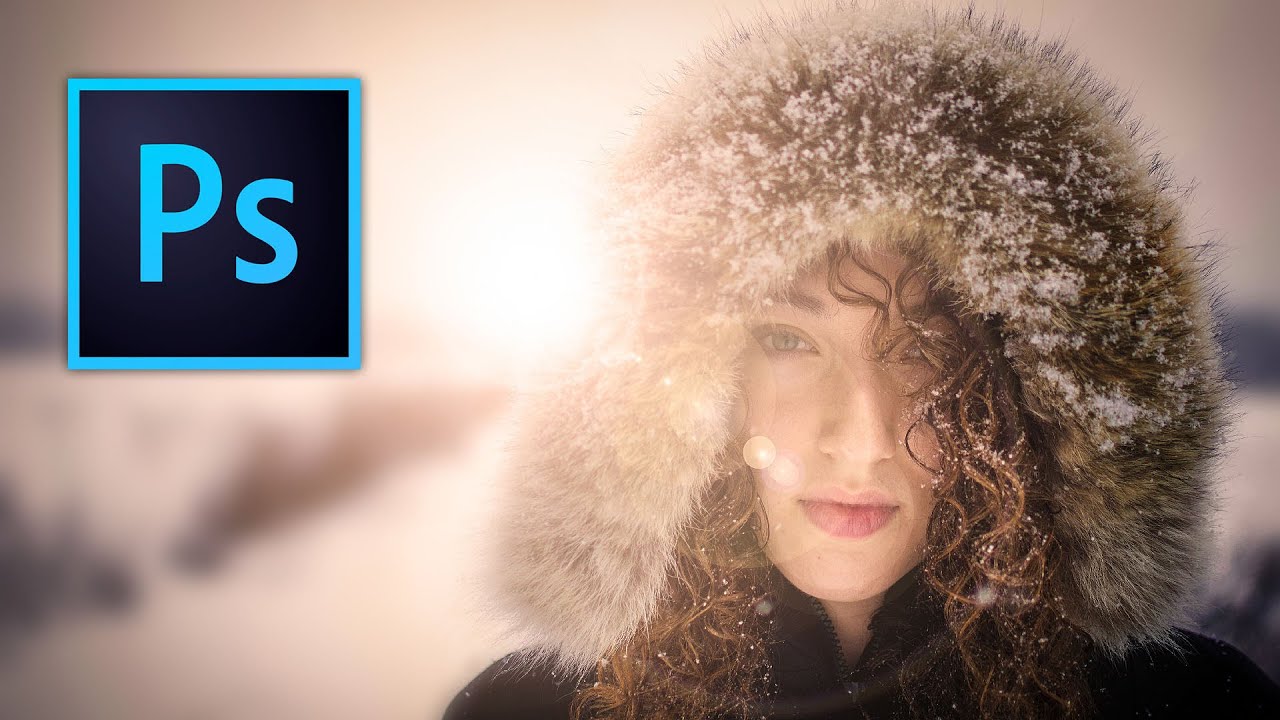
Most of my work lives or dies on what I do after the shoot, not during it. I shoot a lot of outdoor portraits on overcast days in Denver because the light is consistent and I don’t have to fight harsh shadows. The tradeoff is that the images can feel a little flat, a little clinical. No warmth, no magic, nothing that makes someone stop scrolling. For a long time I thought lens flare was something you either captured in camera or you didn’t.
How to Use Intentional Lens Flare for Dramatic Portrait Lighting (Lighting Setup Breakdown)

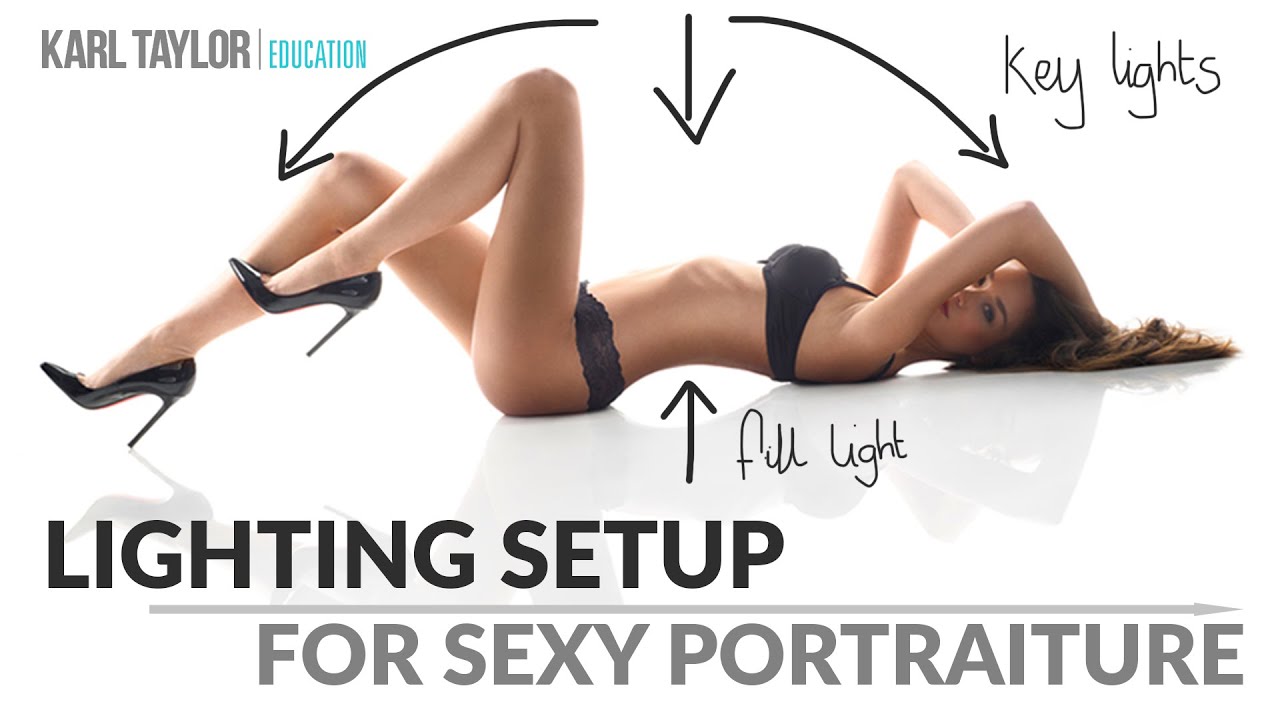
How to Use Intentional Lens Flare for Dramatic Portrait Lighting (Lighting Setup Breakdown)

Most portrait photographers I know treat lens flare like a mistake to avoid. And honestly, for a long time I did too. When you’re shooting on a budget and you can’t afford to reshoot, flare feels like a liability. But there’s a version of intentional flare that looks nothing like an accident. It looks cinematic, controlled, almost otherworldly. The kind of light that wraps over a subject’s skin like they’re glowing from the inside.

Add Cinematic Light Beams and Lens Flare in Photoshop (Aaron Nace's Method, Broken Down)

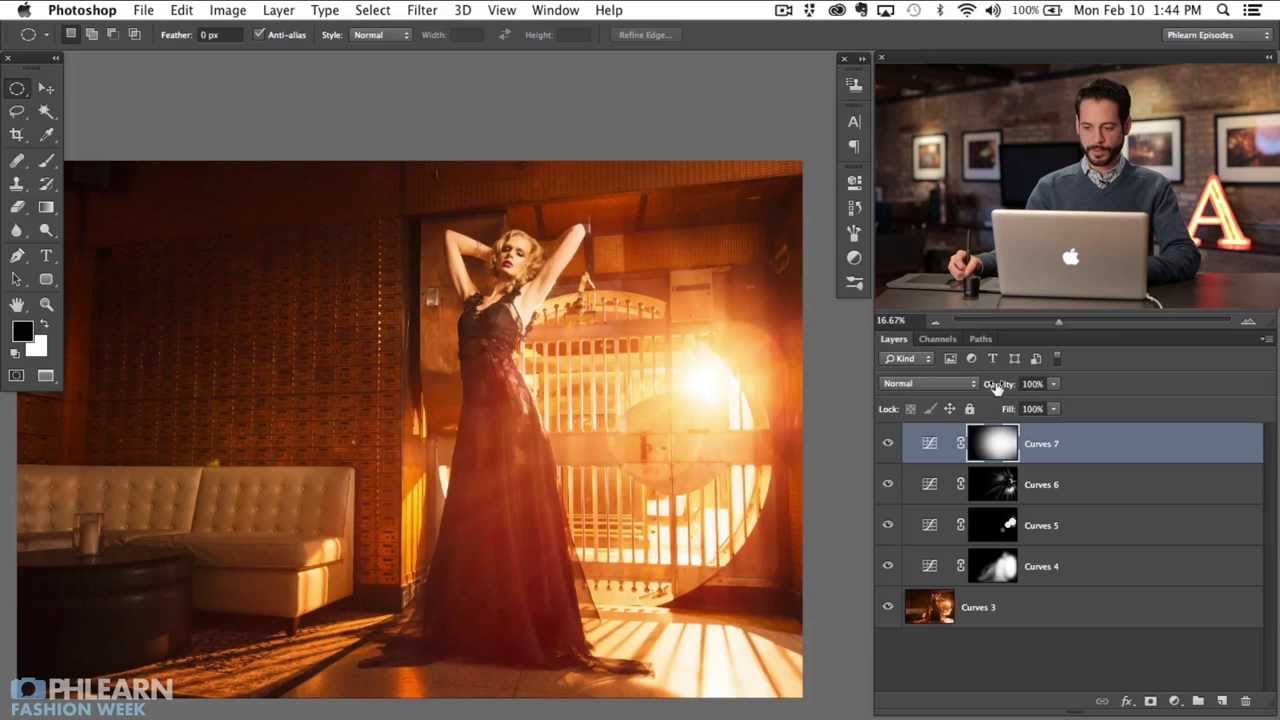
Add Cinematic Light Beams and Lens Flare in Photoshop (Aaron Nace's Method, Broken Down)

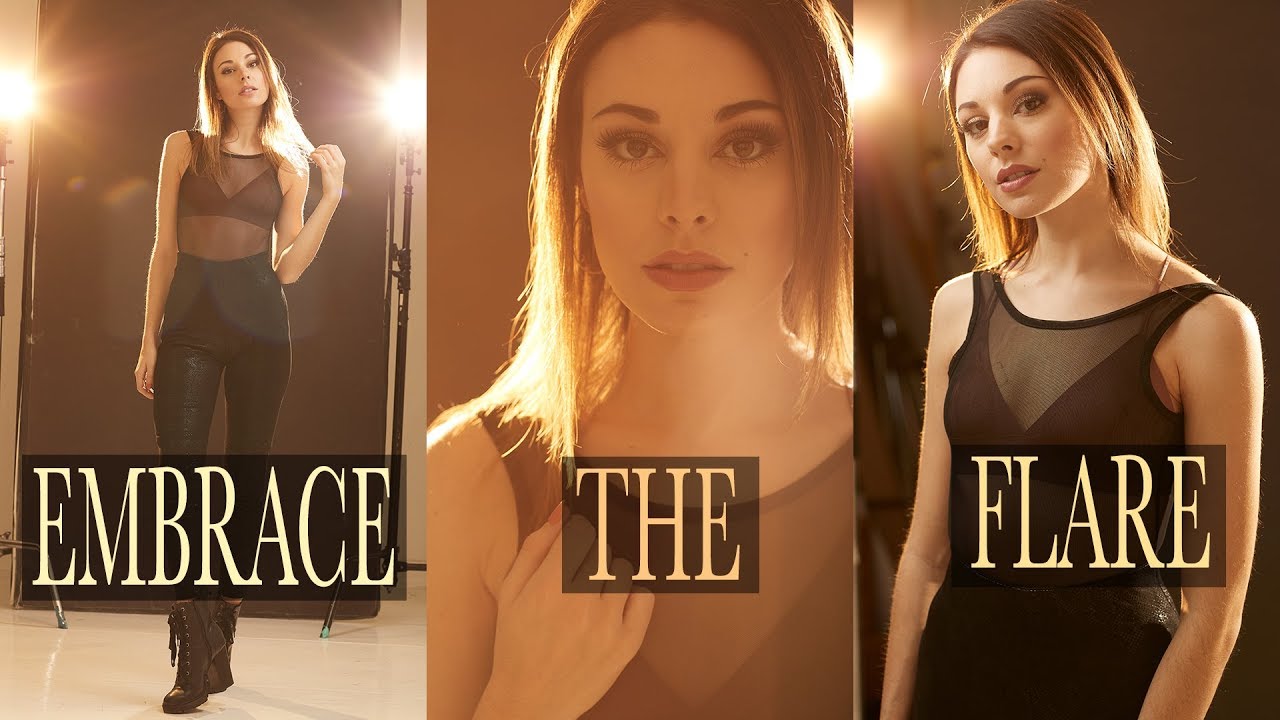
I spend a lot of time thinking about how to squeeze more out of a shot after it’s already been taken. Gear budgets have limits, but Photoshop doesn’t care what camera you used. That’s the real appeal of post-processing techniques like this one. In this Aaron Nace (PHLEARN) tutorial, Watch the full tutorial on YouTube, Aaron walks through how to build realistic beams of light and lens flare directly in Photoshop, starting from a fashion image that already had a backlit strobe behind a set of bars.

How to Paint Out Lens Flare in Photoshop Using Color Blend Mode (No Messy Selections Required)

How to Paint Out Lens Flare in Photoshop Using Color Blend Mode (No Messy Selections Required)

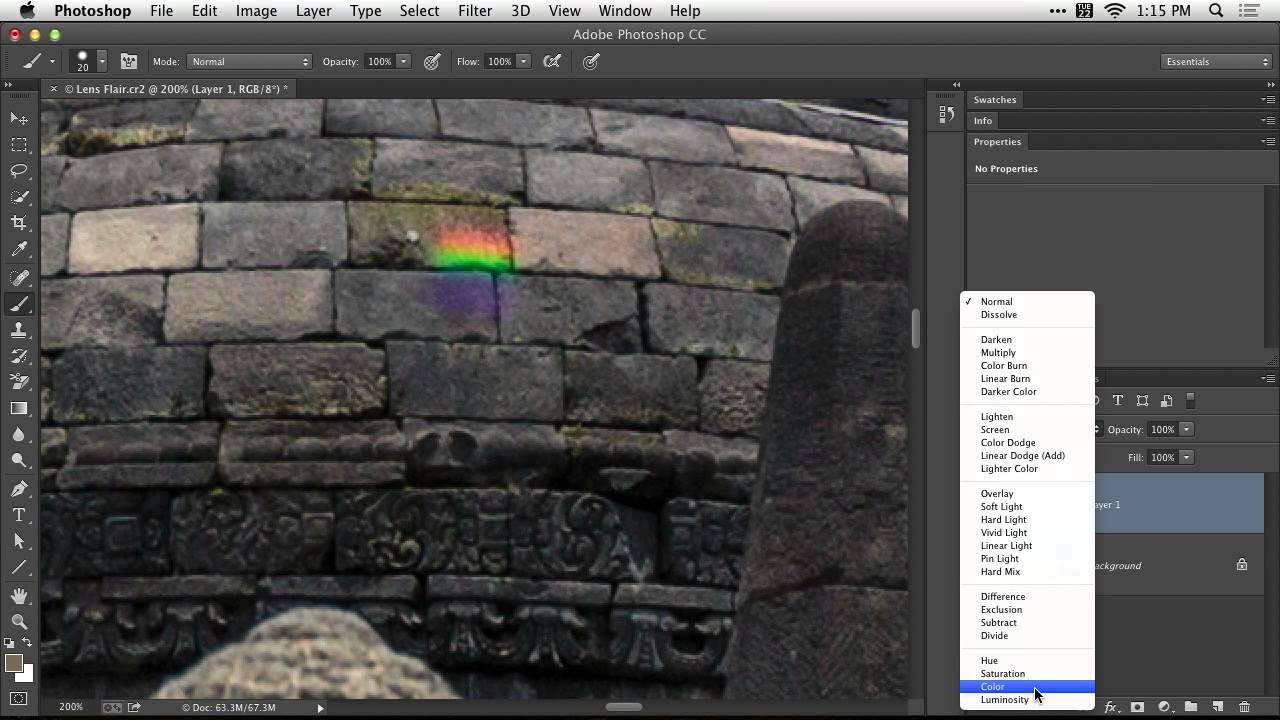
Lens flare is one of those problems that looks almost unfixable after the fact. You’re shooting into the light, the sun clips your front element, and suddenly there’s a smear of color across your subject that has nothing to do with the actual scene. I’ve lost more than a few otherwise solid shots to it, especially shooting outdoors with budget glass that doesn’t have the best coatings. Most of the quick fixes I’ve tried either smear the detail underneath or leave an obvious patch where the texture goes flat.

How to Put a Lens Flare on Its Own Layer in Photoshop (So You Can Actually Control It)

How to Put a Lens Flare on Its Own Layer in Photoshop (So You Can Actually Control It)

If you’ve ever applied Photoshop’s built-in lens flare filter and immediately regretted where you put it, you’re not alone. The filter has one deeply annoying limitation: it bakes directly onto whatever layer you’re working on, and if that layer is empty, Photoshop won’t even let you run it. You’re stuck either flattening your whole image first or stamping a visible layer just to have something for the filter to grab onto.

Lens Flare Is Killing Your Backlit Shots (Here's the Cheap Fix You're Probably Ignoring)

Lens Flare Is Killing Your Backlit Shots (Here's the Cheap Fix You're Probably Ignoring)

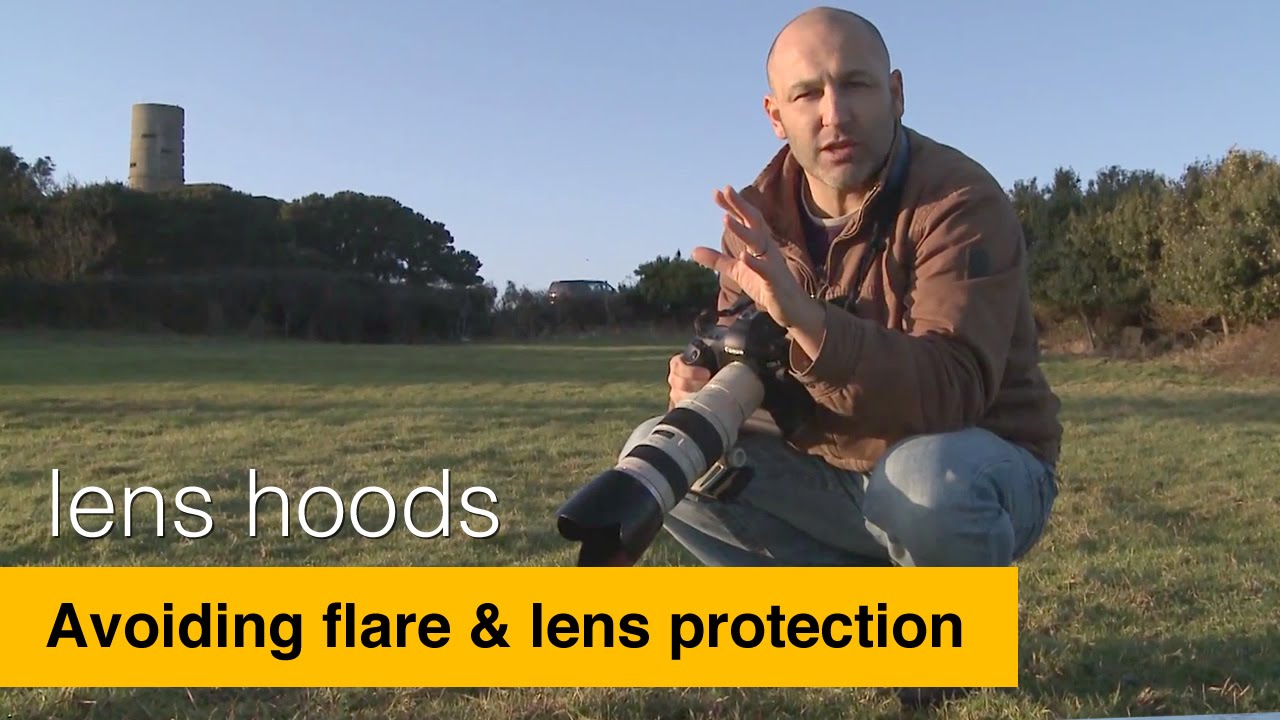
Lens flare is one of those problems that sneaks up on you. You’re out in the field, the light looks gorgeous, you fire off a hundred shots, and then you get home and half of them have that washed-out, hazy look that no amount of Lightroom work can fully rescue. I ran into this constantly when I was starting out, shooting in Denver where we get brutal midday sun and wide-open skies that seem designed to wreck backlit compositions.

How to Shoot Lens Flare In-Camera for Portraits (No Photoshop Required)

How to Shoot Lens Flare In-Camera for Portraits (No Photoshop Required)

Most of the lens flare you see in portraits is faked in post. A few clicks in Lightroom, a flare overlay from some preset pack, and suddenly everything looks like a J.J. Abrams fever dream. I get it. It’s fast. But there’s a problem: fake flare looks flat. It sits on top of the image instead of living inside it, and anyone who shoots seriously can spot it. Real, in-camera flare has a quality to it that you just can’t replicate with a slider.

How to Fake a Lens Flare in Photoshop Using Gradients and Layer Blending (No Plugin Required)

How to Fake a Lens Flare in Photoshop Using Gradients and Layer Blending (No Plugin Required)

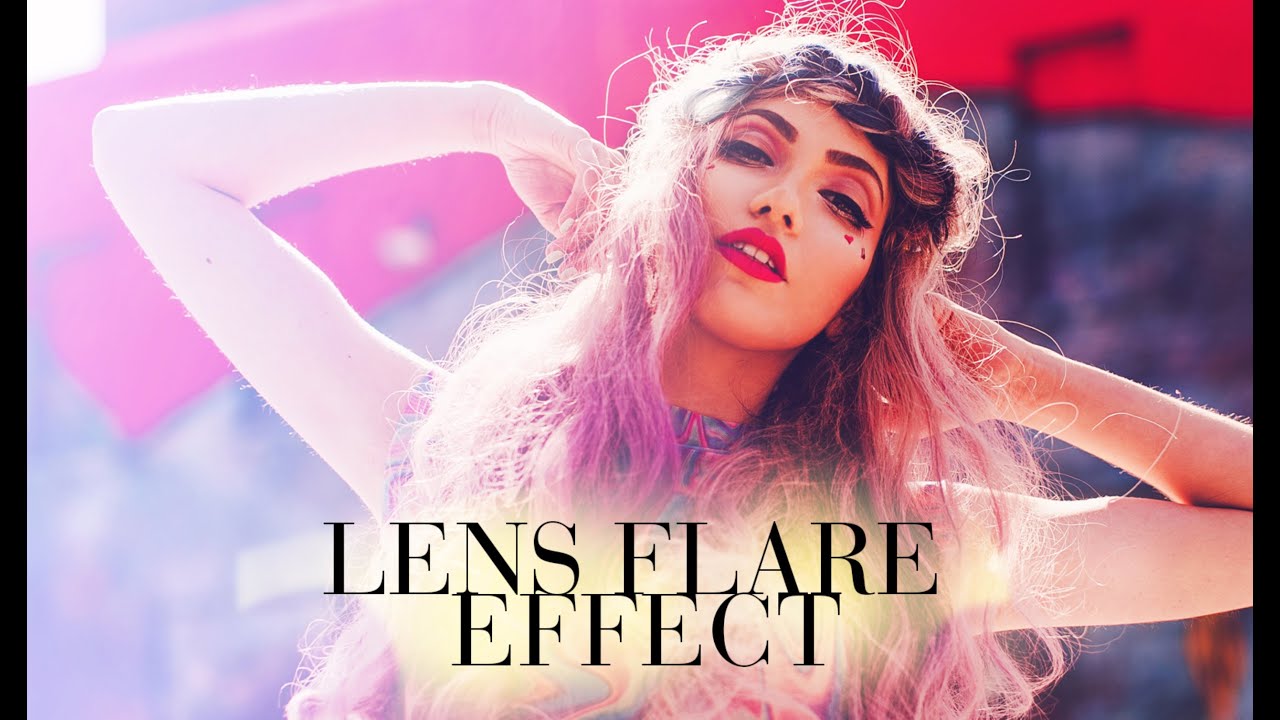
I used to think lens flare effects required either an expensive prime lens shot wide open into harsh backlight, or some bloated plugin that costs more than a budget nifty fifty. Turns out neither is true. In this Jessica Kobeissi tutorial on creating a lens flare effect in Photoshop, she walks through a surprisingly simple gradient-based method that produces a convincing warm, glowing flare using tools that are already sitting in your Photoshop toolbar.

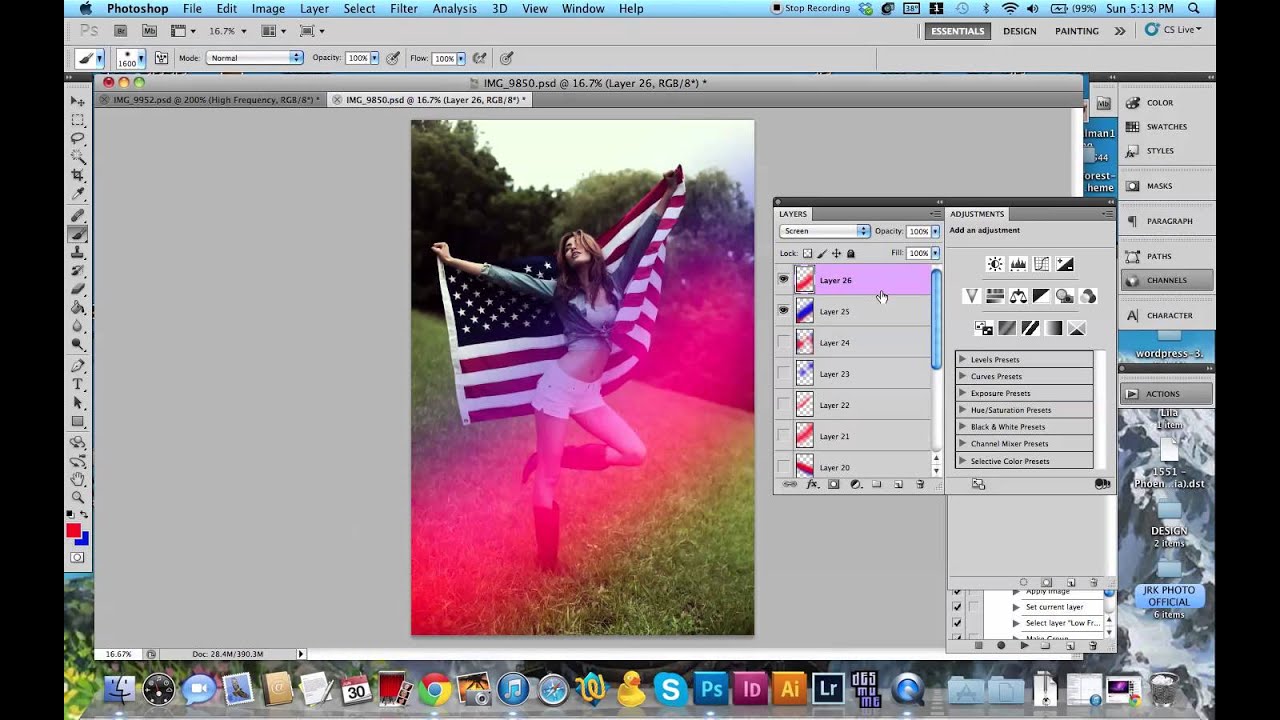
Stop Making Lens Flares Look Fake: A Photoshop Technique That Actually Works

Stop Making Lens Flares Look Fake: A Photoshop Technique That Actually Works

Lens flares are one of those effects that photographers either overuse into oblivion or avoid entirely because they’ve seen too many bad examples. I’ve been guilty of both. The overuse phase hit me hard around year two of shooting, and the avoidance phase lasted a lot longer than it should have. What changed my mind was stumbling across a technique that treats the lens flare not as a gimmick slapped on top of a photo, but as a lighting tool that earns its place in the image.