Fix Distorted Architecture Photos in Lightroom: A Step-by-Step Guide Using Lens Corrections and Guided Transforms

Fix Distorted Architecture Photos in Lightroom: A Step-by-Step Guide Using Lens Corrections and Guided Transforms

Wide-angle lenses are some of the best value in photography. A fast, sharp wide-angle prime for a crop sensor camera can run you under $200, and the creative range you get is enormous. But there’s a catch: shoot a building with one and you’ll often come back with something that looks like the structure is either falling over or lunging at the viewer. I’ve run into this constantly, especially shooting street scenes and architecture for local editorial clients.
Fake Lens Flare That Actually Looks Real: A Photoshop Technique Worth Stealing

Fake Lens Flare That Actually Looks Real: A Photoshop Technique Worth Stealing

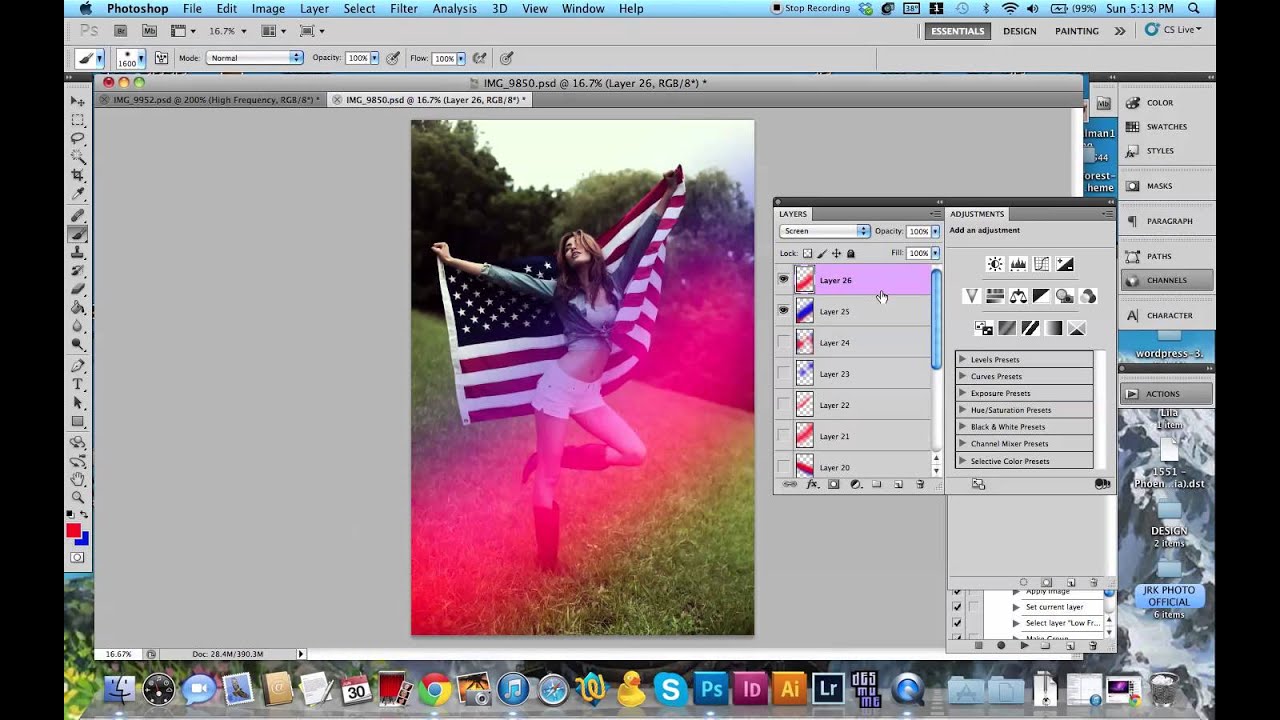
Most of my work lives or dies on what I do after the shoot, not during it. I shoot a lot of outdoor portraits on overcast days in Denver because the light is consistent and I don’t have to fight harsh shadows. The tradeoff is that the images can feel a little flat, a little clinical. No warmth, no magic, nothing that makes someone stop scrolling. For a long time I thought lens flare was something you either captured in camera or you didn’t.

How to Fake Expensive Bokeh in Photoshop (No Fast Lens Required)

How to Fake Expensive Bokeh in Photoshop (No Fast Lens Required)

I’ve been saying for years that the gap between a kit lens and a $1,200 prime isn’t as wide as the gear crowd wants you to believe. I started with a $300 camera kit and shot a wedding that ended up published in a local magazine. Nobody asked what lens I used. What they cared about was whether the subject popped off the background, whether the photo felt professional. That separation, that sense of depth, is something most people assume you can only get by spending serious money on fast glass.

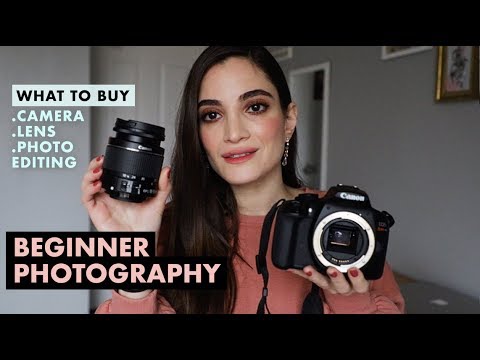
Skip the Kit: Jessica Kobeissi's Beginner Camera Advice Actually Holds Up

Skip the Kit: Jessica Kobeissi's Beginner Camera Advice Actually Holds Up

Every few months I get the same message from someone just getting started: “I bought the kit and now I have no idea what I’m doing.” They spent $700 on a camera-and-lens bundle, the lens is already collecting dust, and they’re frustrated. I’ve been there. I started with a $300 camera kit and somehow shot a wedding that ended up in a local magazine, so I know the gear is rarely the actual problem.

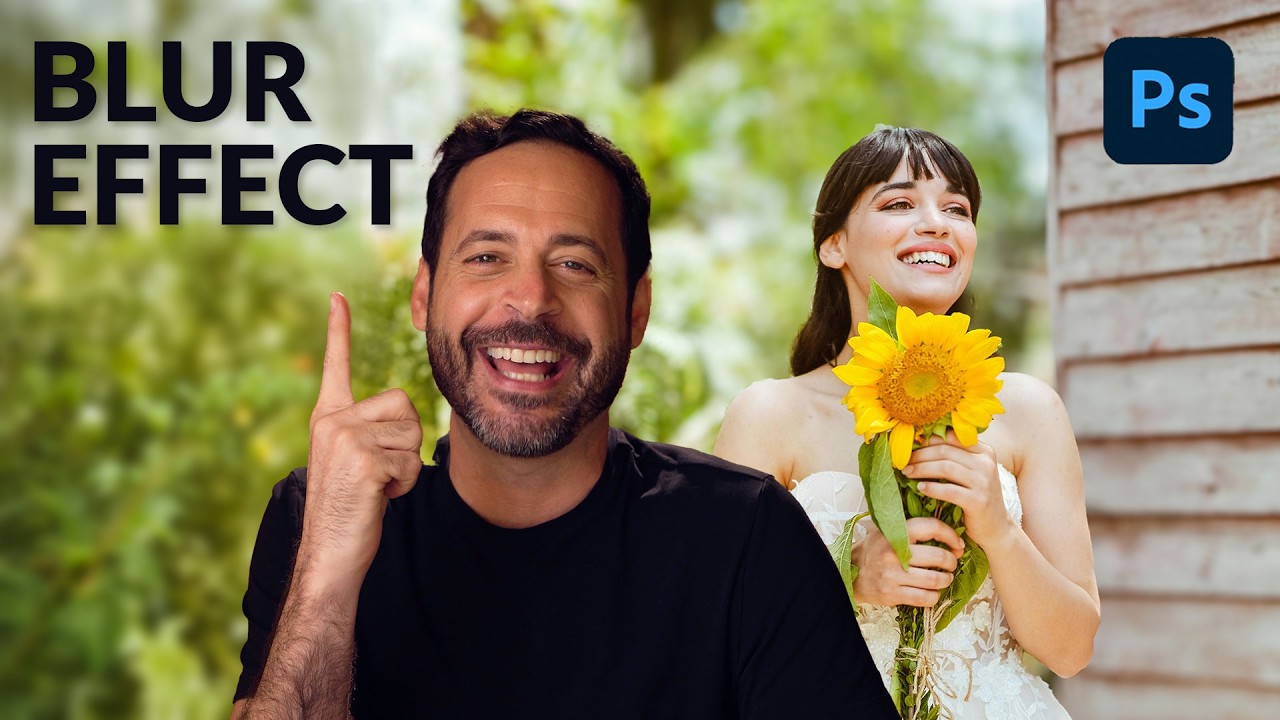
How to Fake a Better Lens with Photoshop's AI Lens Blur (And Why It Actually Works)

How to Fake a Better Lens with Photoshop's AI Lens Blur (And Why It Actually Works)

I’ll be honest with you: I’ve spent an embarrassing amount of money chasing shallow depth of field. Budget lenses, fast primes, crop sensor math, the whole rabbit hole. So when Lightroom dropped its AI lens blur feature and photographers started losing their minds over it, my first thought wasn’t “cool new toy.” It was “does this actually hold up, or is it going to look like a phone portrait mode gone wrong?

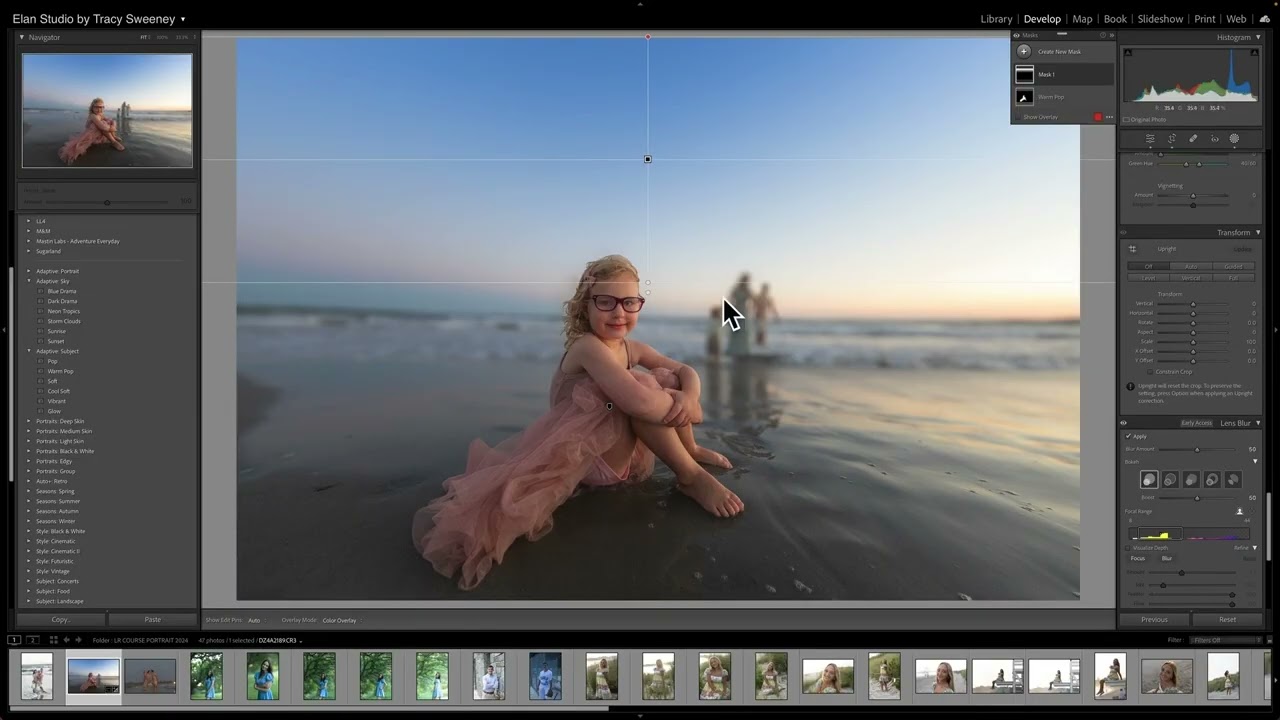
Fake the Bokeh: How to Add Lens Blur in Lightroom Without a Prime Lens

Fake the Bokeh: How to Add Lens Blur in Lightroom Without a Prime Lens

I shoot on a budget. That’s literally my whole thing. And one of the most common complaints I hear from readers who are working with kit lenses or slower zooms is that they can’t get that soft, blurry background that makes portraits look polished and intentional. They think the only answer is to drop $400 on a fast prime. I’ve been there. I still remember agonizing over whether to buy a 50mm f/1.

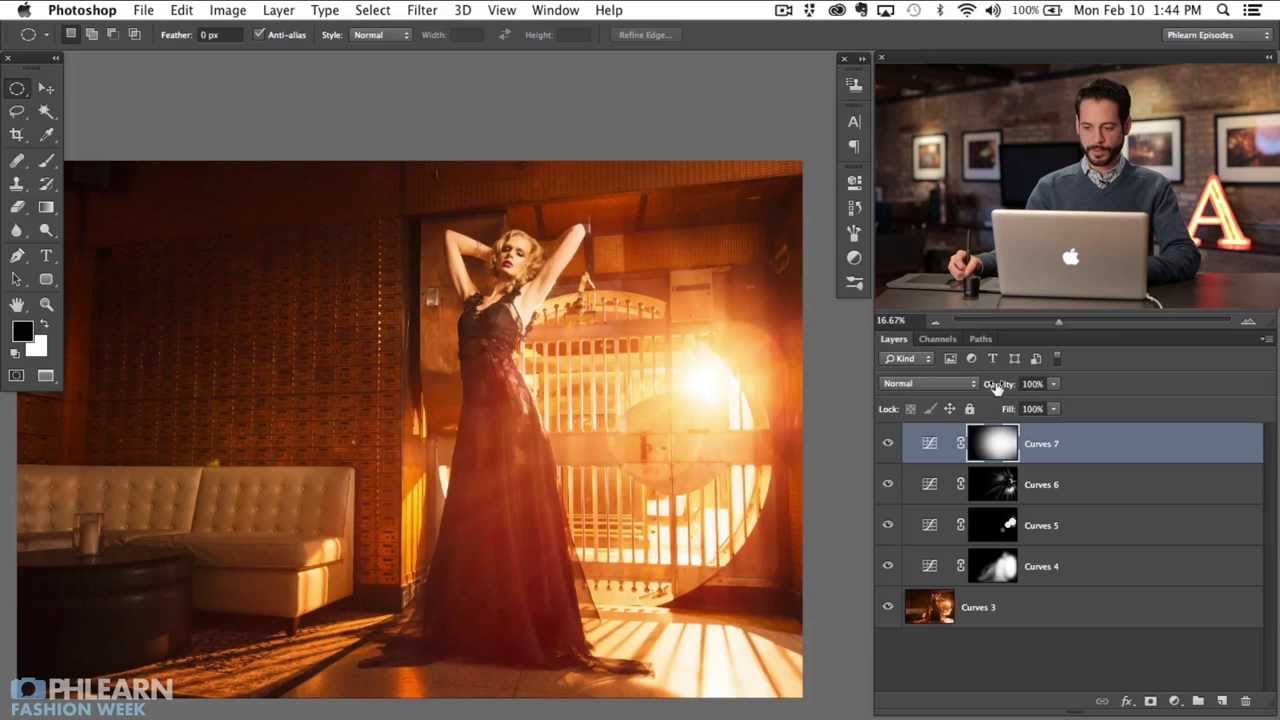
Add Cinematic Light Beams and Lens Flare in Photoshop (Aaron Nace's Method, Broken Down)

Add Cinematic Light Beams and Lens Flare in Photoshop (Aaron Nace's Method, Broken Down)

I spend a lot of time thinking about how to squeeze more out of a shot after it’s already been taken. Gear budgets have limits, but Photoshop doesn’t care what camera you used. That’s the real appeal of post-processing techniques like this one. In this Aaron Nace (PHLEARN) tutorial, Watch the full tutorial on YouTube, Aaron walks through how to build realistic beams of light and lens flare directly in Photoshop, starting from a fashion image that already had a backlit strobe behind a set of bars.

How to Paint Out Lens Flare in Photoshop Using Color Blend Mode (No Messy Selections Required)

How to Paint Out Lens Flare in Photoshop Using Color Blend Mode (No Messy Selections Required)

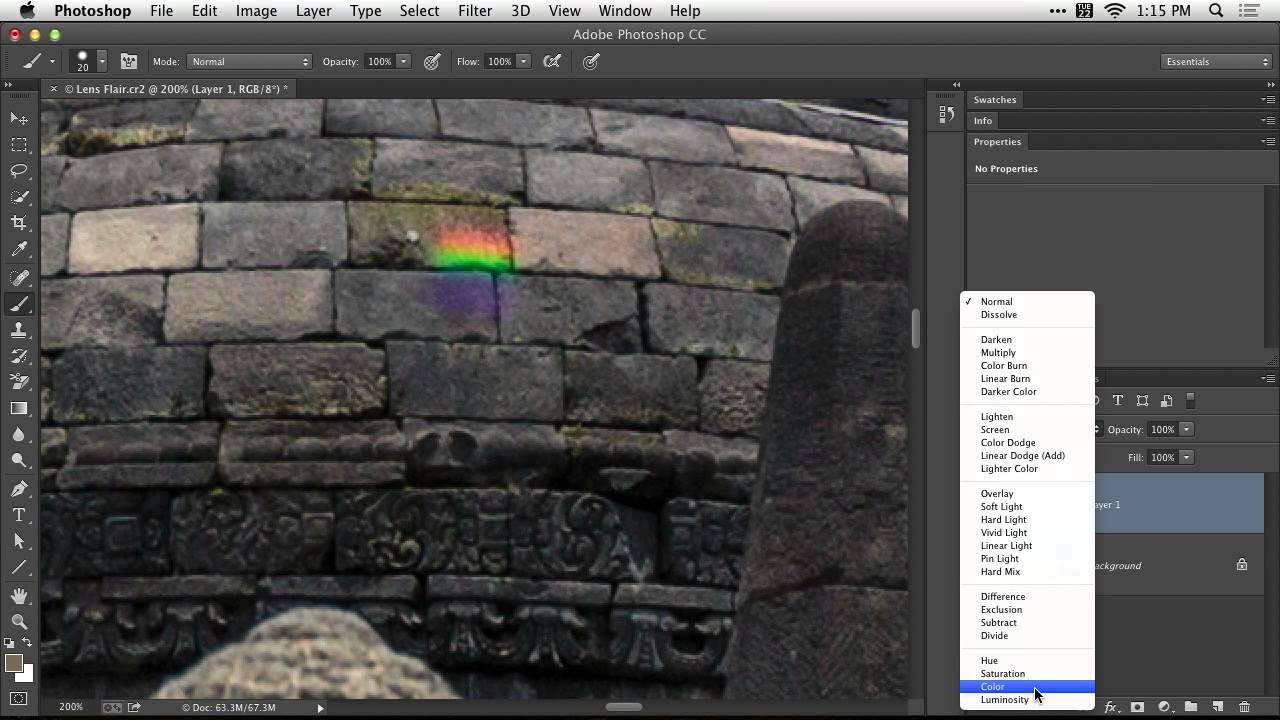
Lens flare is one of those problems that looks almost unfixable after the fact. You’re shooting into the light, the sun clips your front element, and suddenly there’s a smear of color across your subject that has nothing to do with the actual scene. I’ve lost more than a few otherwise solid shots to it, especially shooting outdoors with budget glass that doesn’t have the best coatings. Most of the quick fixes I’ve tried either smear the detail underneath or leave an obvious patch where the texture goes flat.

How to Put a Lens Flare on Its Own Layer in Photoshop (So You Can Actually Control It)

How to Put a Lens Flare on Its Own Layer in Photoshop (So You Can Actually Control It)

If you’ve ever applied Photoshop’s built-in lens flare filter and immediately regretted where you put it, you’re not alone. The filter has one deeply annoying limitation: it bakes directly onto whatever layer you’re working on, and if that layer is empty, Photoshop won’t even let you run it. You’re stuck either flattening your whole image first or stamping a visible layer just to have something for the filter to grab onto.

The Edit Is Half the Photo: Chelsea Northrup's Step-by-Step Workflow for Natural-Looking Results

The Edit Is Half the Photo: Chelsea Northrup's Step-by-Step Workflow for Natural-Looking Results

I used to think good editing meant heavy editing. Crank the clarity, push the saturation, slap on a preset, done. It took me an embarrassingly long time to figure out that the best edits are the ones that look like you didn’t edit at all. They just make the photo feel more like what you actually saw when you pressed the shutter. That’s exactly what Chelsea Northrup demonstrates in this tutorial, and it reframed how I think about the entire post-processing step.

iPad Pro as a Travel Editing Powerhouse: A Practical Walkthrough with Lightroom Mobile

iPad Pro as a Travel Editing Powerhouse: A Practical Walkthrough with Lightroom Mobile

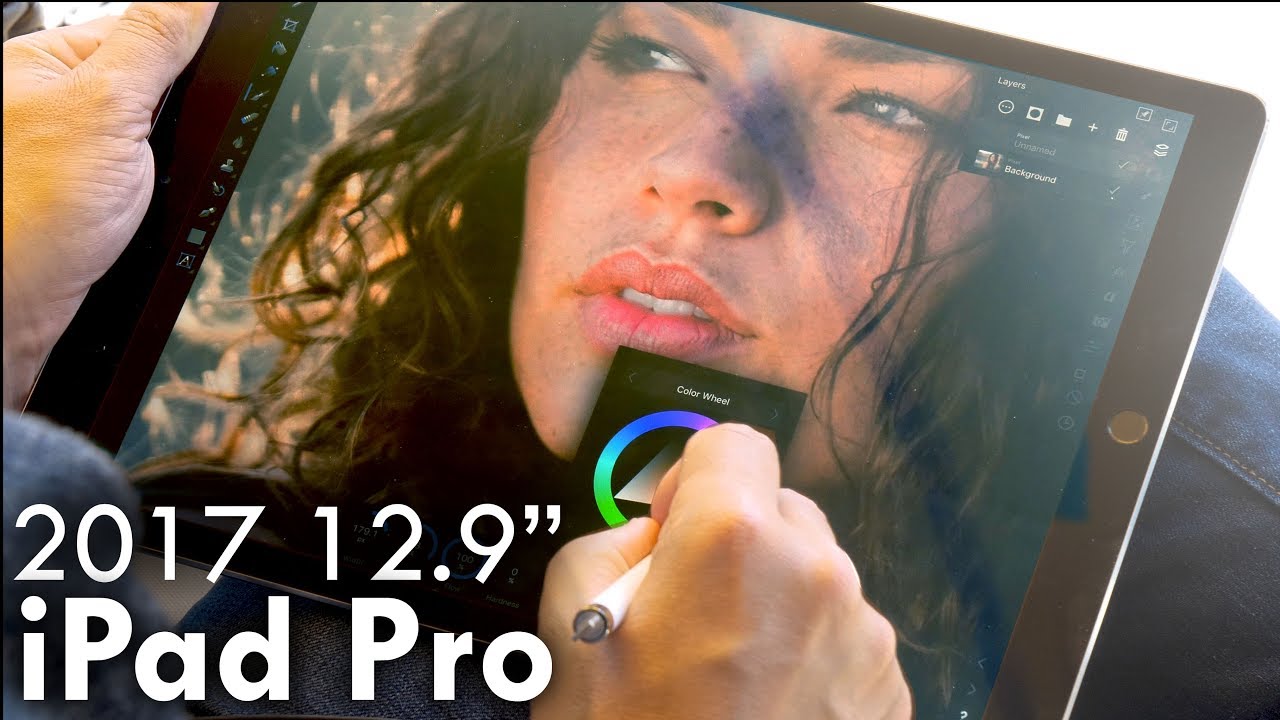
I’ll be honest: I spent years assuming the iPad was a consumption device. You watch videos on it. You scroll Instagram. You do not edit RAW files on it at a professional level. That assumption cost me a lot of unnecessary weight in my camera bag and a lot of frustrating evenings hunched over a hot laptop in hotel rooms, waiting for Lightroom to catch up with me. Then I came across a Tony & Chelsea Northrup tutorial where Tony walks through his full photo editing workflow on the 12.

How to Fake a Lens Flare in Photoshop Using Gradients and Layer Blending (No Plugin Required)

How to Fake a Lens Flare in Photoshop Using Gradients and Layer Blending (No Plugin Required)

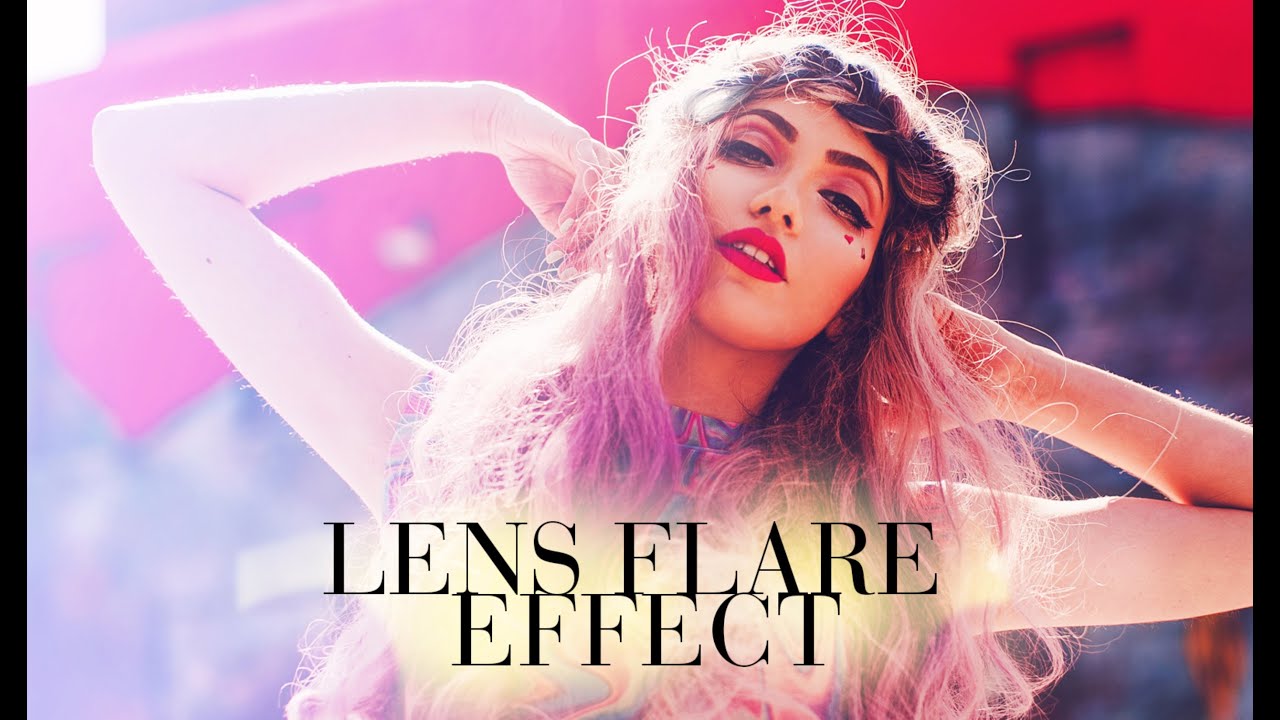
I used to think lens flare effects required either an expensive prime lens shot wide open into harsh backlight, or some bloated plugin that costs more than a budget nifty fifty. Turns out neither is true. In this Jessica Kobeissi tutorial on creating a lens flare effect in Photoshop, she walks through a surprisingly simple gradient-based method that produces a convincing warm, glowing flare using tools that are already sitting in your Photoshop toolbar.